

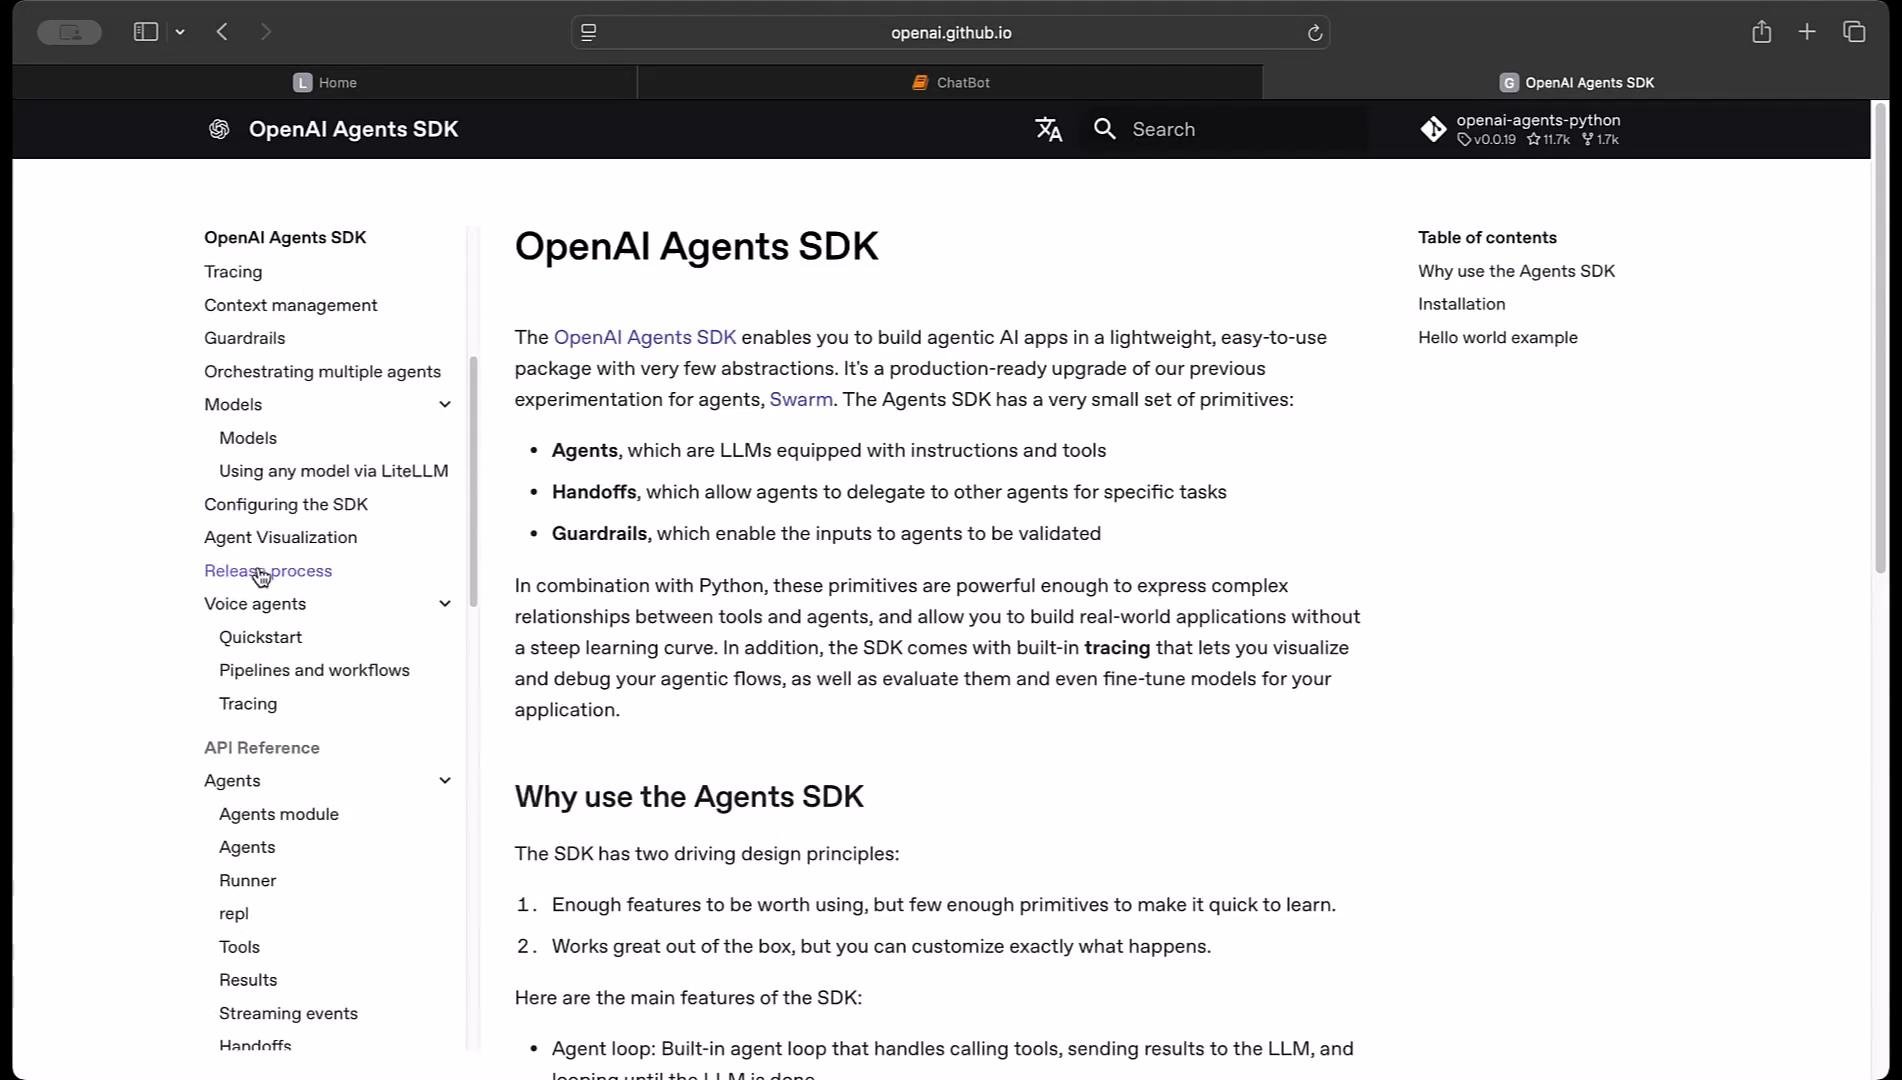
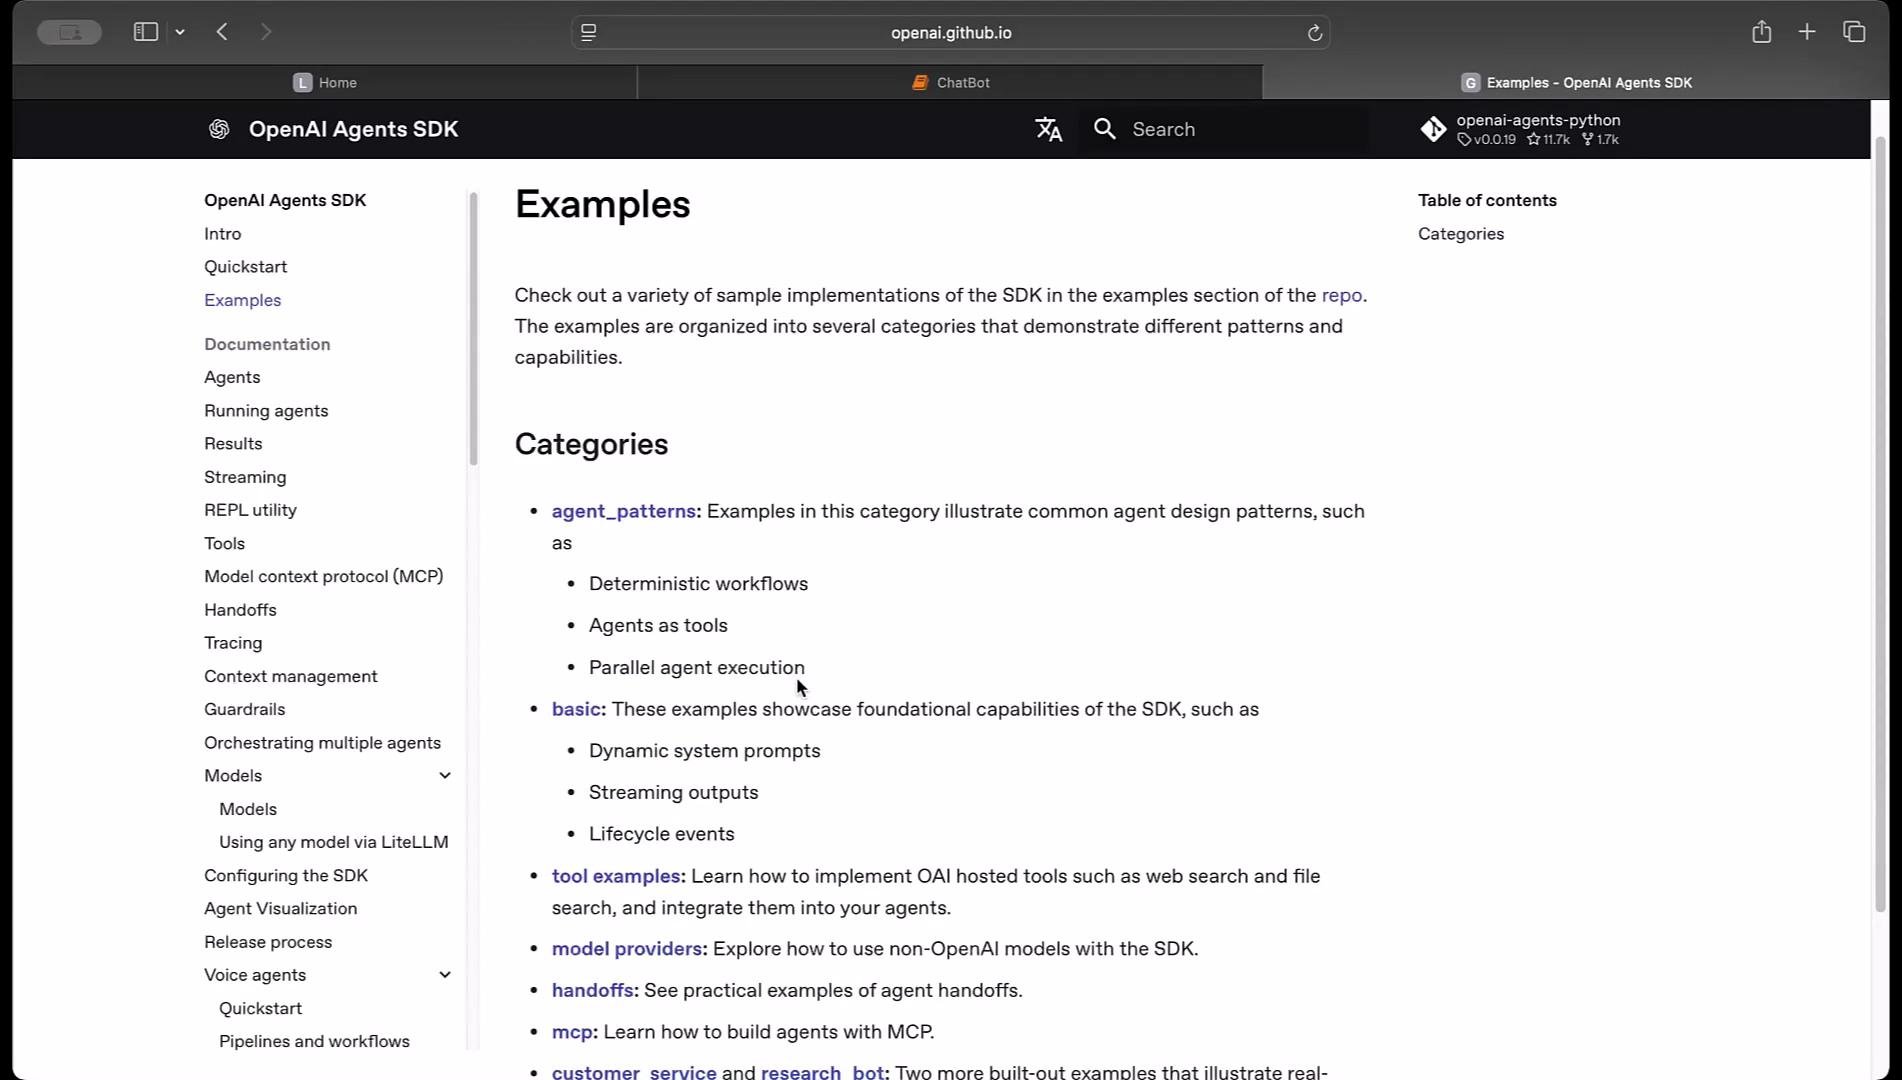
- Loads environment variables securely (do not hard-code API keys).
- Defines an Agent with clear role-based instructions.
- Uses an asynchronous main loop to run the agent via
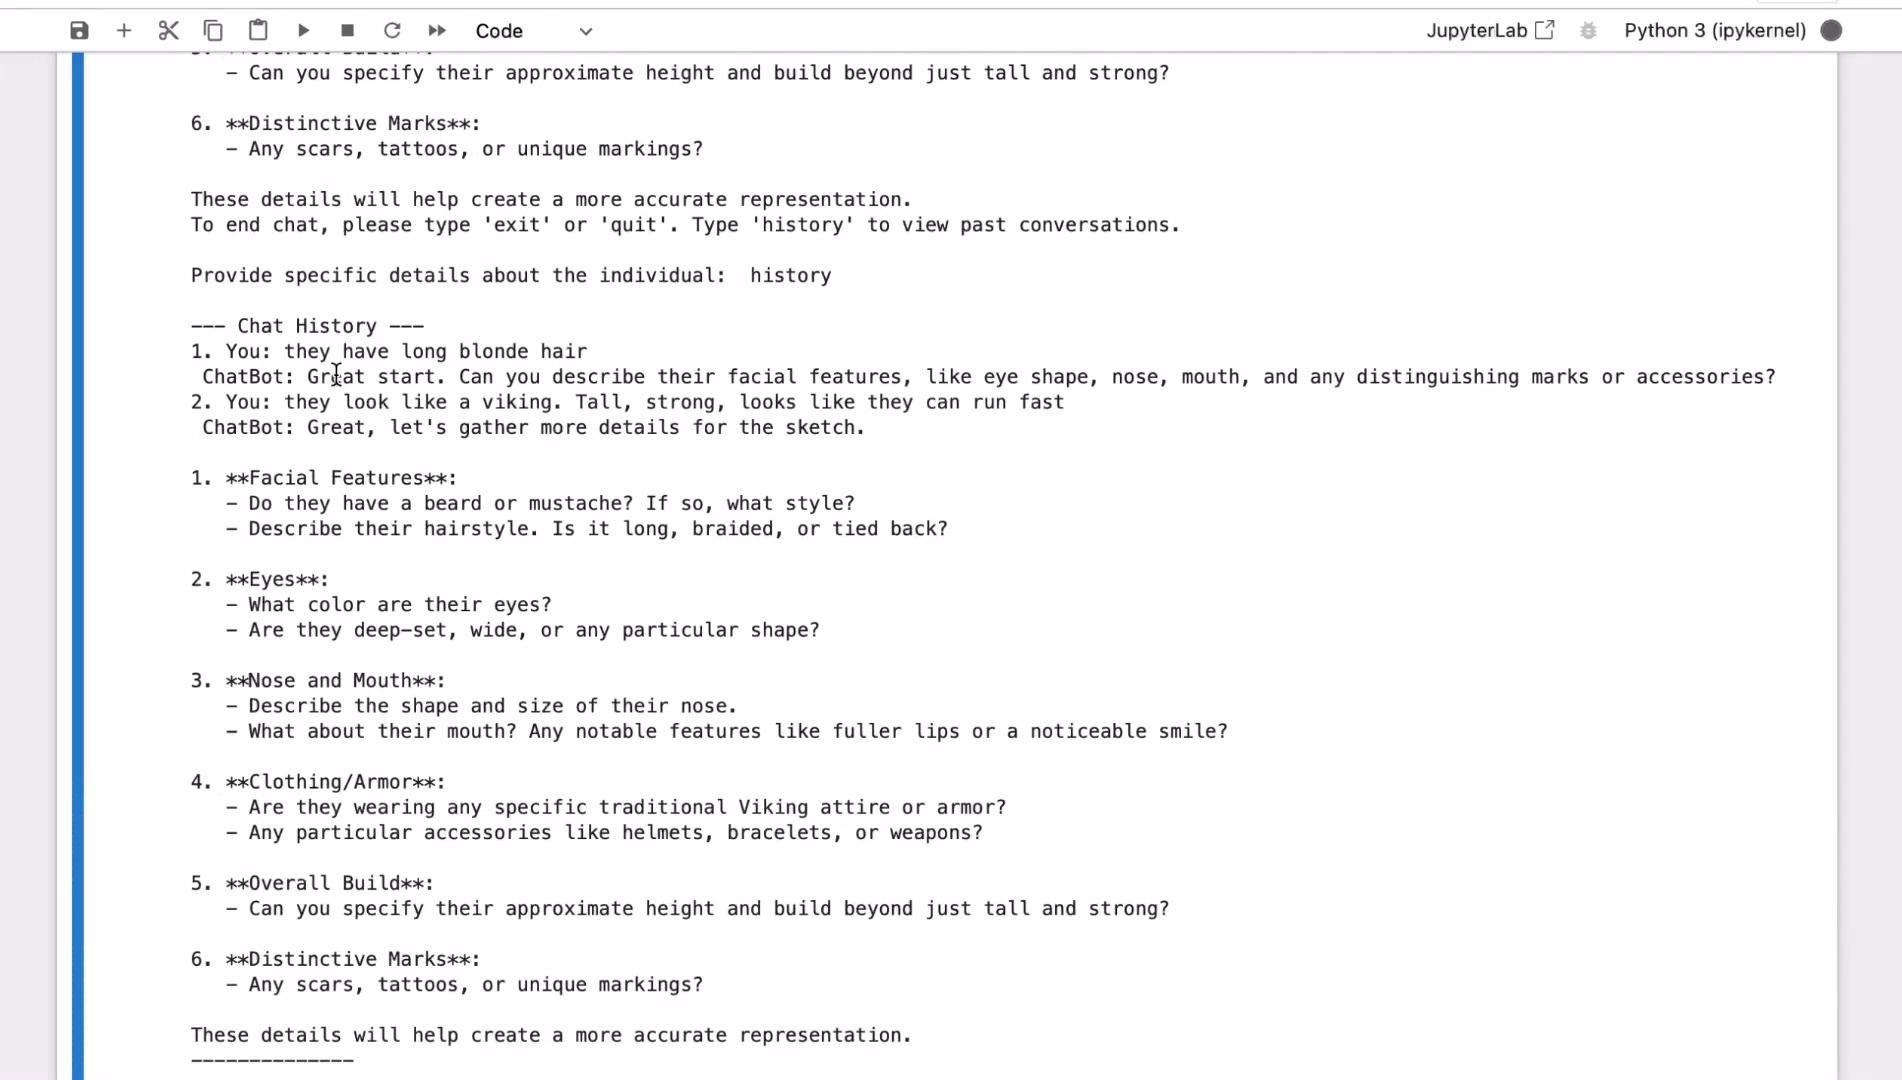
Runner.run. - Stores and displays a simple chat history.
- Supports the
history,exit, andquitcommands.
Make sure you have a
.env file with OPENAI_API_KEY set, or set the environment variable in another secure way. Do not hard-code API keys in your script.python-dotenv to load the API key, defines an Agent with instructions, awaits Runner.run, and manages conversation memory.
- Loads environment variables safely via
python-dotenv. - Defines an Agent with a role-based instruction set so the model acts like a police sketch artist.
- Runs an asynchronous loop that:
- Accepts and validates user input.
- Handles
history,exit, andquitcommands. - Invokes the agent using
await Runner.run(agent, user_input). - Extracts the agent’s output (
final_outputoroutput) and appends each turn tochat_history. - Prints the agent response and usage reminders.
Testing and extending the bot
Try providing details like hair color, facial features, build, clothing, or distinctive marks. The agent should ask clarifying questions to gather a structured description. Once you collect attributes, you can extend the pipeline to call an image generation API (for example, DALL·E) to create sketches from the description.
Example interaction (screenshot)
- OpenAI Agents guide: https://platform.openai.com/docs/guides/agents
- OpenAI Agents SDK (examples & Quickstart): https://github.com/openai/agents
- python-dotenv: https://pypi.org/project/python-dotenv/
- Pydantic docs: https://docs.pydantic.dev/latest/
- Images guide (DALL·E): https://platform.openai.com/docs/guides/images