- Installing Anaconda to run Jupyter
- Launching and using Jupyter Notebook (kernels, running cells, common pitfalls)
- Creating a secure
.envfile for your API key and loading it in Python - Creating a GitHub repository and committing your project safely
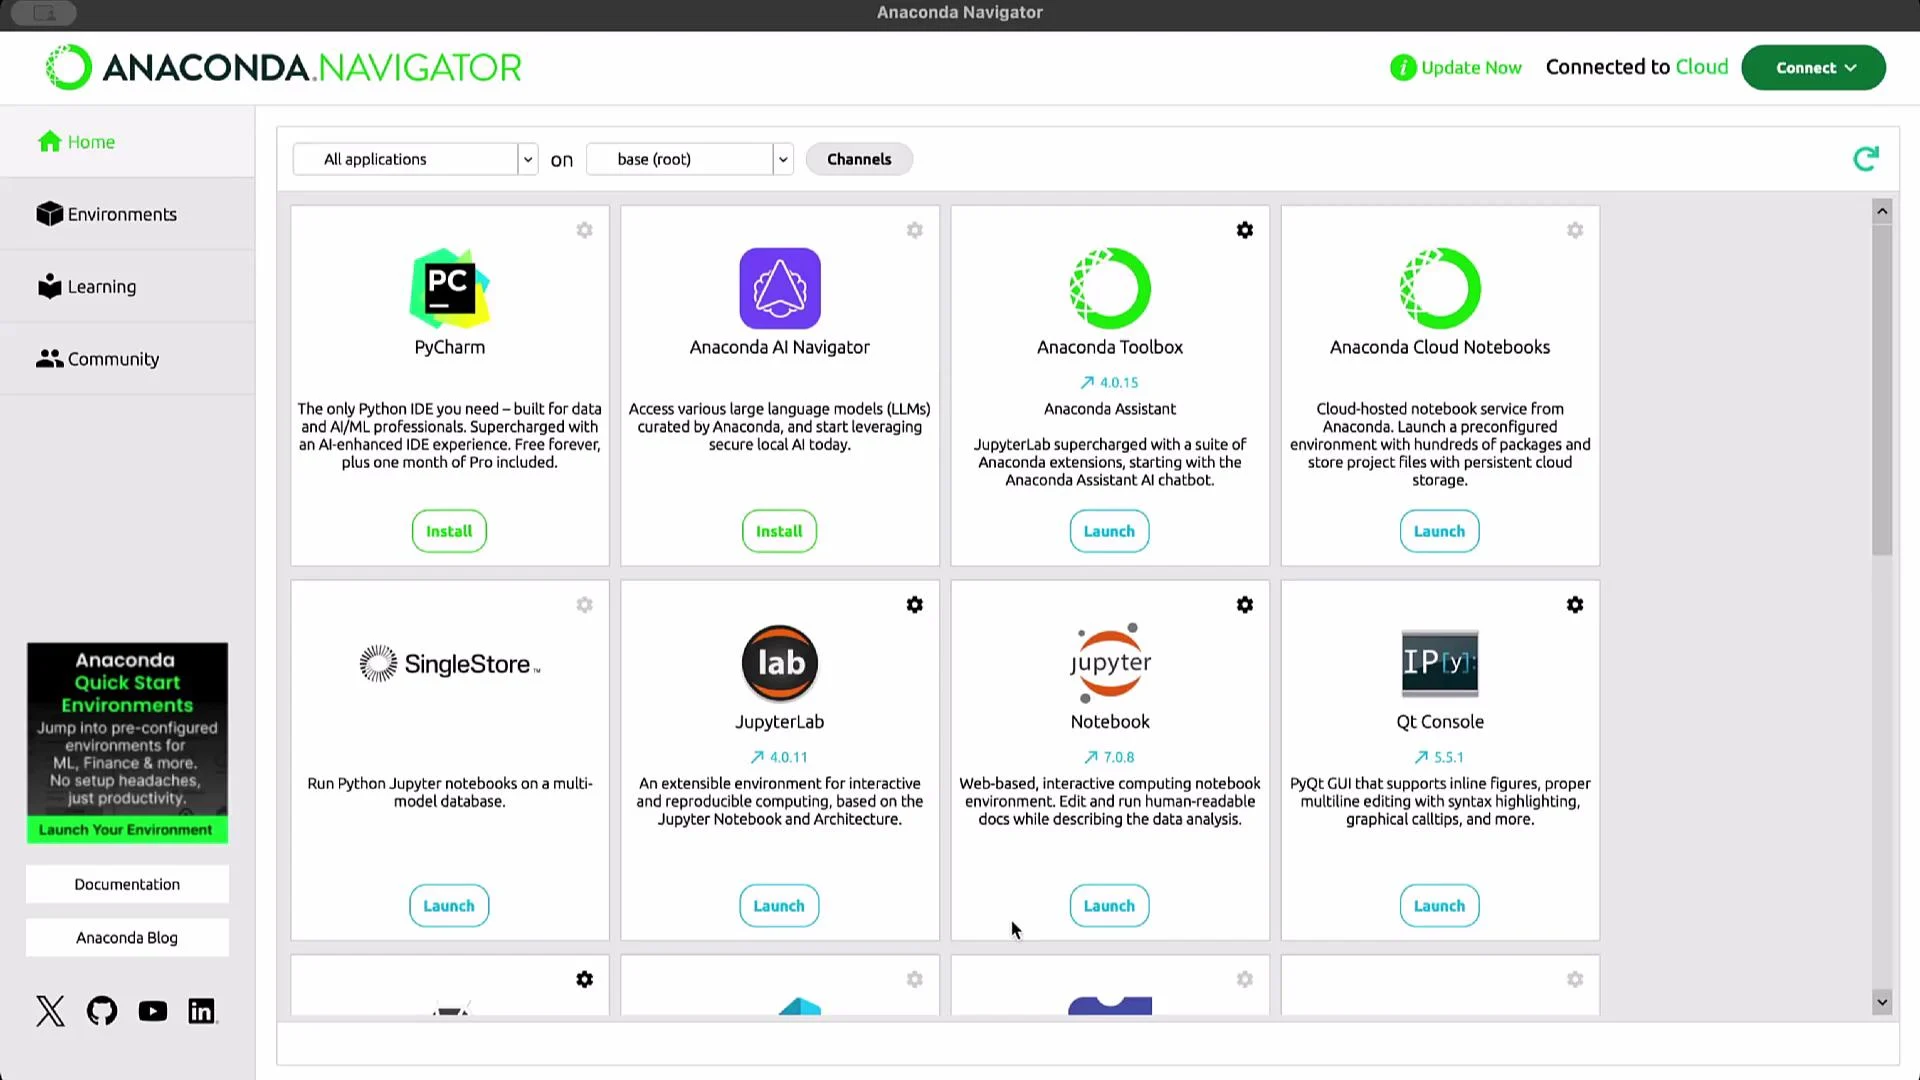
1) Install Anaconda (to run Jupyter)
- Visit the Anaconda distribution page: https://www.anaconda.com/products/distribution
- Download the free distribution for your operating system.
- You can skip account registration and proceed with the installer.
- After installation, launch Anaconda Navigator to access Jupyter Notebook and other tools.
2) Launching Jupyter Notebook
- Start Jupyter Notebook from Anaconda Navigator (or run
jupyter notebookfrom a terminal). It opens in your default browser at a local URL such ashttp://localhost:8888/tree. - Create a project folder: click New → New Folder, rename it (e.g.,
Demo Project) and open it. - Create a new notebook inside the folder: New → Python 3 (or an available kernel).
- Rename the notebook by clicking the title (e.g., change “Untitled” to
Demo).
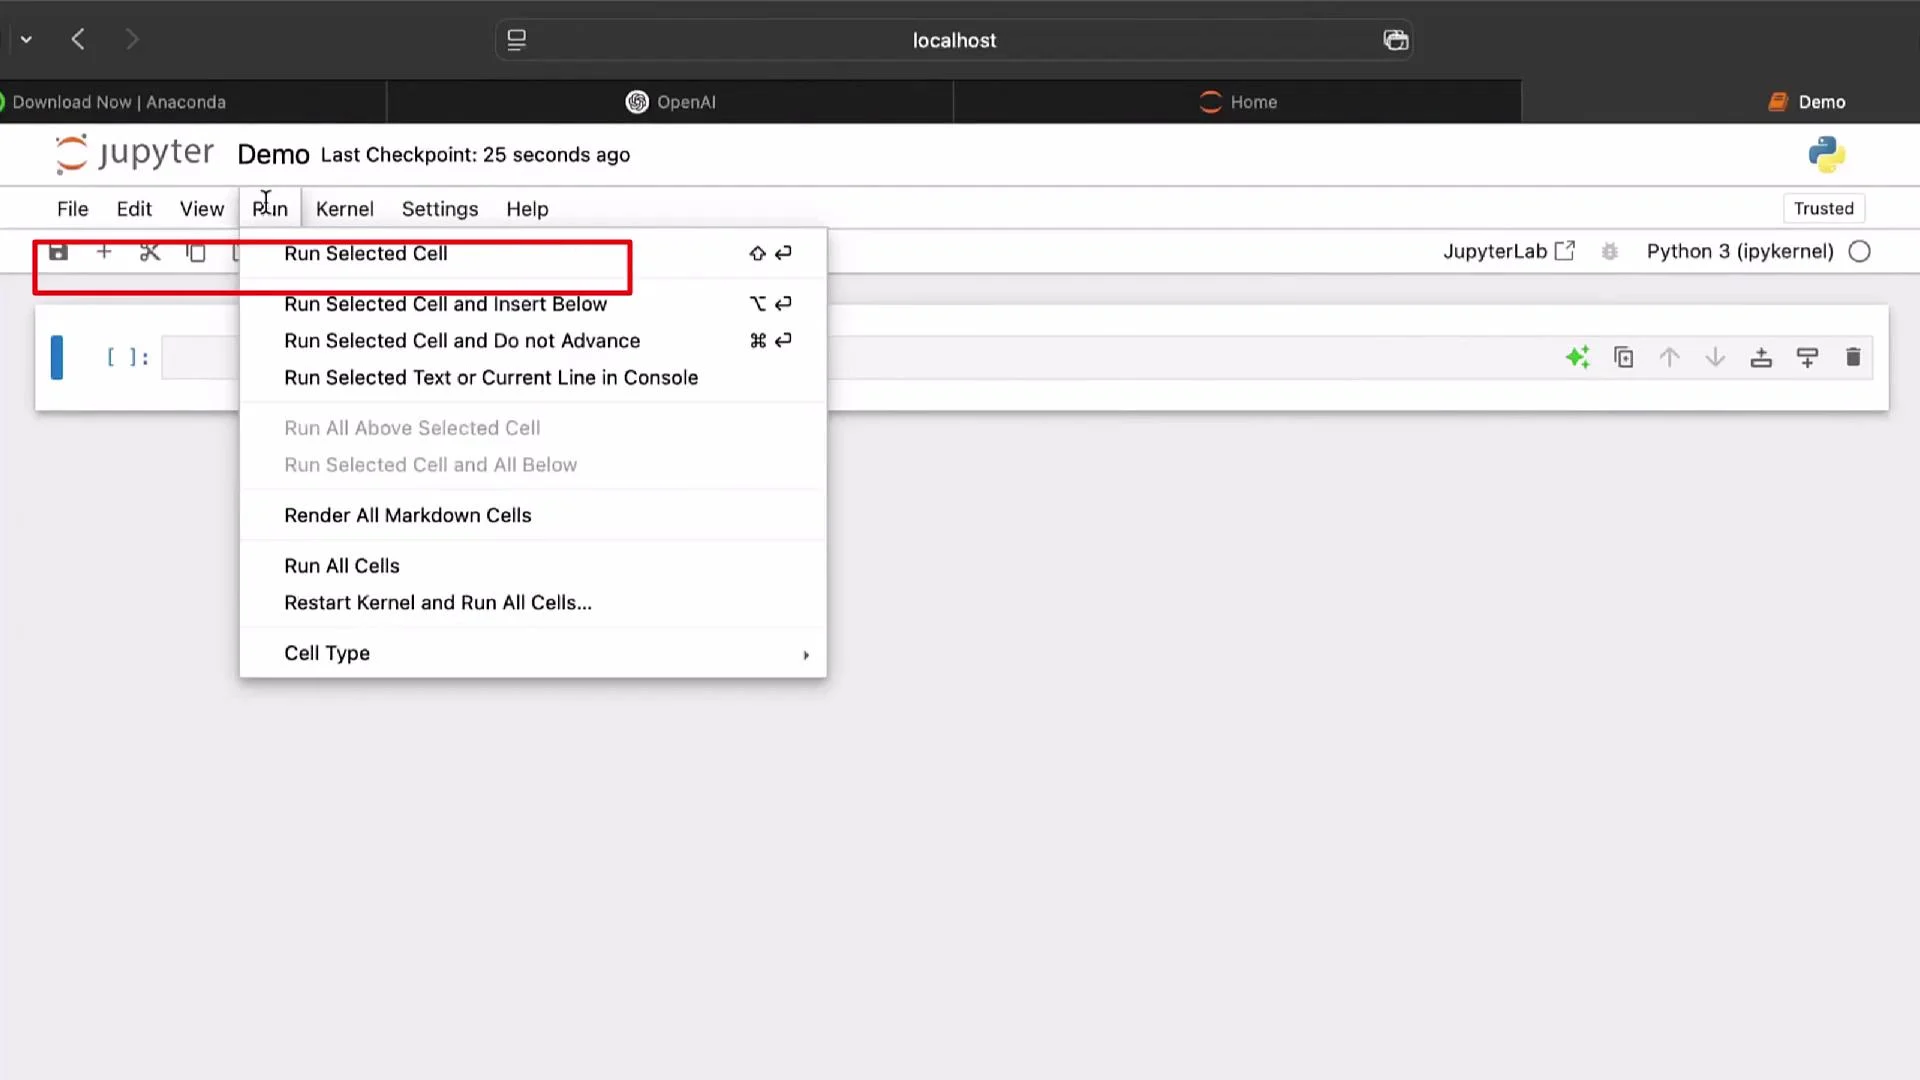
Kernel & run controls — quick reference
Tip: If your notebook behaves unexpectedly (old variables, mismatched outputs), use Kernel → Restart & Clear Output to get a clean runtime and reproduce results deterministically.
3) Examples — running cells and managing the kernel
Infinite loop example (run with caution):NameError because true (lowercase) is not defined in Python. The correct boolean literal is True.
Cell execution order and kernel state
Cells execute in the kernel’s current state. If you modify a later cell but do not re-run it, the kernel will still use the previously executed value. Example:print(foo) cell without running the updated assignment cell, the output remains 2. To update the kernel state, run the assignment cell or restart and re-run the notebook in order.
Restarting the kernel (Kernel → Restart & Clear Output) clears state and outputs and is useful to confirm reproducibility.
4) Store a secure .env file for your API key
Keeping secrets outside source control is essential. Create a .env file locally and never commit it.
Create .env programmatically (replace YOUR_OPENAI_API_KEY with your real key after you obtain it):
.env to .gitignore before committing:
.env content (do not paste real keys into shared or public files):
Do not commit
.env or your API keys to GitHub. Keep secrets out of version control and use environment-specific secret management in production.5) Getting your OpenAI API key
- Go to the OpenAI dashboard: https://platform.openai.com/account/api-keys
- Log in or create an account.
- From the dashboard, open Settings (cogwheel) → API keys.
- Create a new secret key, give it a descriptive name (e.g.,
Demo API Key final), and copy it immediately — the secret is shown only once.
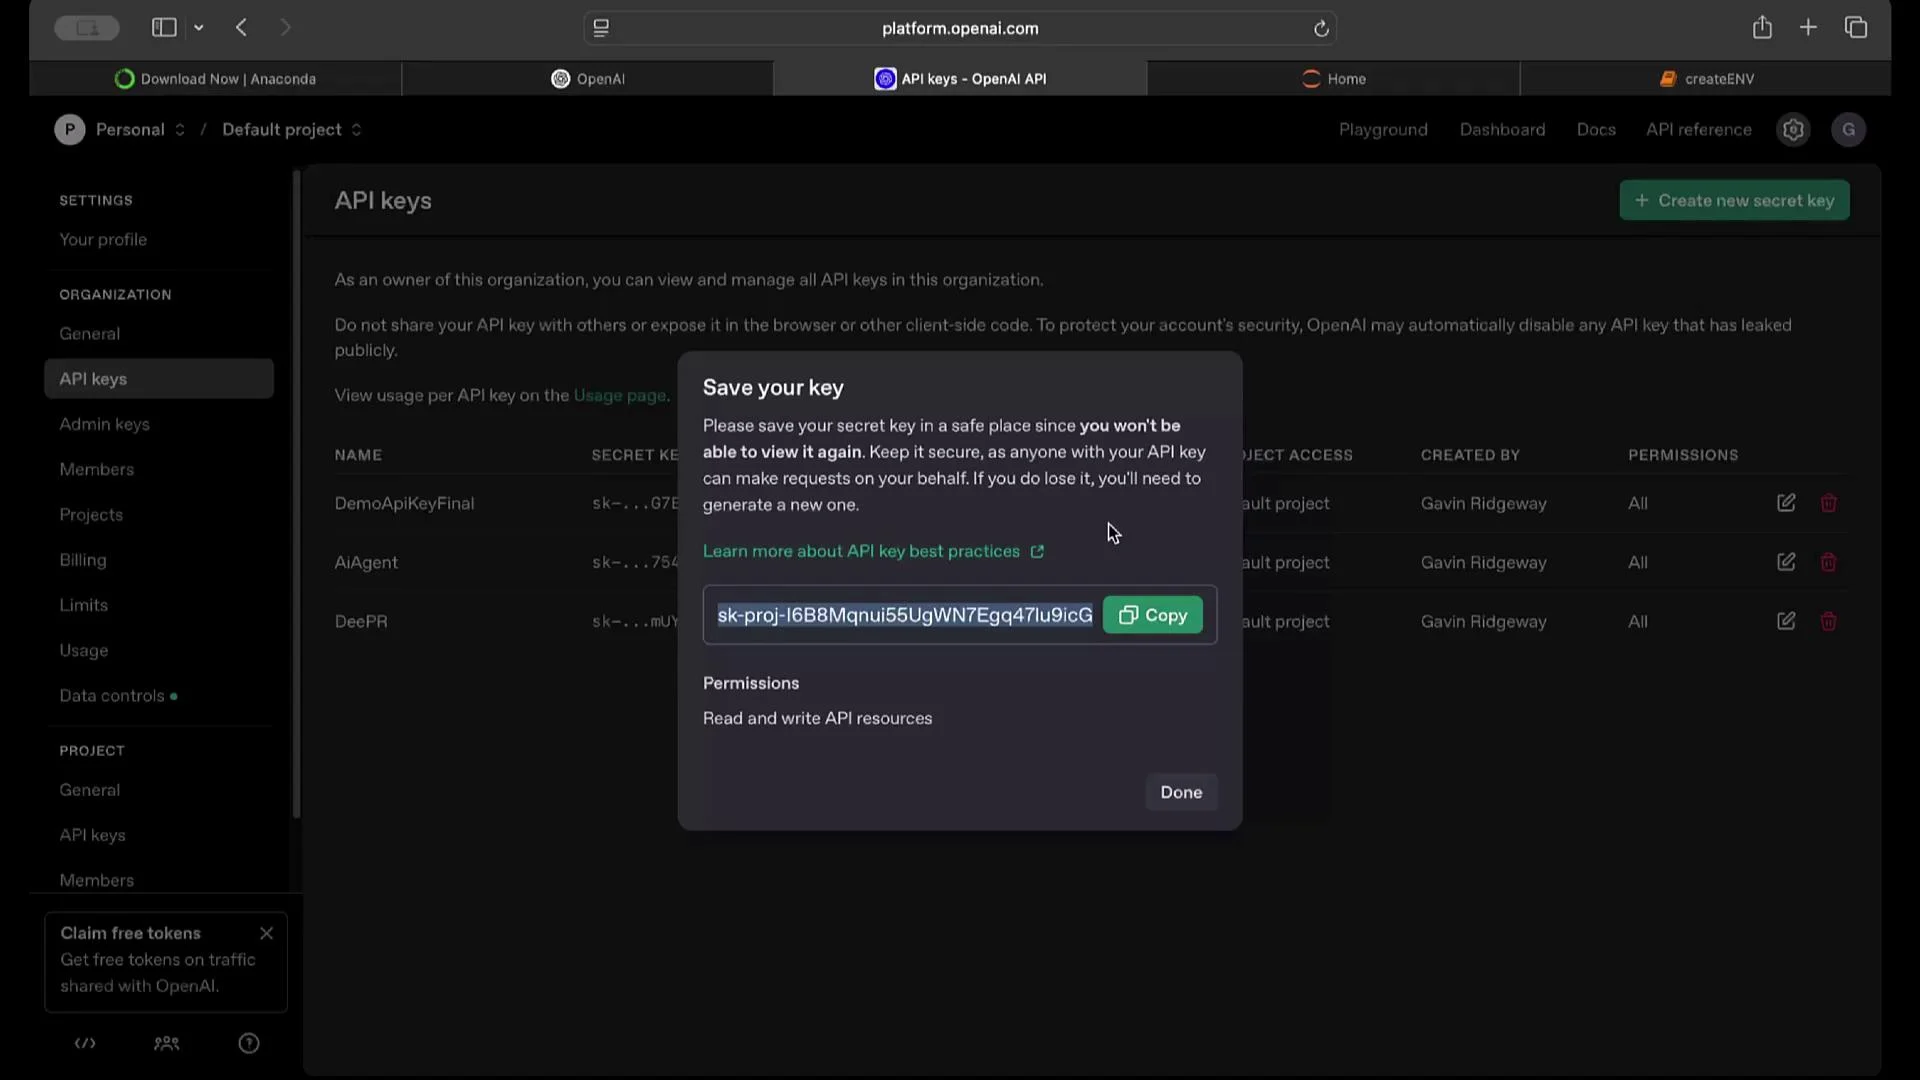
.env file (or update the file manually).
6) Loading environment variables in Python
Install python-dotenv if not already installed:.env and verify the key is present:
7) Add a small code test to the notebook
Add a few simple cells to confirm everything runs:8) Set up a GitHub repository and commit safely
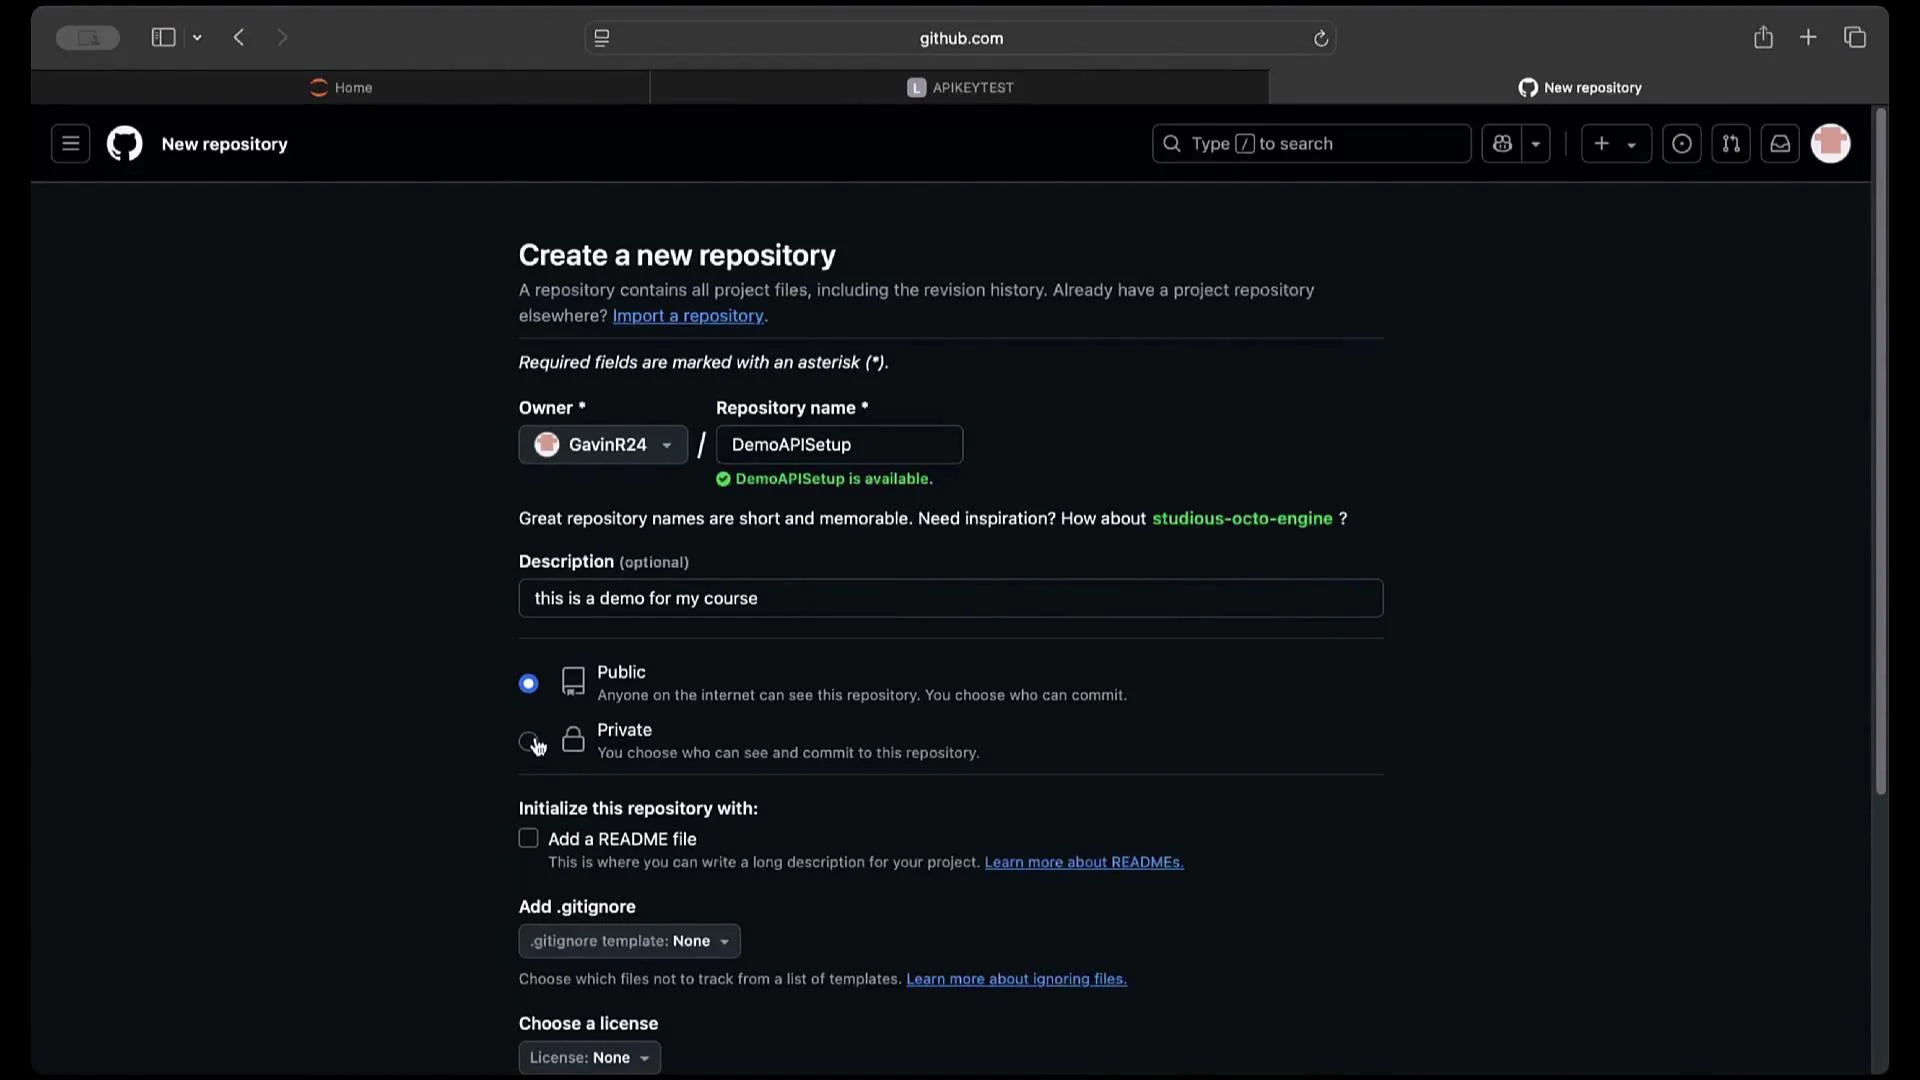
- Sign in to GitHub: https://github.com
- Create a new repository (e.g.,
Demo-API-Setup). Choose private if you prefer and add a README.
.gitignore includes .env before committing.
Quick Git commands (run from your project root):
Replace the remote URL with your repository’s HTTPS or SSH URL.
Wrap-up
You have completed the essential setup:- Installed Anaconda and launched Jupyter Notebook.
- Learned to manage kernels and run cells reliably.
- Created and loaded a secure
.envfile for your OpenAI API key usingpython-dotenv. - Created a GitHub repository and prepared your project to avoid committing secrets.
Links and references
- Jupyter: https://jupyter.org
- Anaconda distribution: https://www.anaconda.com/products/distribution
- OpenAI API keys: https://platform.openai.com/account/api-keys
- python-dotenv: https://pypi.org/project/python-dotenv/
- GitHub: https://github.com