

What Are Copilot Agents?
GitHub Copilot Agents are domain-specific assistants you can summon in the chat interface by typing@ followed by their names. Each agent is optimized to access relevant contexts—such as your workspace files, terminal history, or editor settings—to deliver tailored suggestions and code snippets. These agents use advanced natural language processing (NLP) to understand your requests and generate contextually accurate responses.
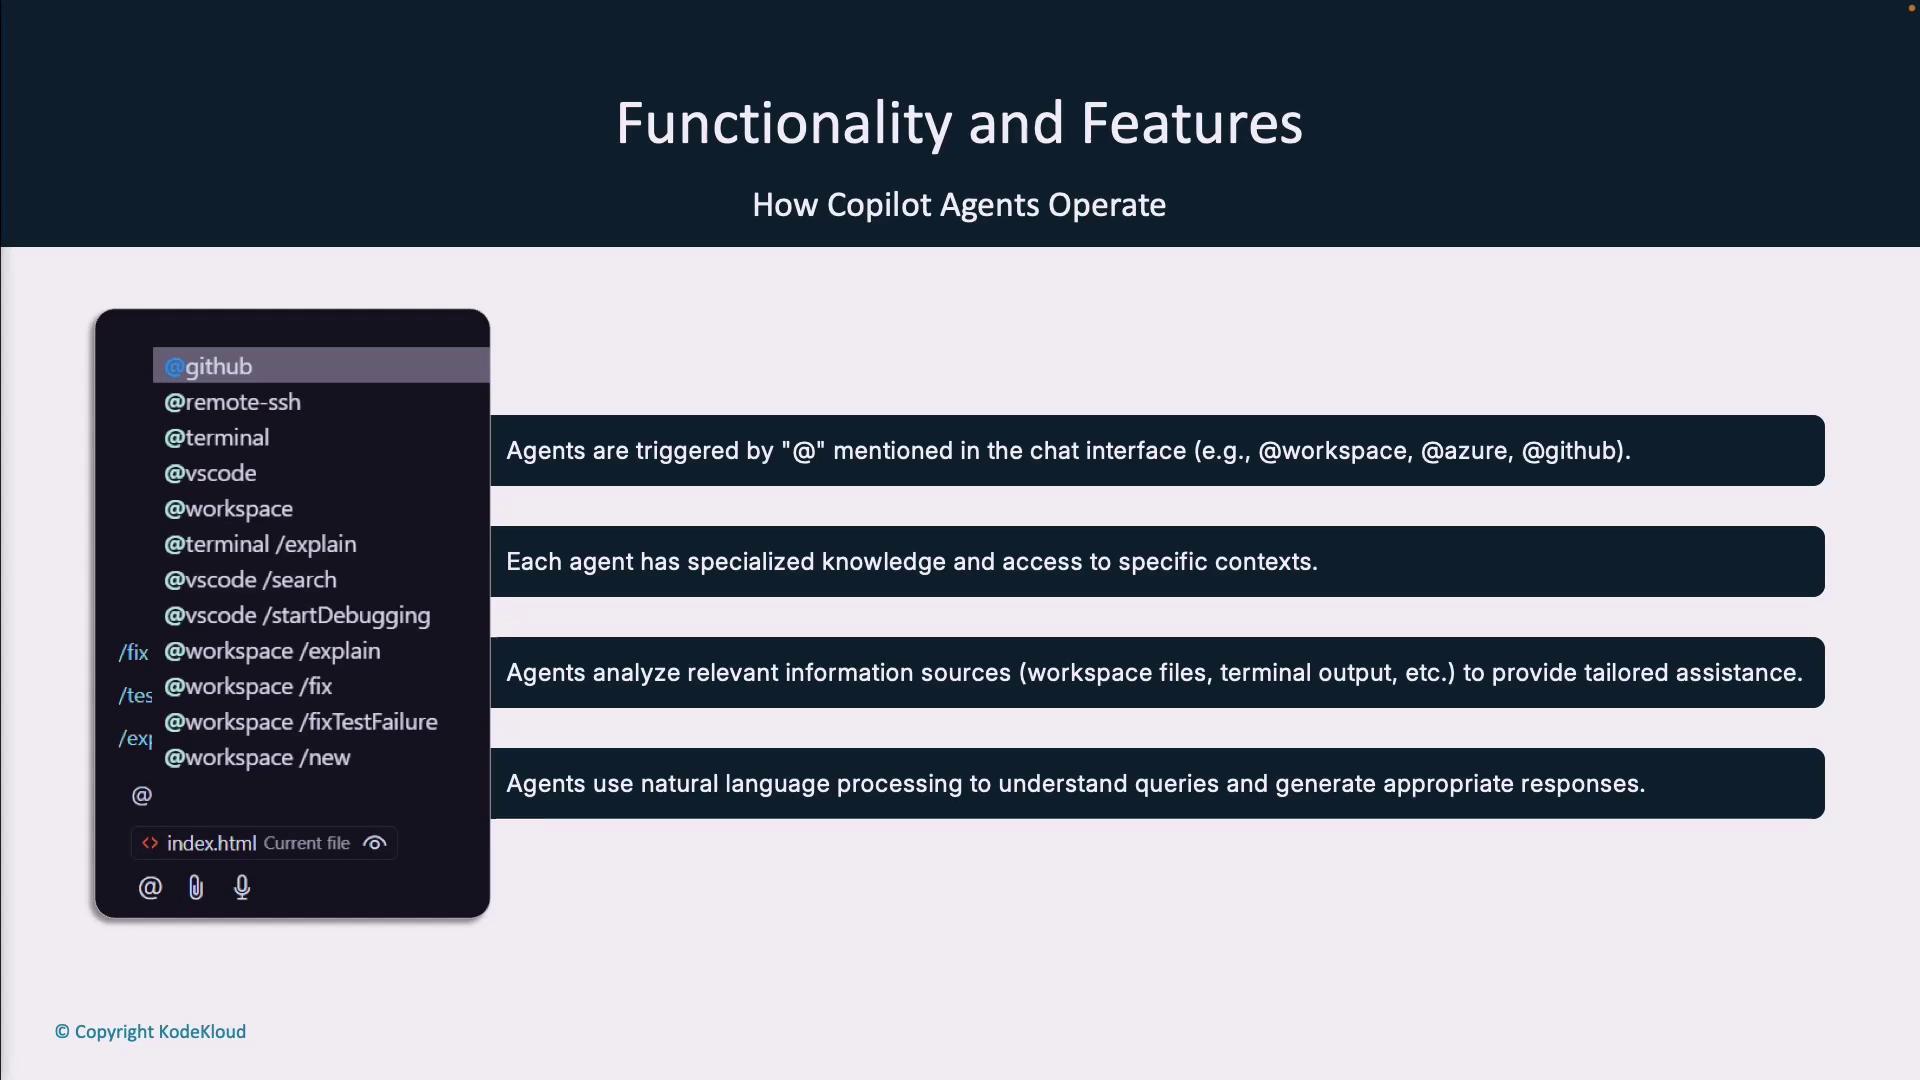
Each agent has unique training data and access scopes—choose the right one for your task to get the best results.
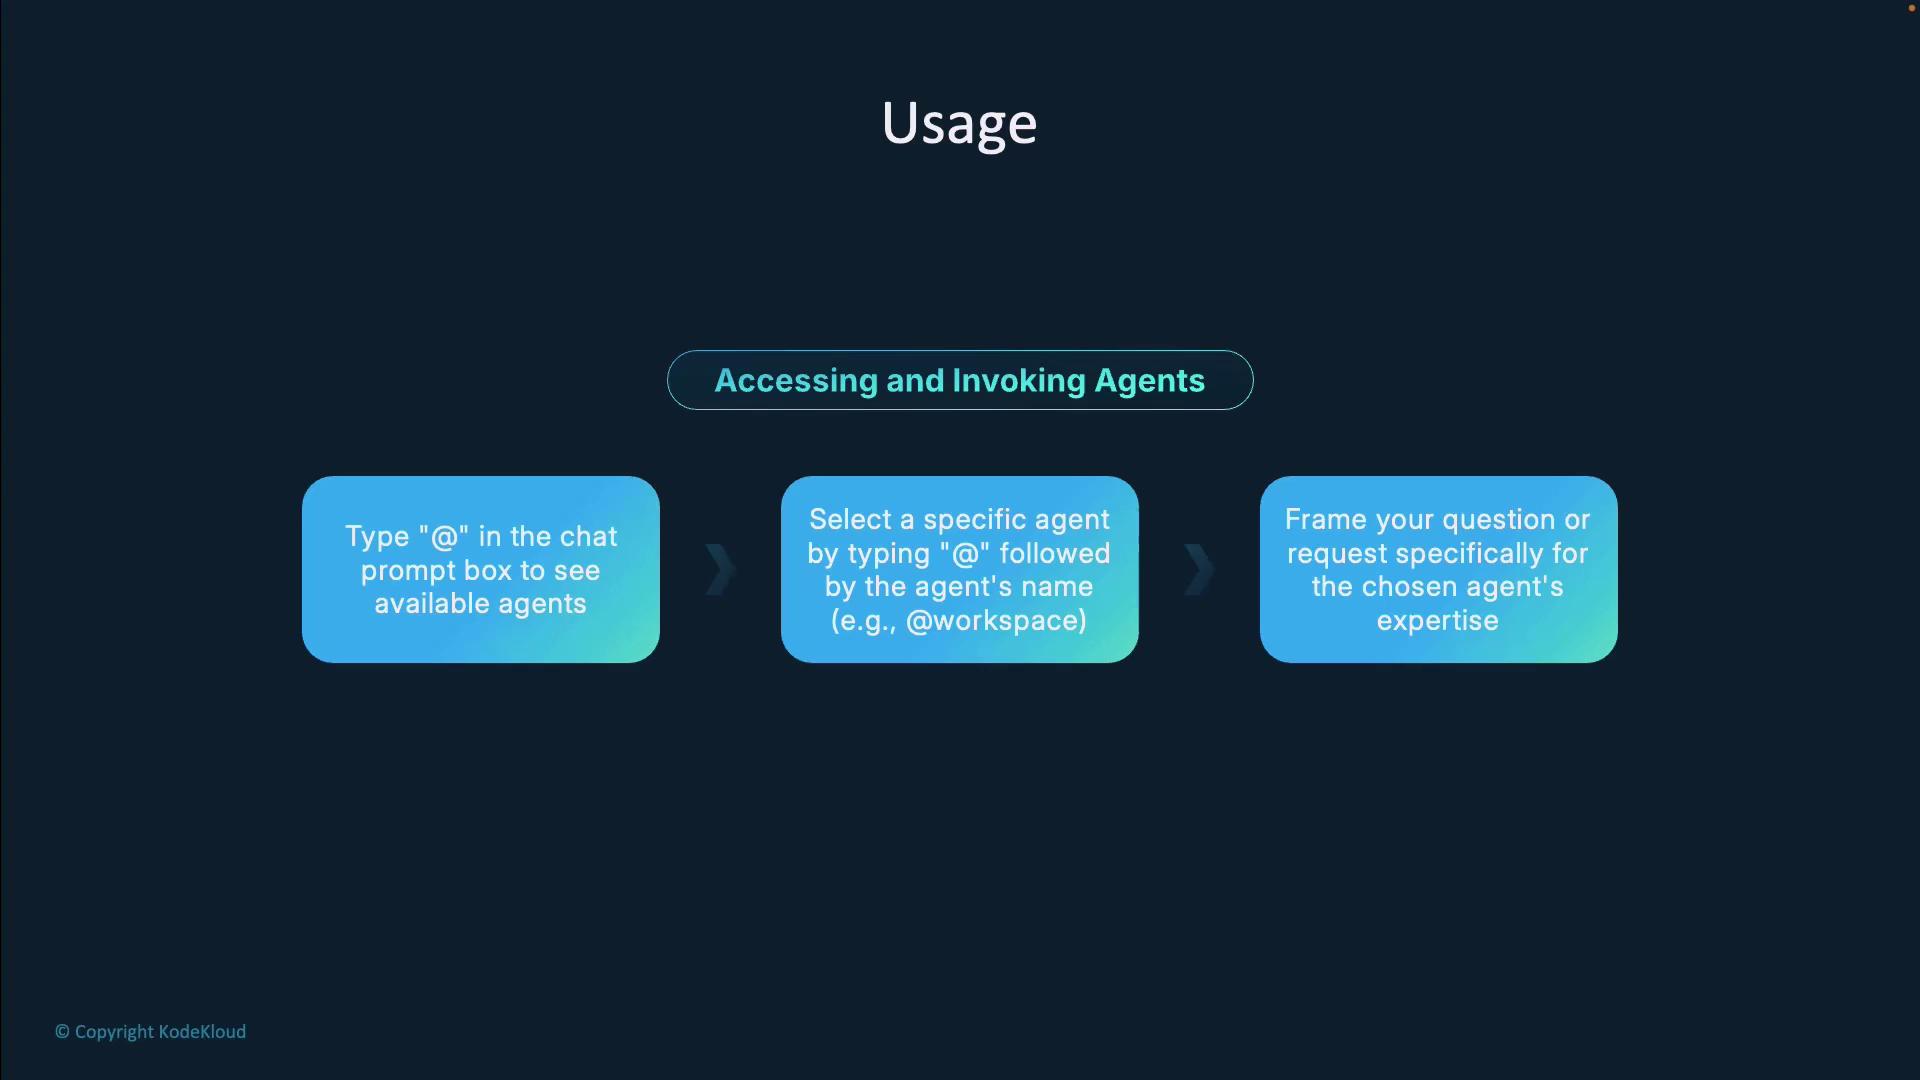
Accessing and Invoking Agents
To view all available agents, type@ in the Copilot chat prompt. A dropdown menu will list every agent you can interact with. Simply select an agent by typing @agent-name. For example:
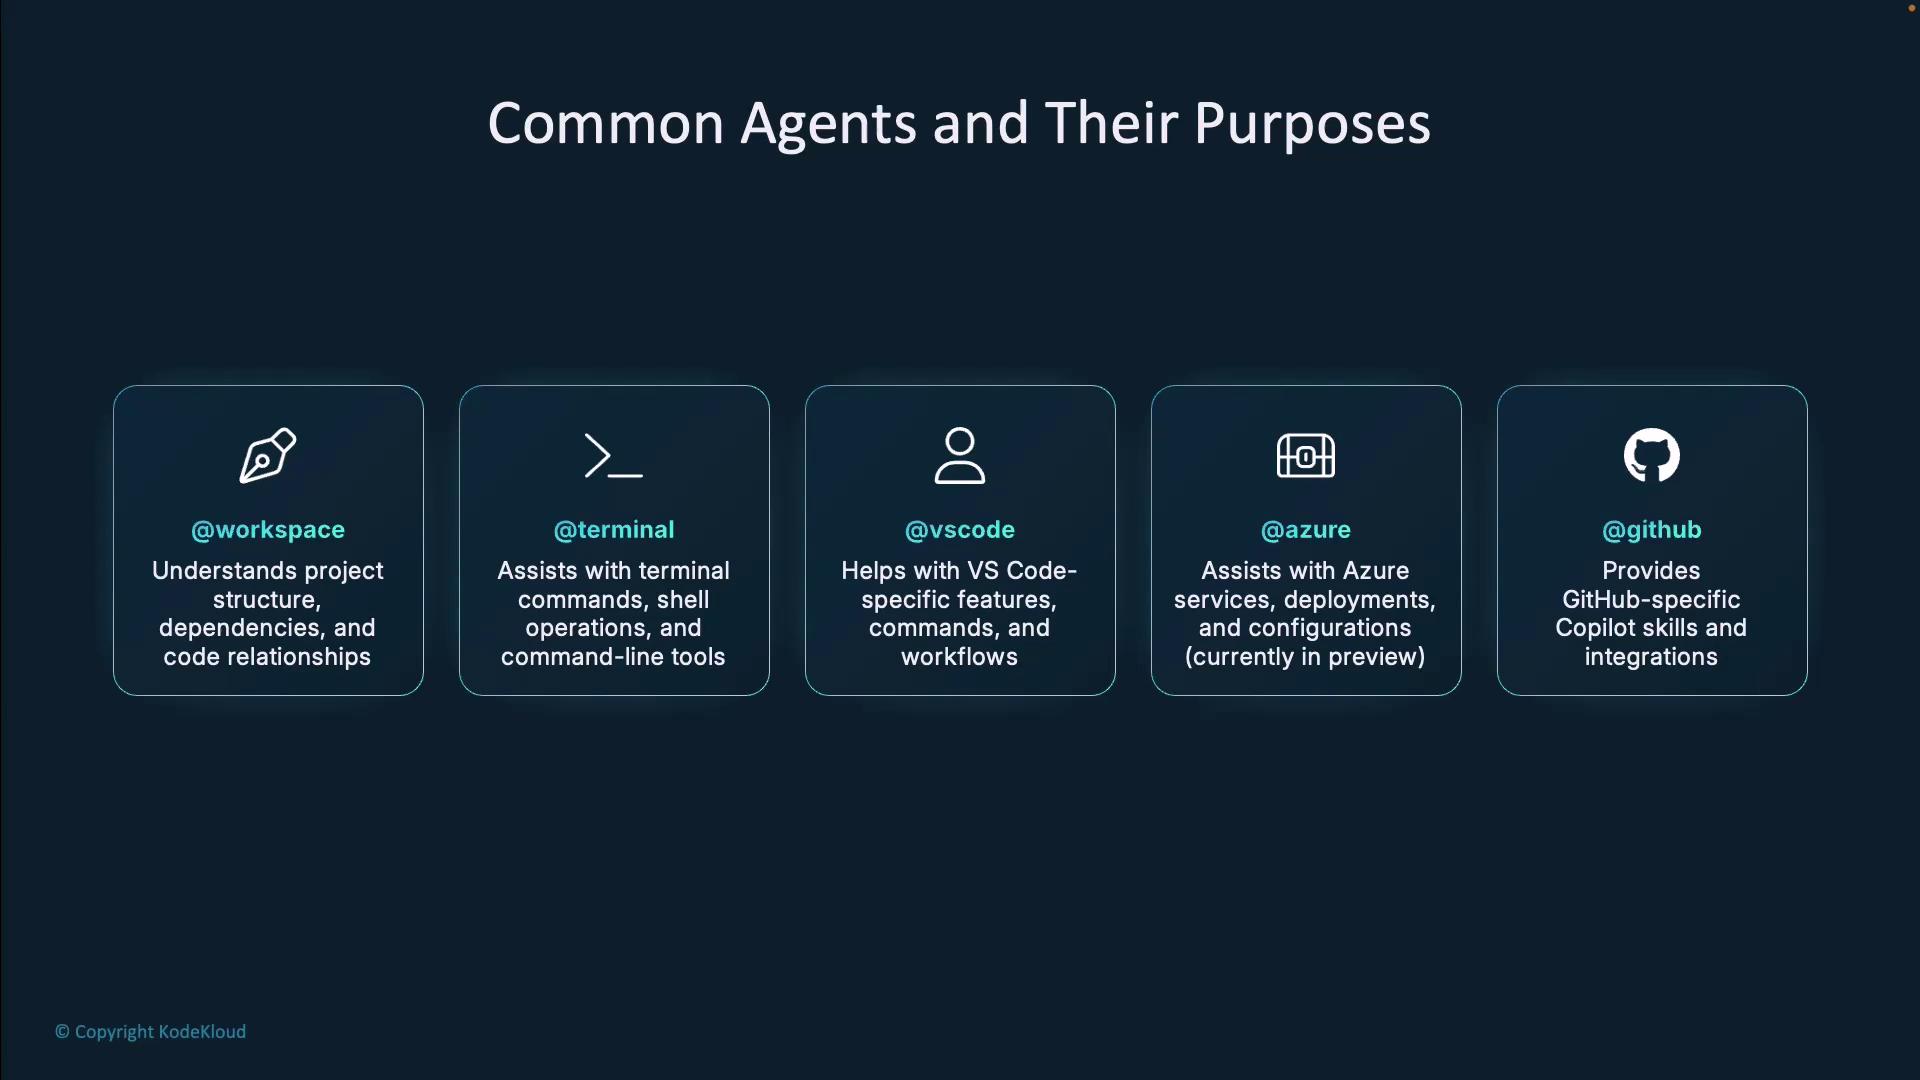
Common Agents and Their Domains
Agents in Action: Mention-Based Workflow
Below is a step-by-step example of how to use mention-based agents in Visual Studio Code:-
Open Copilot Chat (
Ctrl+Shift+P→ Copilot: Open Chat) -
Type
@workspaceand ask a question:The agent will scan your entire project and highlight relevant functions. For instance: -
Switch to the Terminal agent to install and run the app:
If you encounter an indentation error:Correct the indentation and rerun to launch the Pygame traffic light simulator.
-
For editor-specific queries, use the VS Code agent:
It will direct you to Settings > Editor > Copilot.
-
Generate tests across your codebase with Workspace:
This produces comprehensive unit tests rather than file-scoped ones.
Experimental Agent Mode
GitHub Copilot’s experimental Agent Mode lets Copilot autonomously suggest code, edit files, and run terminal commands. This mode can significantly accelerate repetitive tasks.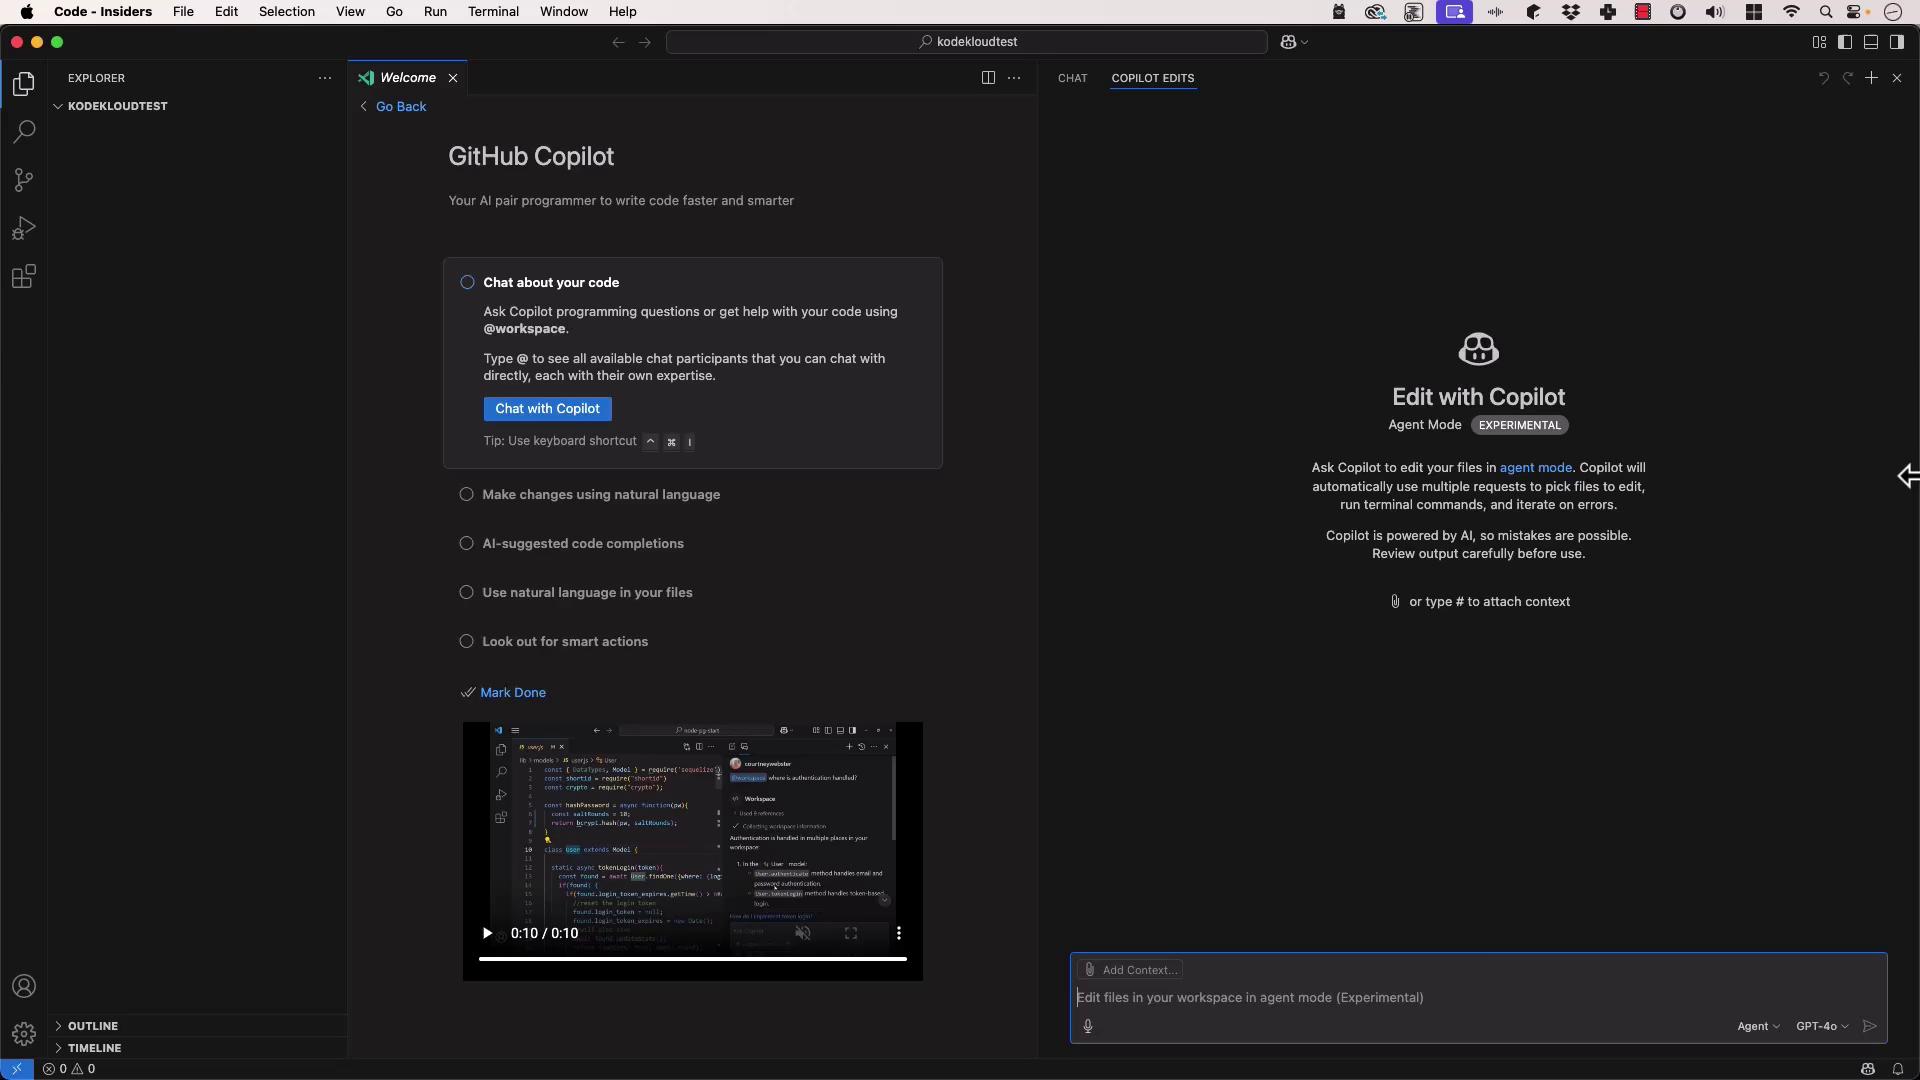
- Click the Agent Mode toggle in the lower-right corner of VS Code.
-
Request a new project scaffold:
The agent will generate a virtual environment, install Flask, and produce
app.py:And run:
Agent Mode is experimental. Review all changes before committing to avoid unintended edits.
Summary
- Mention-based Copilot Agents (
@workspace,@terminal,@vscode, etc.) scan specific contexts to deliver targeted assistance. - Experimental Agent Mode enables Copilot to autonomously generate code, run commands, and modify files.