

Four Primary Linux Login Methods
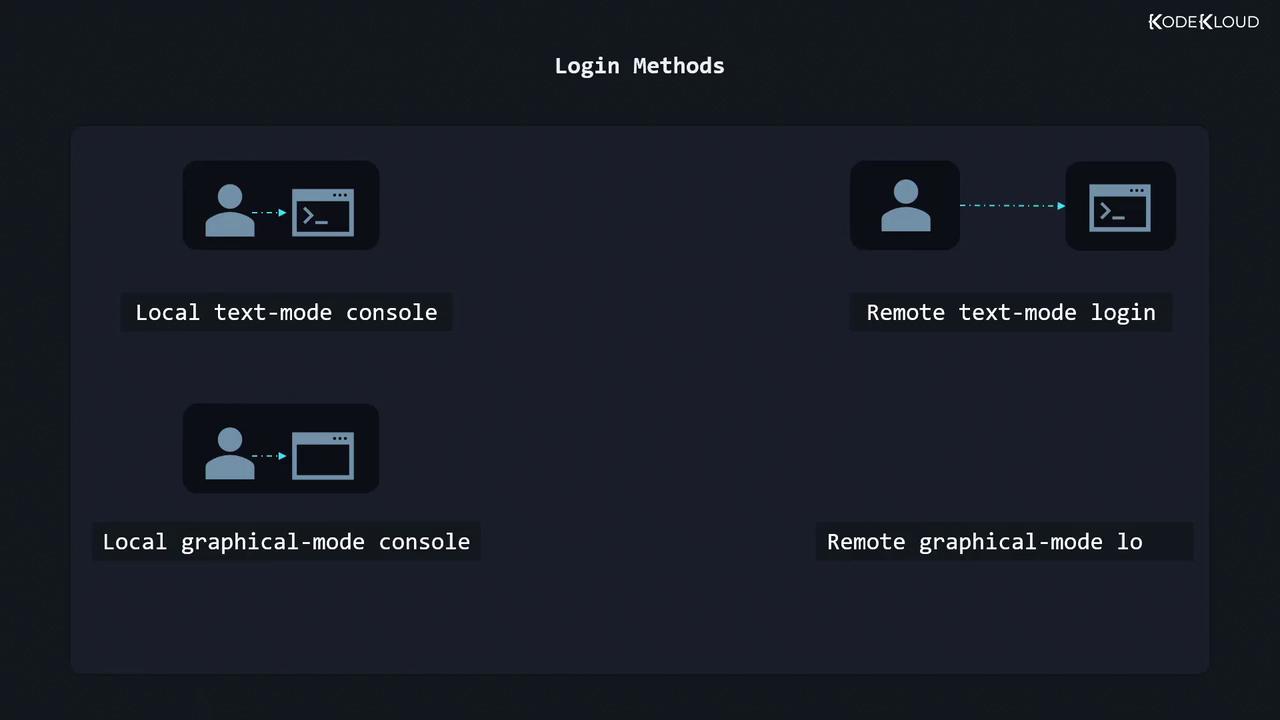
Consoles vs. Terminal Emulators
A console historically meant a physical keyboard and monitor connected to a host. Today it usually refers to virtual terminals (VTs) that display boot messages or provide text logins. A terminal emulator is a GUI application (GNOME Terminal, Konsole, xterm) that mimics a console within your desktop.Ctrl + Alt + F1 (or F7) to return to your GUI session.
Virtual terminals let you run multiple independent login sessions in text mode.
Use
Use
chvt N as root to switch from the shell.Local Text-Mode Login
On a headless server or in a VM without X11/Wayland, you log in at the console:- Type your username at the
login:prompt and press Enter. - Enter your password (no characters appear on screen).
- To end the session, type:
Passwords aren’t echoed for security. If you mistype, press Enter and retry.
Local Graphical-Mode Login
Graphical login managers (GDM, LightDM, SDDM) present a friendly GUI:- Select or type your username.
- Enter your password in the input field.
- Press Enter or click Sign In.
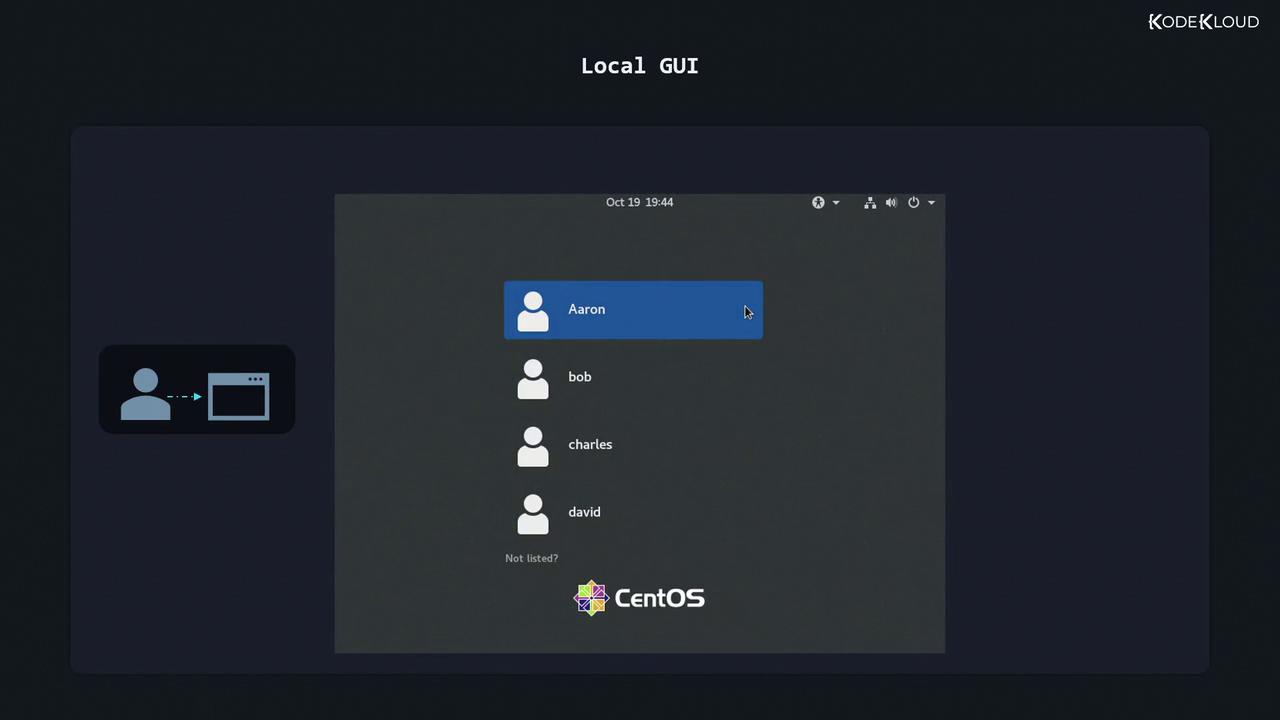
Always log out or lock your session when leaving your workstation unattended.
Remote Text-Mode Login via SSH
SSH (Secure Shell) is the industry standard for encrypted text-mode logins. Telnet is deprecated because it transmits credentials in plain text.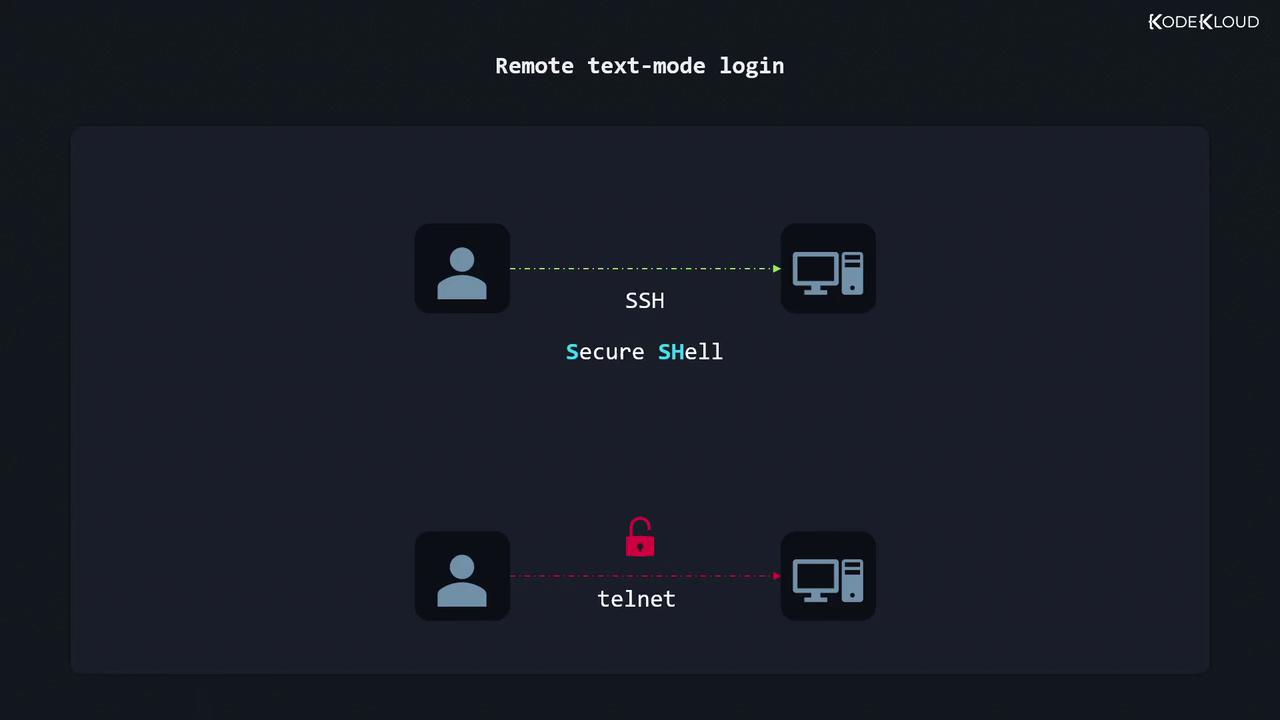
- Find the server’s IP address:
- Look for a line like
inet 192.168.0.17/24. - Connect via SSH:
- Enter your password when prompted. Once authenticated, you’re at the remote shell:
You can also use SSH keys for passwordless login:
ssh-keygen → ssh-copy-id aaron@192.168.0.17.Remote Graphical-Mode Login (VNC / RDP)
For full desktop access over the network:- Install or enable a VNC/RDP server on the host:
- VNC: TigerVNC, RealVNC
- RDP: xrdp
- On your client, open the matching viewer (RealVNC Viewer, Microsoft Remote Desktop).
- Enter the server’s IP and port (e.g.,
192.168.0.17:1for VNC). - Authenticate with your Linux credentials.
Performance and encryption depend on your server’s configuration. For secure tunnels, combine VNC with SSH port forwarding:Then point your VNC client at
localhost:5901.Further Reading & References
- OpenSSH Official Documentation
- Linux Virtual Consoles & Terminal Tutorial
- TigerVNC User Guide
- xrdp GitHub Repository