Welcome to this comprehensive guide on installing, configuring, and troubleshooting the GRUB2 bootloader on CentOS Stream 8. You’ll learn how to recover a non-booting system using rescue media, install GRUB in BIOS or UEFI mode, customize its settings, and verify your changes.Documentation Index
Fetch the complete documentation index at: https://notes.kodekloud.com/llms.txt
Use this file to discover all available pages before exploring further.

1. Prerequisites
Before you begin, ensure you have:- A CentOS Stream 8 installation USB/DVD.
- Physical or virtual access to the target machine.
- A basic understanding of Linux shell commands.
You will need root (or sudo) privileges to run most commands in this tutorial.
2. Boot into Rescue Environment
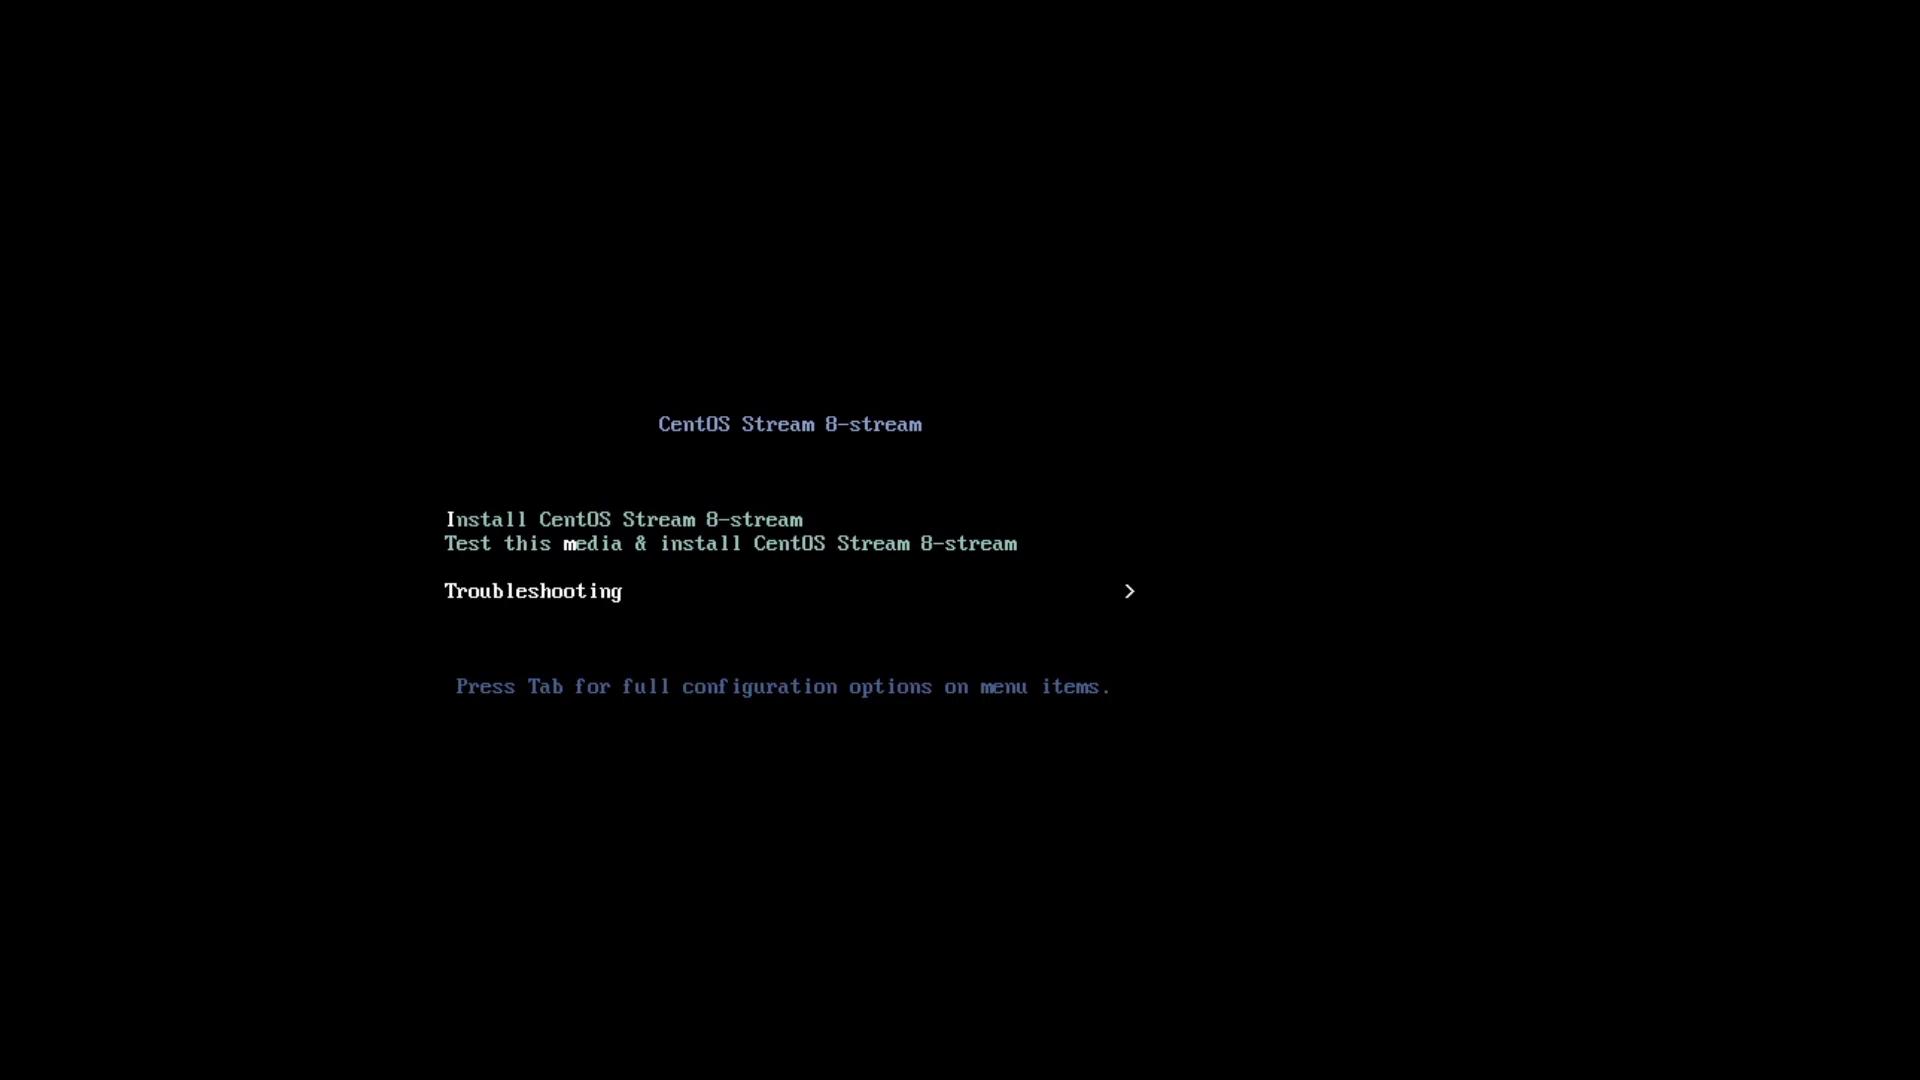
- Insert your CentOS Stream 8 installation media and power on the machine.
- At the main menu, select Troubleshooting → Rescue a CentOS Stream System.
-
Wait for system messages, then choose 1) Continue at the rescue prompt:
/mnt/sysroot.
3. Chroot into Your System
Change root into the mounted filesystem:4. Generate a New GRUB Configuration
GRUB’s configuration file must be regenerated after installation or any changes to/etc/default/grub.
| Boot Mode | Configuration File Path |
|---|---|
| BIOS | /boot/grub2/grub.cfg |
| UEFI | /boot/efi/EFI/centos/grub.cfg |
5. Install GRUB to the Disk (BIOS Mode)
-
Identify your disks:
Example output:Here,
/dev/sdais our target disk. -
Install GRUB to the MBR:
Ensure you specify the correct disk (e.g.,
/dev/sda). Installing GRUB to the wrong device can overwrite another OS or data.6. Exit Rescue Mode and Reboot
Exit the chroot environment and reboot the system:7. Customize GRUB Settings
Once back in your CentOS Stream system, you can fine-tune GRUB by editing/etc/default/grub:
Change the Boot Timeout
To reduce the wait time::wq in vi).
8. Regenerate Configuration After Edits
Apply your changes by regeneratinggrub.cfg:
9. Verify and Test
Reboot one final time:/etc/default/grub.