

Creating an S3 Bucket
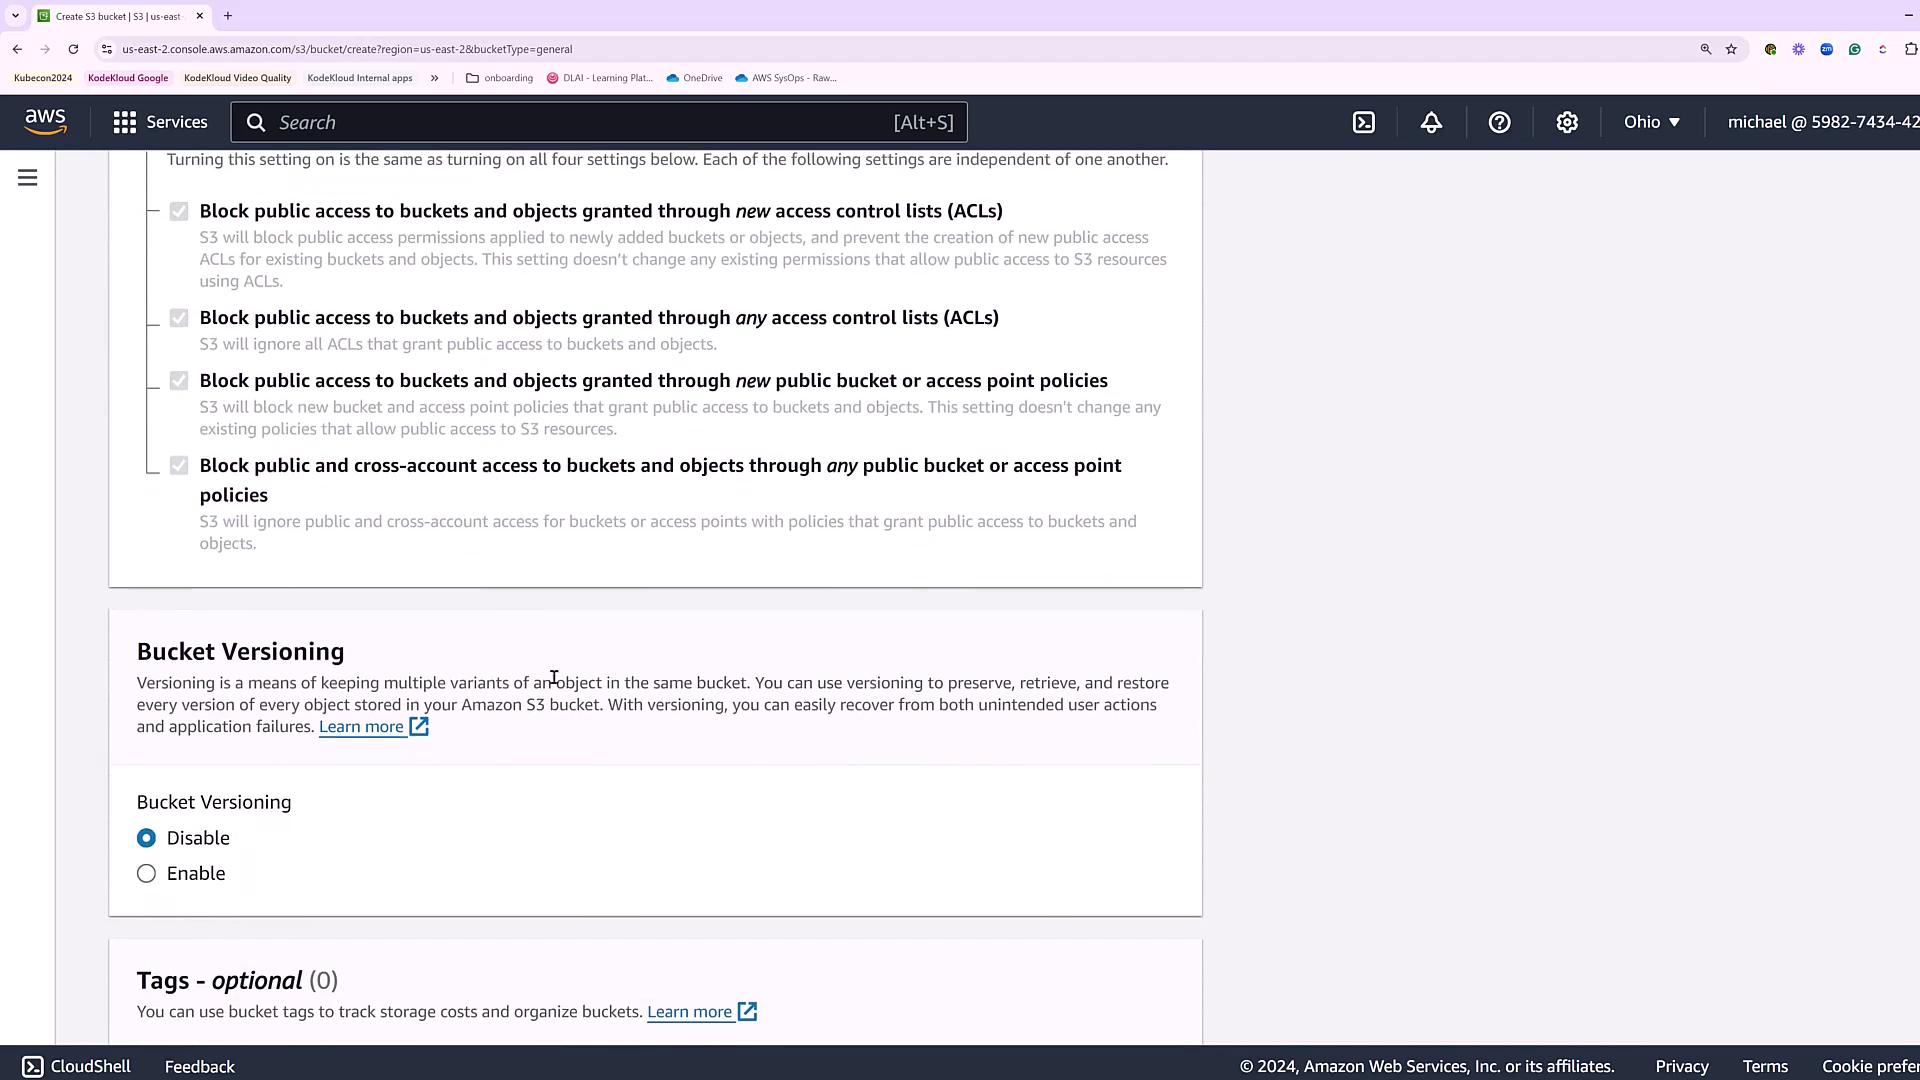
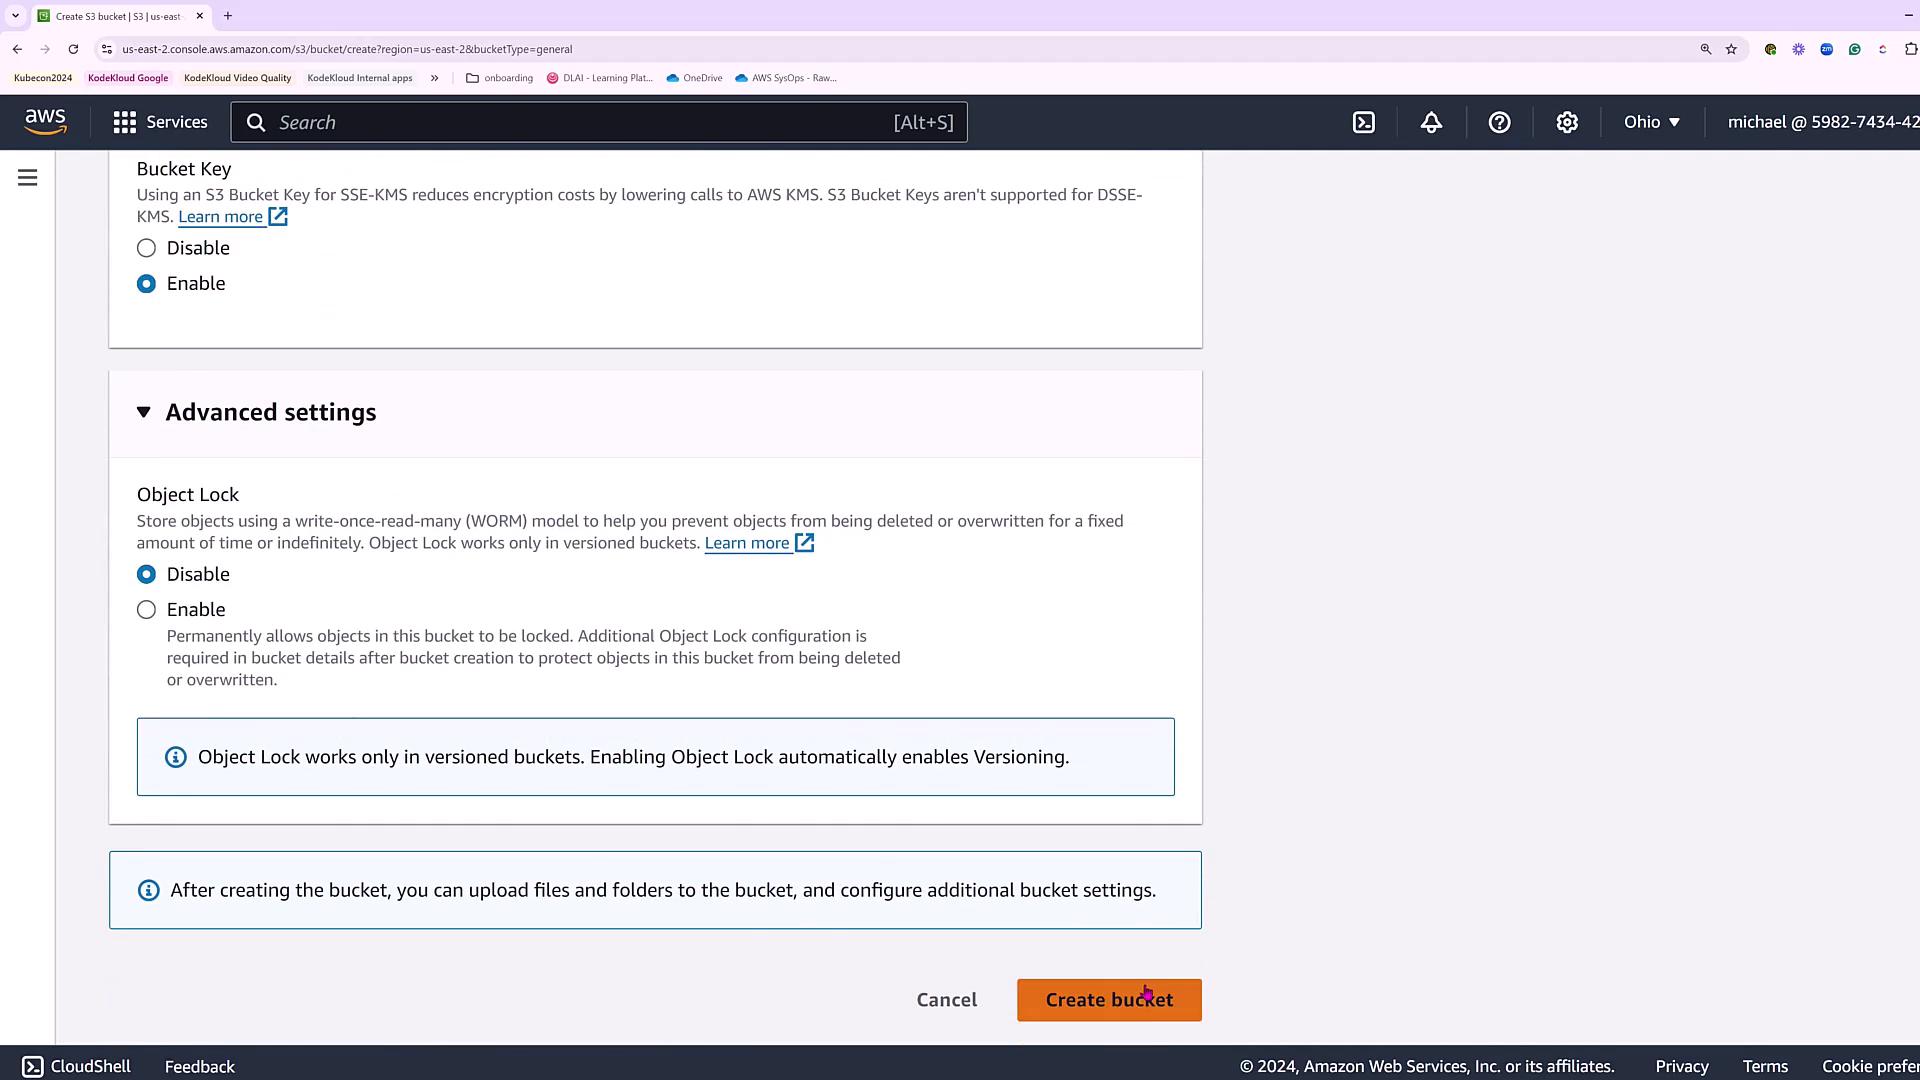
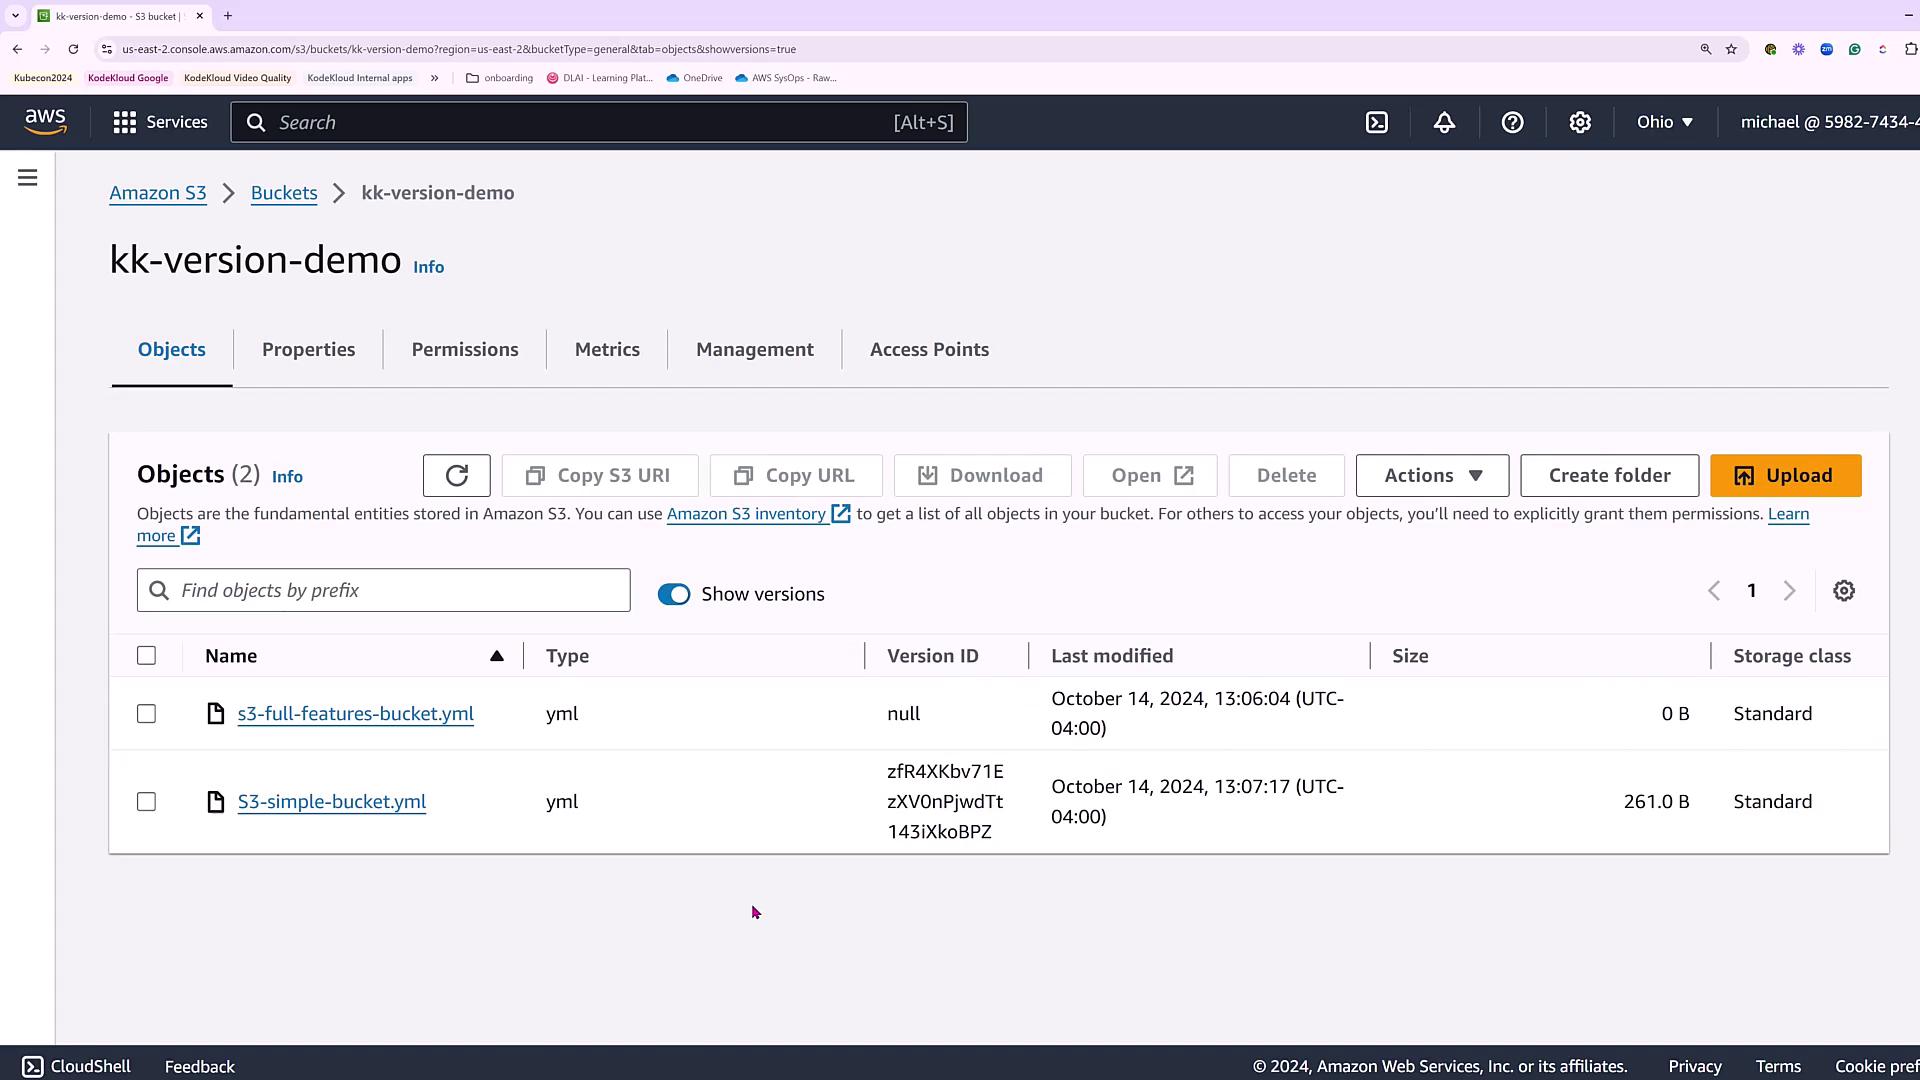
First, we create a bucket named “KodeKloud version demo bucket,” which will serve as both our versioning demonstration bucket and our lifecycle management bucket. The initial configuration for the bucket includes:- Blocking all public access
- Keeping bucket versioning disabled initially (to be enabled later)
- Using the default encryption settings
- Skipping advanced options like object lock
Enabling Bucket Versioning
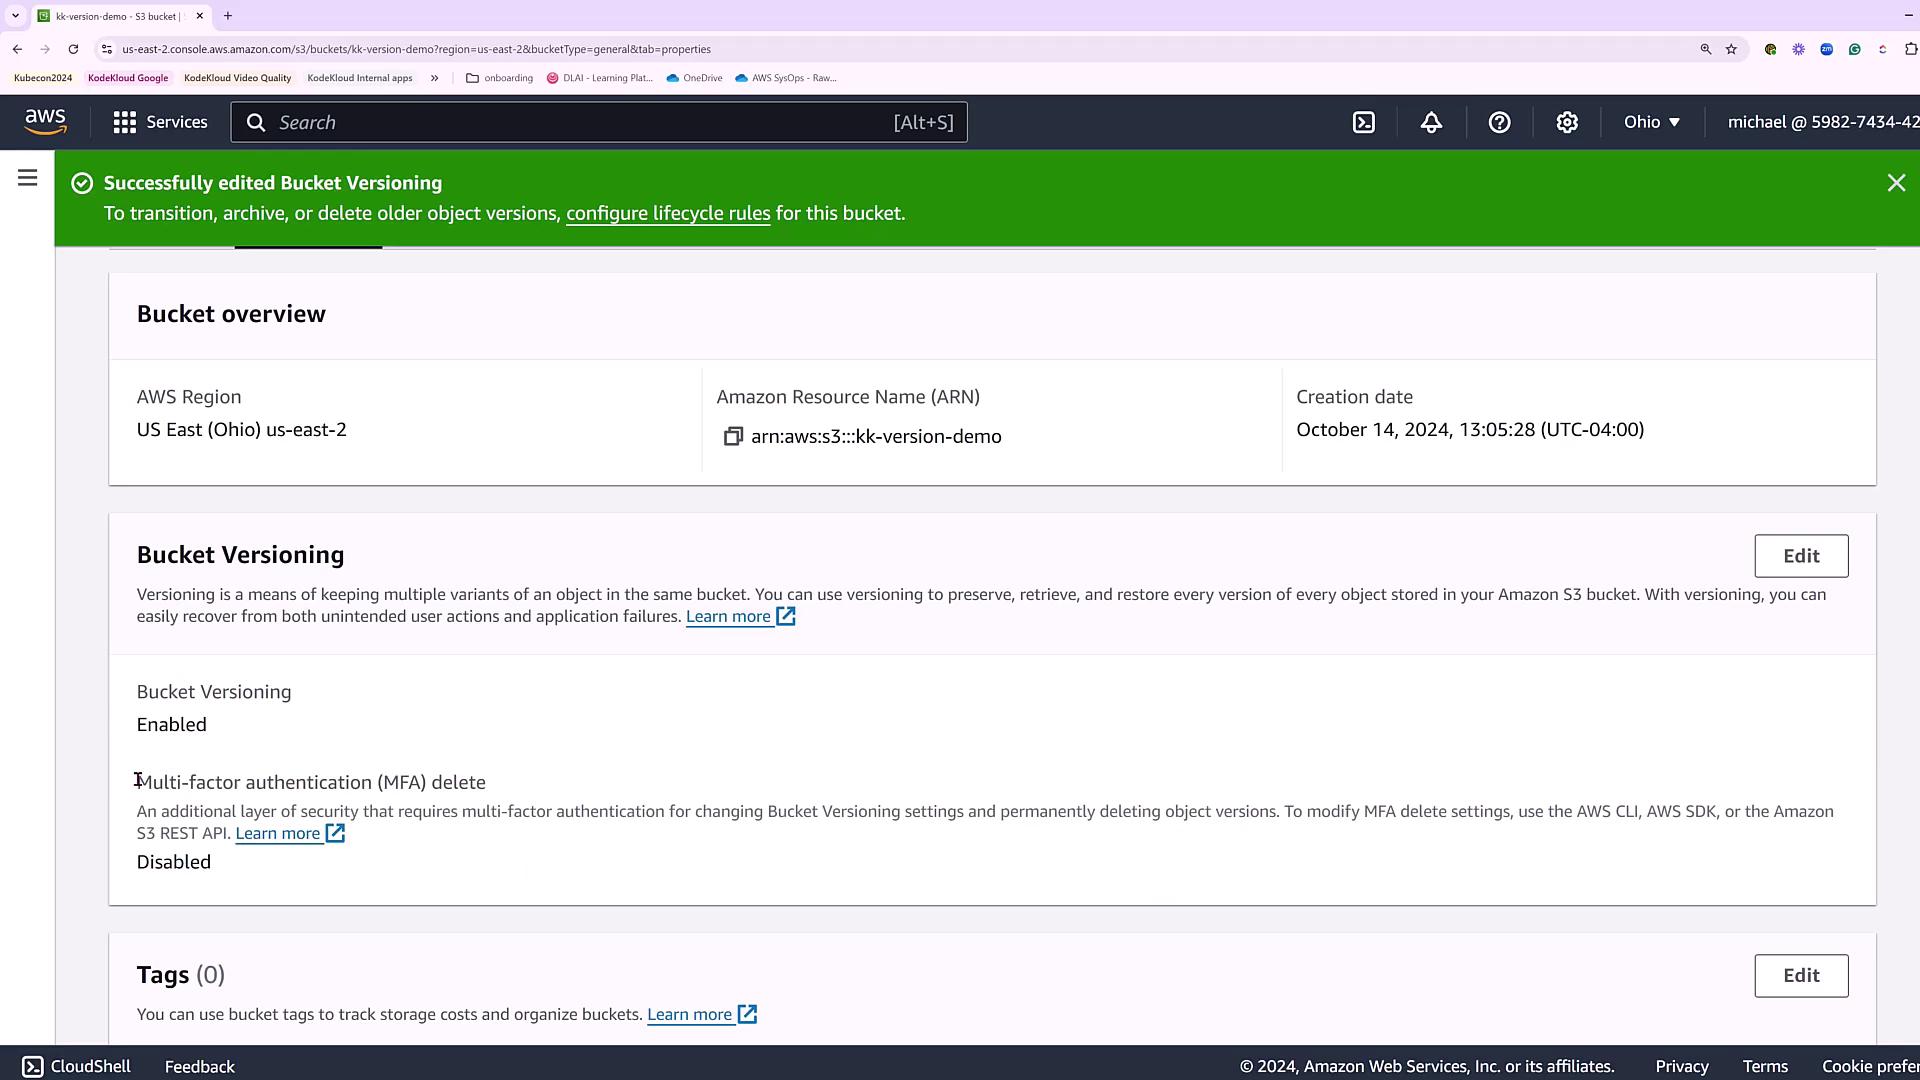
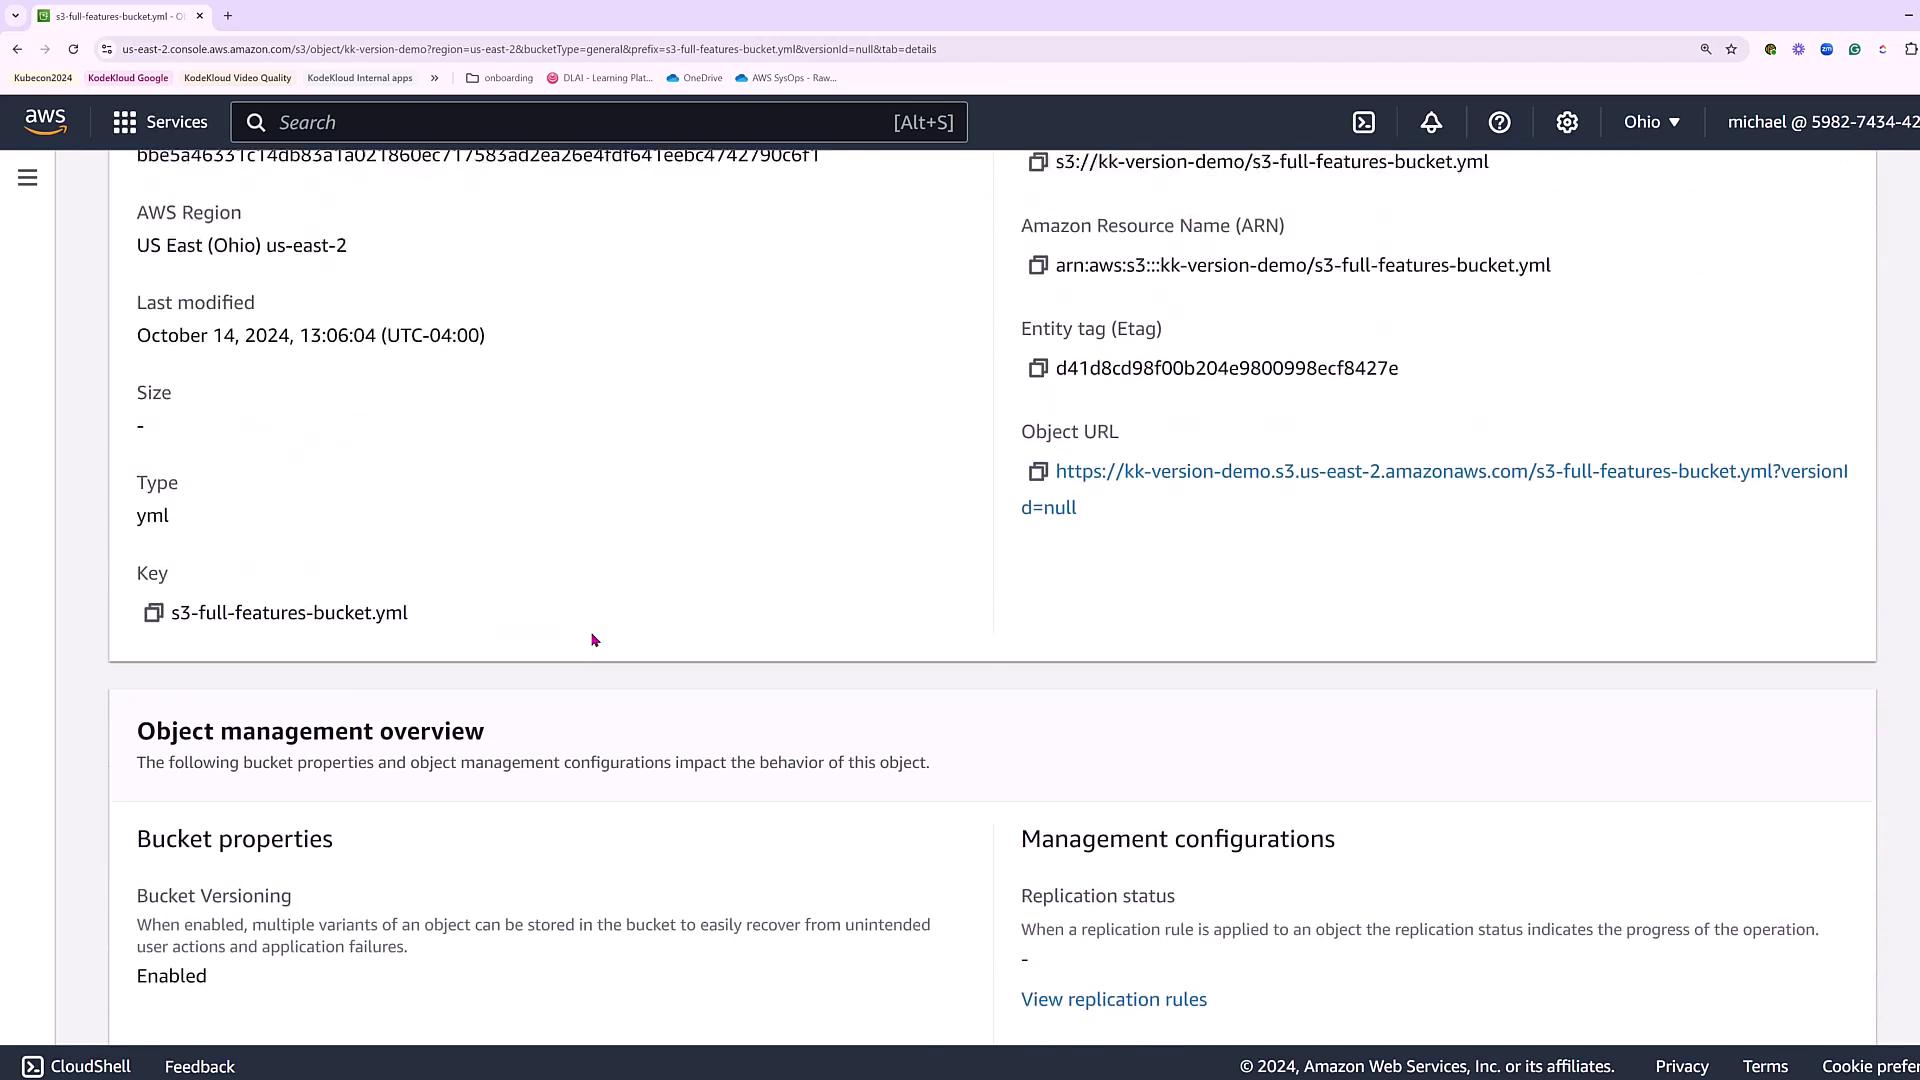
For version control, we begin by uploading a sample YAML file (referred to as the Full Features Bucket YAML file) directly to the bucket. After a successful upload, navigate to the bucket properties to enable versioning.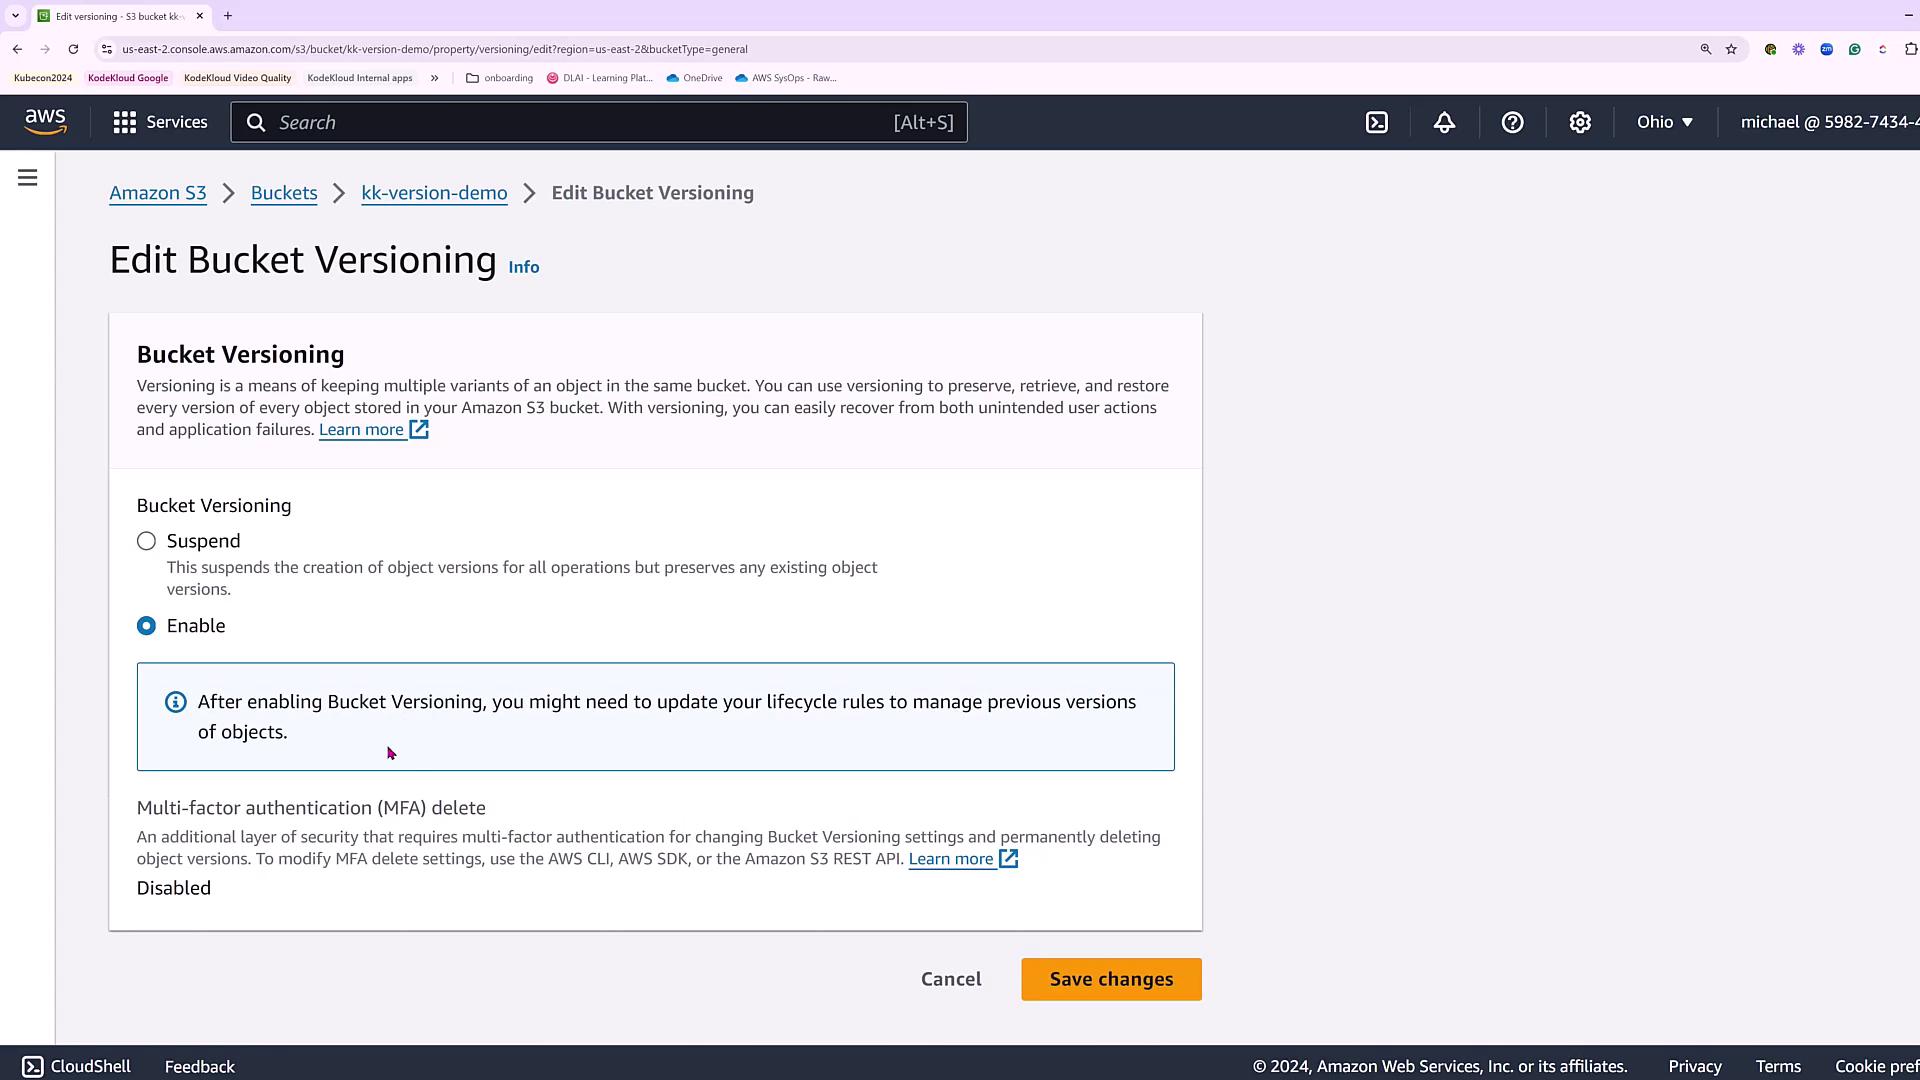
For production deployments and exam preparations, consider enabling MFA delete to safeguard your S3 objects.
Configuring Lifecycle Rules
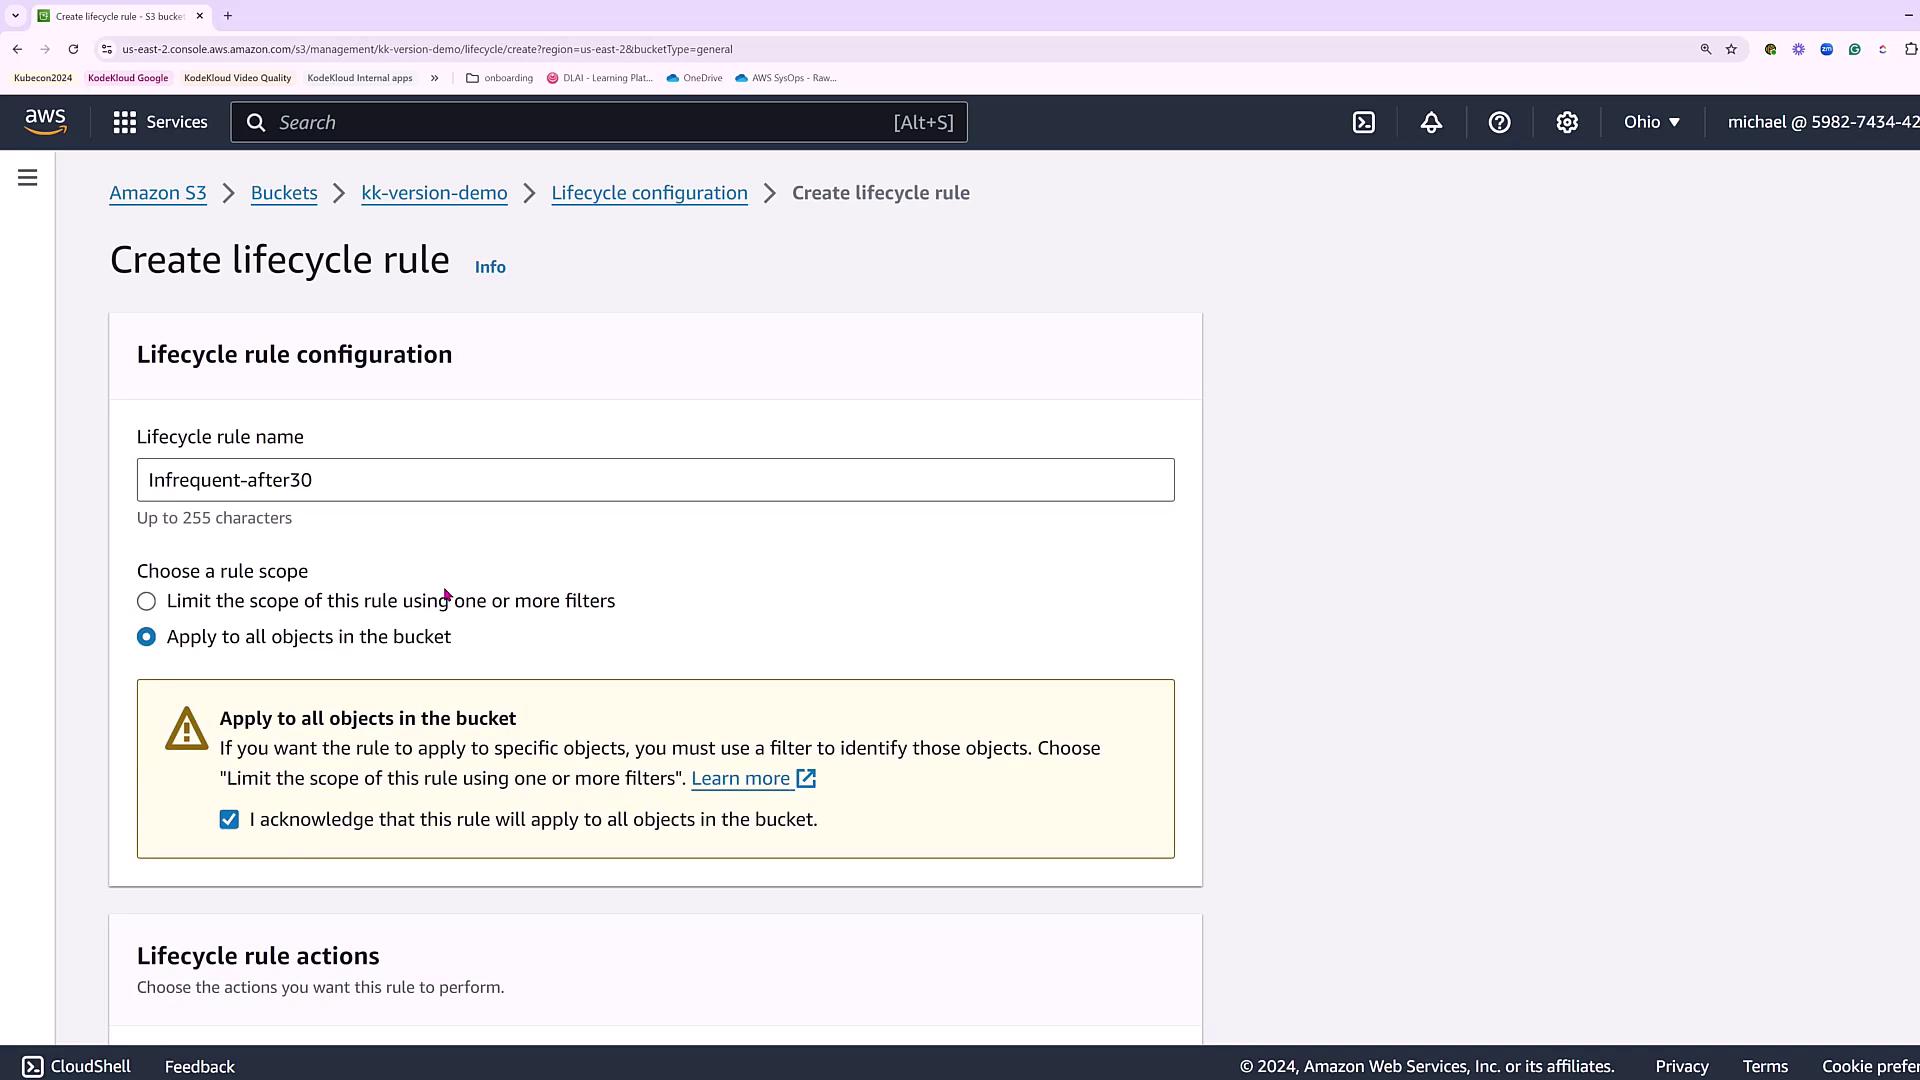
Managing the cost and performance of your S3 storage becomes easier with lifecycle rules, which automatically transition objects between storage classes after a specified period. For instance, you might configure the lifecycle to move YAML files from hot storage (Standard) to a more cost-effective storage option after 30 days. To set this up, navigate to the “Management” section in the bucket properties, then proceed to configure lifecycle rules. These rules can automate tasks such as:- Transitioning objects to a lower-cost storage class (for example, from Standard to One Zone Infrequent Access after 30 days, and then to Glacier or Flexible Retrieval after 90 days)
- Deleting noncurrent versions of objects after a defined time frame
- After 30 days: Transition to One Zone Infrequent Access
- After 90 days: Transition to a Glacier-like storage class (Flexible Retrieval)
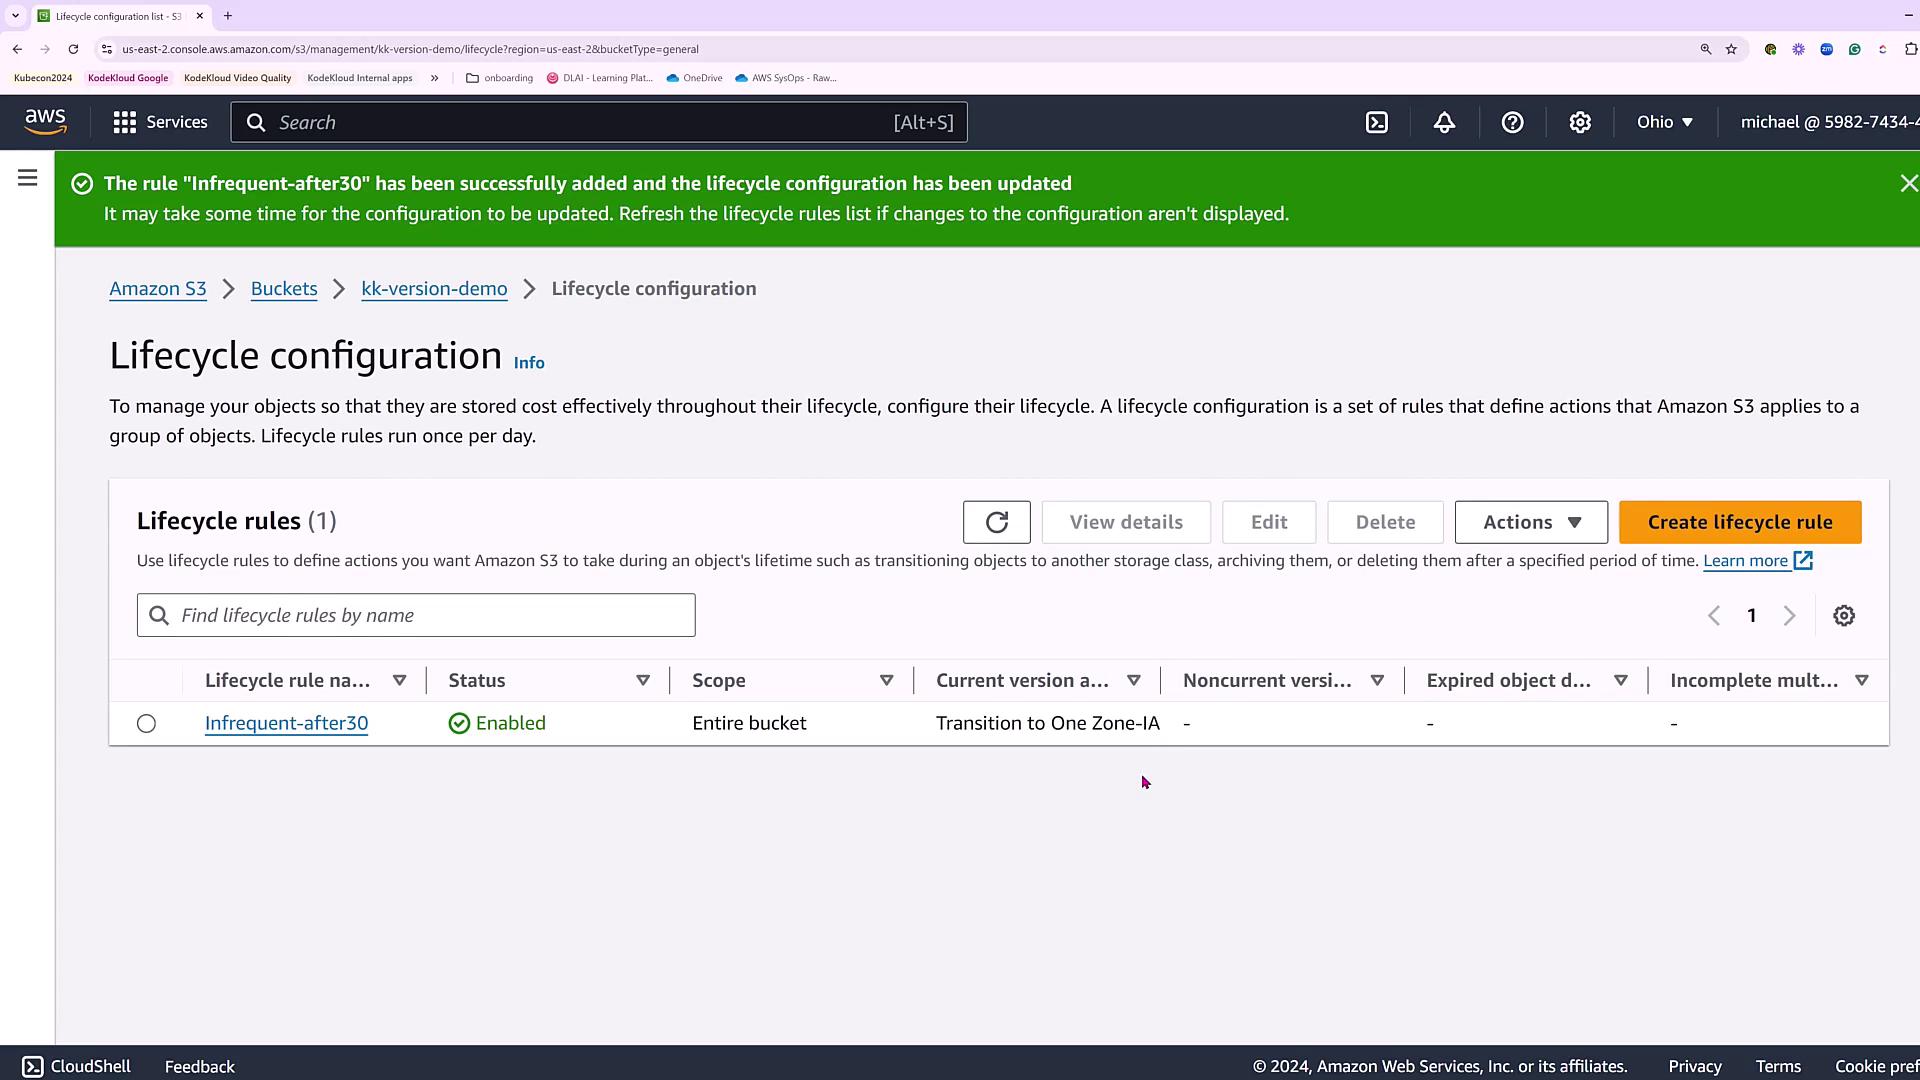
Lifecycle rules not only help optimize storage costs but also ensure that your data is stored in the most appropriate class based on its age and usage patterns.