Overview
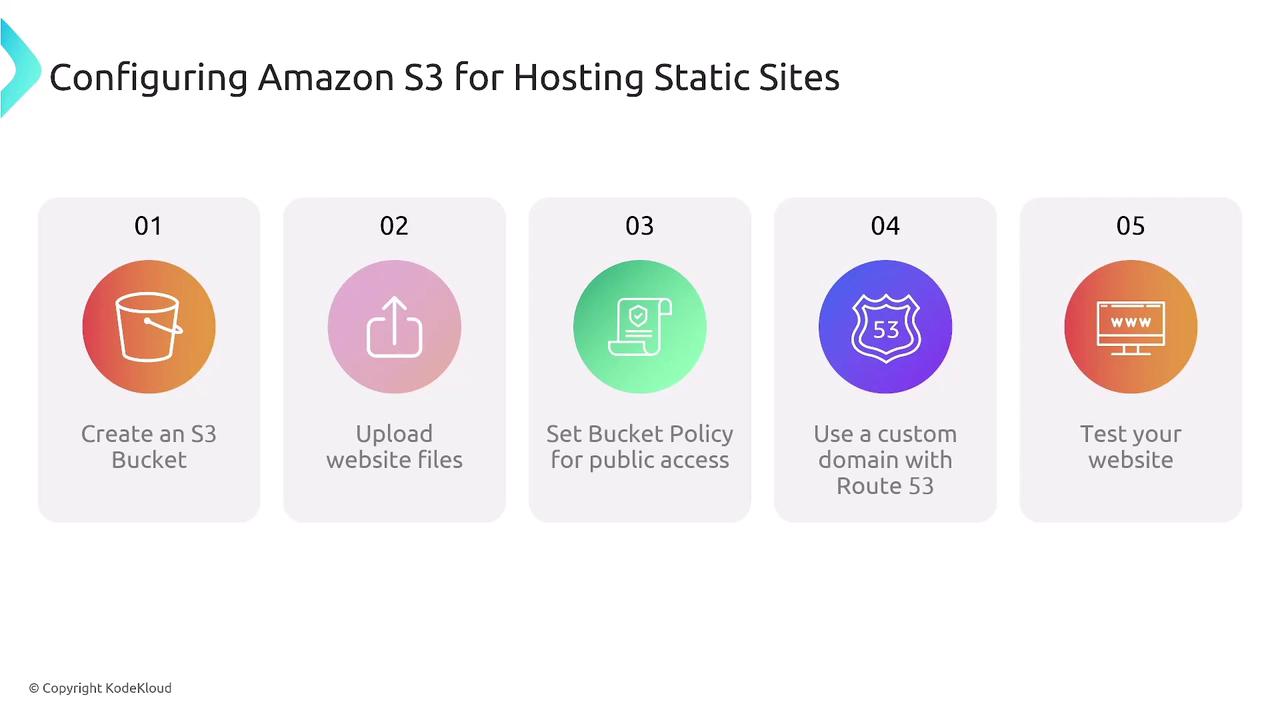
The process to host your static site on Amazon S3 includes the following steps:- Create an S3 bucket with a globally unique name.
- Upload your website files (at a minimum, index.html and error.html).
- Configure a bucket policy to allow public access.
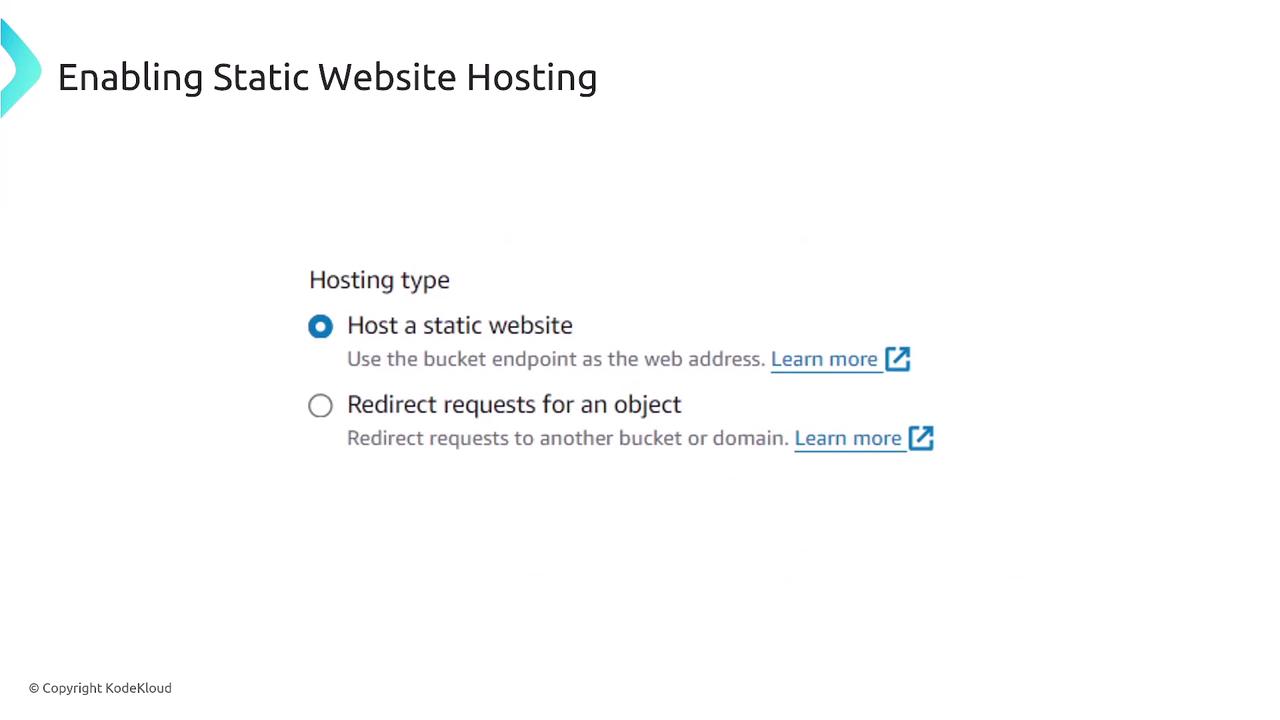
- Enable static website hosting on the bucket.
- Optionally, set up a custom domain using Route 53 or another DNS provider.
- Test the hosted website.
Setting Up the S3 Bucket
When you create your S3 bucket (for example, “KodeKloud”), remember that the bucket name must be globally unique—Amazon S3 verifies that your chosen name is not already in use across all AWS accounts. If you plan to host your site publicly, make sure you deselect the option to block all public access.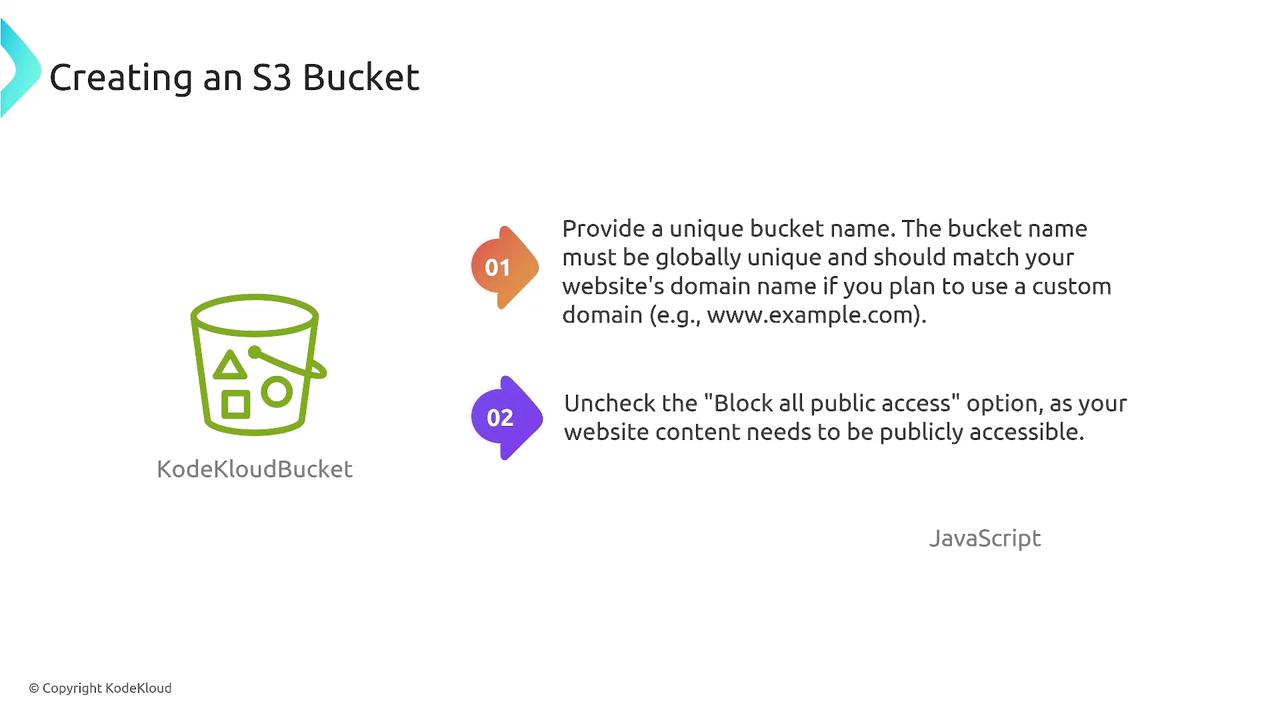
Enabling Static Website Hosting
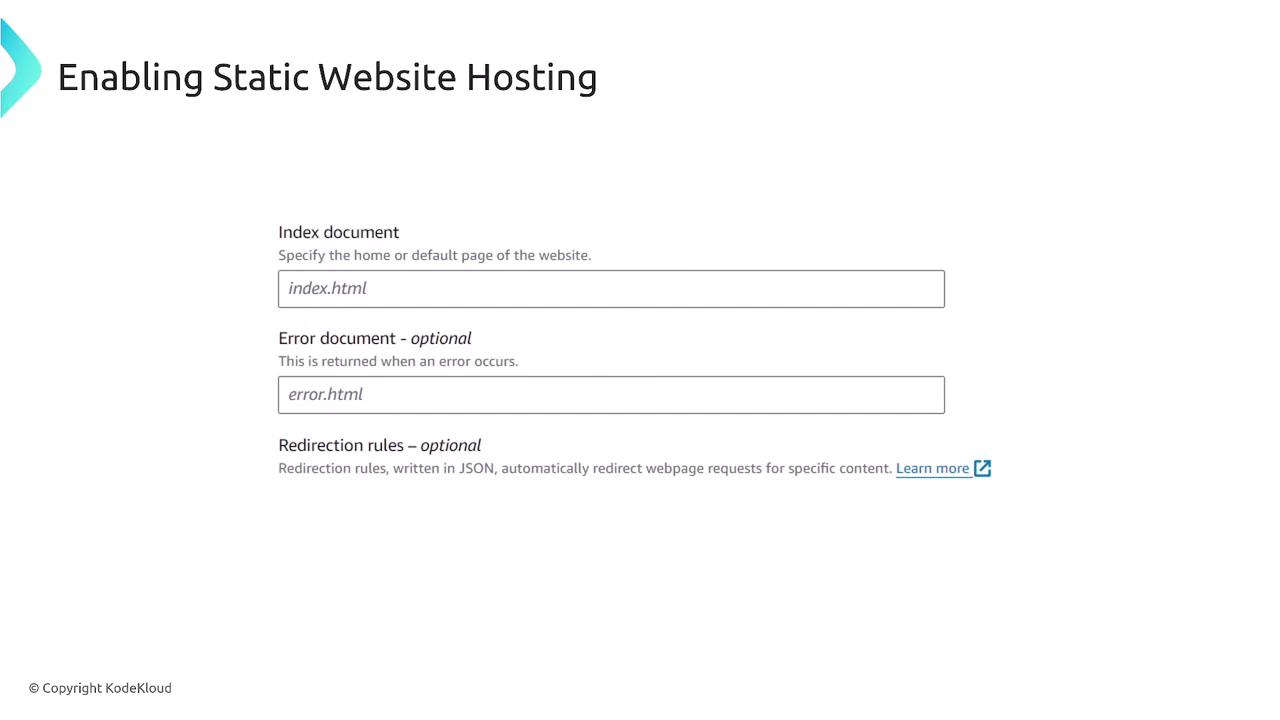
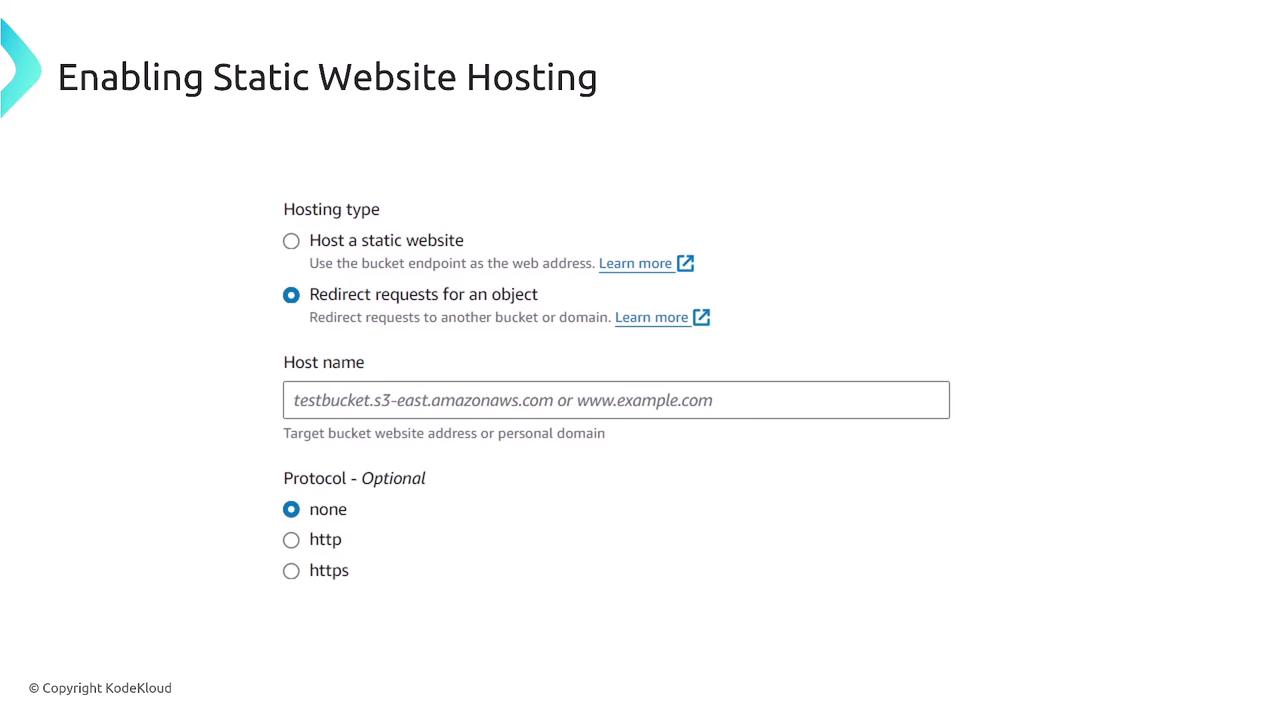
Once your website files are in place, the next step is to enable static website hosting on your bucket. In the setup, you need to specify:- The index document (commonly index.html).
- The error document (often error.html).
- Any redirection rules if needed.
- kodekloudbucket.s3-website-region.amazonaws.com
- kodekloudbucket.s3-website.[region].amazonaws.com
Configuring Bucket Policies for Public Access
By default, objects within an S3 bucket are set to private. To make your website files publicly accessible, you’ll need to attach a resource-based bucket policy. Below is an example policy that grants public read access:This is a resource-based policy attached directly to the S3 bucket. In contrast, identity-based policies (which do not include the “Principal” element) are associated with IAM identities.
Adding a Custom Domain
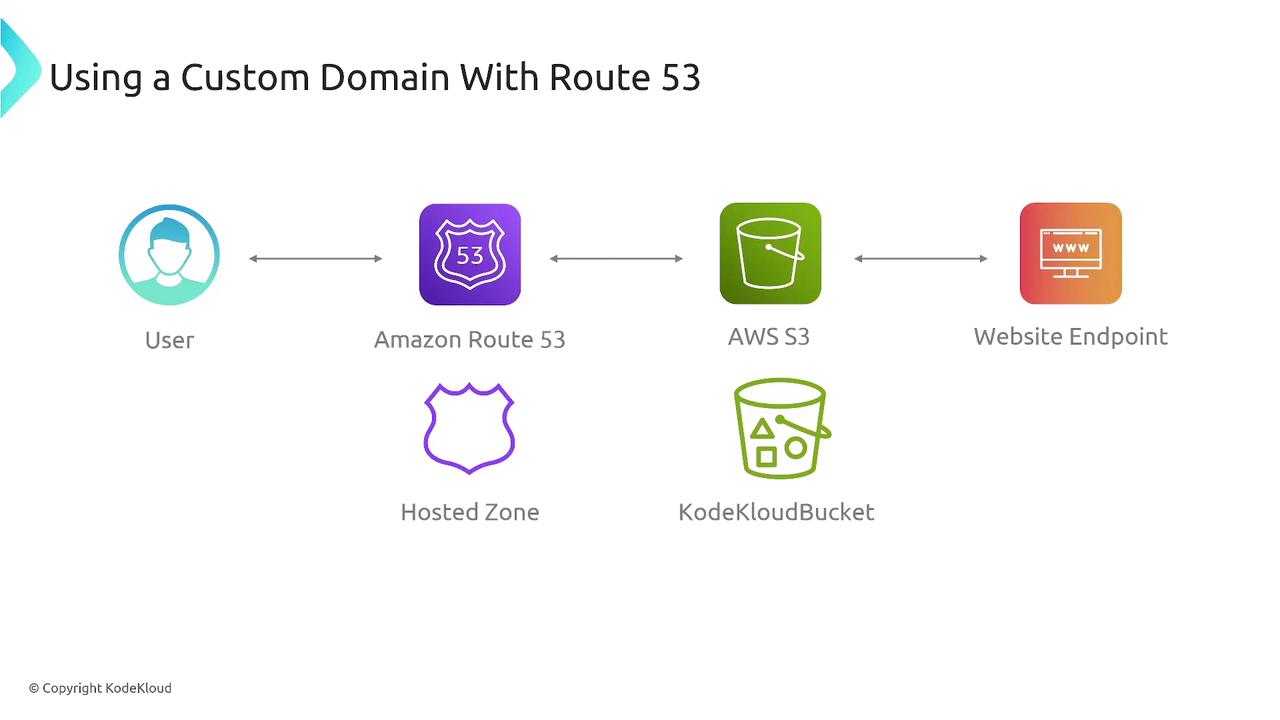
To map your static website to a custom domain (for example, example.com), follow these steps:- Create a hosted zone in Amazon Route 53 (or use your DNS provider).
- Publish the hosted zone and configure it to match your S3 bucket.
- In Route 53, create an A record with an alias that directs your naked domain (example.com) to the S3 website endpoint.