Accessing the AWS Playground
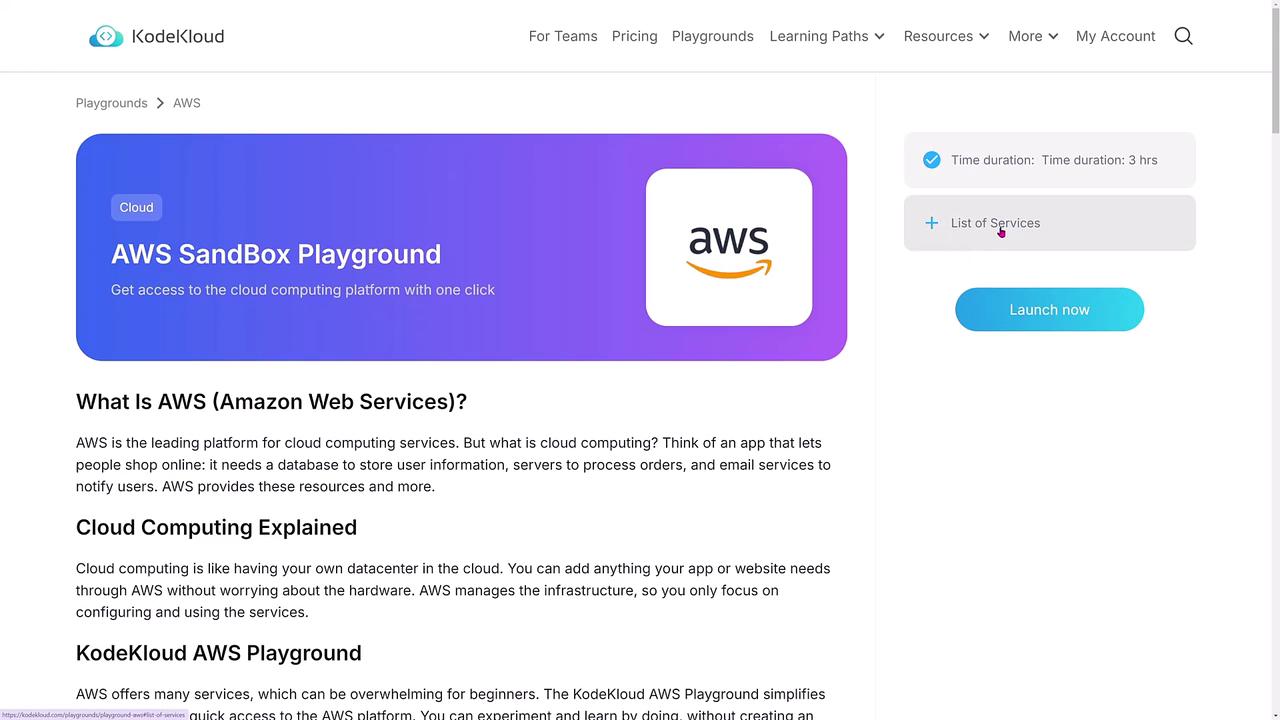
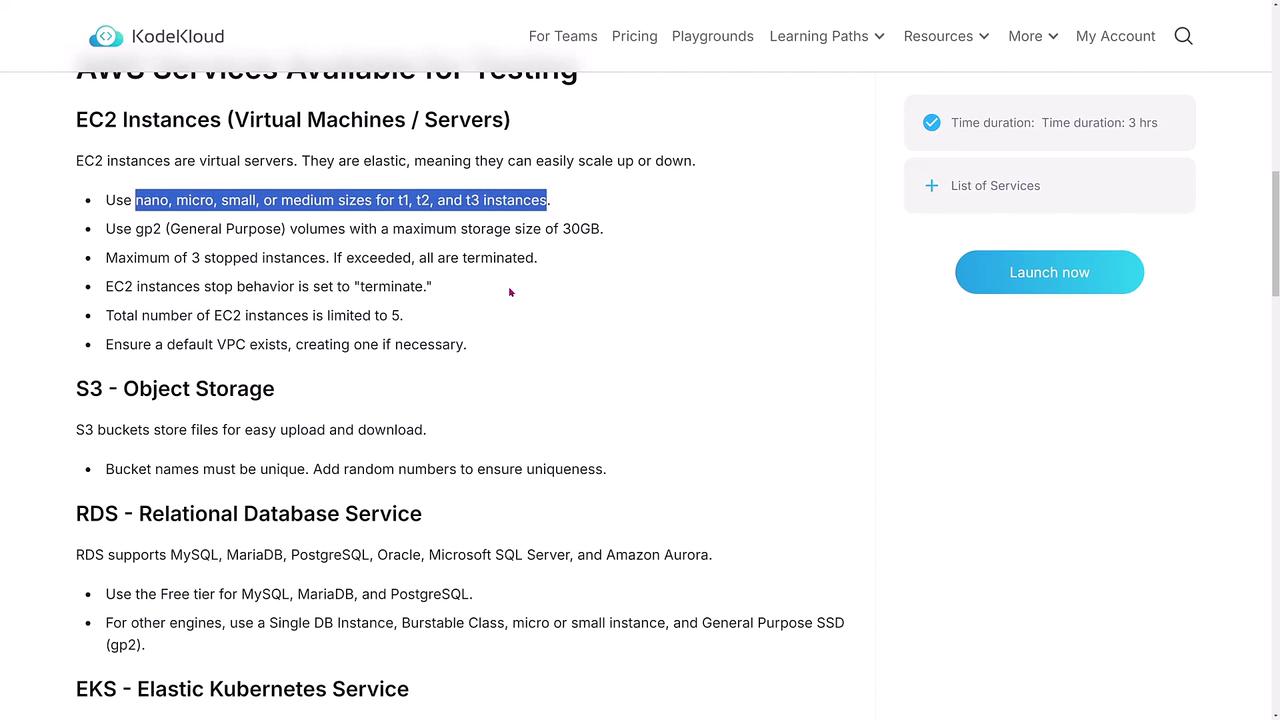
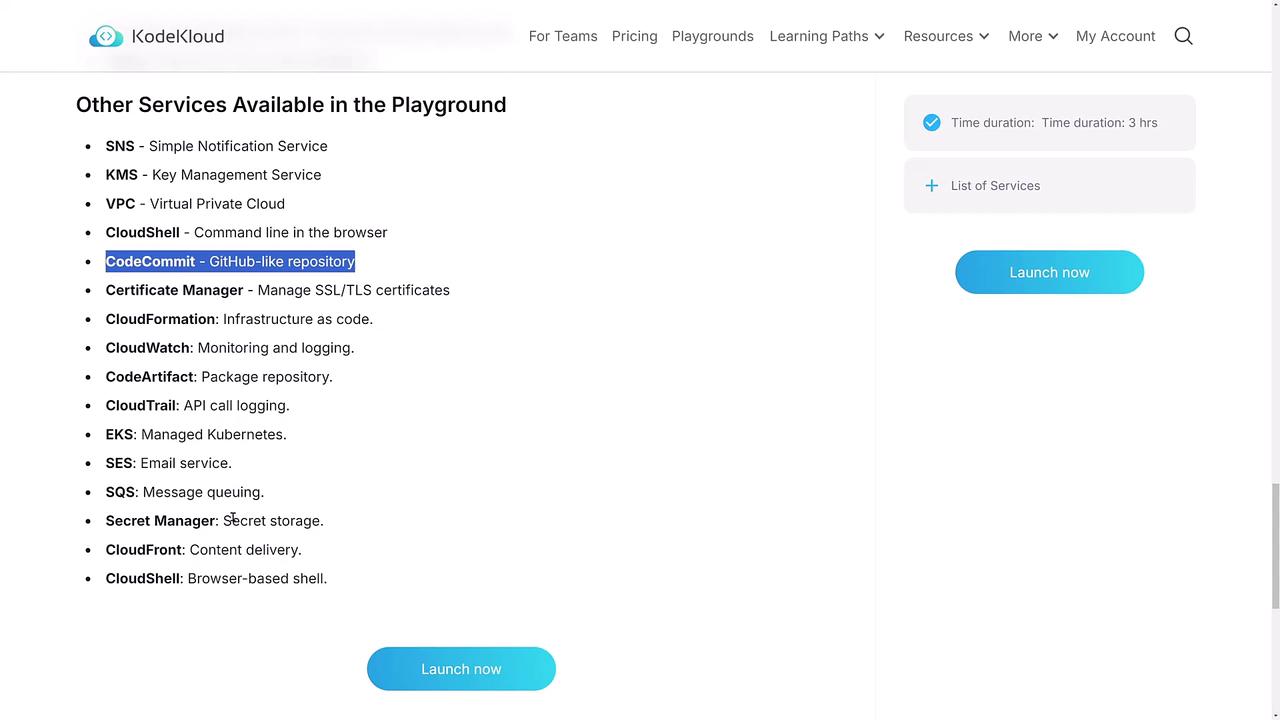
After logging into your KodeKloud account, navigate to the “Playgrounds” section. While multiple playgrounds are available, this lesson focuses exclusively on the AWS playground. Key features on the AWS playground page include: • The “Launch Now” button, which initiates your terminal environment.• A curated list of approximately 60 AWS service options (including service sizes such as nano, micro, small, medium variants of T1, T2, T3, etc.). Note that while GP2 is accessible, GP3 and T4 instances aren’t available.
Starting Your Lab Environment
After launching the playground environment, a standard lab interface will appear—one that many of you might recognize from previous courses. Click on “Start Lab” to view your lab credentials, which include a lab user ID, password, and a console login URL.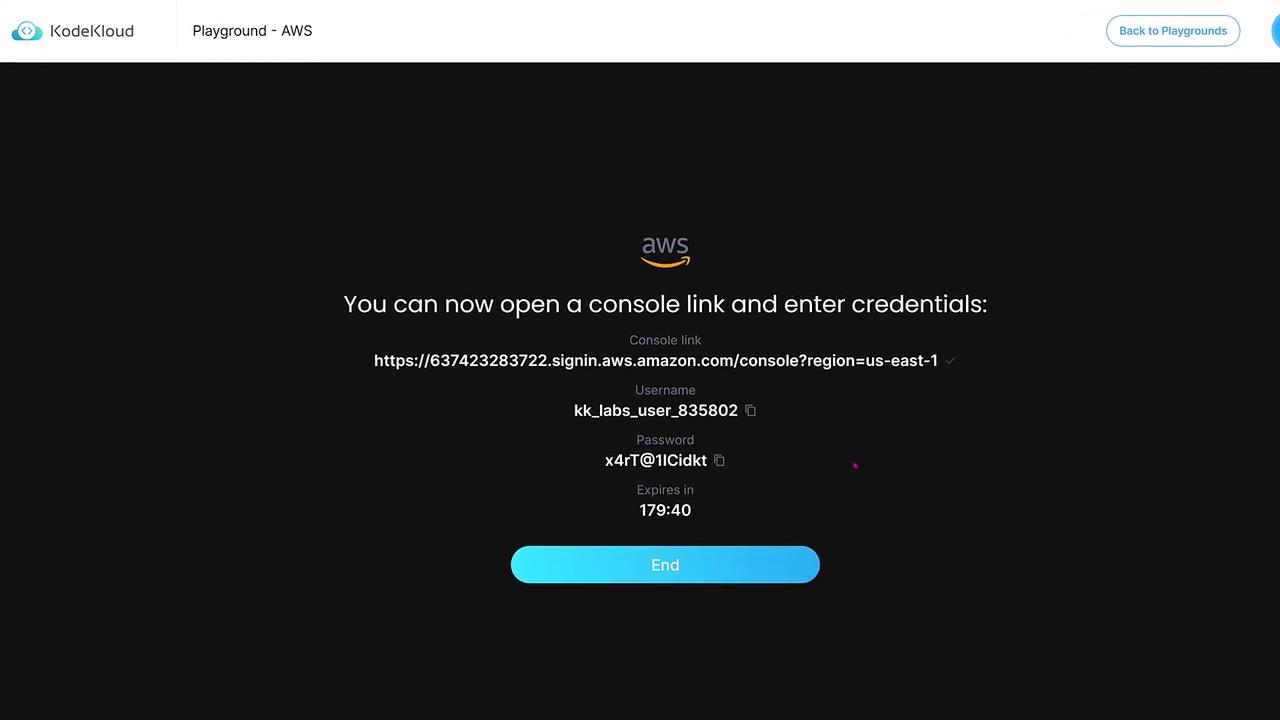
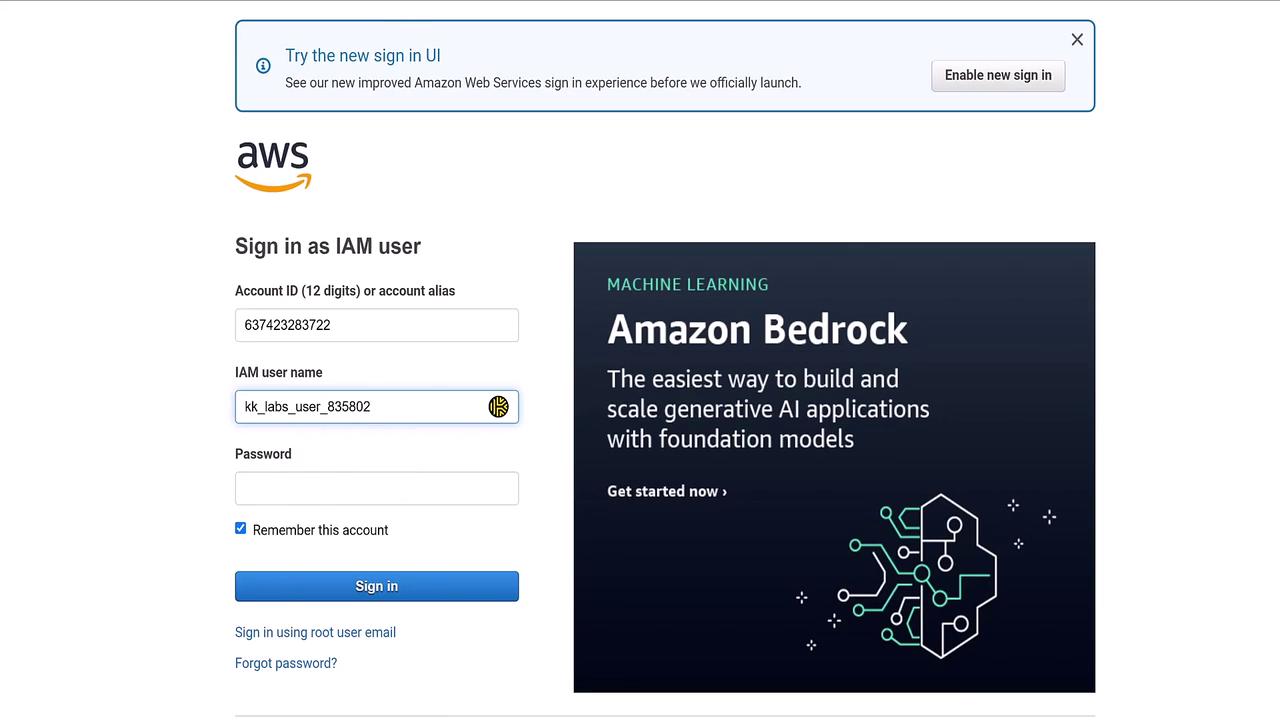
After signing into the AWS console, use AWS Cloud Shell for an instant command line interface. This tool is great for running AWS CLI commands to interact with your AWS resources.
Working with AWS Services
Once logged in, you can explore and practice with various AWS services. For example, you can launch Cloud Shell by clicking its icon. Once activated, the Cloud Shell environment is set up within seconds, allowing you immediate access. Try running commands to list your AWS resources. For instance:Keep in mind that the lab user’s region is set to Virginia. This reflects the playground’s limitations and ensures consistency throughout your session.
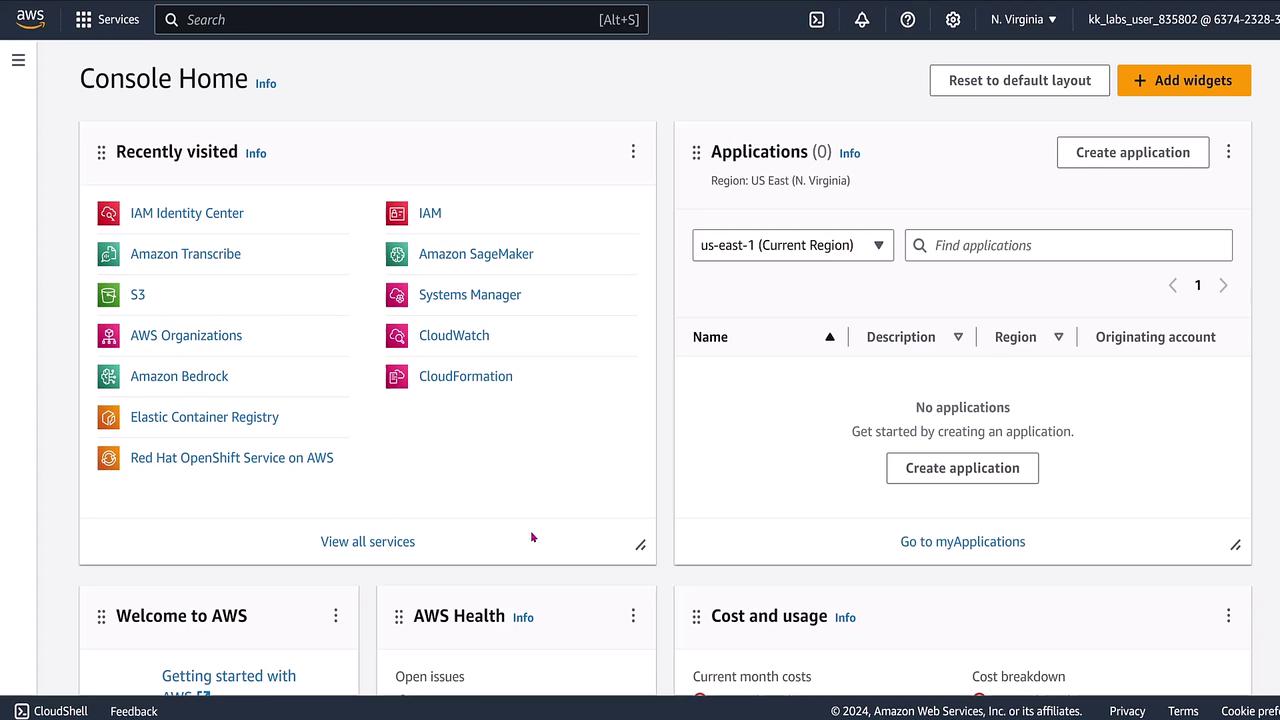
Navigating the AWS Console
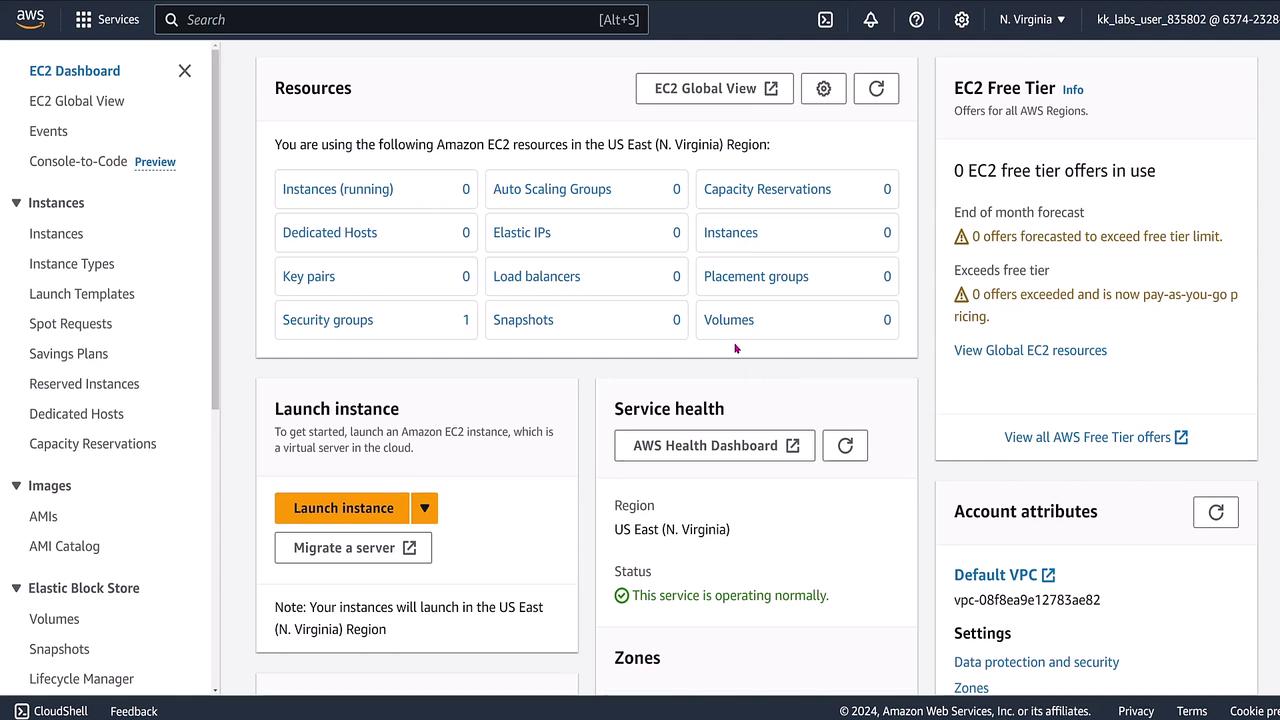
In addition to using Cloud Shell, you are free to explore other console interfaces offered by AWS. For example, the EC2 Dashboard provides an overview of your resources and offers options to launch new instances.