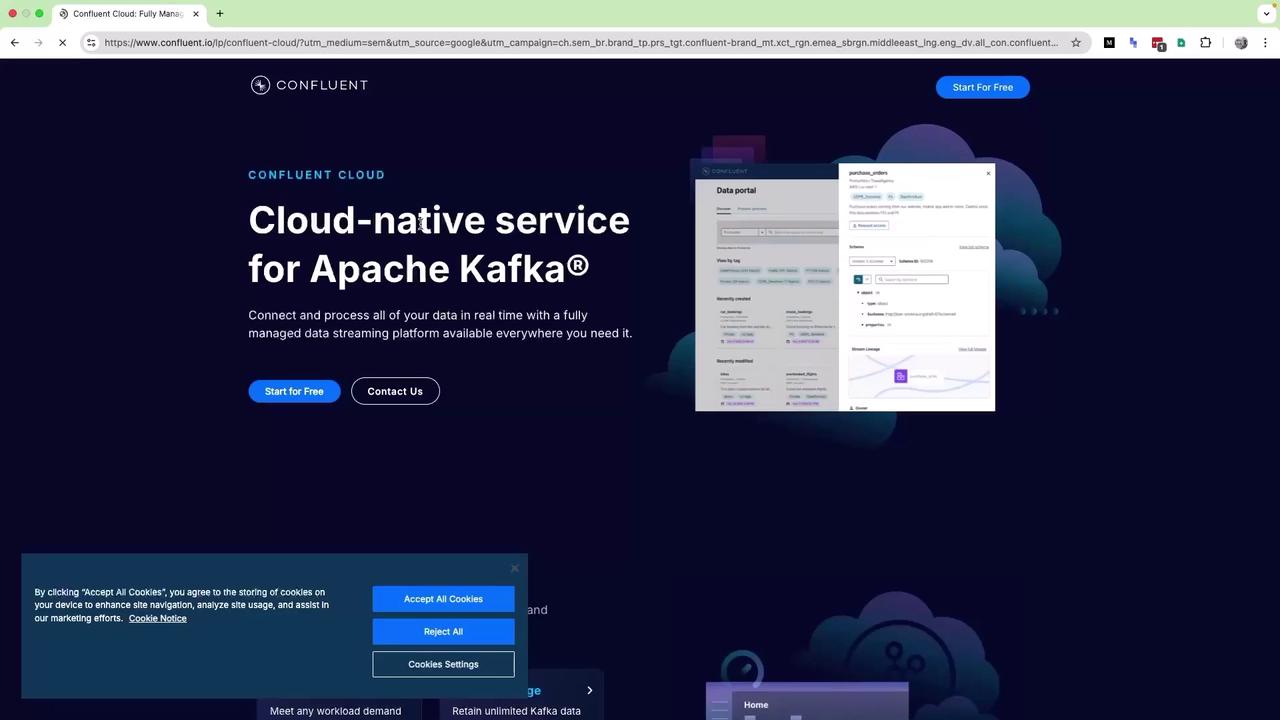
1. Sign Up for the Free Tier
- Open your browser and go to Confluent Cloud.
- Click Start for Free on the landing page.
- Ensure Cloud (default) is selected instead of Self-Managed.
- You’ll receive $400 in credits valid for 30 days—perfect for experimenting with Kafka.
Confluent will authorize $1 on your card to verify it but won’t charge you as long as you stay within $400 or the 30-day window.
- Log in with Google (recommended) or provide your email, full name, company, country, and credit-card details.
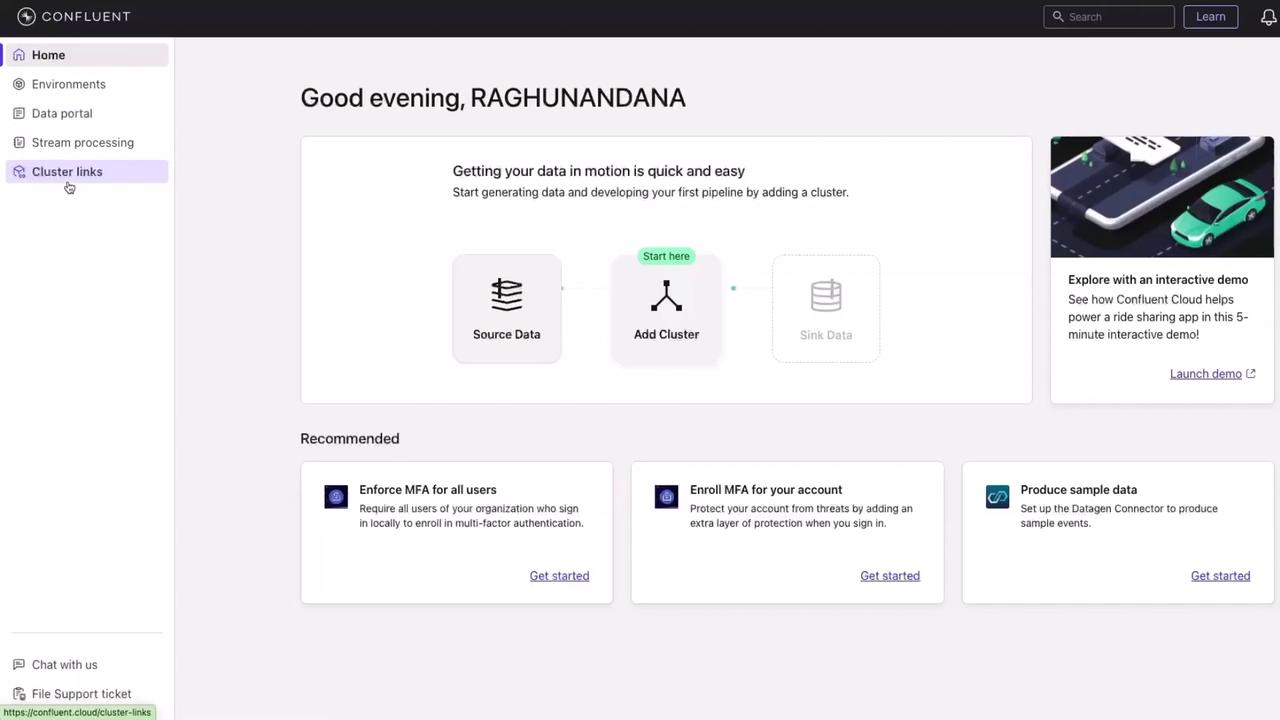
- After validation, you’ll land on your Confluent Cloud dashboard.
2. Create Your First Kafka Cluster
- In the dashboard sidebar, click Environment → Default environment.
- Click Create a Cluster.
- Select the Basic plan and click Begin Configuration.
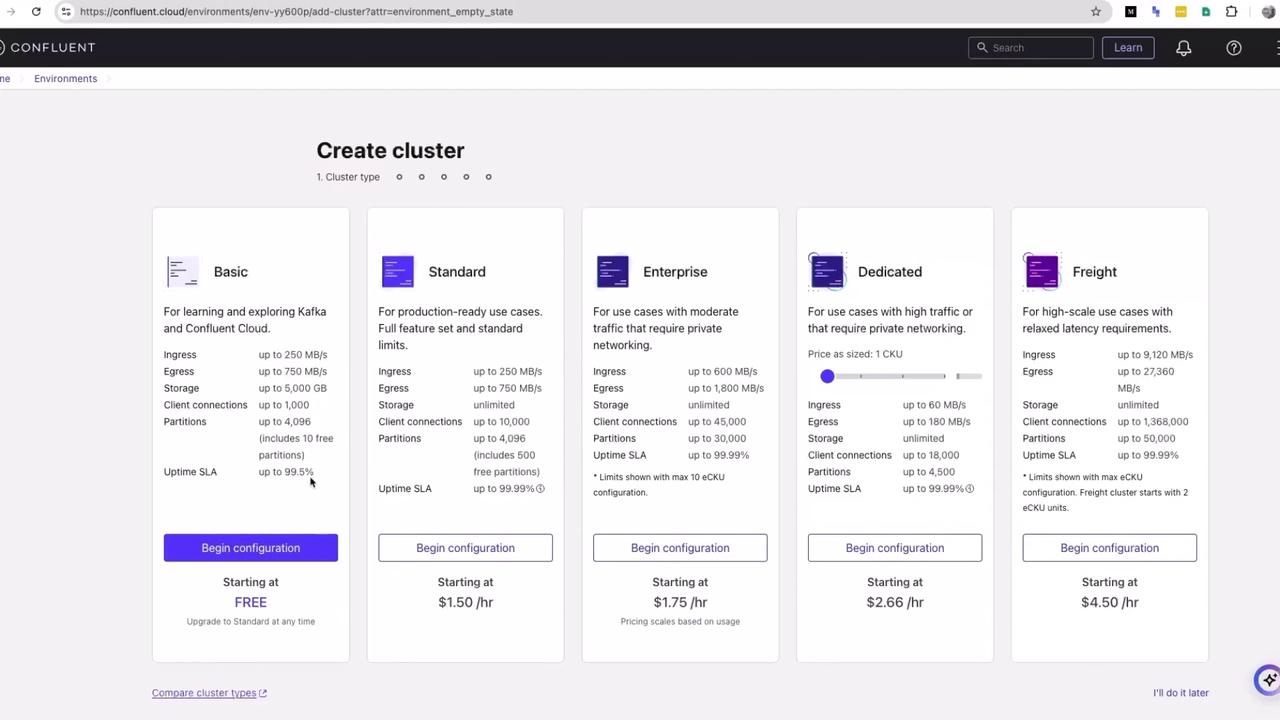
- Choose your Cloud provider (AWS, GCP, or Azure) and Region.
Selecting a region tells Confluent where to launch its managed nodes—it doesn’t provision resources in your own cloud account.
- Name your cluster (e.g., Kafka cluster) and click Launch Cluster.
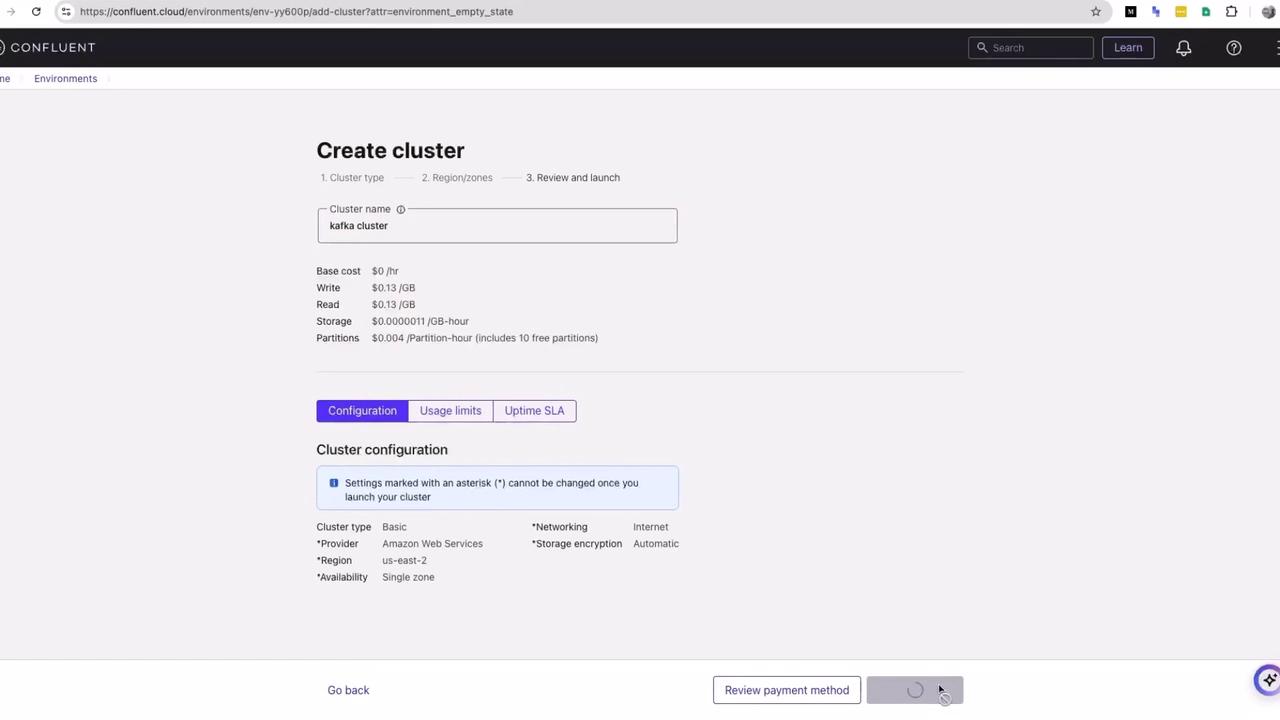
- Wait a few minutes for the status to change to Running.
3. Overview and Producing Sample Data
On the cluster overview page, you can configure connectors, clients, and even generate sample events automatically: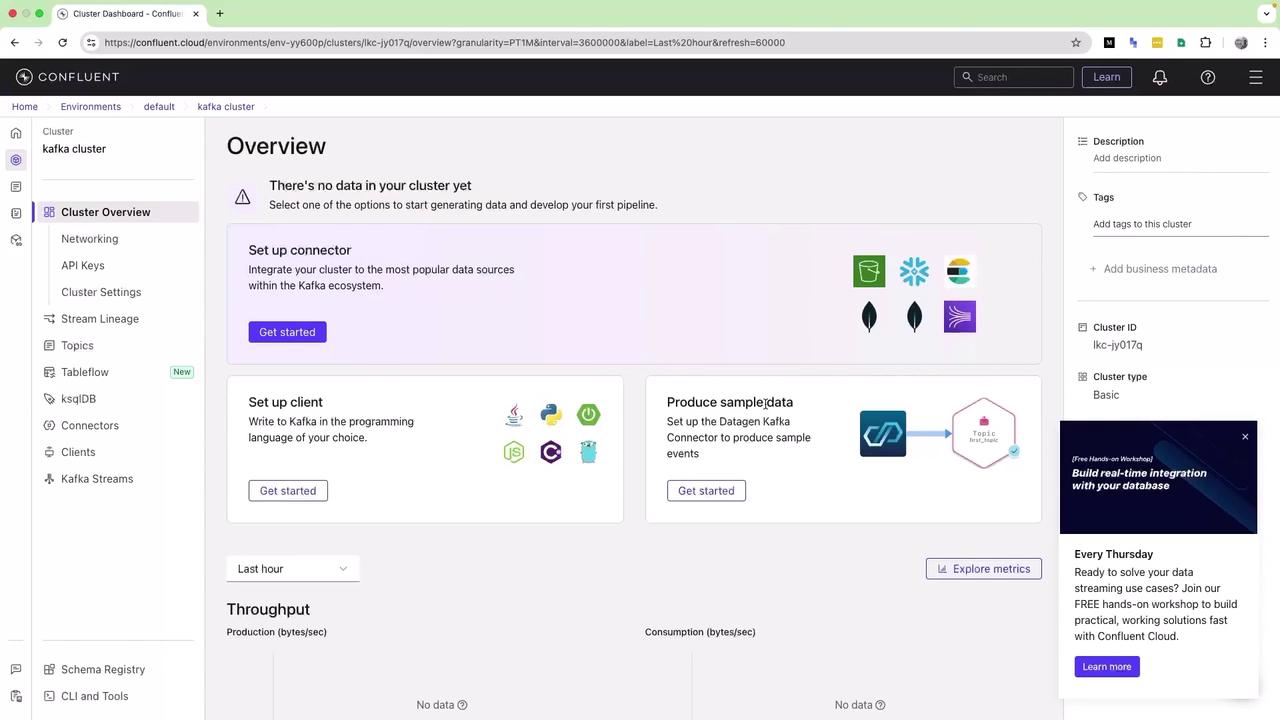
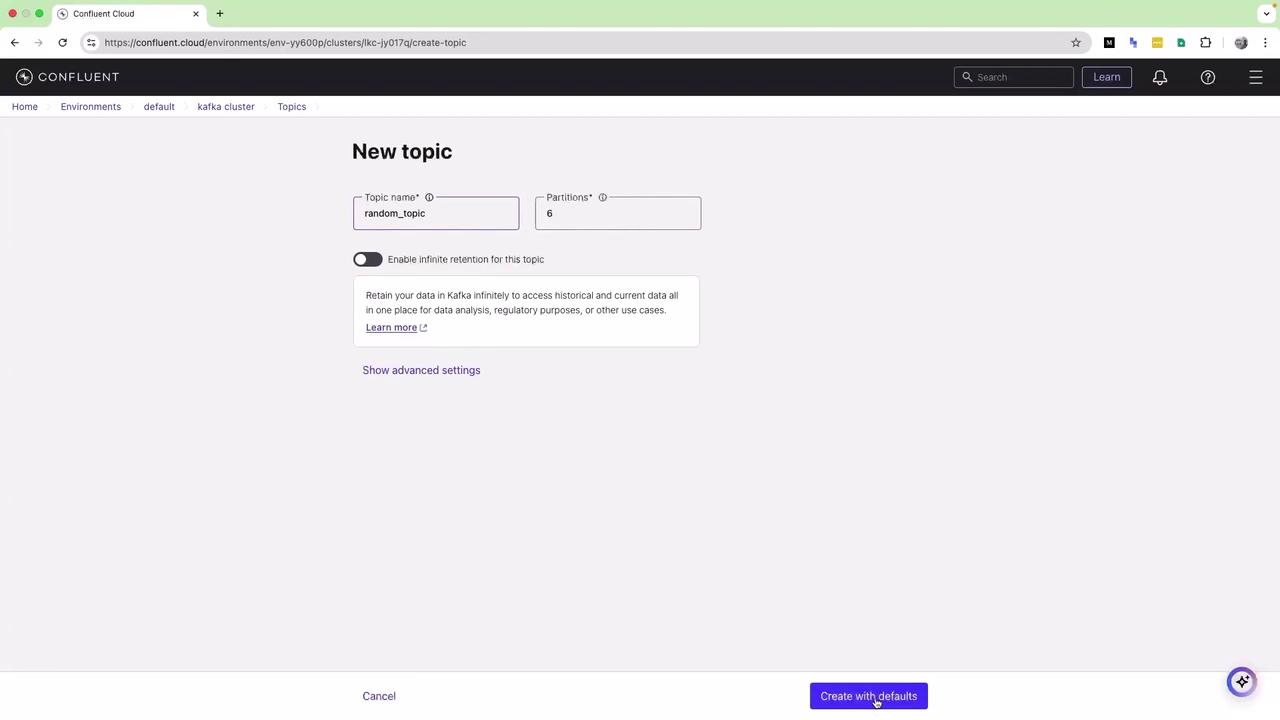
4. Create a Kafka Topic
- In the left menu, select Topics → Create topic.
- Enter your topic name (e.g., random-topic).
- Leave Partitions at the default (6) and click Create with defaults → Skip.
5. Launch Sample Data
- Go back to the Overview page.
- Under Produce Sample Data, click Get started.
- Select a template (e.g., Stock trade) and hit Launch.
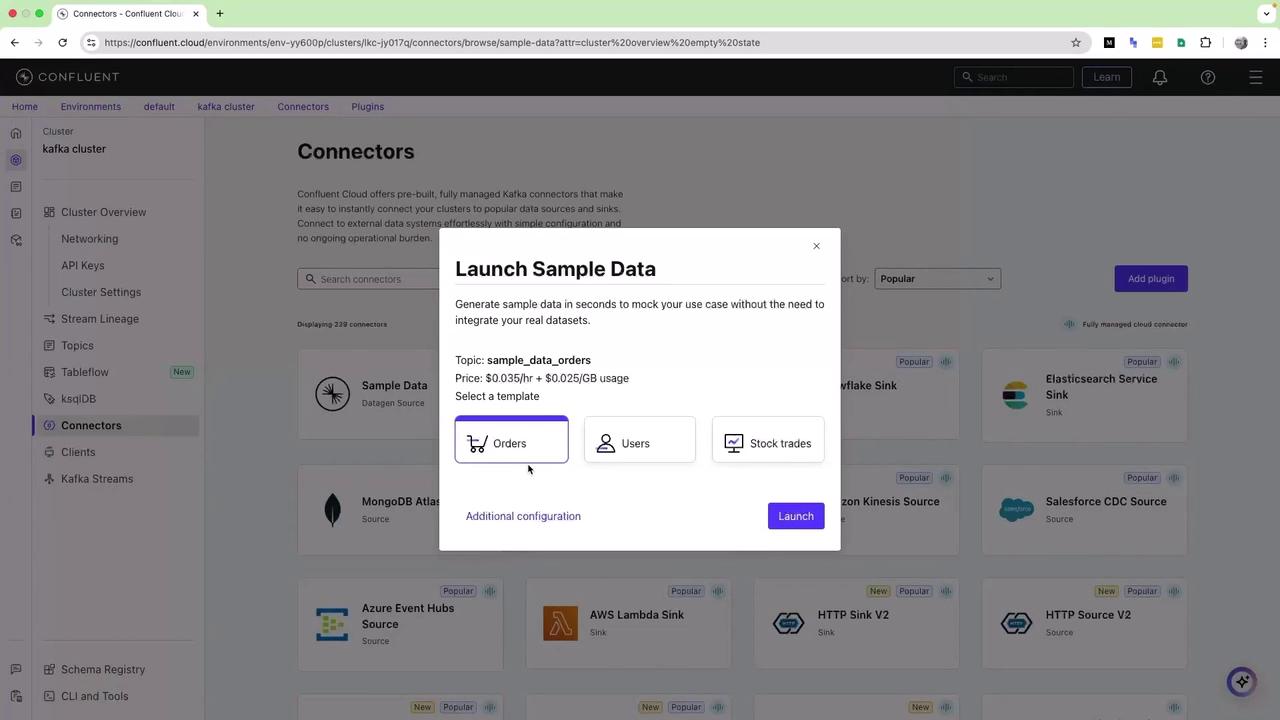
sample_data_stock_trade) and provisions a connector to push events:
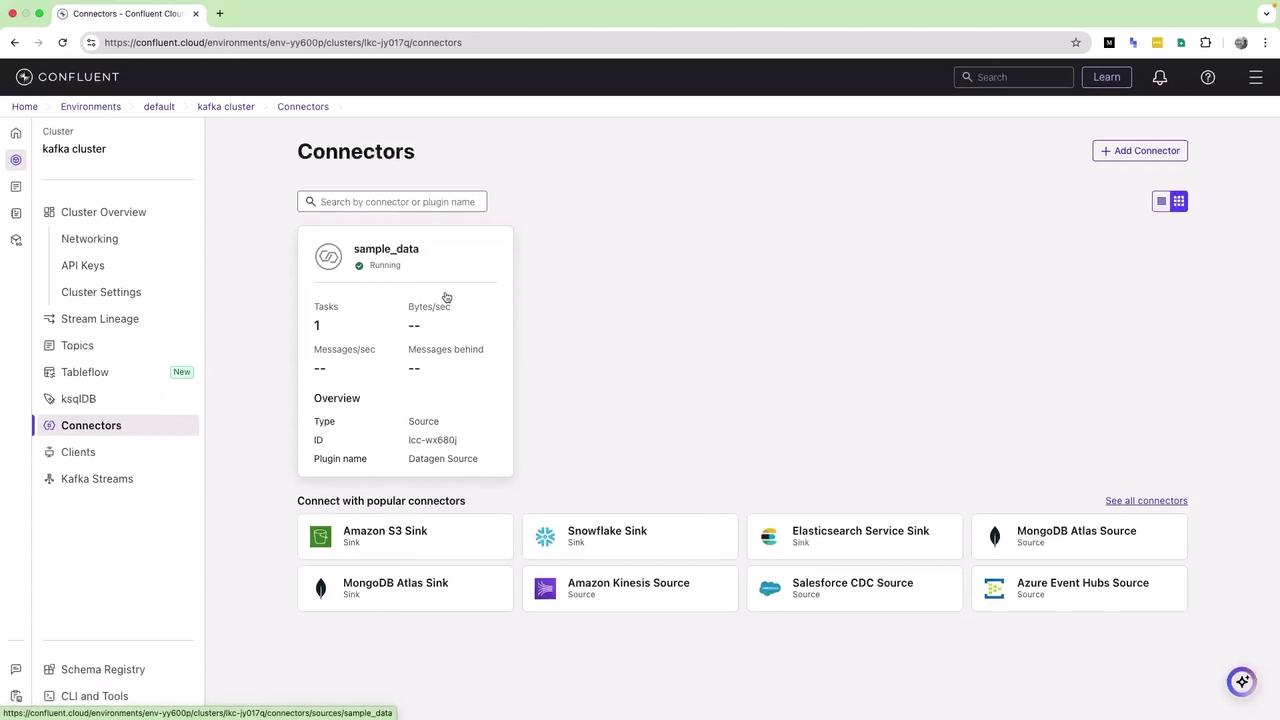
6. View the Produced Messages
- In Topics, click the sample-data topic (e.g.,
sample_data_stock_trades). - Wait a few seconds for messages to populate.
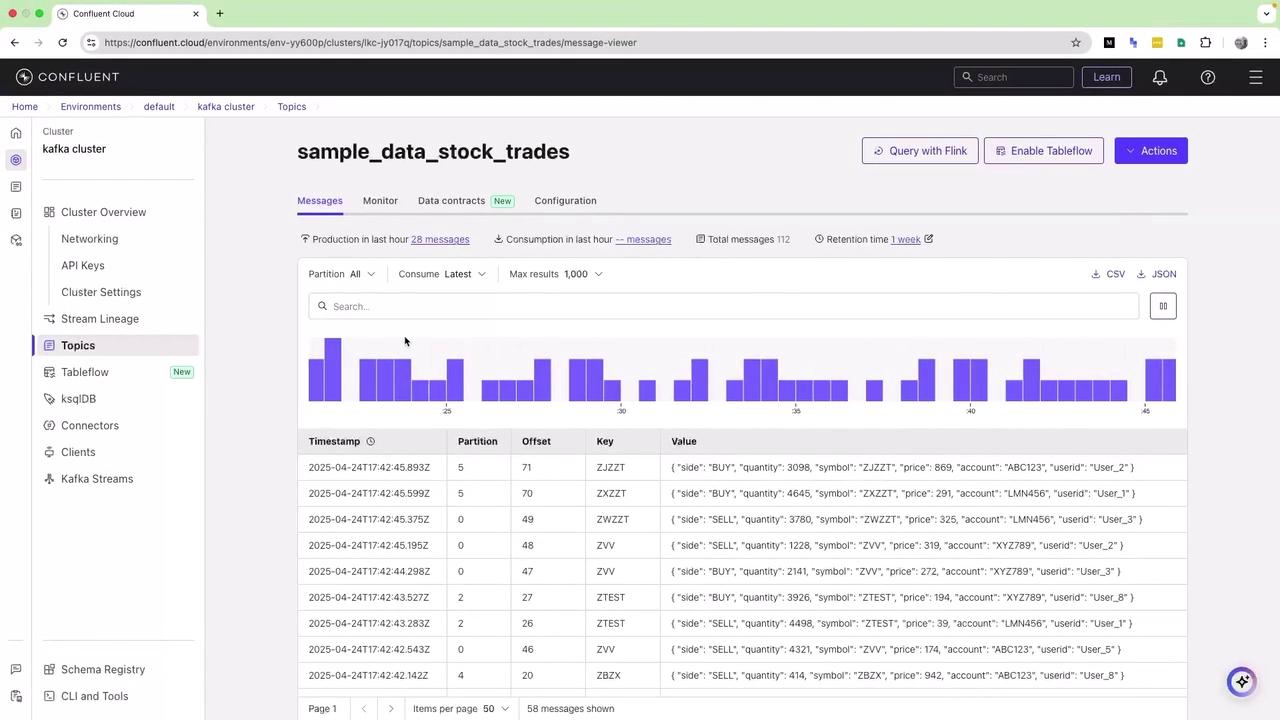
timestamp, partition, offset, key, and value fields.
7. Set Up a Sink Connector
Stream your Kafka topic data to an external system:- Click Connectors in the sidebar.
- Under Sink connectors, choose Amazon S3 Sink (or another sink).
- Select the topic(s) and click Continue.
- Enter your AWS credentials and S3 bucket details.
- Finish the setup to start streaming data to S3.
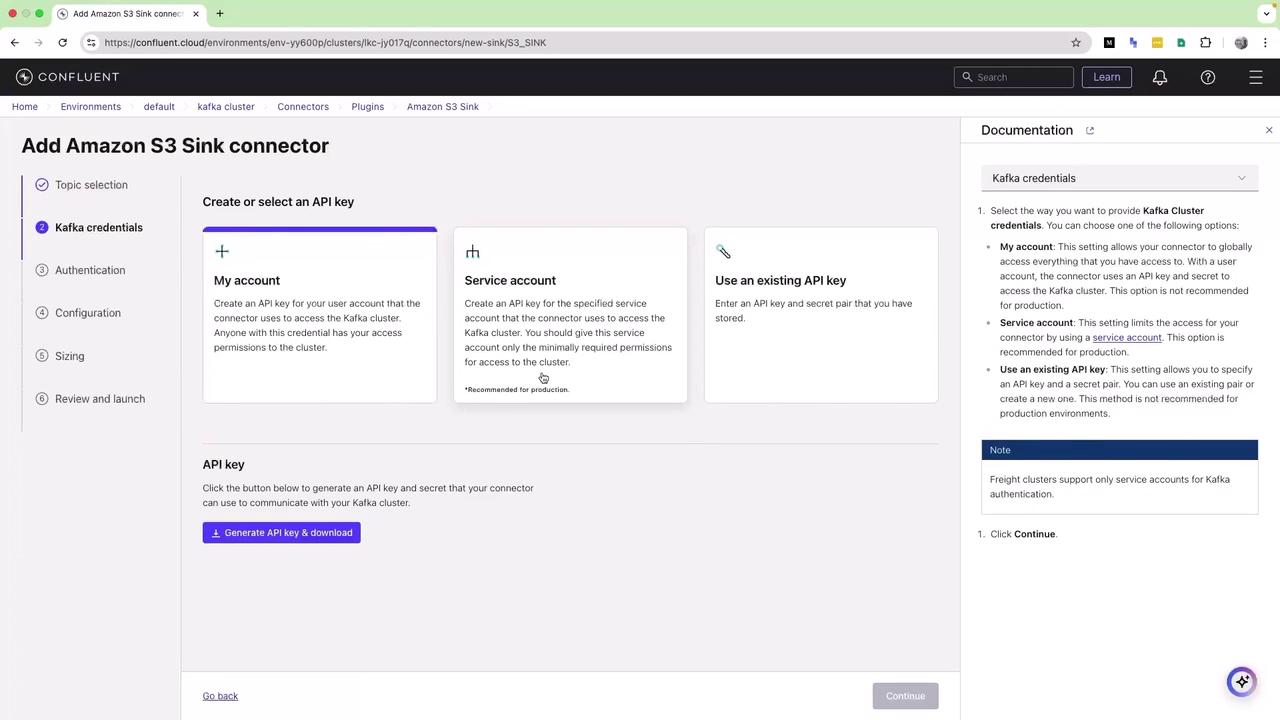
In this demo, we skip the full AWS configuration—refer to the Confluent AWS Sink Connector guide for details.
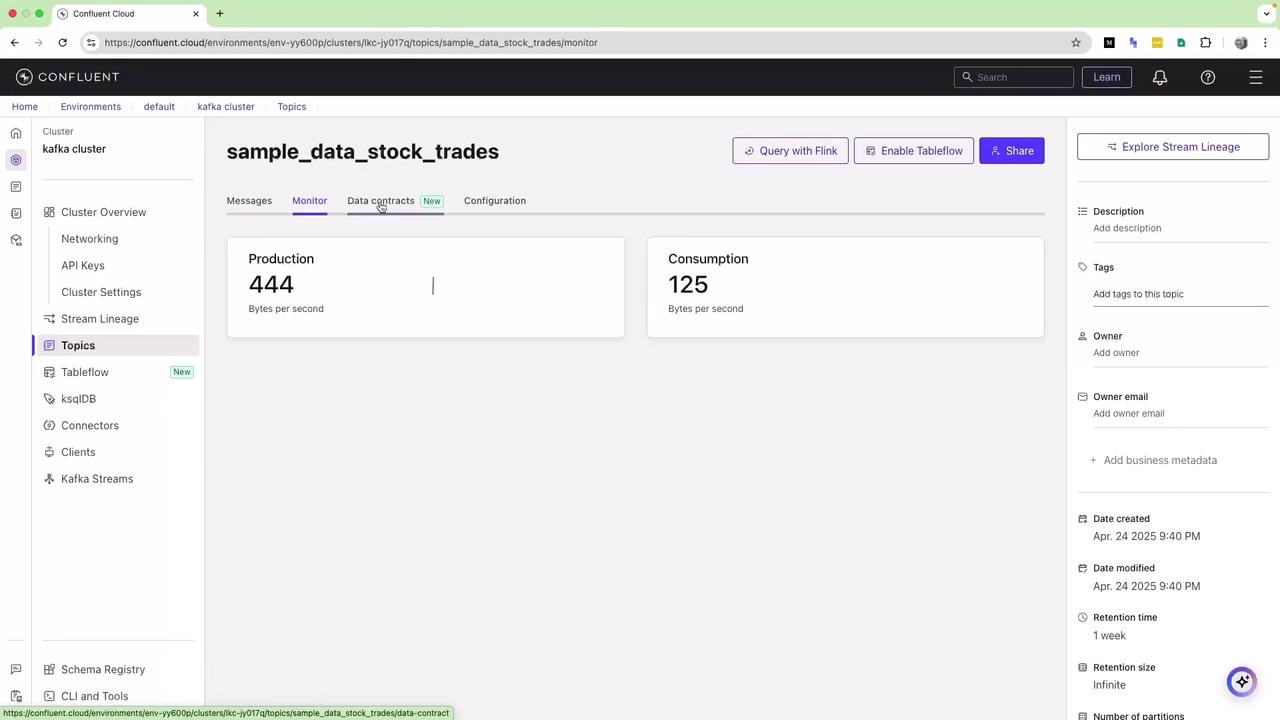
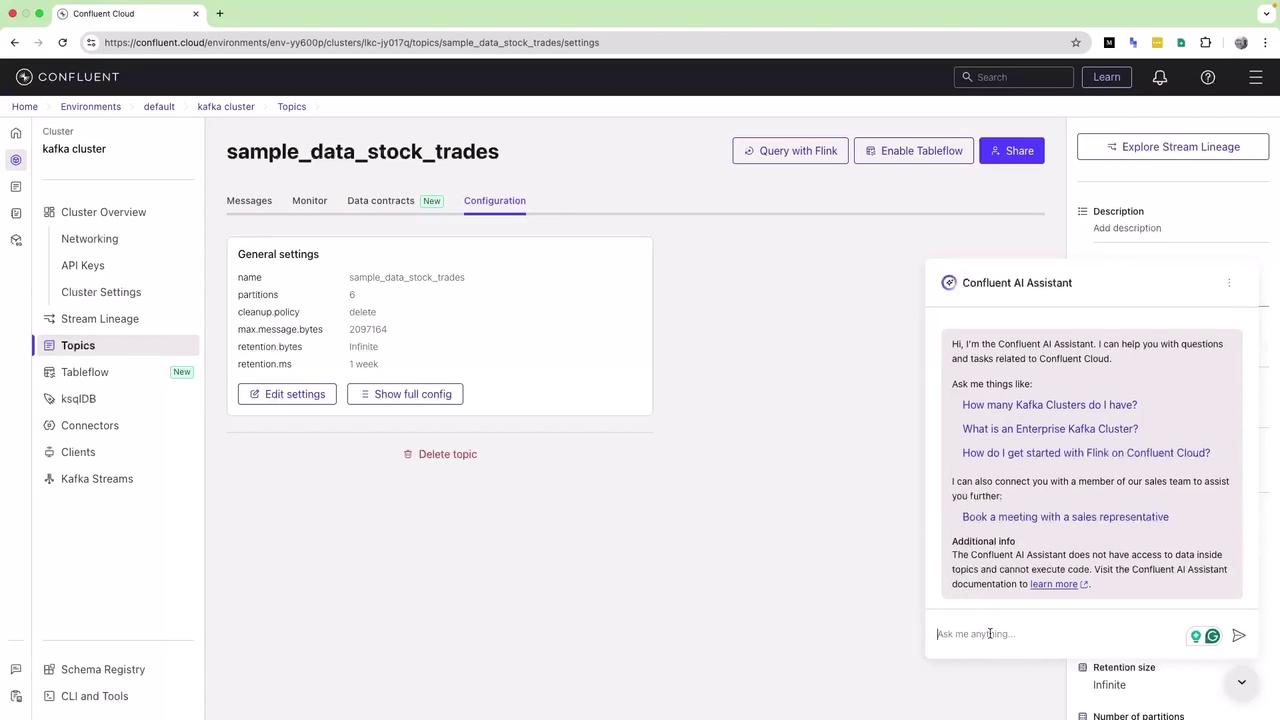
8. Monitor Topic Metrics and Settings
- Go to Topics → your topic → Monitor to view production and consumption graphs.
- Open Settings to adjust partitions, retention, cleanup policy, and more.
With these steps, you’ve successfully registered for Confluent Cloud’s free tier, launched a Kafka cluster, produced and viewed sample data, and configured a sink connector. Enjoy exploring Confluent’s advanced features and integrations!