

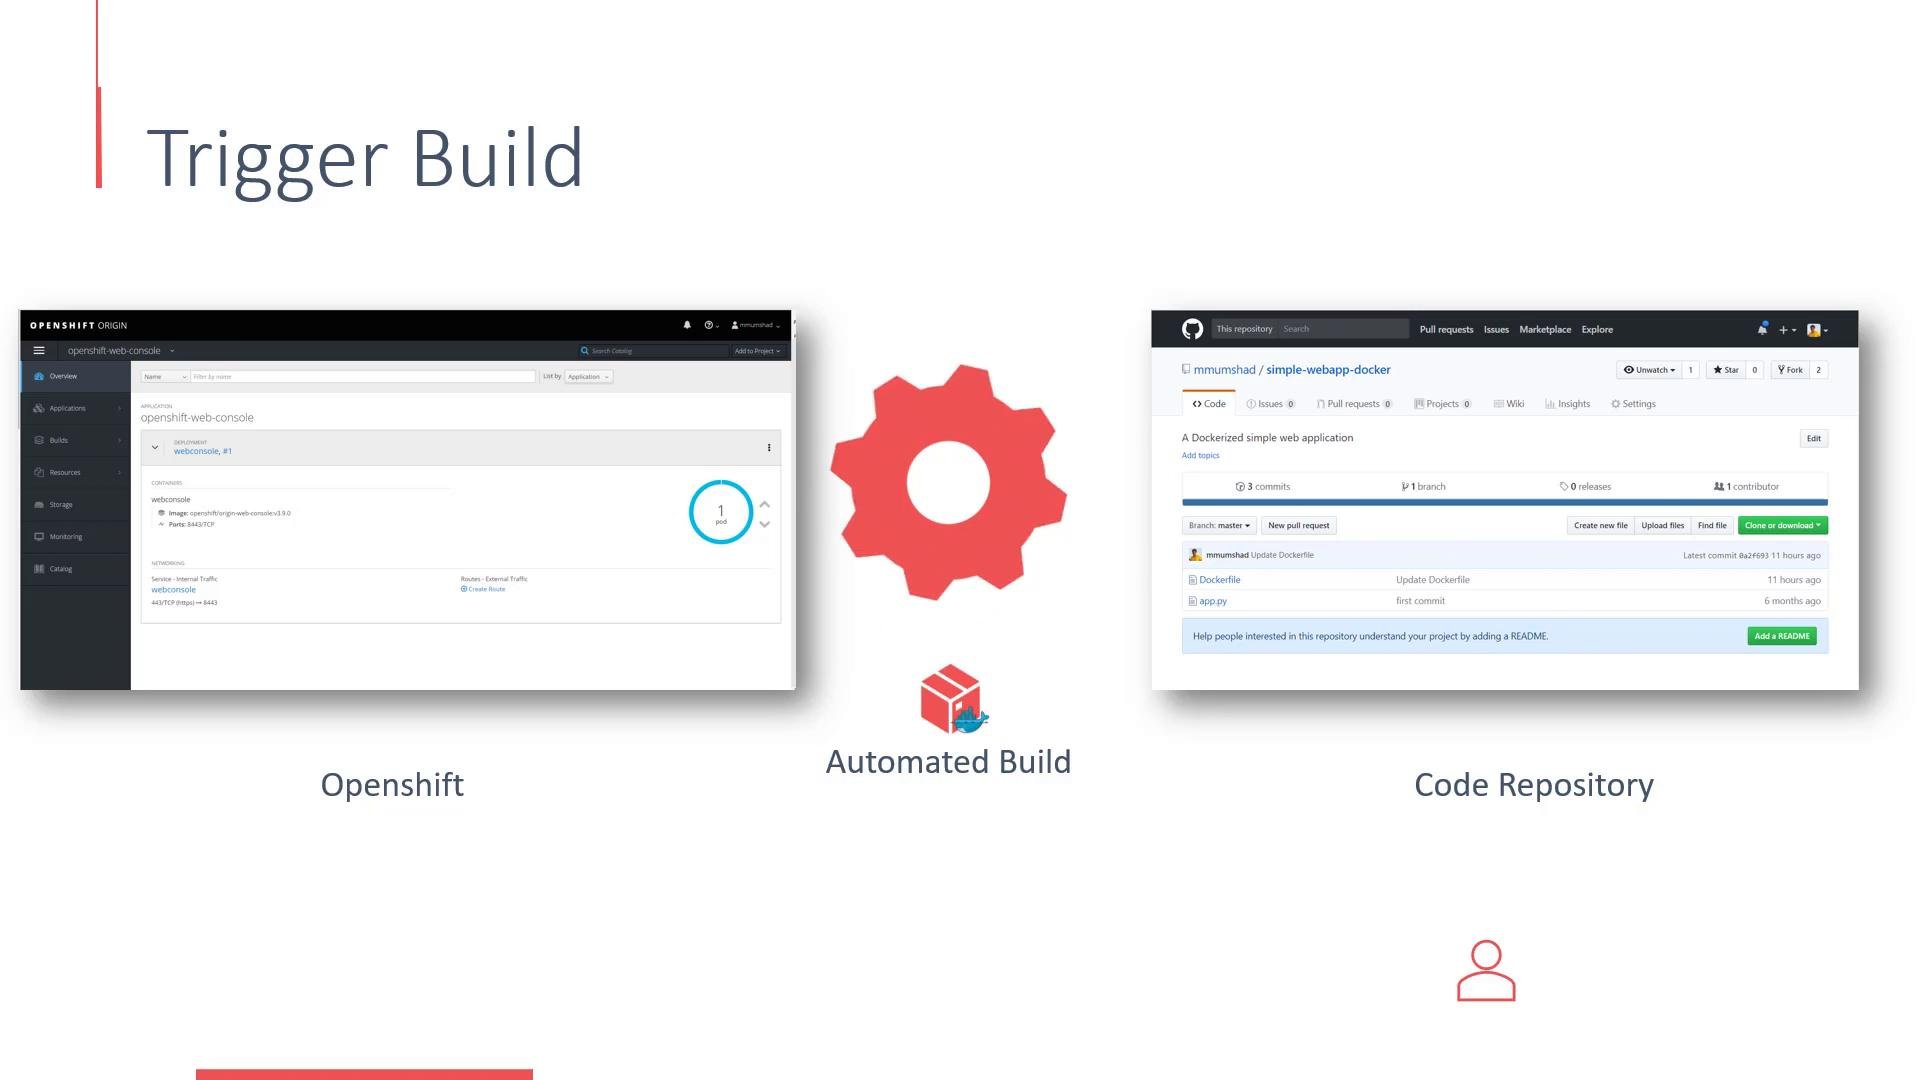
- Manual builds work, but they are not continuous integration. Automated builds let OpenShift react to source changes and produce updated container images and deployments without manual intervention.
- When the repository receives a change (push, merge, or a specific event), it can notify OpenShift. OpenShift then pulls the updated source, runs the build defined in the BuildConfig, produces a new image, and—if configured—triggers a rollout so users see the updated application.
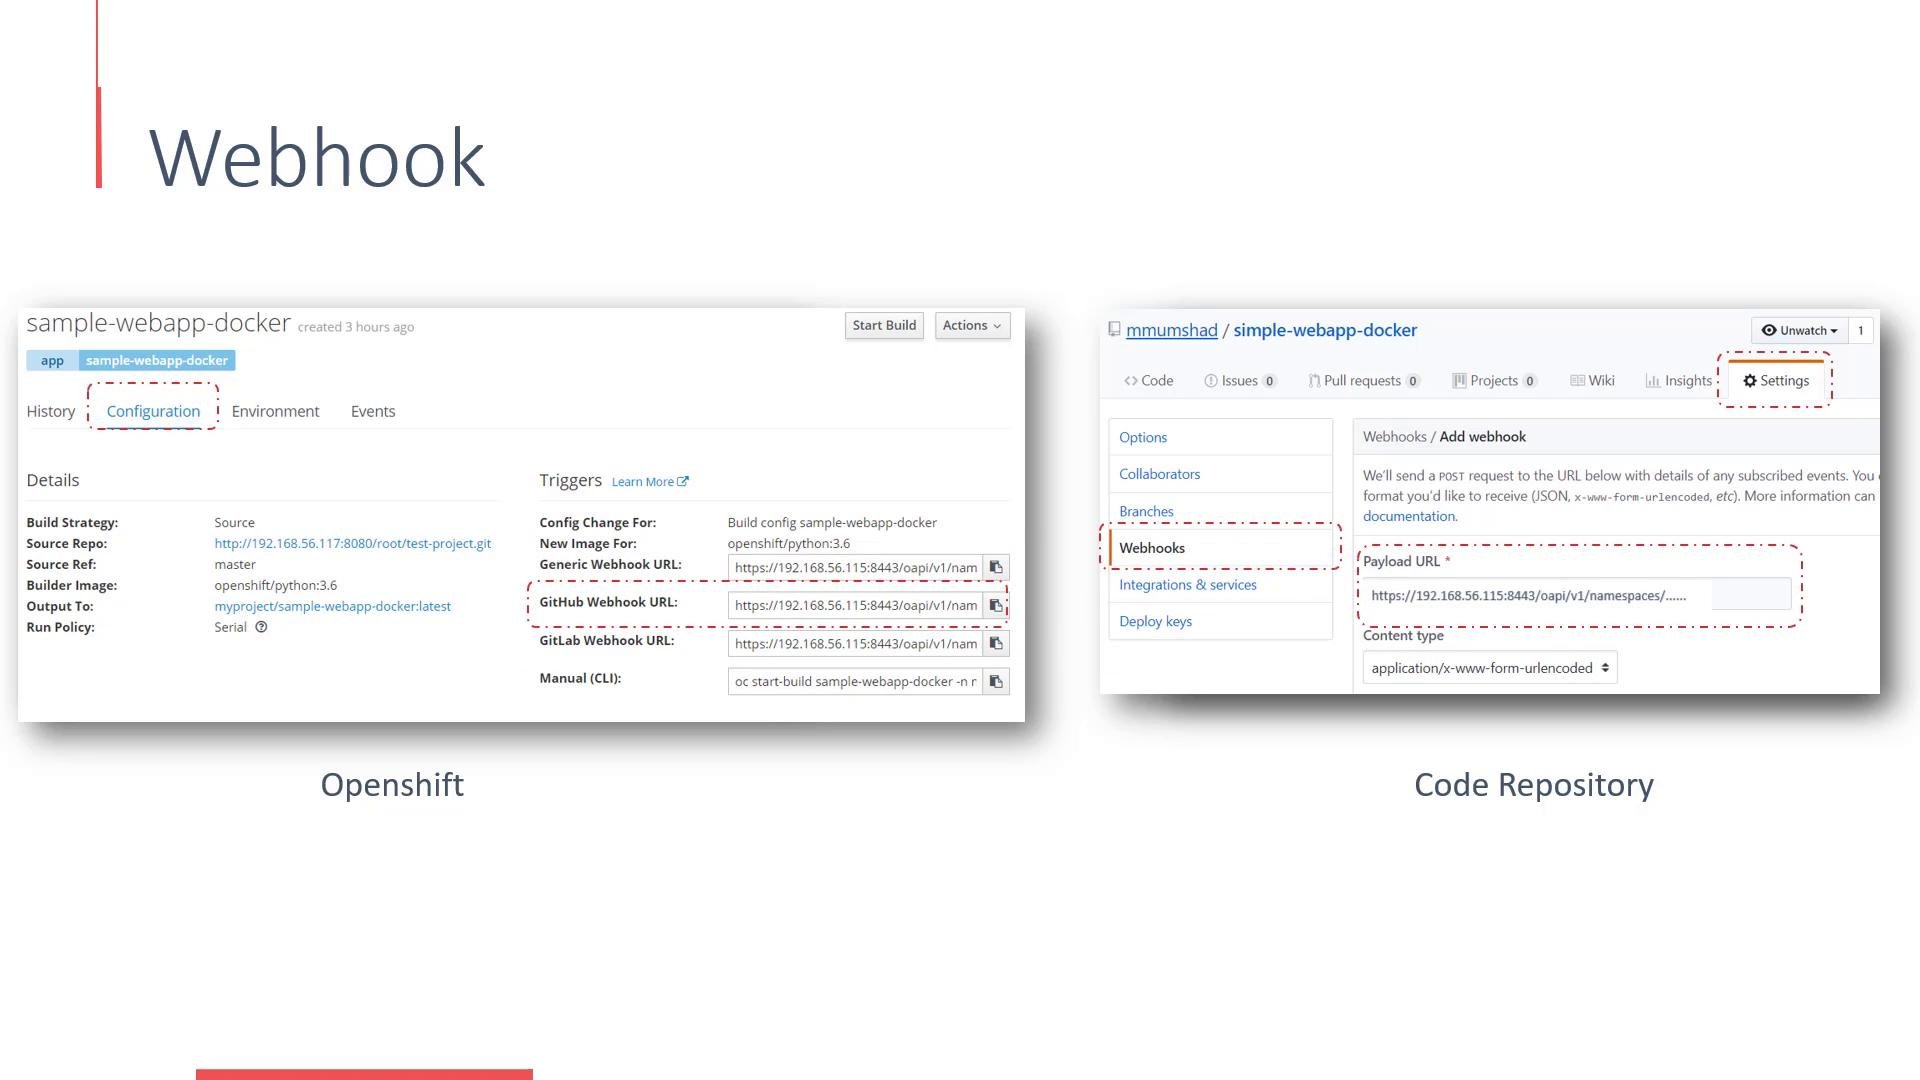
- In the OpenShift web console, open the BuildConfig for your application.
- Under the Configuration tab locate the Webhooks section. OpenShift exposes provider-specific webhook URLs (GitHub, GitLab, Generic).
- Copy the webhook URL for the provider you use (for GitHub choose the GitHub webhook URL).
- In your repository host (for example GitHub → Settings → Webhooks) create a new webhook and paste the BuildConfig webhook URL into the Payload URL field.
- Set the content type (commonly
application/json) and, if desired, add a secret token to protect against unauthorized requests. - Save the webhook. Now pushes (or configured events) will POST to OpenShift and trigger builds according to the BuildConfig triggers.
Operational details and best practices
- Network accessibility: The webhook endpoint (OpenShift route) must be reachable from the repository host. If your OpenShift cluster is in a private network, public hosts (like github.com) cannot reach it. Use a public route, proxy, or tunneling tool (e.g.,
ngrok) for testing, or host the repository inside the same network. - Use secret tokens: Configure the secret token both in the BuildConfig webhook and in the repository webhook settings to validate incoming requests and prevent unauthorized triggers.
- Filter events and branches: Configure the repository-side webhook to trigger only on the events and branches you want (for example, pushes to
mainor merge events). - Multiple triggers: BuildConfigs support multiple triggers (GitHub/GitLab/generic webhooks and image-change). Use the trigger type that best fits your CI/CD flow.
Make sure to copy the webhook URL for the correct provider (GitHub vs GitLab vs Generic) from the BuildConfig. If you configure a secret token in the BuildConfig, add the same secret to the repository webhook settings to ensure valid requests.
If your webhook POSTs fail with HTTP connection errors, confirm network routing and firewall rules between the repository host and the OpenShift route. Consider using a public route, a reverse proxy, or a tunneling service for testing.
References and further reading
- OpenShift Builds and BuildConfig
- GitHub Webhooks Documentation
- GitLab Webhooks Documentation
- Using ngrok for local webhook testing