

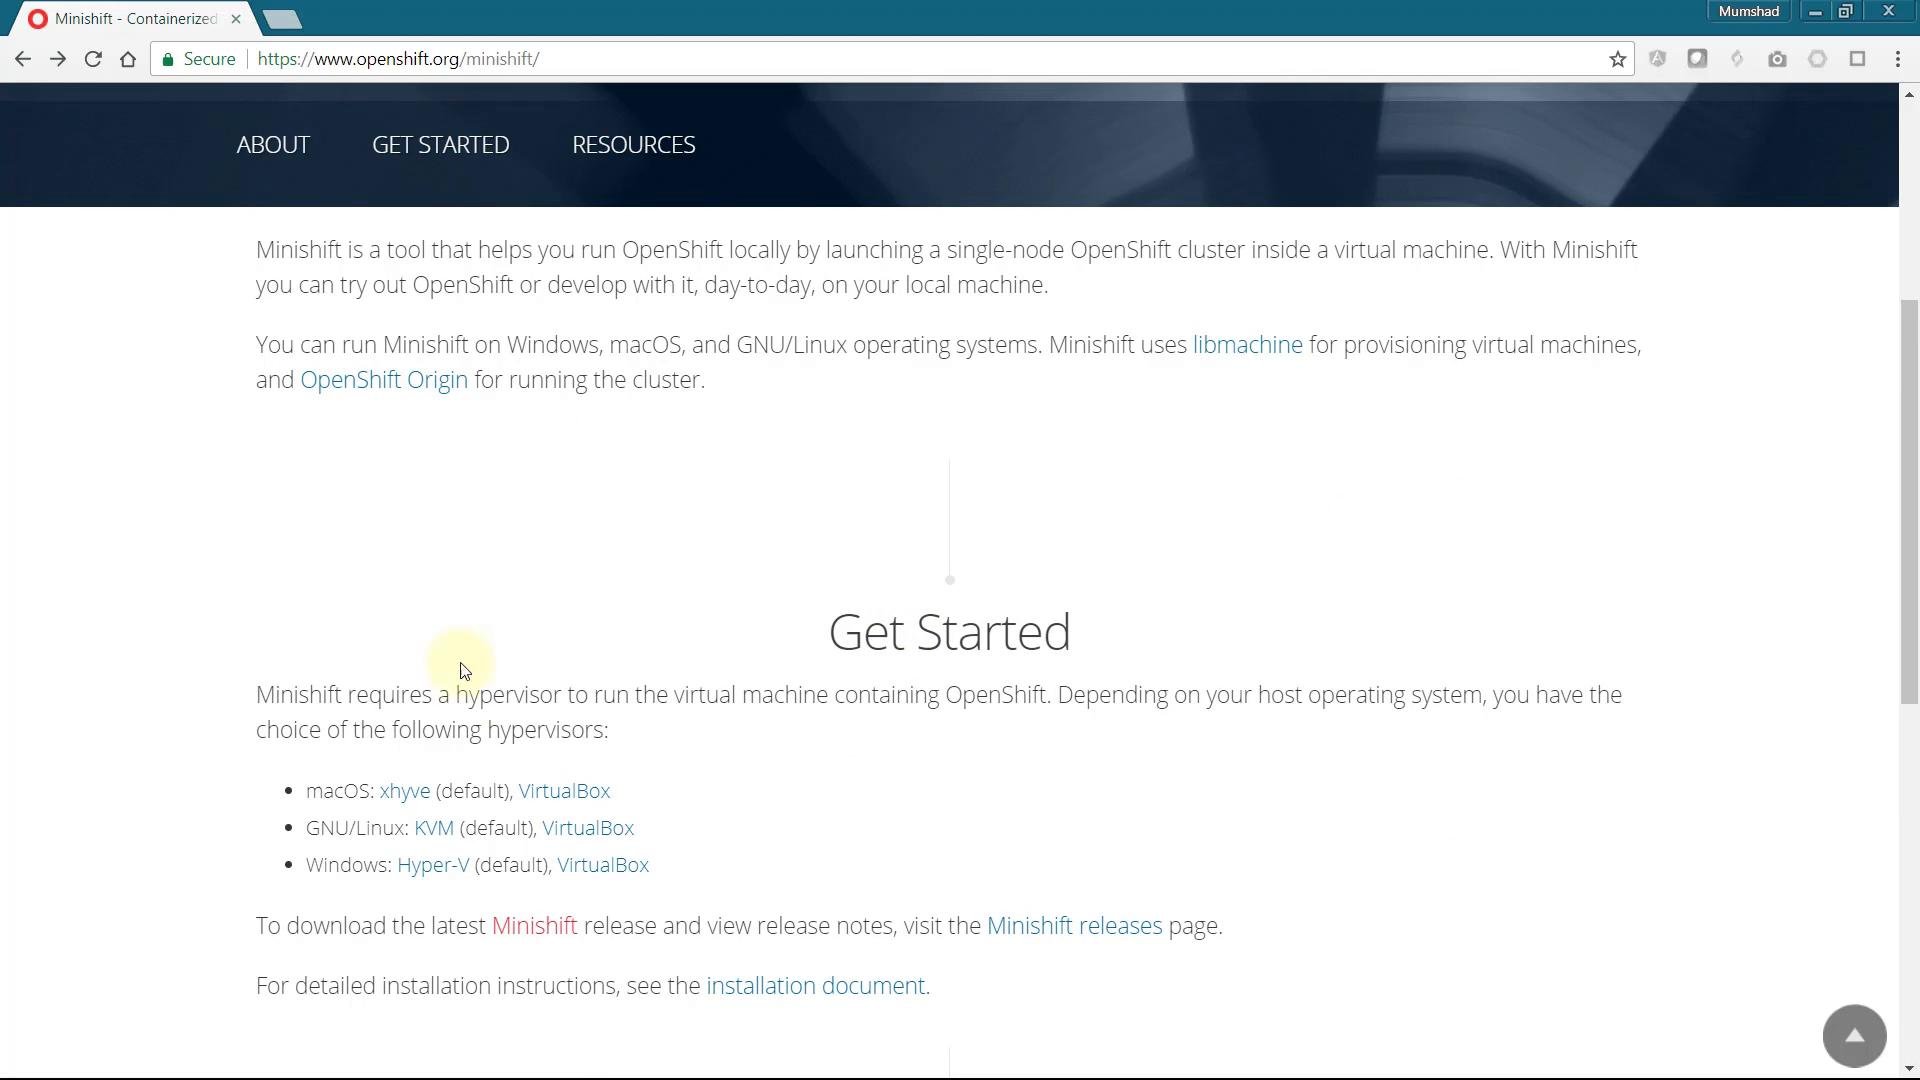
Before you begin: ensure your machine meets the VM and memory requirements for running a local OpenShift cluster. Install VirtualBox (or another supported hypervisor) first, then download the Minishift binary for your OS.
Prerequisites
- VirtualBox (or another supported hypervisor) installed and working.
- Minishift binary for your OS (download from the Minishift Releases page).
- Command-line access (Terminal on macOS/Linux, PowerShell or Command Prompt on Windows).
- Minishift: https://minishift.io
- VirtualBox: https://www.virtualbox.org
- OpenShift documentation: https://docs.openshift.com
Step-by-step: Download and start Minishift
- Install VirtualBox if it is not already installed. Follow the VirtualBox installer for your platform and reboot if required.
- Download the Minishift release archive for your platform from the Minishift Releases page and extract it to a folder you control (for example
C:\minishift-<version>\on Windows). - Open a terminal/command prompt, change into the folder where
minishift(orminishift.exe) is located, and start Minishift.
--vm-driver=virtualbox option when starting Minishift. Example Windows session:
minishift in the VirtualBox Manager.
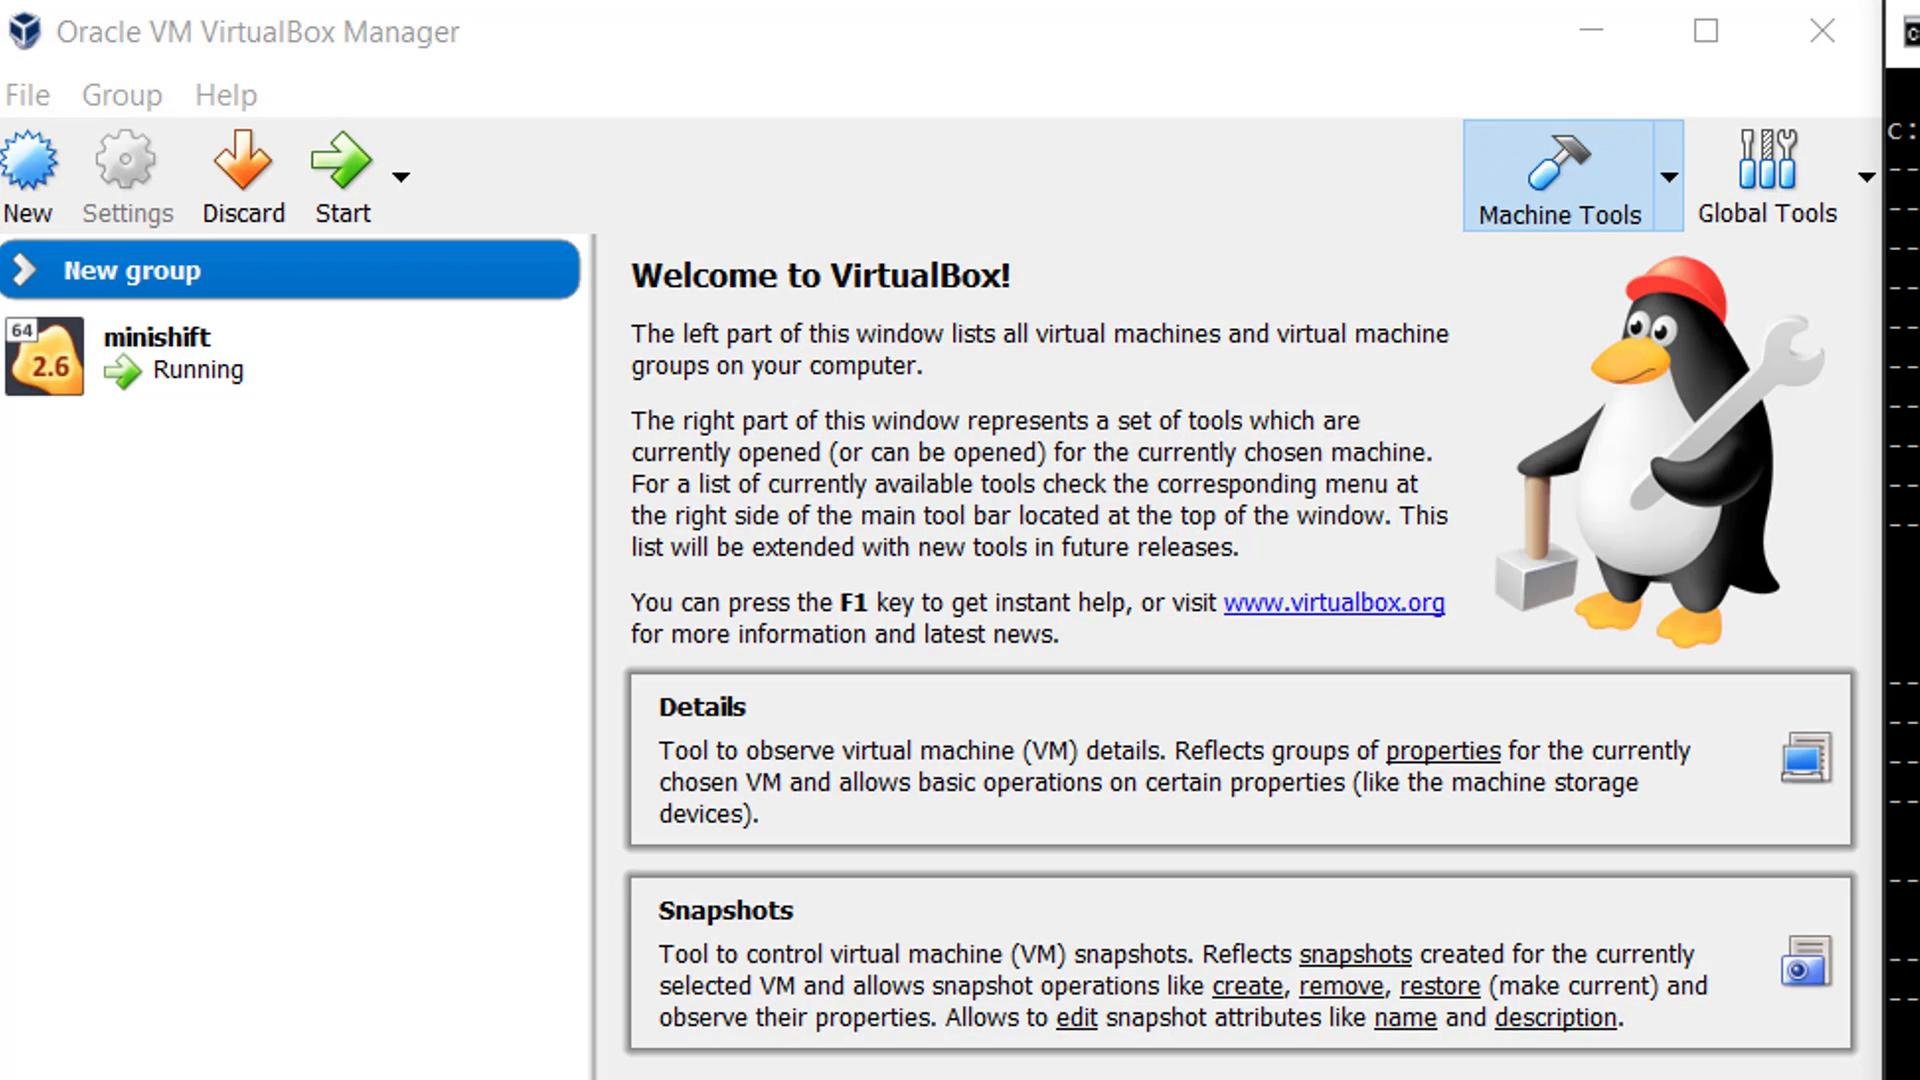
What the start process does
Duringminishift start you will see status checks (network, hypervisor, image imports) and configuration data (memory, vCPU, disk size). Example trimmed output:
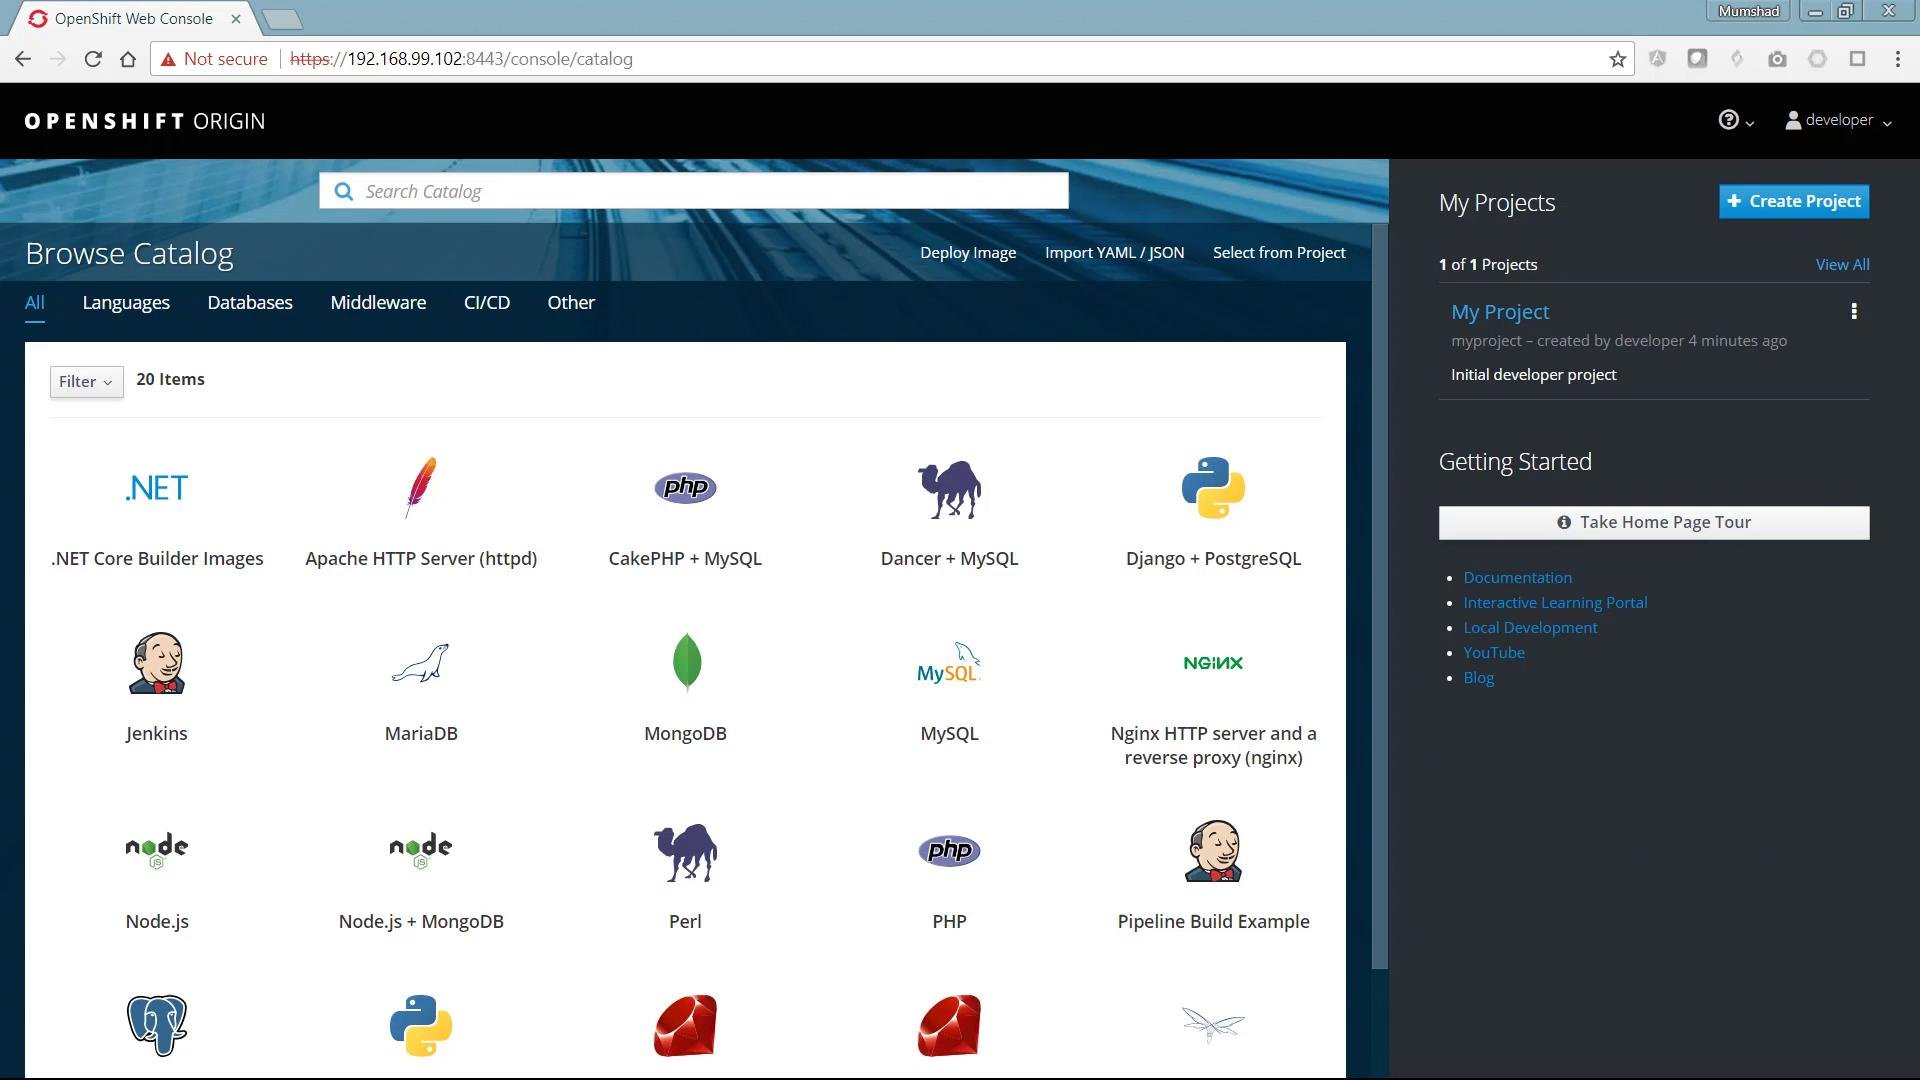
https://192.168.99.102:8443). Minishift configures a simple, developer-friendly identity provider so you can log in with any username and any password. This authentication mode is meant for local development and testing only.
This demo uses Minishift’s developer-friendly authentication. Do not use this authentication mode for production environments.
developer with any password (for example, developer) to explore the cluster.
Explore the cluster
- Use the web console to browse the catalog, create applications from builder images and templates, and view project resources.
- Use the
ocCLI for scripted workflows:oc new-project <project-name>,oc new-app,oc get pods,oc logs, etc. - To log in as the cluster administrator from the CLI run:
oc login -u system:admin(as shown in the start output).
Quick reference — common commands
Links and references
- Minishift — https://minishift.io
- VirtualBox — https://www.virtualbox.org
- OpenShift documentation — https://docs.openshift.com