

- Creating a VirtualBox VM template from a CentOS VDI.
- Configuring a VirtualBox host-only network and using a stable static IP.
- Cloning the template into a GitLab VM (linked clone recommended).
- Installing Docker and running GitLab in a container.
- Accessing the GitLab web UI and initial setup.
1 — Download a CentOS VirtualBox image (VDI)
Visit OSBoxes and download a CentOS VirtualBox VDI. Choose 64-bit unless you have a specific need for 32-bit. After downloading, extract the VDI to a folder you will reference when creating the VM. Example metadata (informational only):2 — Create a VM template in VirtualBox
Create a new VM in VirtualBox and, when prompted for a hard disk, choose “Use existing” and point to the downloaded VDI. Select the appropriate OS type (e.g., “Other Linux (64-bit)” or a CentOS entry) and set memory to 2 GB or more.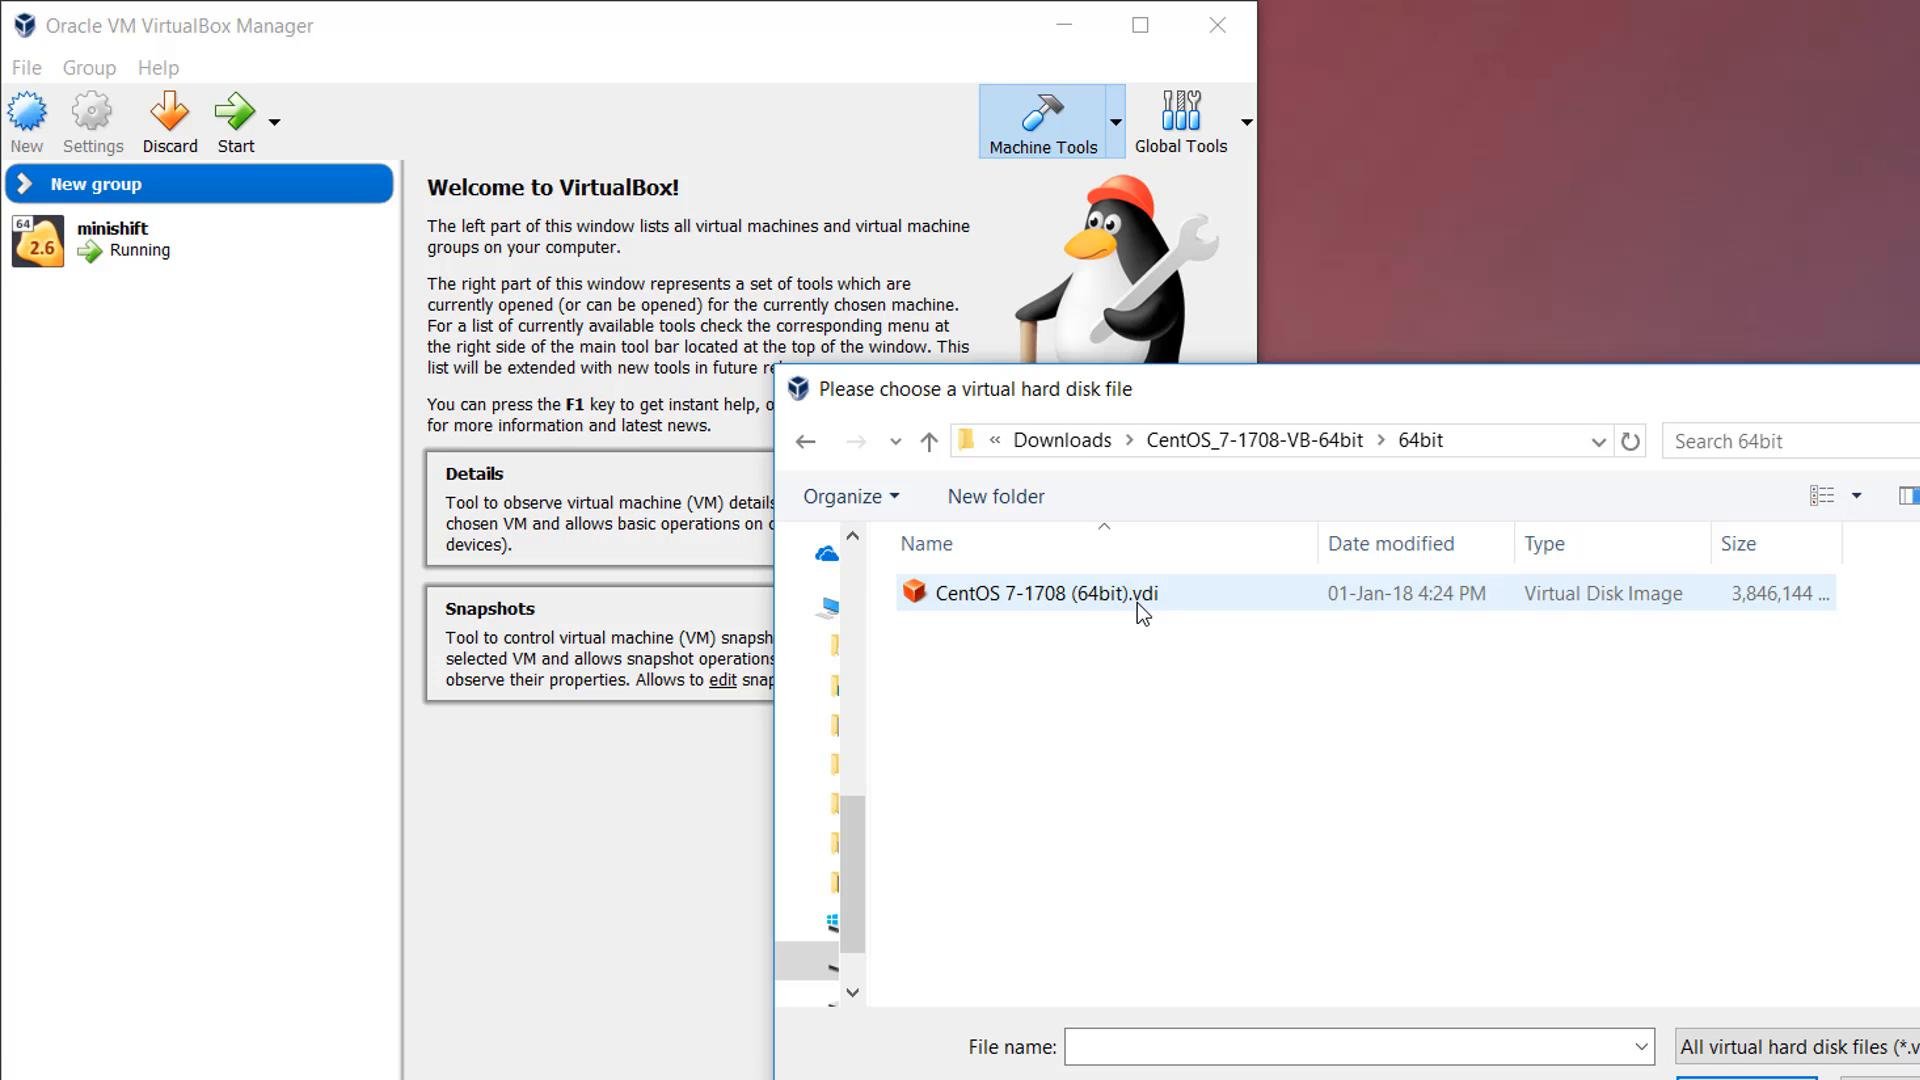
3 — Configure a host-only network for stable static IPs
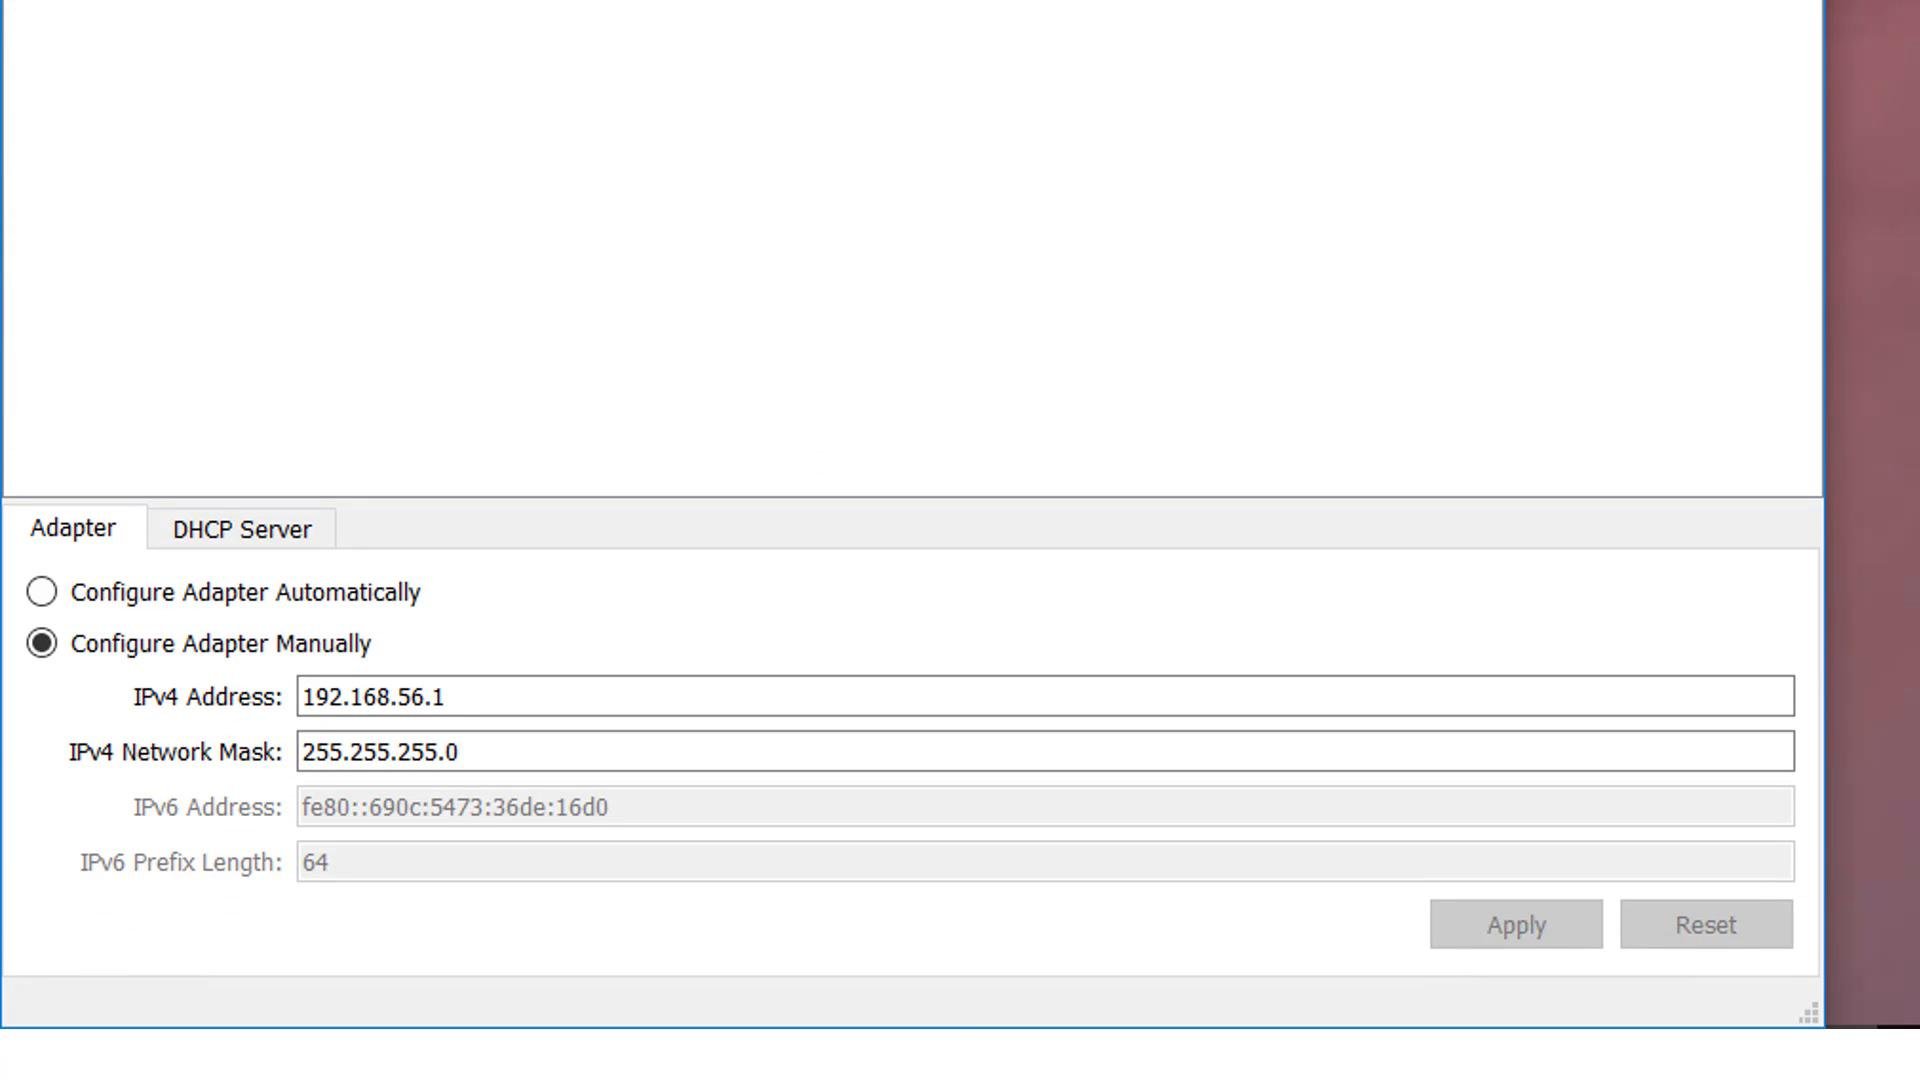
Using a host-only adapter prevents IPs from changing across reboots and makes it easy to reach VM services locally.- In VirtualBox: File → Host Network Manager (or Global Tools → Network → Host-only Networks).
- Create a new host-only adapter and disable the DHCP server for that adapter.
- Note the adapter address (typically
192.168.56.1/24) and use a static IP on the VM within that range.
4 — VM adapter recommendations
For the CentOS template VM:- Adapter 1: Bridged — gives the VM internet access through the host.
- Adapter 2: Host-only — attach the host-only adapter you created and use this for the static IP that you will use to access GitLab.
osboxes.org for the default user), then shut it down to keep it as the base template:
5 — Clone the template (create the GitLab VM)
Right-click the template VM and choose Clone → select “Linked clone” to save disk space. Enable “Reset MAC address” so the cloned VM has a unique MAC address (useful when assigning a different static IP).
GitLab) and log in. Check network interfaces with ip addr or ifconfig to confirm the host-only interface (for example enp0s8) currently has no IPv4 address.
6 — Configure a static IP inside CentOS
On CentOS 7 (or systems using the legacynetwork-scripts), network configuration files live in /etc/sysconfig/network-scripts/. You can create an interface config by copying ifcfg-lo and editing it.
List and inspect the loopback file:
ifcfg-lo (informational):
enp0s8 and the IP as appropriate):
/etc/sysconfig/network-scripts/ifcfg-enp0s8:
Assigning a stable static IP on the host-only adapter makes the VM consistently reachable for SSH and the GitLab web UI. If your environment relies on DHCP, consider reserving an IP in your router or using the host-only approach described here.
nmcli or nmtui, or install the network-scripts compatibility package if you prefer the classic files.
7 — Prerequisites for Omnibus GitLab (optional)
If you want to install the Omnibus GitLab RPM instead of Docker, install these basic packages and open firewall ports:8 — Install Docker (recommended for quick local GitLab)
Docker is the quickest way to get a local GitLab instance running. Install Docker using the official convenience script:docker group change if you want to run Docker without sudo.
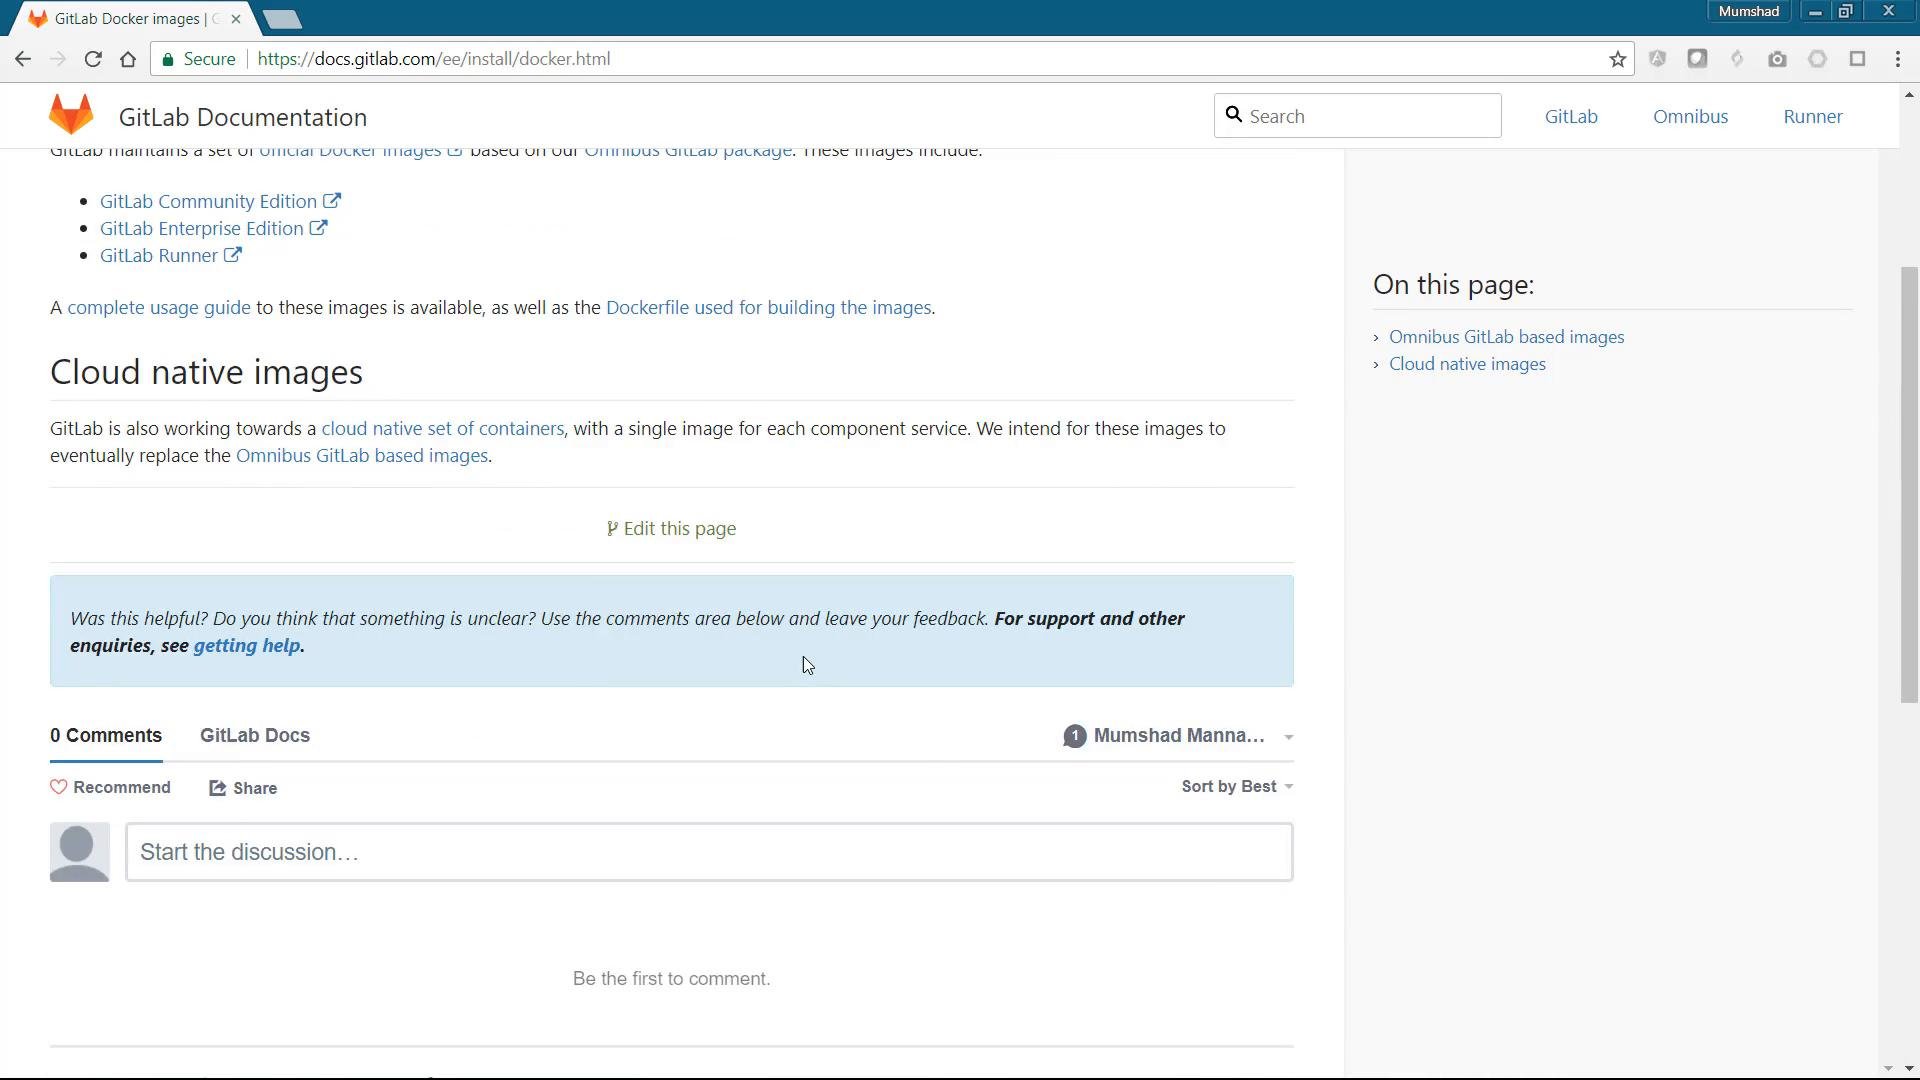
Refer to the official GitLab Docker images and docs for image options and configuration details.
9 — Run GitLab in Docker
Decide the hostname you will use. For this demo we use the host-only static IP192.168.56.150 and map the container SSH port to host port 9222 (avoids conflicts with the host SSH on port 22).
Create persistent directories and run the Omnibus GitLab CE container:
:Z on each volume path to set the correct labels:
10 — Ports and persistent data (quick reference)
Make sure the host ports chosen do not conflict with services running on the host.
11 — Verify the container and initial login
Check the running container:root password. Set it, then log in with root and the password you created. You will then see the GitLab dashboard.
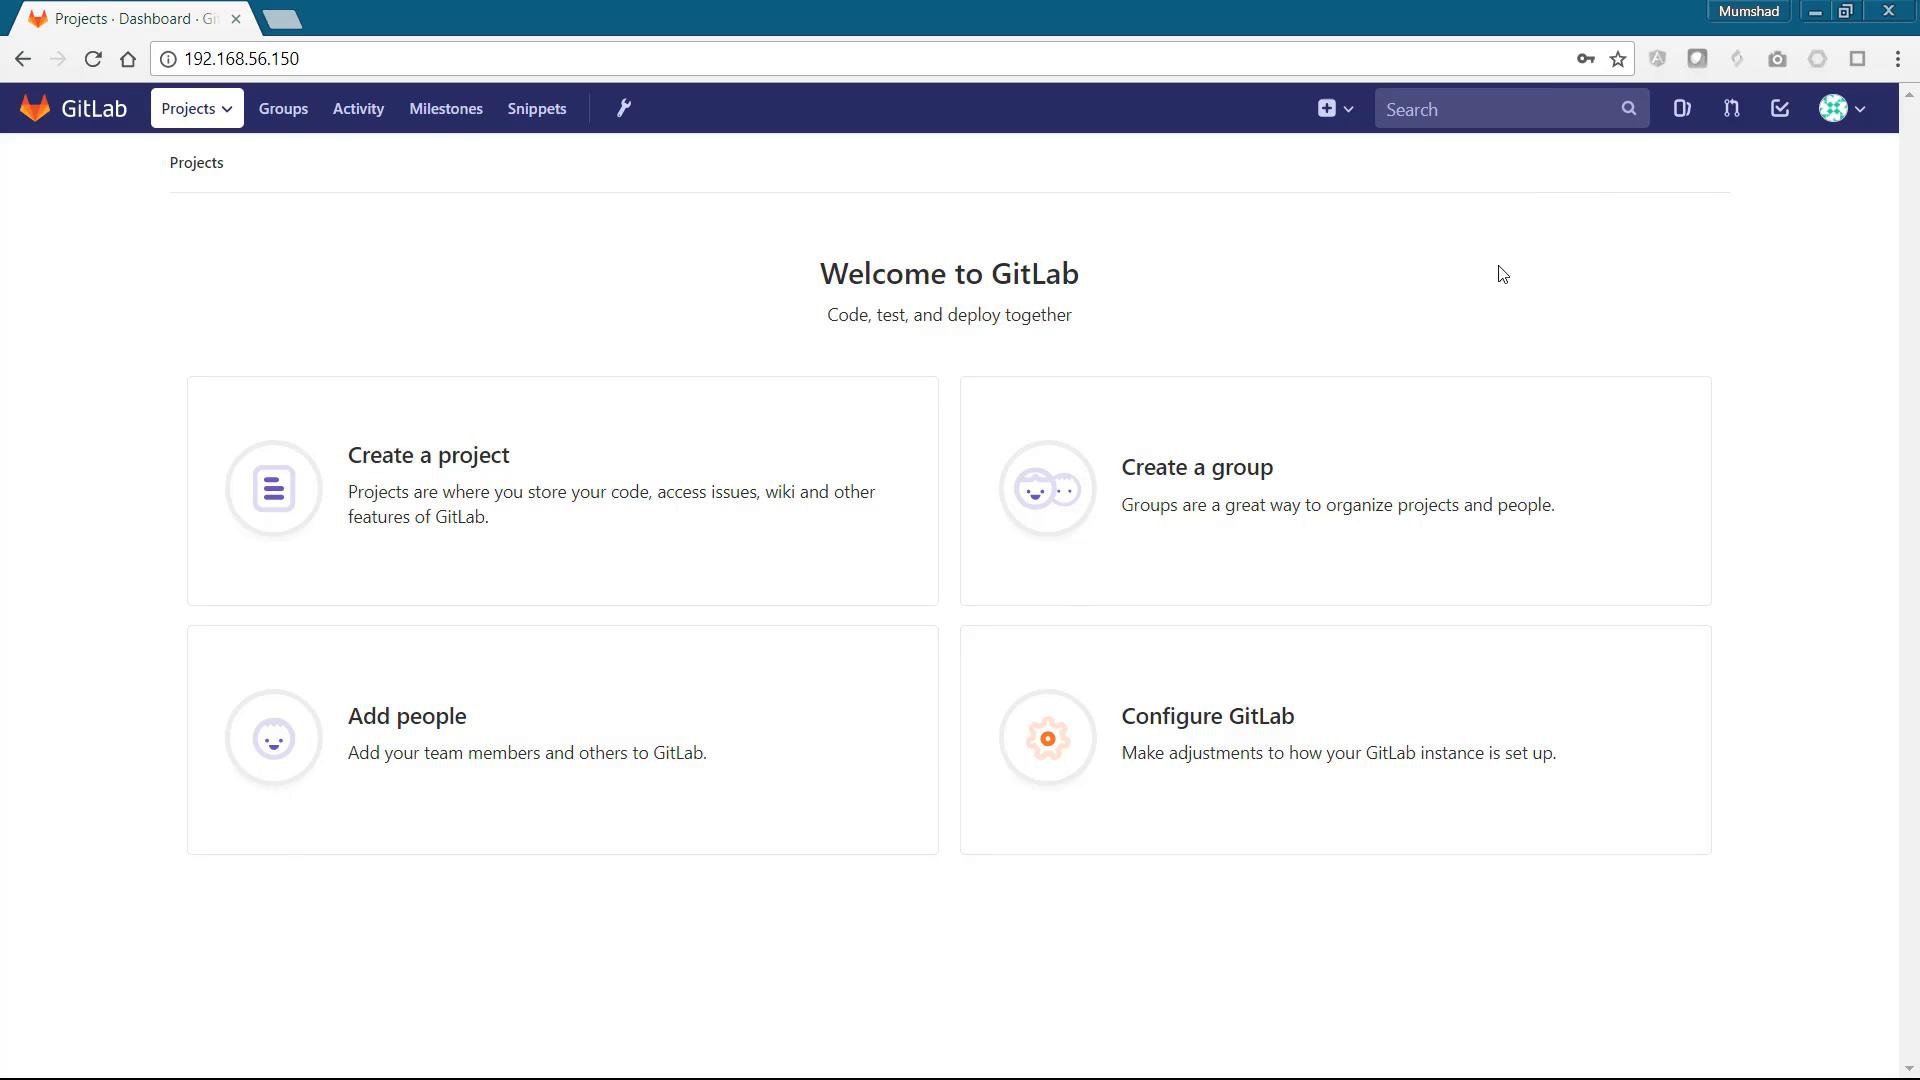
12 — What’s next
You now have a local GitLab instance running in a CentOS VM. From here you can:- Create projects and groups.
- Add users and configure access.
- Push and pull via HTTP or SSH (use host
192.168.56.150:9222for SSH). - Explore backup, restore, and upgrades (see GitLab docs).
Links and references
- VirtualBox: https://www.virtualbox.org
- OSBoxes (CentOS VDI downloads): https://www.osboxes.org
- GitLab Docker images & documentation: https://docs.gitlab.com/omnibus/docker/
- Docker install script: https://get.docker.com