

Deployment topologies
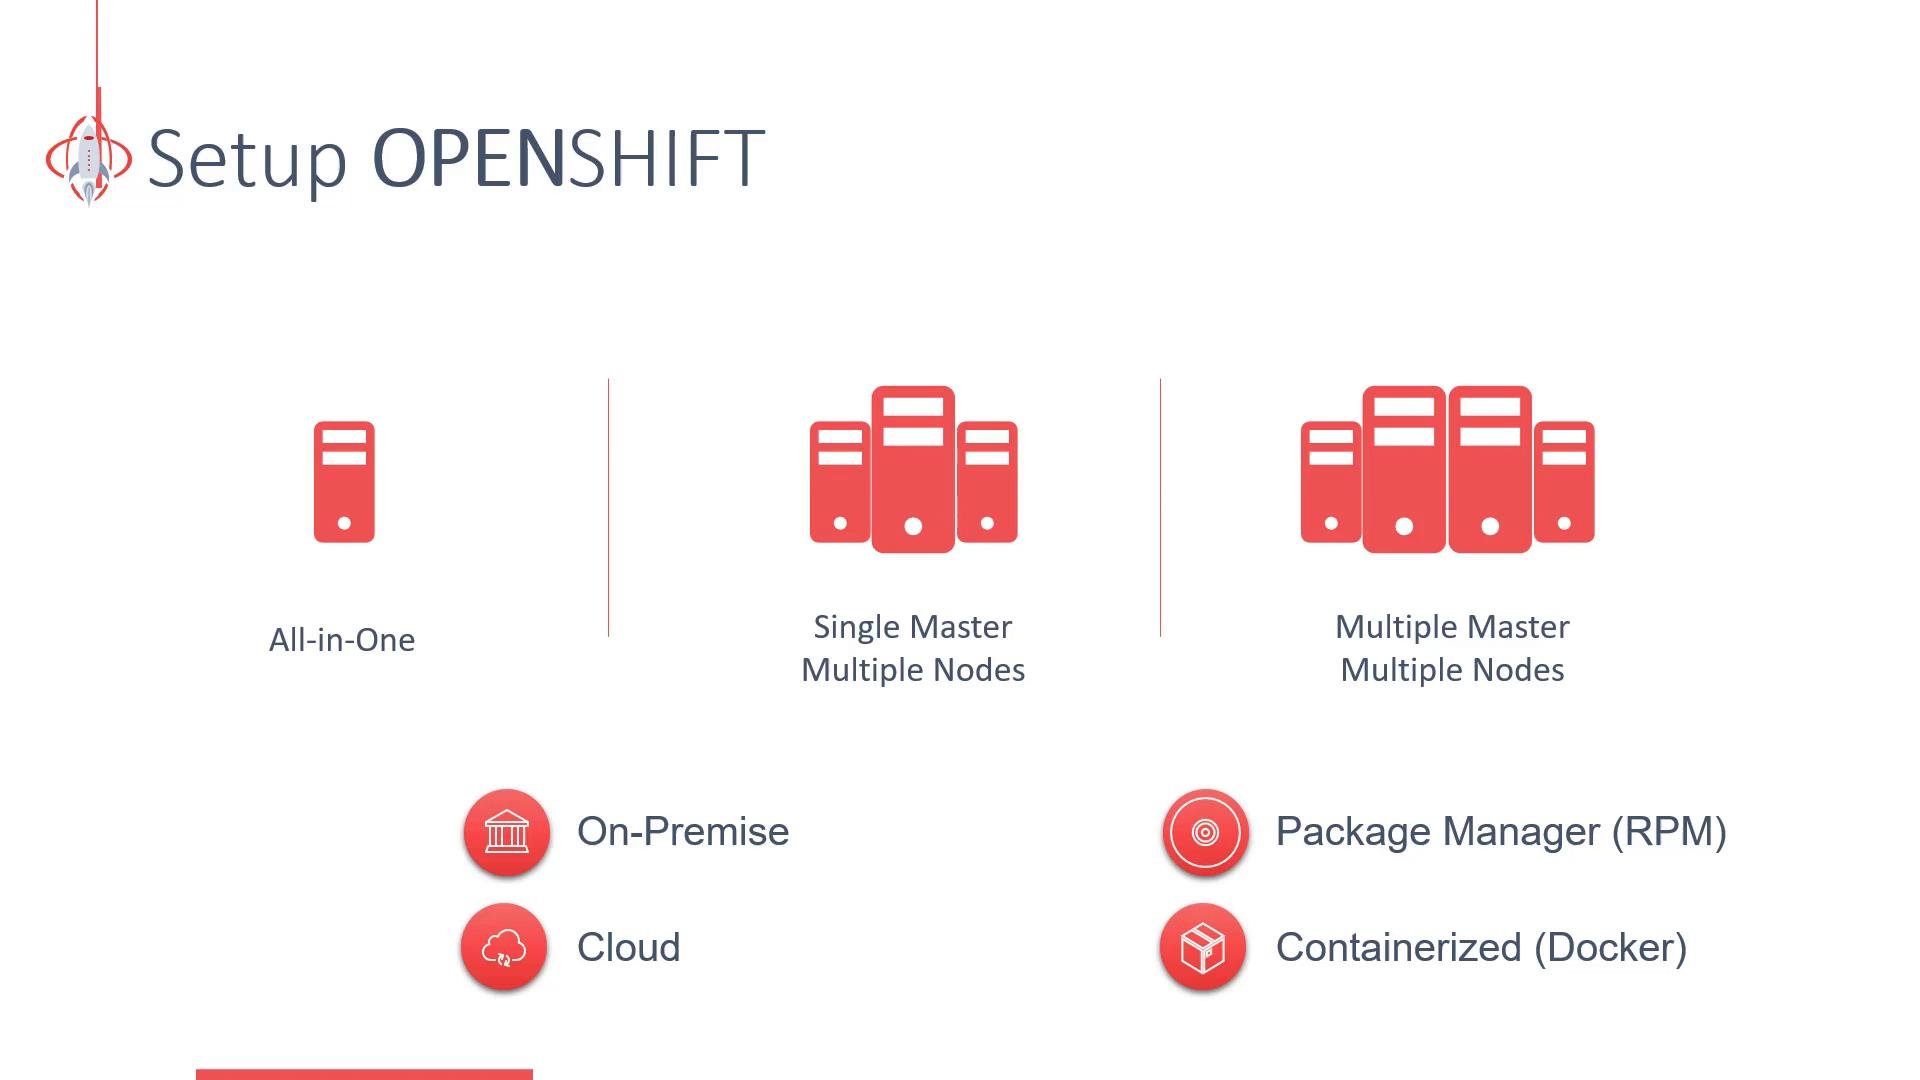
Choose a deployment topology based on scale, HA requirements, and the intended use (development vs production).- All-in-one: master and node on a single system — useful for development and testing.
- Single master + multiple worker nodes: suitable for non-HA and small clusters.
- Multiple masters + multiple worker nodes: recommended for production (high availability).
Other considerations when planning your OpenShift installation:
- Target environment: virtual machines on a public cloud, private cloud, or on-premises hardware.
- Installation method: package-based installs (RPMs) vs containerized deployments (images pulled and run by a container runtime). Containerized installs simplify distribution and upgrades.
- Hypervisor availability: for local demos you’ll need a hypervisor such as
VirtualBoxorVMware Fusion.
What Minishift does
Minishift packages the core OpenShift 3.x components (Kubernetes, etcd, OpenShift Origin components, and related services) into a pre-configured image. The image is distributed as an ISO and Minishift automates building a single-node VM with those components, so you don’t have to install and configure each piece manually. Minishift’s CLI performs these key steps:- Downloads the appropriate Minishift ISO automatically.
- Creates and manages a VM on your local hypervisor (for example,
VirtualBoxorVMware Fusion). - Pulls OpenShift Origin images (from registries like Docker Hub) into the VM.
- Starts a single-node OpenShift cluster that includes the registry, router, and web console for development/testing.
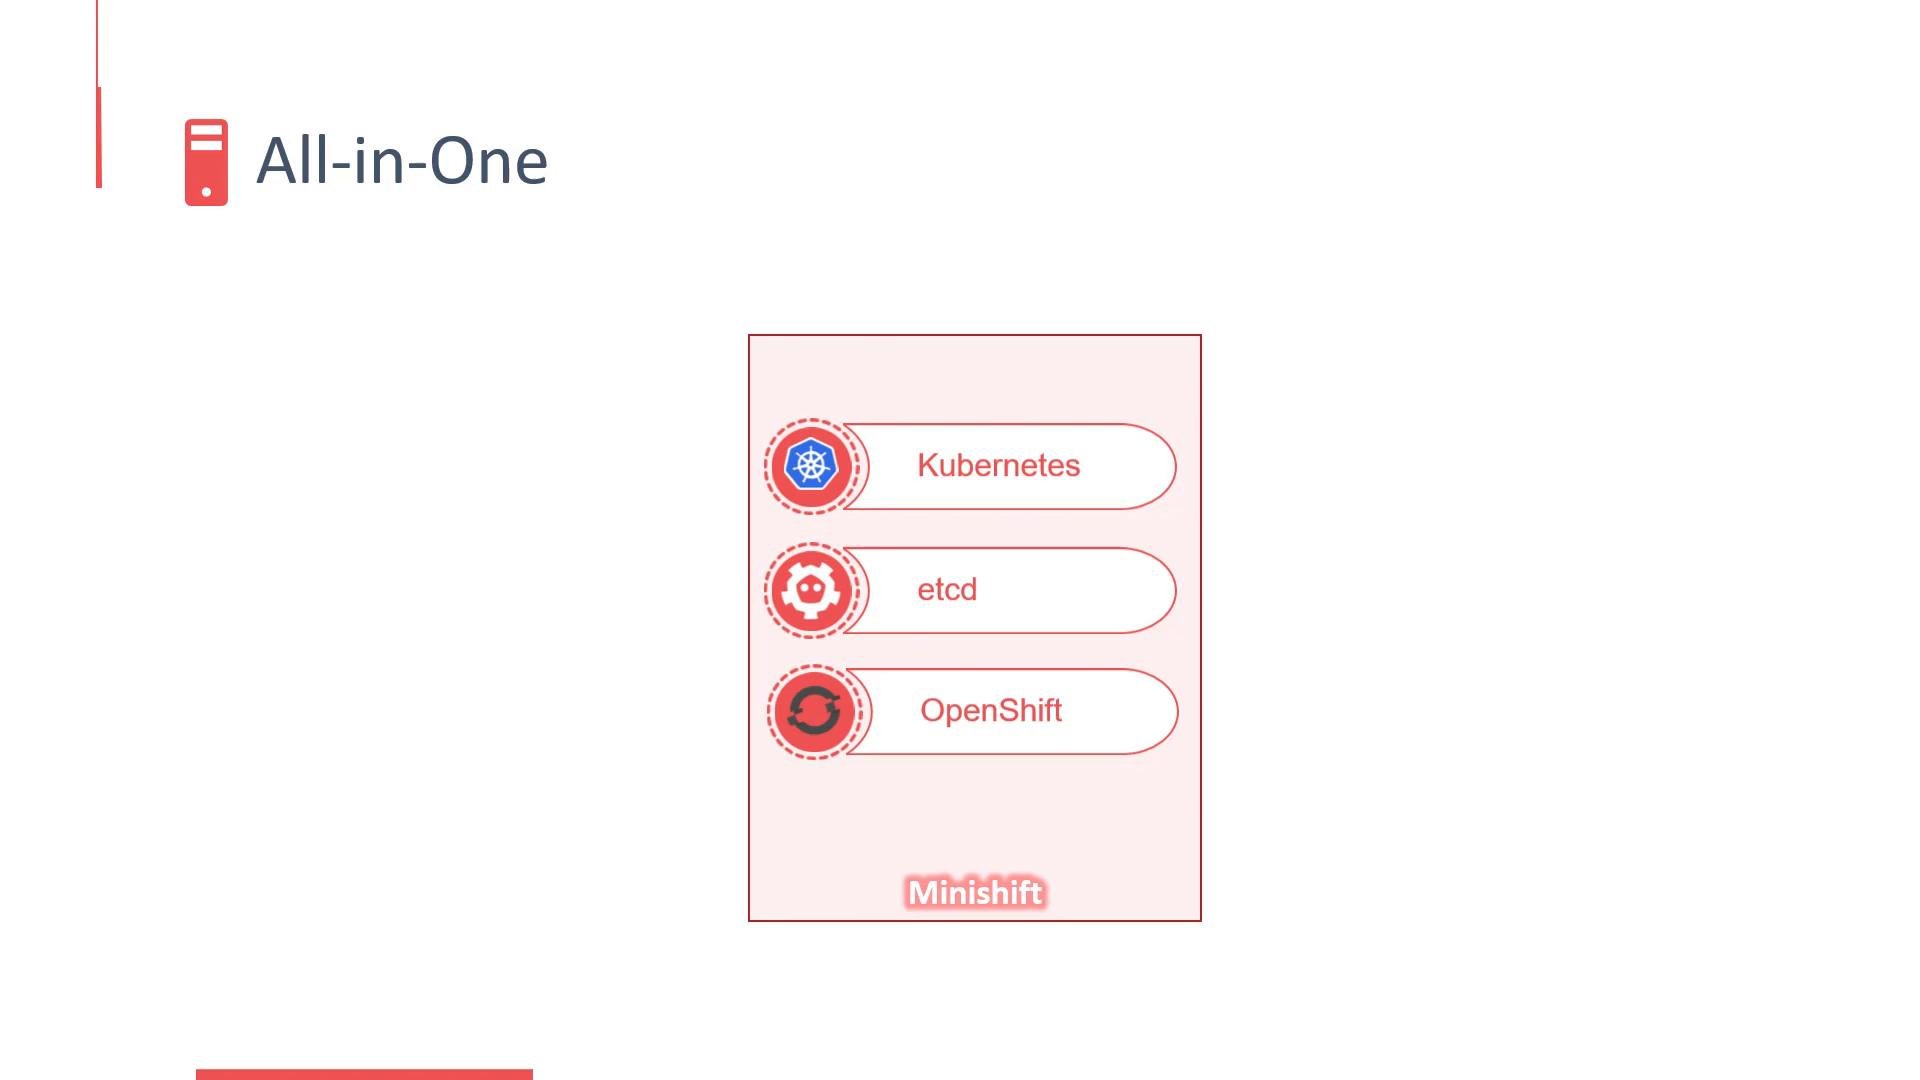
Minishift provides a local, single-node OpenShift cluster intended for development and testing. It is not a production-ready deployment topology. For production, plan for multiple control-plane nodes and worker nodes to achieve high availability.
Minishift targets OpenShift 3.x and is intended for learning and demos. For OpenShift 4.x and newer on local systems, consider alternatives like CodeReady Containers (CRC) or the official OpenShift Installer for cloud and bare-metal production deployments.
Alternatives and next steps
- Minikube: lightweight Kubernetes for local testing (not OpenShift).
- CodeReady Containers (CRC): Red Hat’s local OpenShift 4.x single-node solution.
- OpenShift Installer + IPI/UPI: for installing OpenShift in production on cloud providers or bare metal.
- Manual/package-based installs: use RPMs and system packages for advanced custom installs.