

Why projects matter
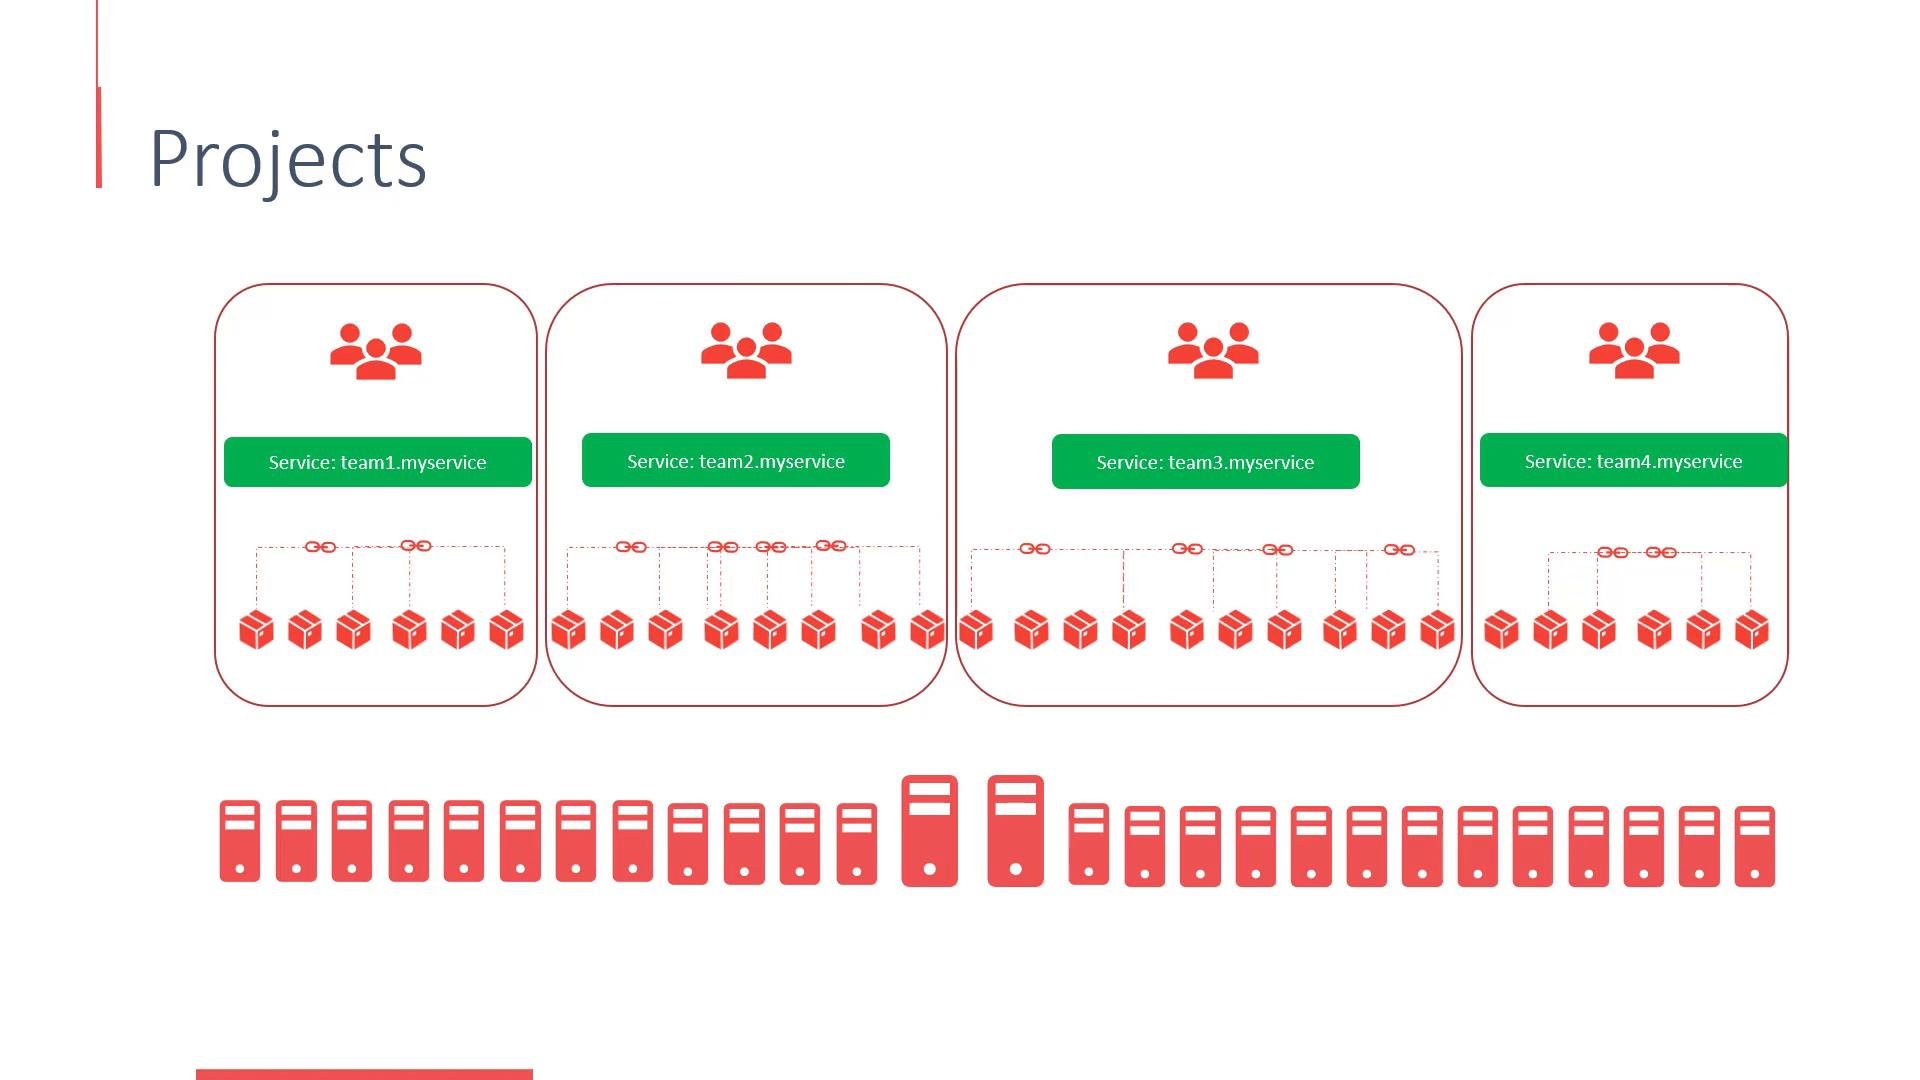
A large Kubernetes/OpenShift cluster often hosts hundreds of deployments and services for multiple teams. Without logical boundaries:- There are no built-in restrictions on who can access which resources.
- Teams must coordinate names because resource names must be unique within the same scope.
- Accidental resource interference and privilege overreach become more likely.
Projects vs Namespaces
Under the hood, OpenShift projects are implemented using Kubernetes namespaces. Namespaces scope resources so that the same object name can exist in different namespaces while remaining isolated. From a user perspective:- You create a project, deploy your application, and OpenShift handles the underlying namespace management.
- Projects add OpenShift-specific features and access controls (RBAC bindings, default resource limits, project templates, etc.) that make team workflows simpler.
User types in OpenShift
OpenShift distinguishes between several kinds of users. Understanding these is essential for designing secure authentication and authorization:
Example service account username format:
Identity providers and OAuth
The configured identity provider(s) determine how users are authenticated. OpenShift supports multiple identity provider types (LDAP, GitHub, OpenID Connect, etc.), and the behavior depends on your configuration:- Allow-all / local development: In single-node or development setups (e.g., Minishift), the
AllowAllIdentityProviderlets any username/password combination log in and automatically creates the user the first time. This is convenient for demos and testing but insecure for production. - Deny-all / locked-down installs: The
DenyAllIdentityProviderrejects all logins until an administrator explicitly creates and enables users or configures a proper identity provider.
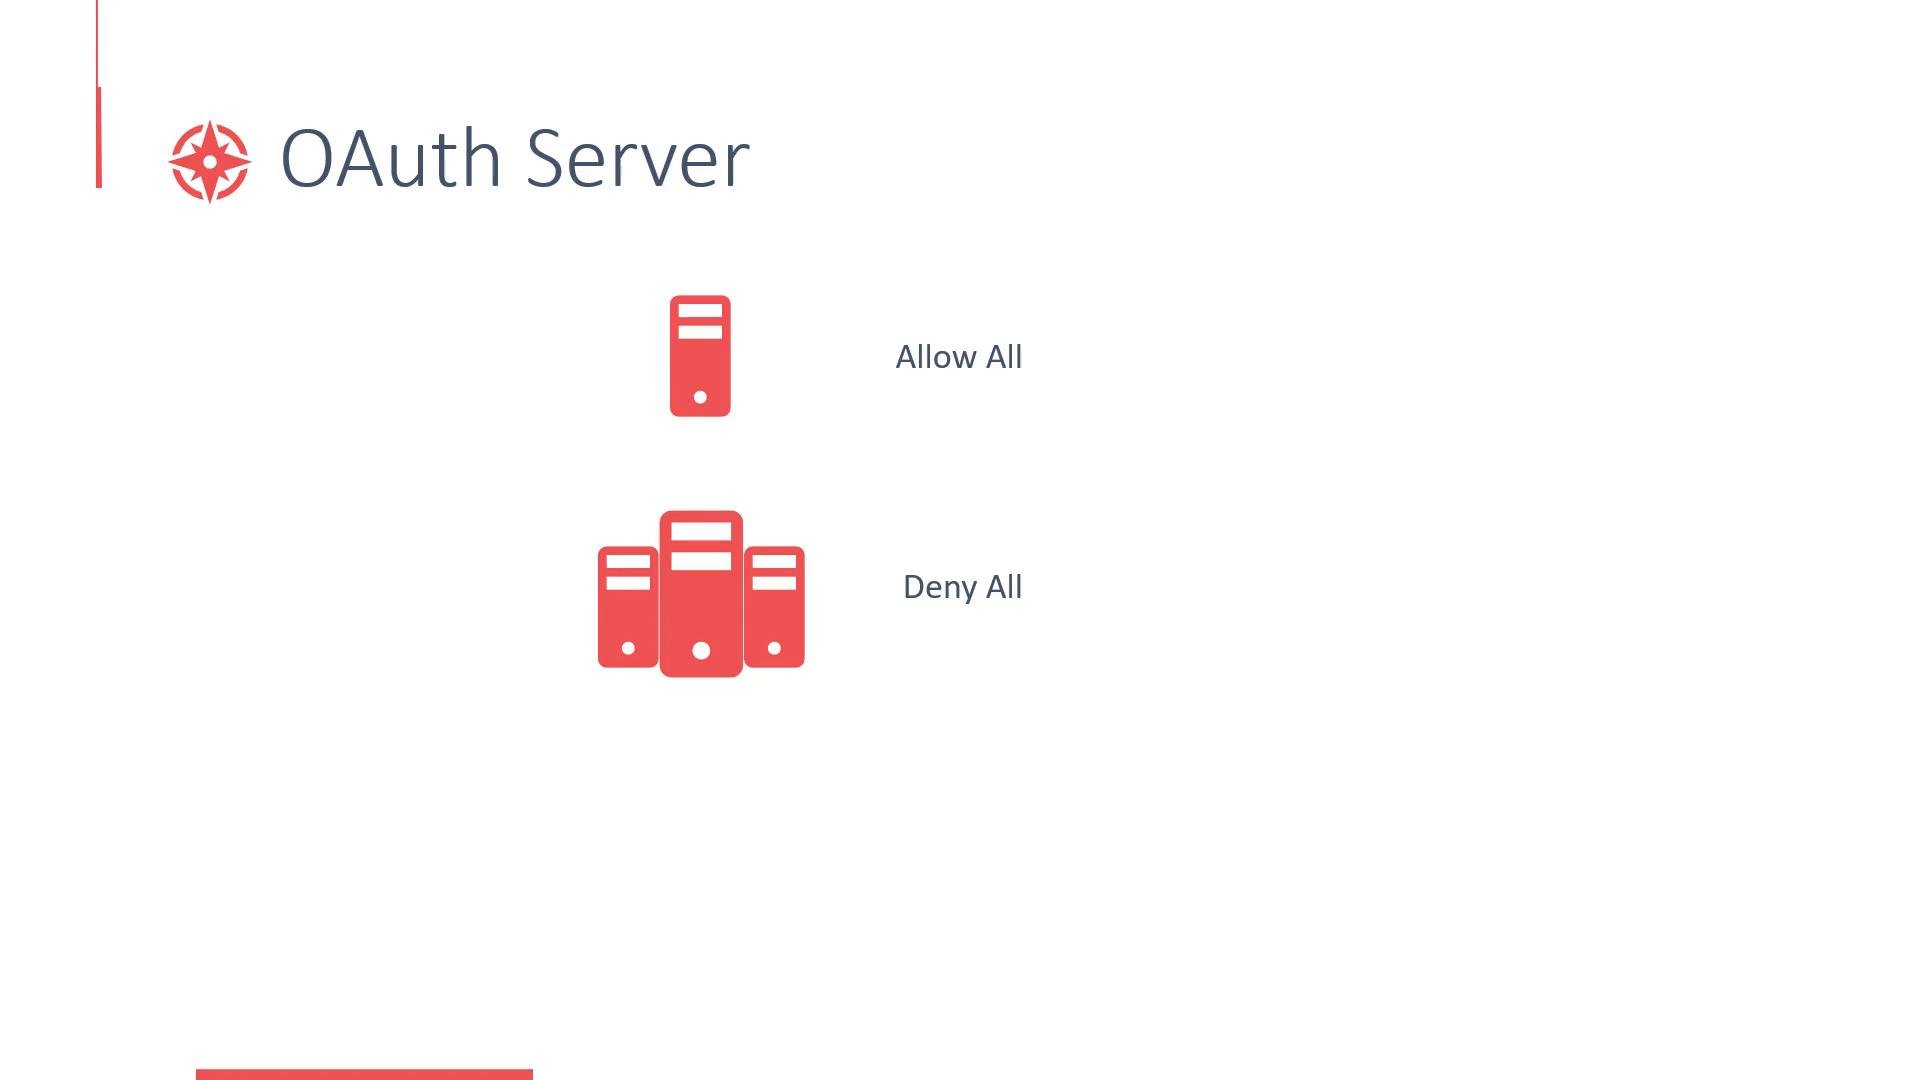
For local development (Minishift) the
AllowAllIdentityProvider is convenient but insecure. Configure a production-grade identity provider (LDAP, OAuth/OIDC, SAML, etc.) before using a cluster for real workloads.Practical tips
- Use projects to separate environments (dev, test, prod) or teams to prevent naming collisions and accidental interference.
- Apply RBAC at the project level to grant least privilege to users and service accounts.
- Use service accounts for in-cluster applications; never embed cluster credentials in application code.
- For production, integrate with a centralized identity provider (LDAP, OIDC) and enforce multi-factor authentication where possible.
References
- Kubernetes Namespaces: https://kubernetes.io/docs/concepts/overview/working-with-objects/namespaces/
- OpenShift Documentation: https://docs.openshift.com/
- Minishift (local OpenShift): https://github.com/minishift/minishift