If you want to jump straight into building, feel free to skip registration and continue to the next lesson — the lab environment already provides everything needed.
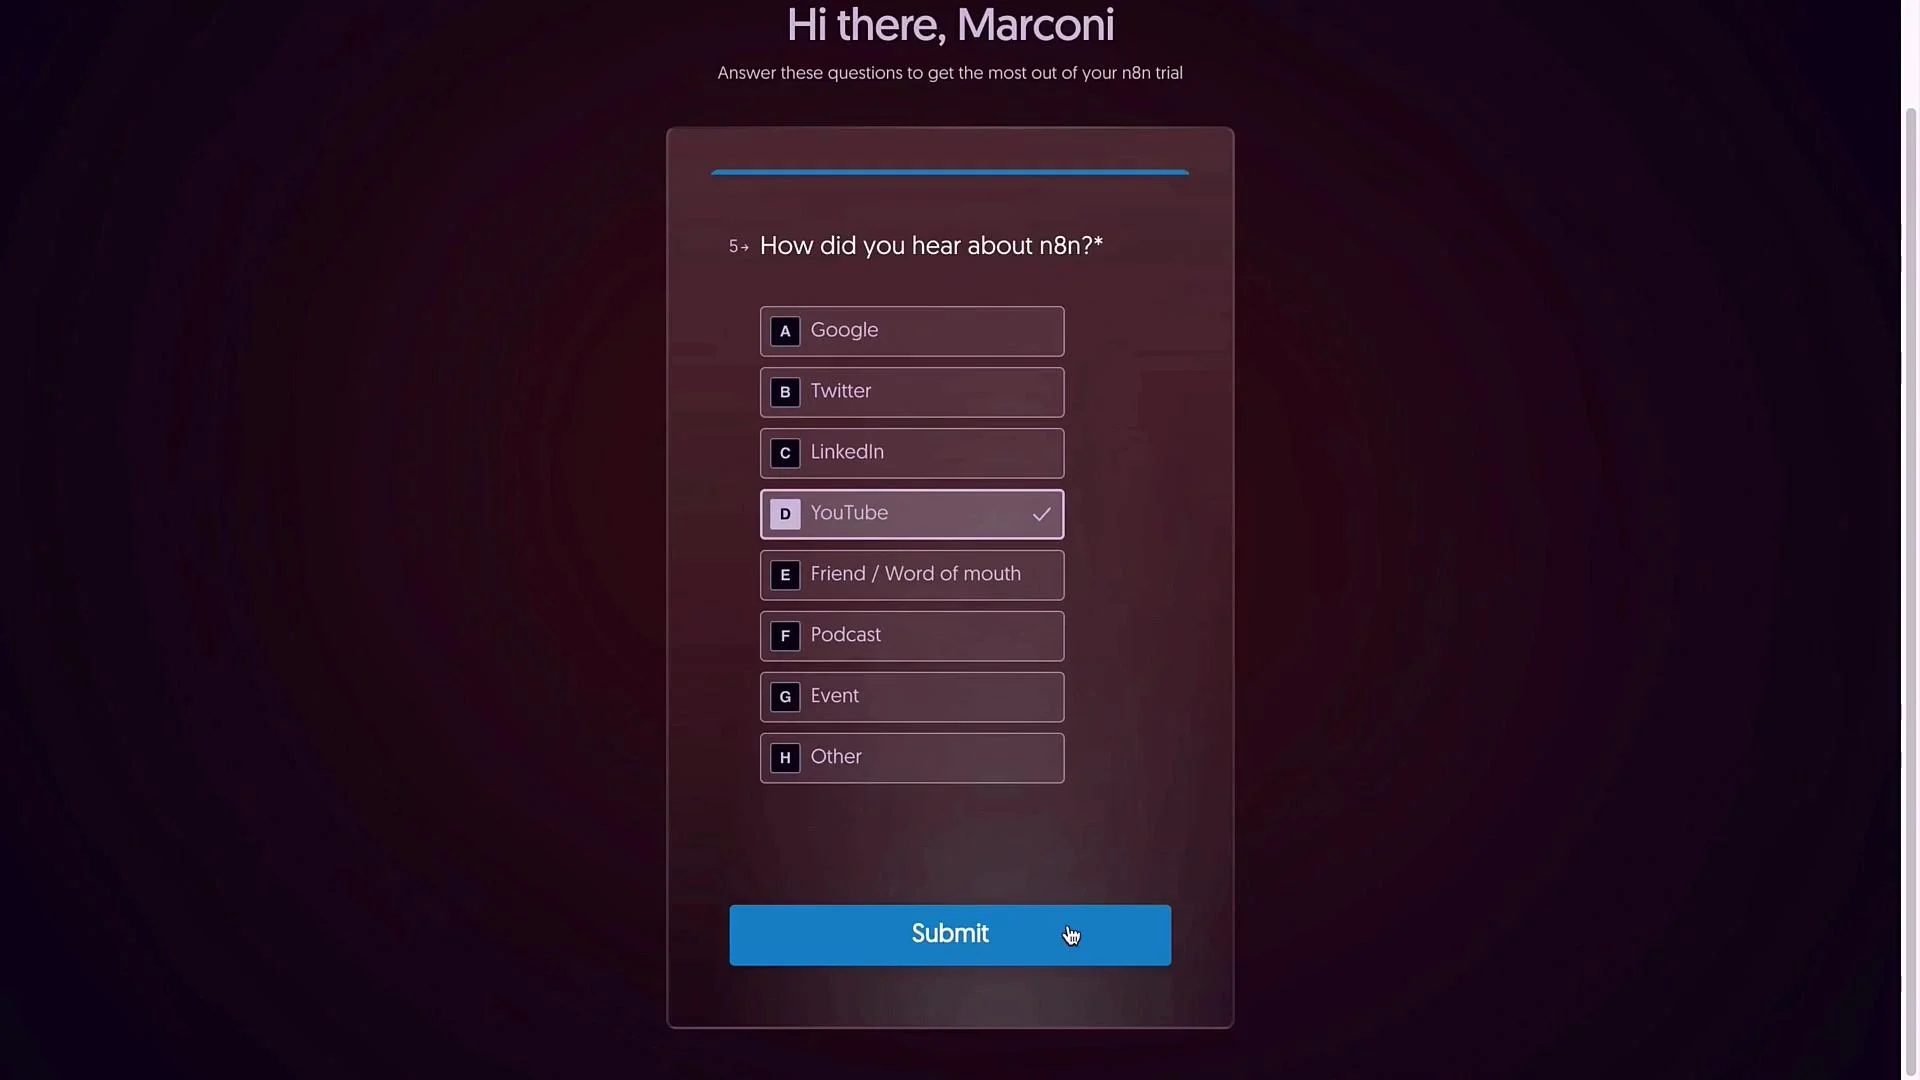
- Visit n8n.io and click Get Started to create a free account. Provide your credentials, complete the human verification, and submit the short onboarding questionnaire — it’s optional and doesn’t restrict functionality.

- The onboarding asks about the apps and integrations you expect to use. This only helps tailor suggestions — n8n gives access to all nodes regardless of your choices. Pick a few that match your use case.
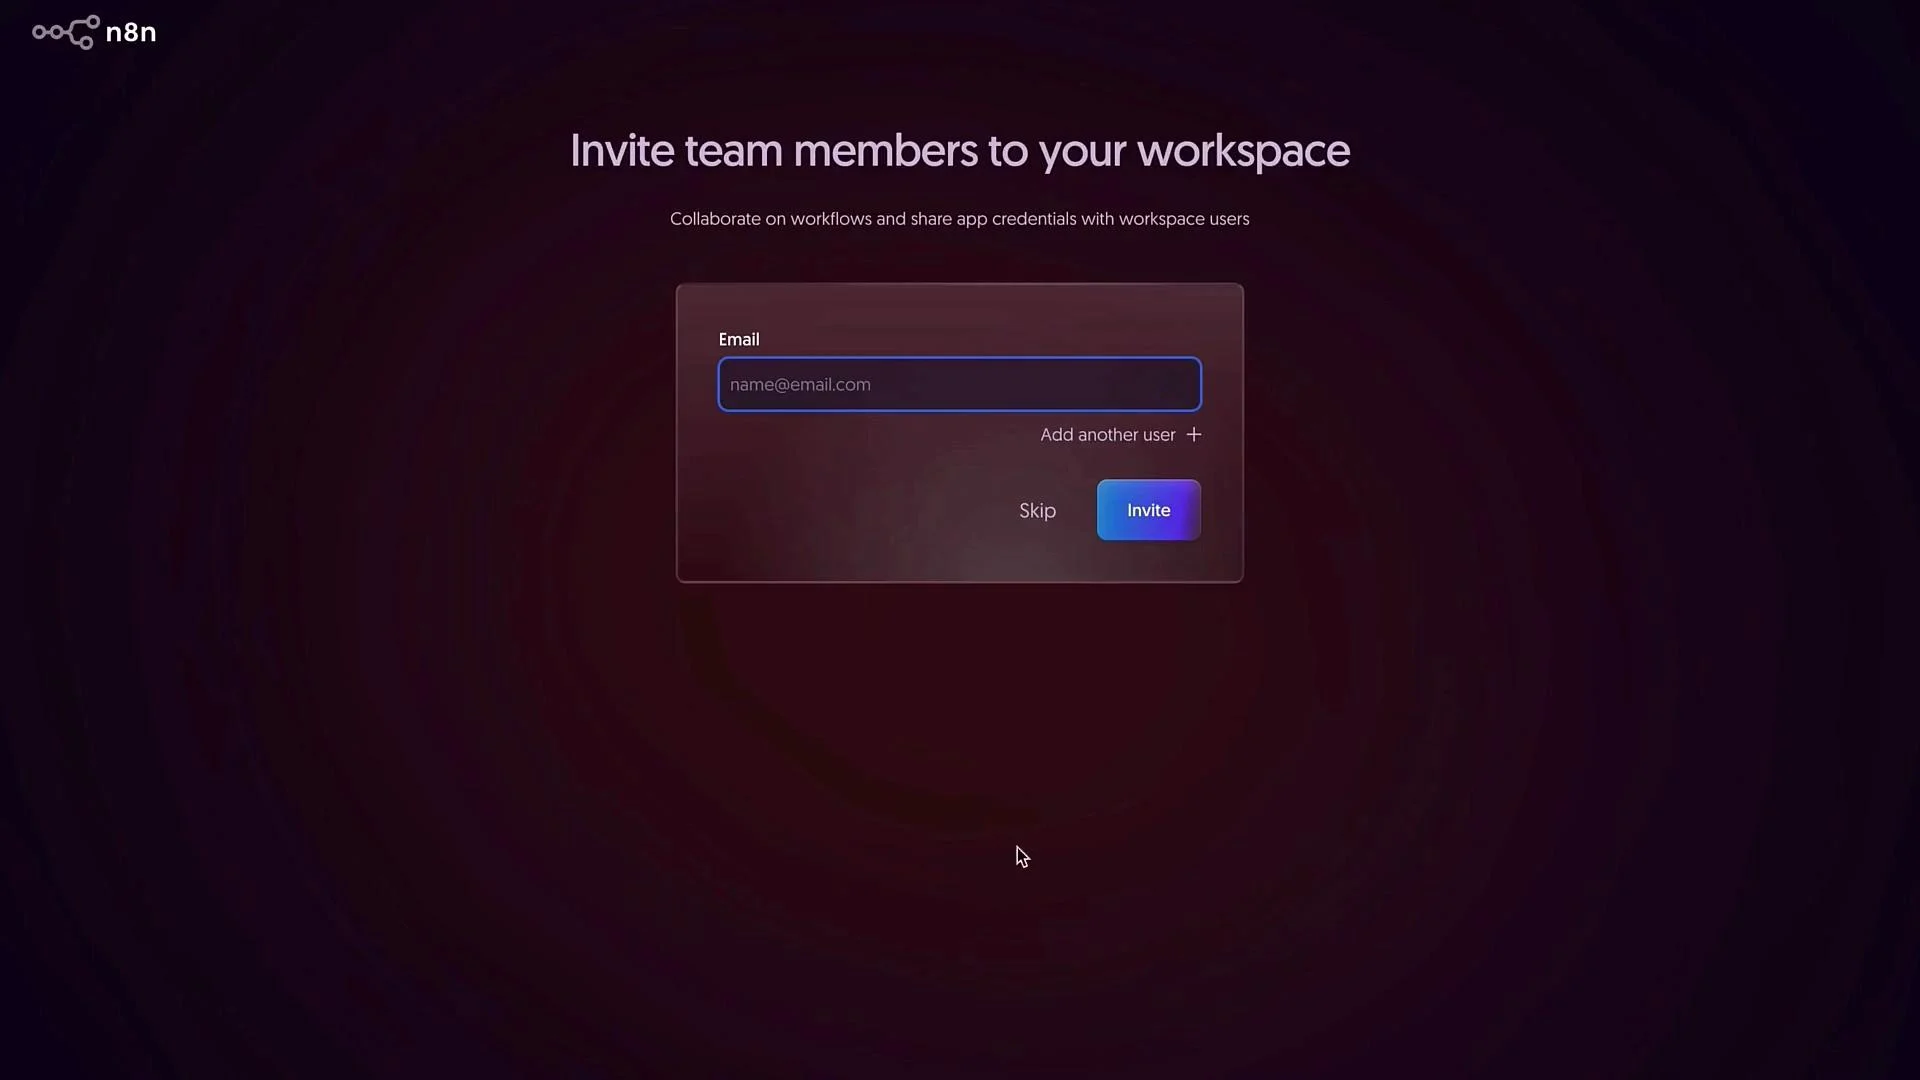
- Invite teammates during onboarding if you want shared access to the workspace; otherwise skip and invite later from Settings → Users.
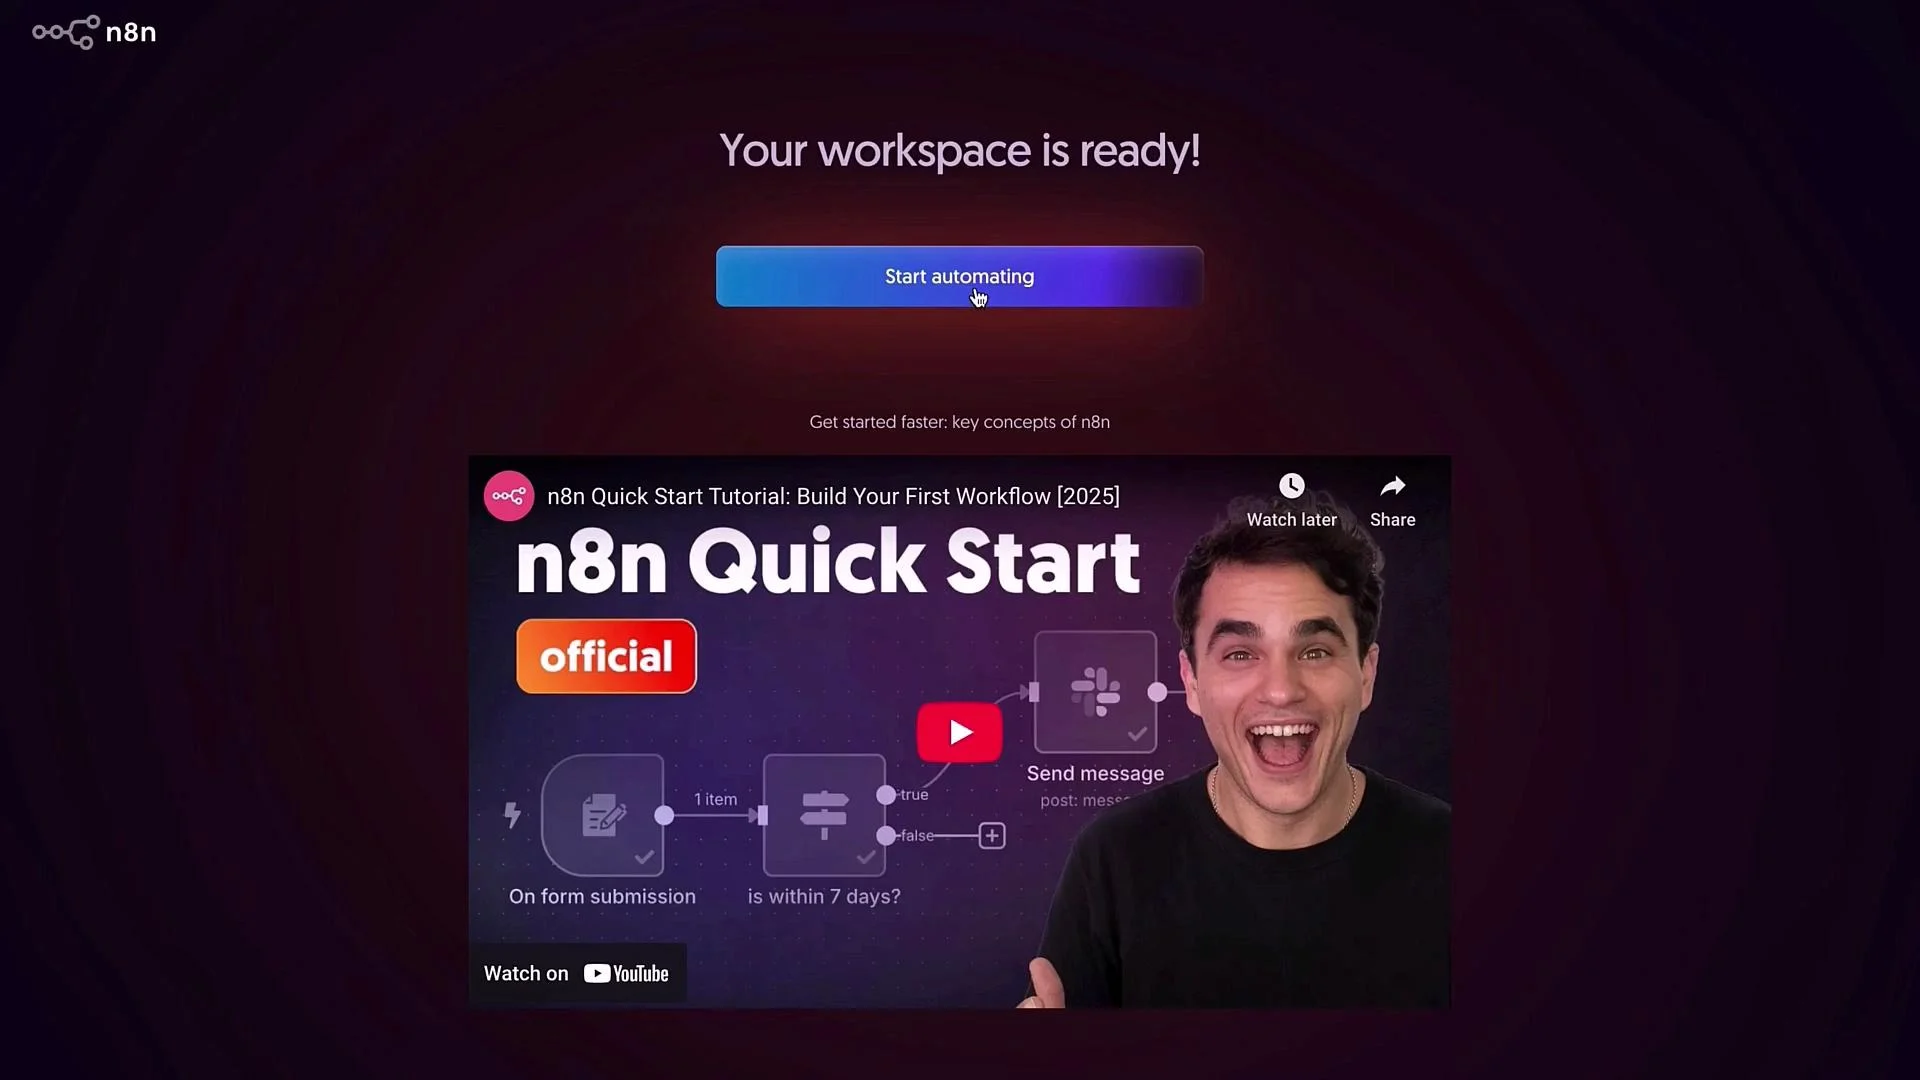
- Wait a minute for your workspace to provision. When it’s ready, click Start automating to open the workflow canvas and begin creating.
Recommended billing and launch setup
Before you start building, open Settings and configure a few defaults. These improve collaboration, logging, and scheduling reliability. The dashboard gives quick access to Projects, Settings, and sample flows to help you get started.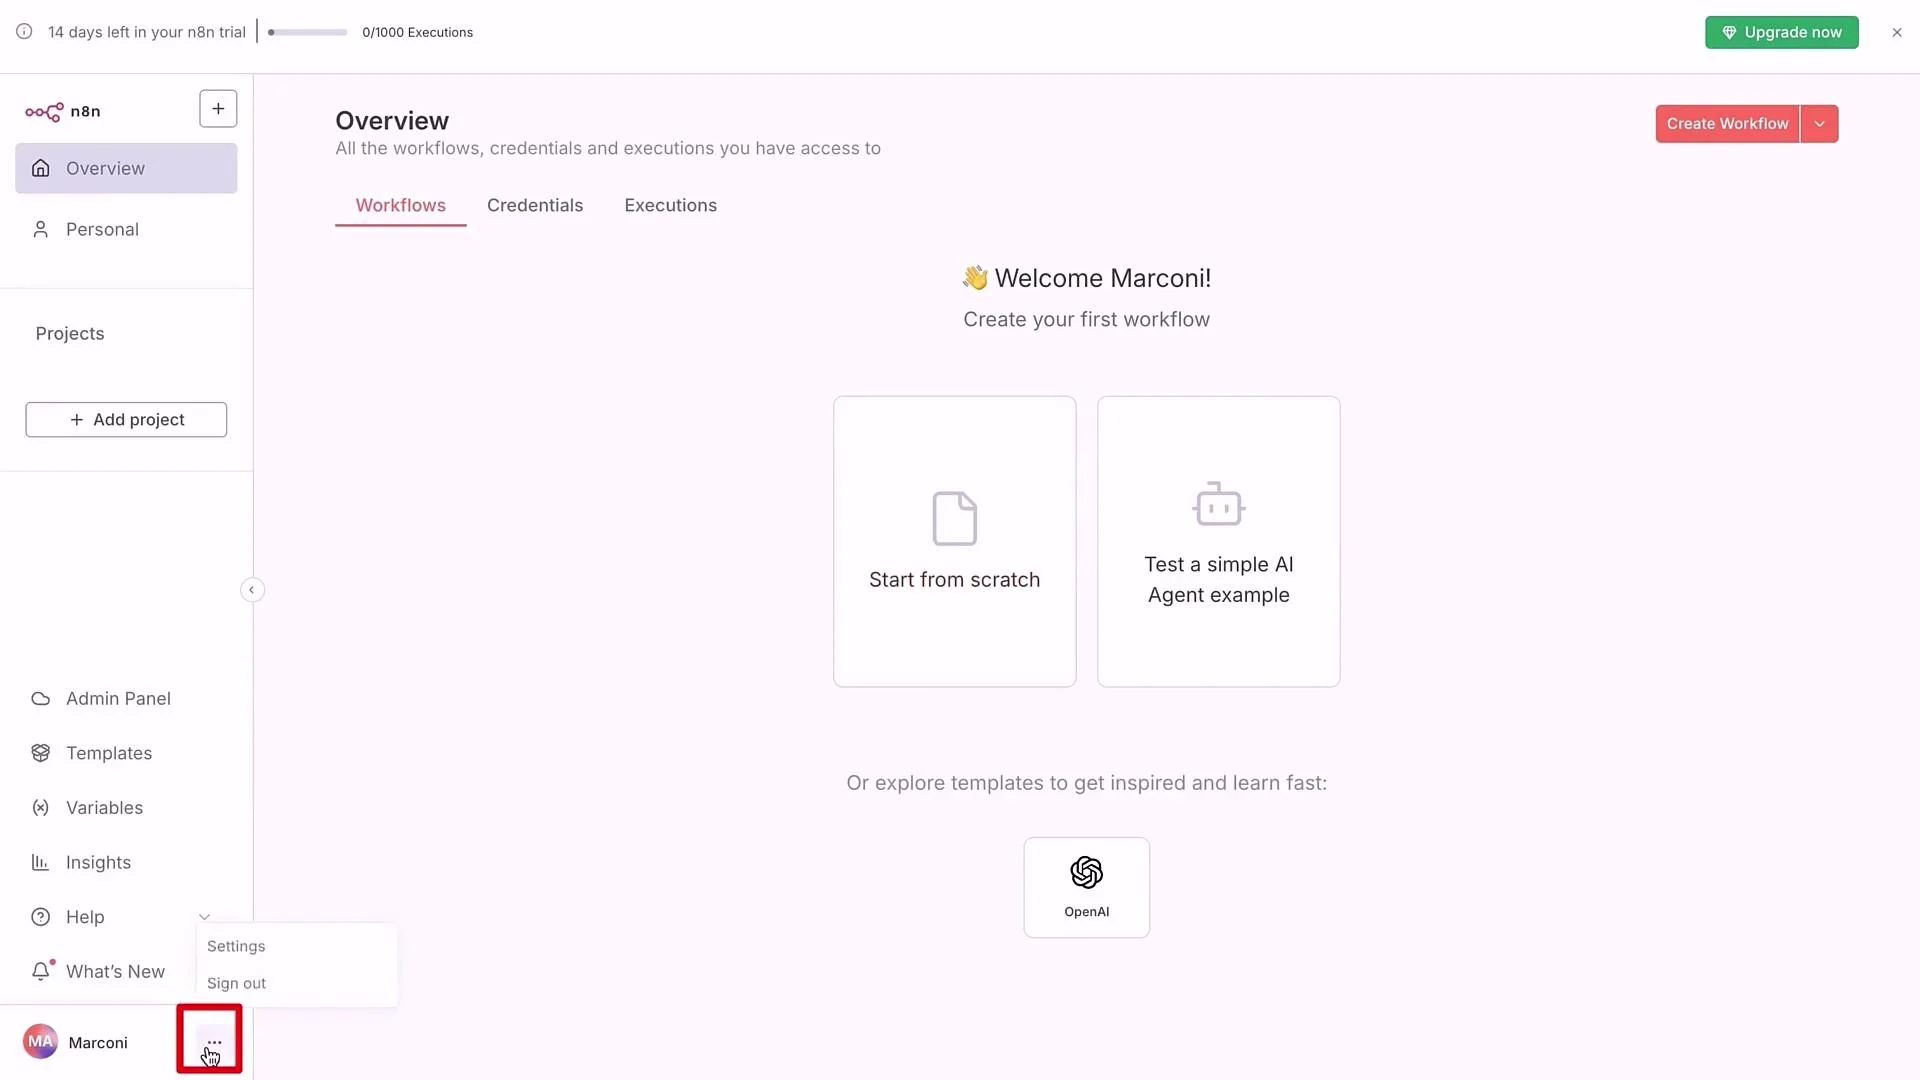
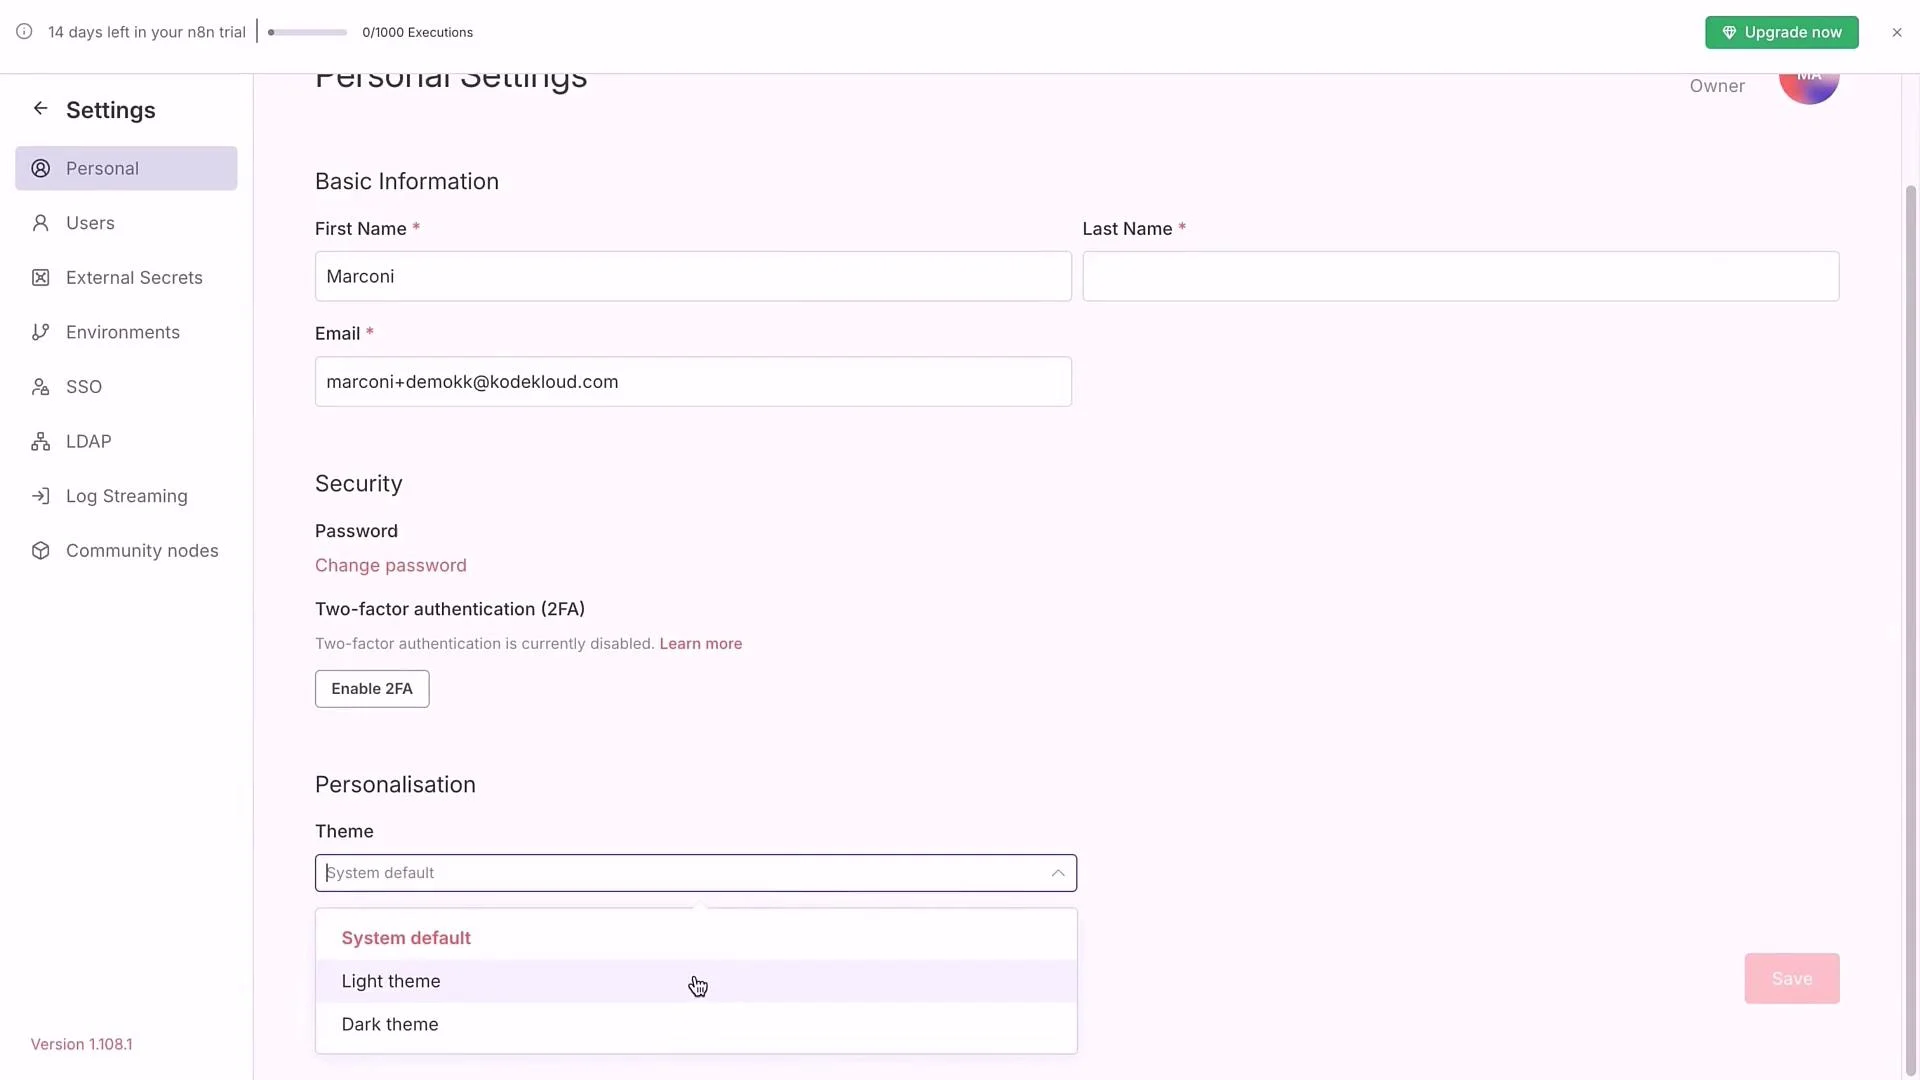
- Set UI theme to light or dark via Settings → Personalization and click Save.
- Confirm your name and email for audit trails and team visibility.
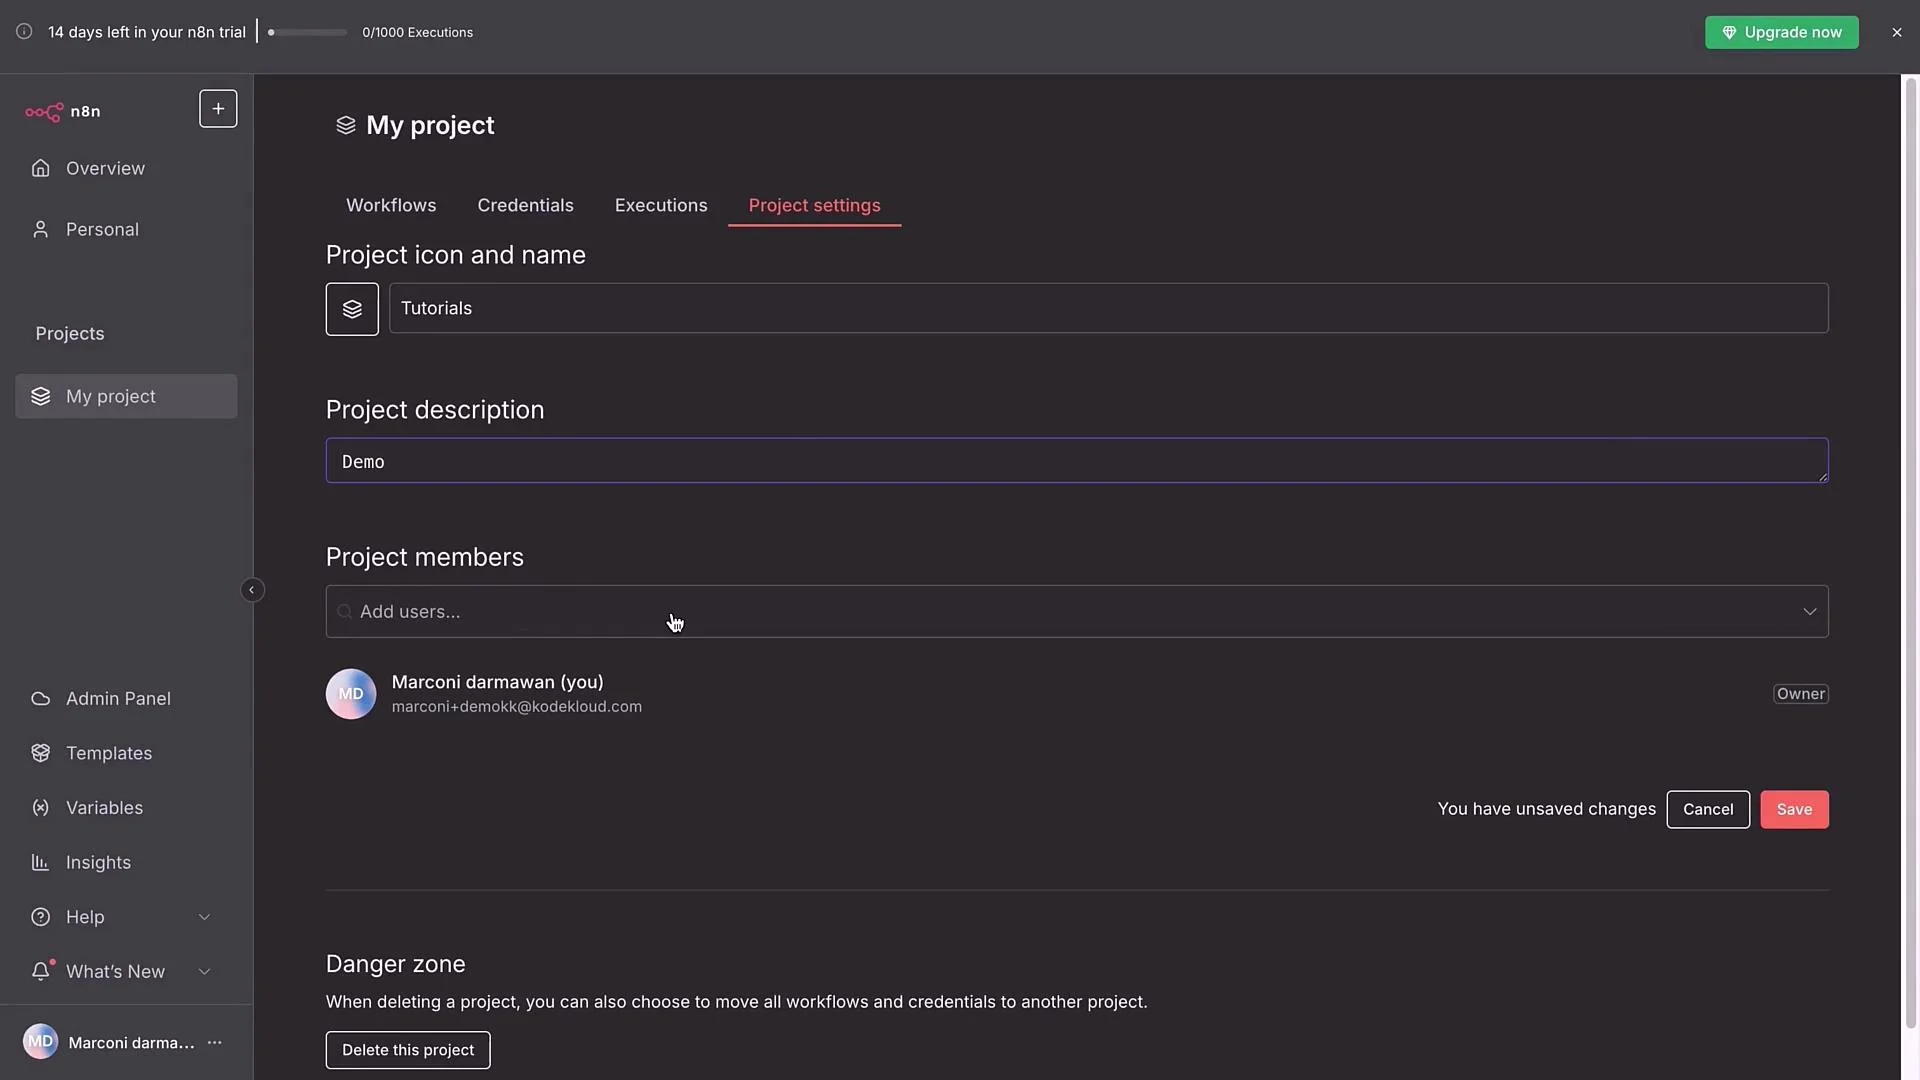
- Organize workflows using Projects and Folders. Create a folder like
TutorialsorBuild-Alongto keep related workflows grouped. - Add only the necessary members to a project to control access.
- Verify workspace-level settings (n8n version, time zone).
- Configure Executions to capture the execution logs you need (consider enabling all options while learning to make debugging easier).
- Enable Verified Community Nodes to broaden available integrations with community-contributed nodes.
- For teams, set up External Secrets and SSO as required.
If you self-host, plan a regular update cadence (for example, pull the latest Docker image weekly or monthly) to keep nodes, security patches, and new features current.
Getting started with your first workflow
Once settings are saved, click Start from Scratch to open a blank canvas and begin building your first workflow. If you prefer testing in a sandbox, the KodeKloud playground n8n environment is a good alternative before committing to Cloud. Note: Cloud accounts typically include a trial period (for example, you might see a14-day trial banner while evaluating n8n Cloud). Use the trial to explore features and decide whether to continue with Cloud or migrate to self-hosting later.
That completes setup. In the next lesson we’ll open the blank canvas and start building reliable workflows step by step.
Further reading and references
- n8n Documentation: https://docs.n8n.io
- n8n Community: https://community.n8n.io
- KodeKloud n8n Playground (if applicable to your course)