
- Trigger: Google Drive — fires when a photo is uploaded.
- User interaction: sends a Telegram message with the photo and asks for a prompt or ideas to generate a video from the image.
- Logging: writes the image URL and metadata to a Google Sheet for auditability.
- Decouples user-facing steps (triggers, prompts, logging) from heavy processing (image-to-video conversion).
- Lets you run the same processing pipeline from multiple triggers by reusing the sub-workflow.
- Enables independent testing, retry policies, and logging per sub-workflow.
- Add an Execute Workflow node to the main workflow where you want to hand off processing.
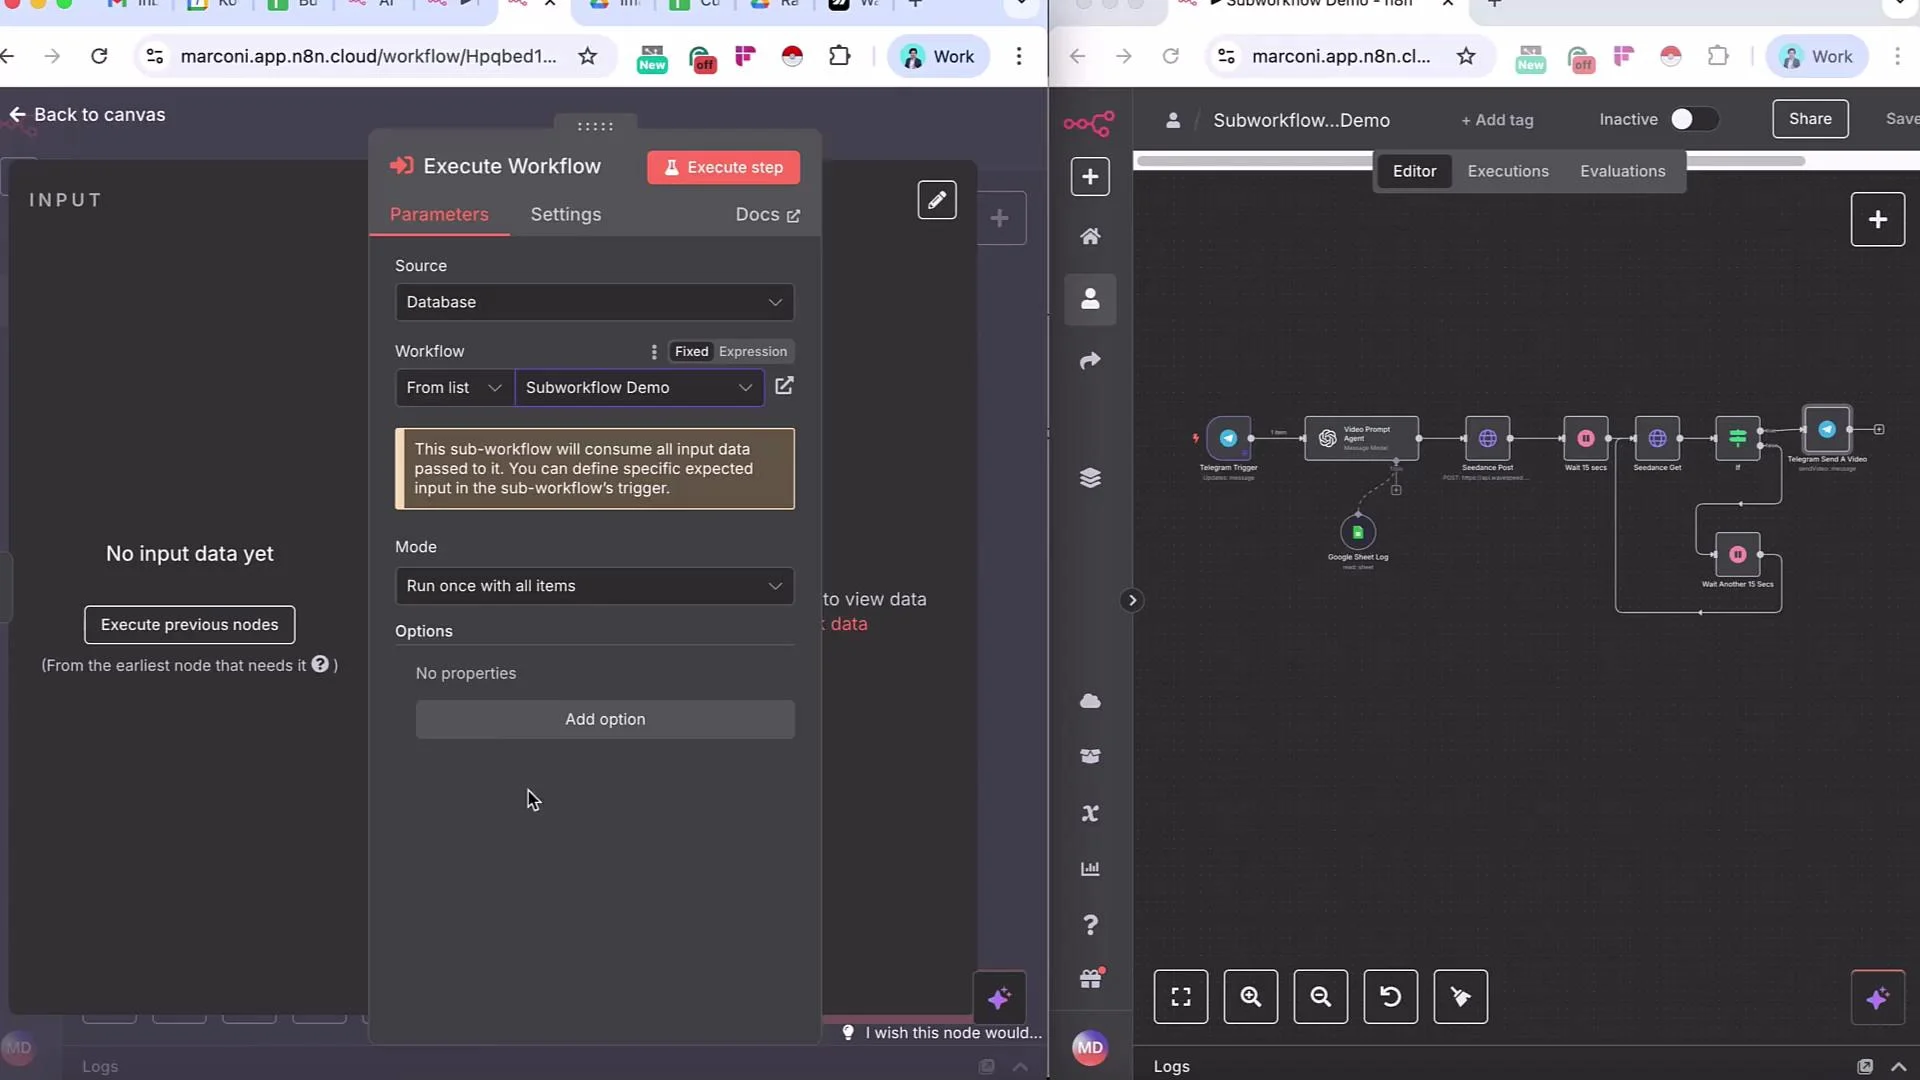
- From the Execute Workflow node’s dropdown, select the target sub-workflow (for example,
Subworkflow Demo). - Configure whether to pass the current item(s) or transform the data before the call.
- When the main workflow reaches the Execute Workflow node, it invokes the sub-workflow and passes the input items to it.
Using sub-workflows improves observability and isolation: you can enable separate logging, retries, and error handling policies per sub-workflow. It also makes it easier to reuse common processing pipelines across multiple triggers.
Quick step-by-step: adding and configuring the Execute Workflow node
- Open the main workflow (the entry-point canvas with the Google Drive trigger).
- Add an Execute Workflow node where processing should begin.
- In the node settings, choose the sub-workflow (
Subworkflow Demo) from the dropdown. - Configure input mapping: choose “Pass input data” or map fields explicitly.
- Optionally set “Wait for Workflow” depending on whether you need synchronous results.
- Save and activate both workflows. Test the end-to-end flow by uploading an image to the Drive trigger.
- Keep the main workflow focused on triggers, notifications, and logging.
- Put long-running or retry-prone operations in sub-workflows and enable appropriate timeout and retry policies there.
- Reuse sub-workflows when multiple triggers require the same processing steps.
- Use clear naming (e.g.,
process-image-to-video) for sub-workflows to make their purpose obvious in the Execute Workflow dropdown.
- Triggers and user interaction remain in the main workflow (Google Drive trigger, Telegram prompt, Google Sheet logging).
- Processing-heavy or reusable logic moves to sub-workflows for independent development and monitoring.
- The Execute Workflow node calls the selected sub-workflow and forwards input items so the sub-workflow can continue processing.
- Edit the “Subworkflow Demo” to implement the full image-to-video conversion steps (e.g., add model calls, transcoding, storage).
- Add retry logic, error handling, and monitoring to the sub-workflow so failures don’t affect the main trigger or user-facing nodes.
- Consider adding versioning or change logs for sub-workflows you reuse across workflows.