Demo Creating a simple S3 Bucket with CloudFormation
This article provides a guide on using AWS CloudFormation to create an Amazon S3 bucket with examples of simple and comprehensive templates.
Welcome to this detailed guide on using AWS CloudFormation to create an Amazon S3 bucket. In this lesson, we first explore a minimal CloudFormation template for creating a basic S3 bucket and then expand the topic with a more comprehensive example that includes additional best practices and configurations.
Every CloudFormation template starts with a version declaration and may include a brief description. In the example below, the “Resources” section defines an S3 bucket named using your account ID and region. This ensures uniqueness across AWS environments.
Copy
Ask AI
AWSTemplateFormatVersion: '2010-09-09'Description: Simple CloudFormation template to create an S3 bucketResources: MyS3Bucket: Type: AWS::S3::Bucket Properties: BucketName: !Sub 'my-simple-log-bucket-${AWS::AccountId}-${AWS::Region}'
Save this template locally and then proceed to the CloudFormation console for deployment.
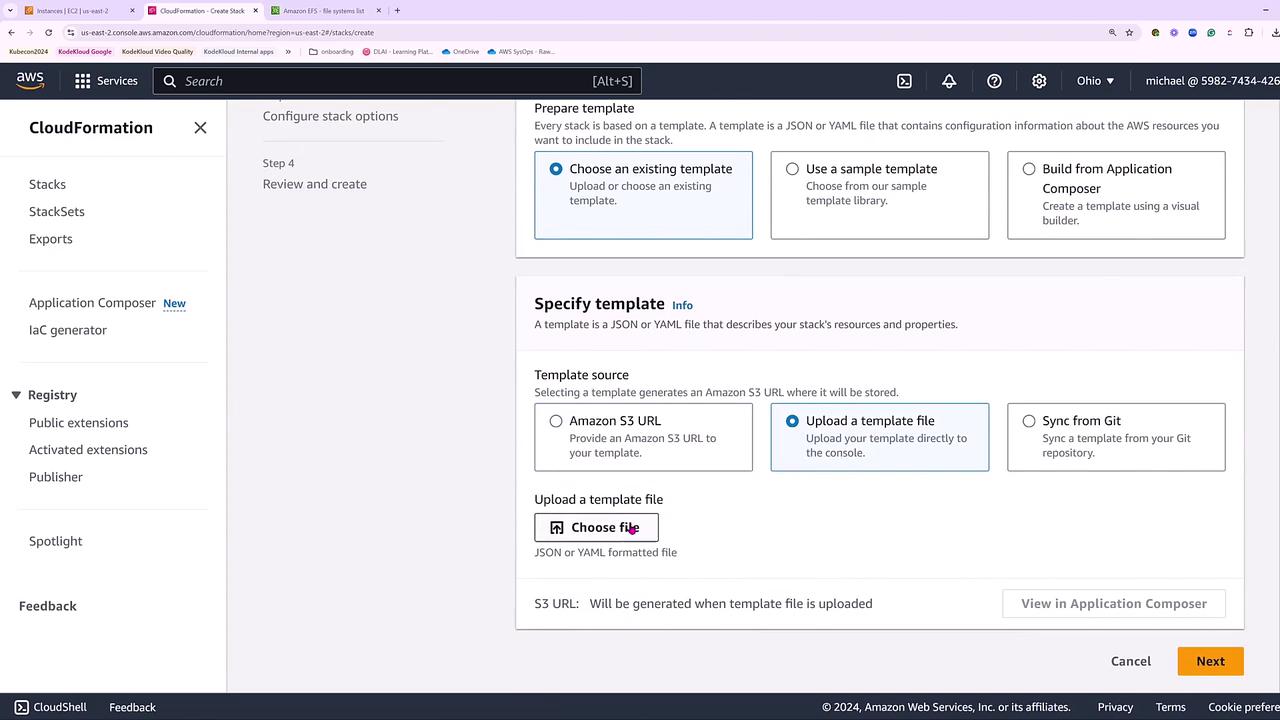
Open the CloudFormation console and select the option to upload an existing template file.
Upload the file containing the S3 bucket definition.
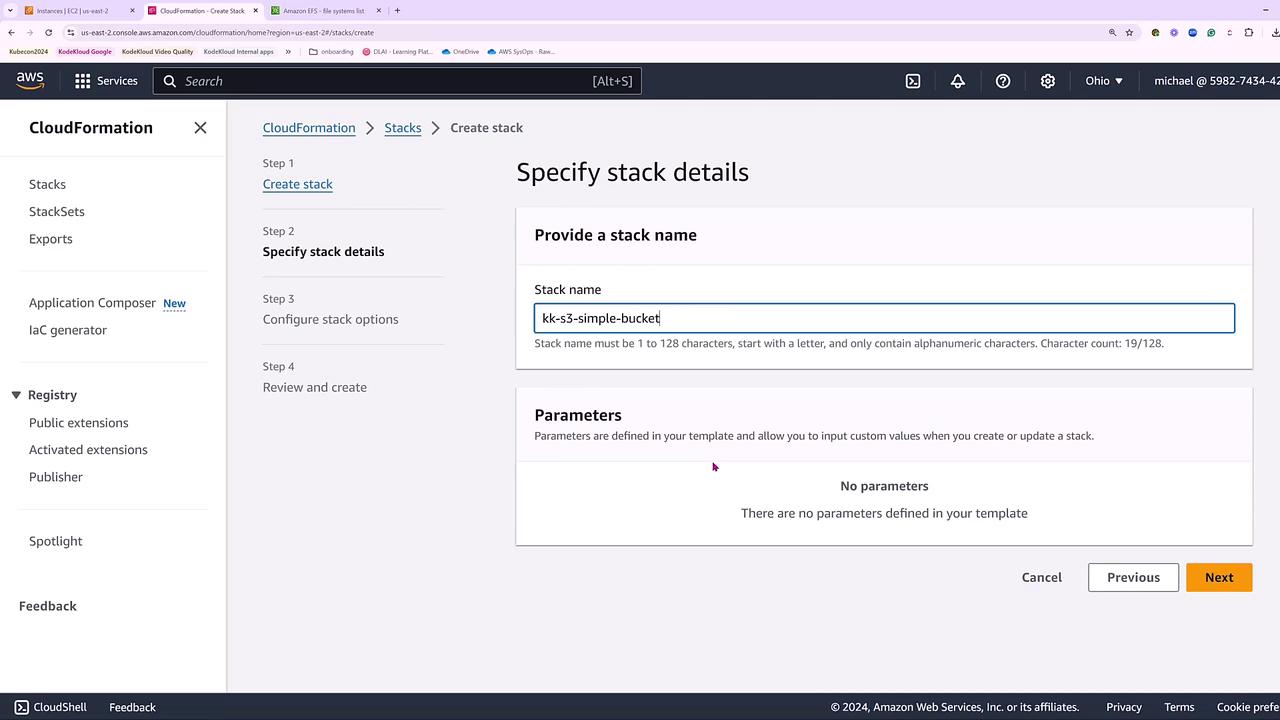
Click Next, and provide a stack name, such as “kk-s3-simple-bucket.”
Since there are no parameters for this template, proceed by clicking through the remaining steps without additional input.
After setting the stack name and reviewing the configuration parameters, continue by clicking Next. Since there are no tags or specific permissions required, default settings apply.
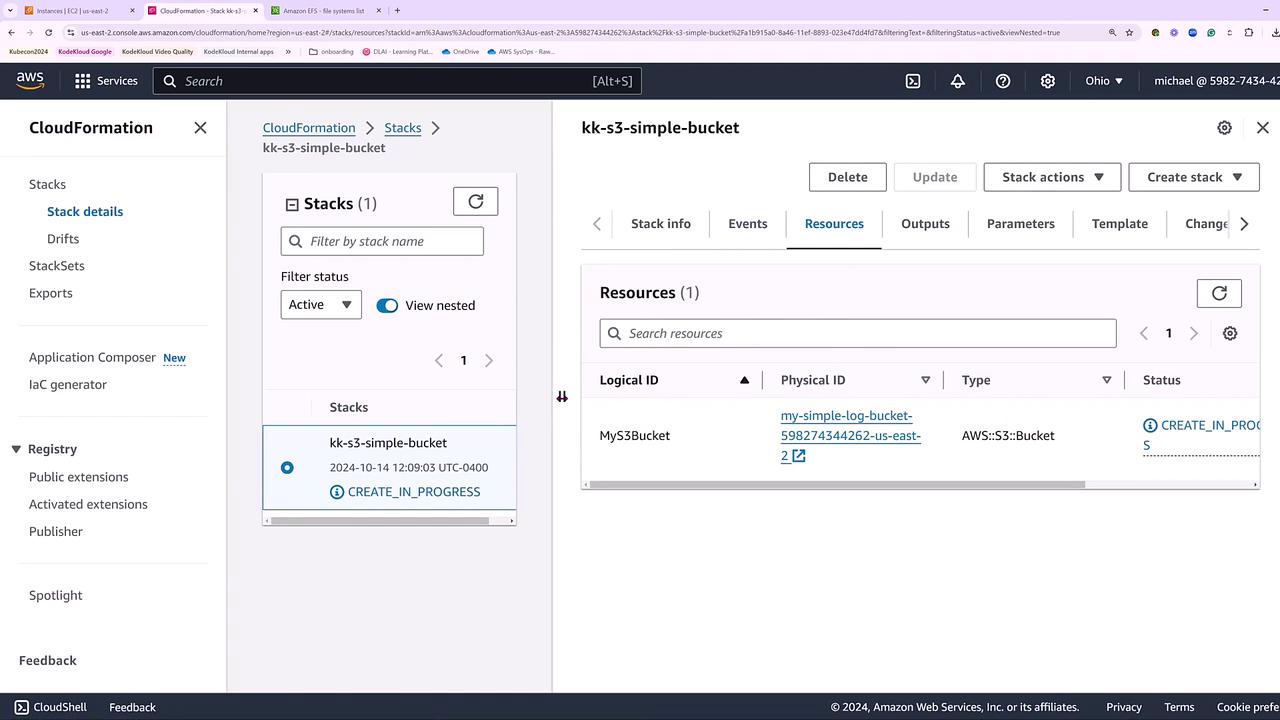
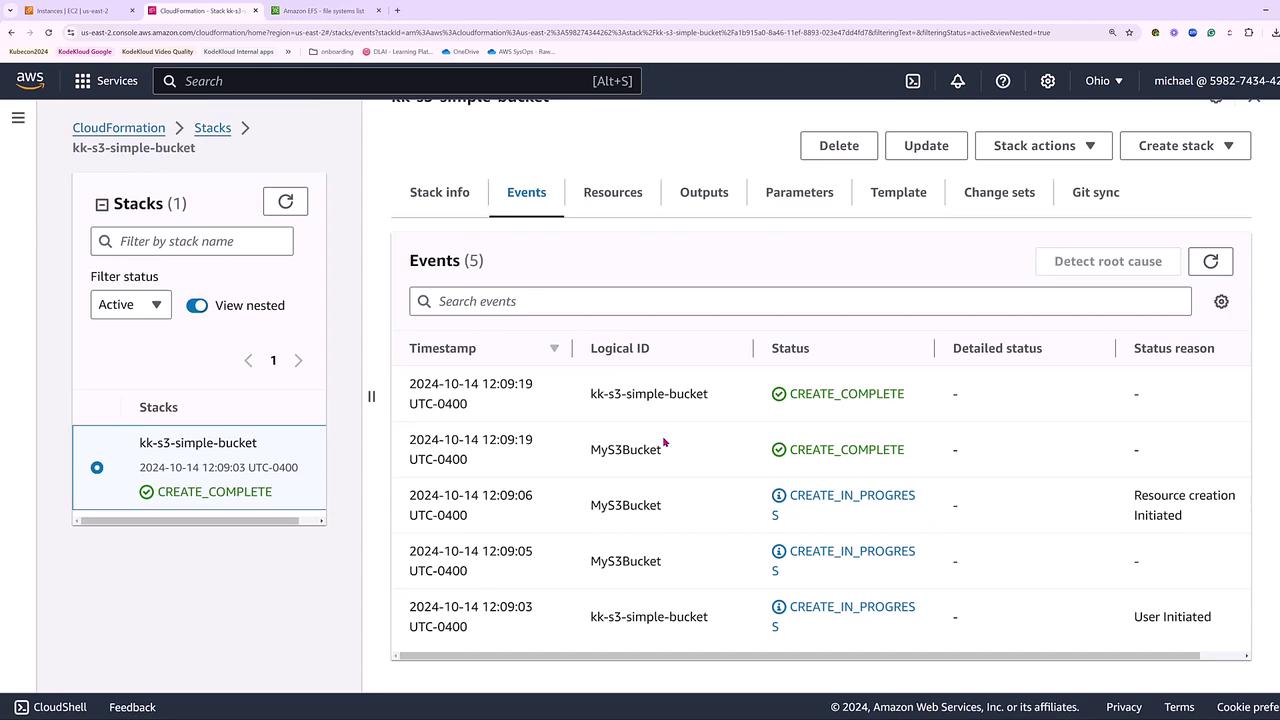
Review the default failure options and deletion policies. Once confirmed, click Submit to launch the stack creation process. You can monitor resource status in both the “Resources” and “Events” tabs.
During the stack creation process, status updates for the S3 bucket will appear.
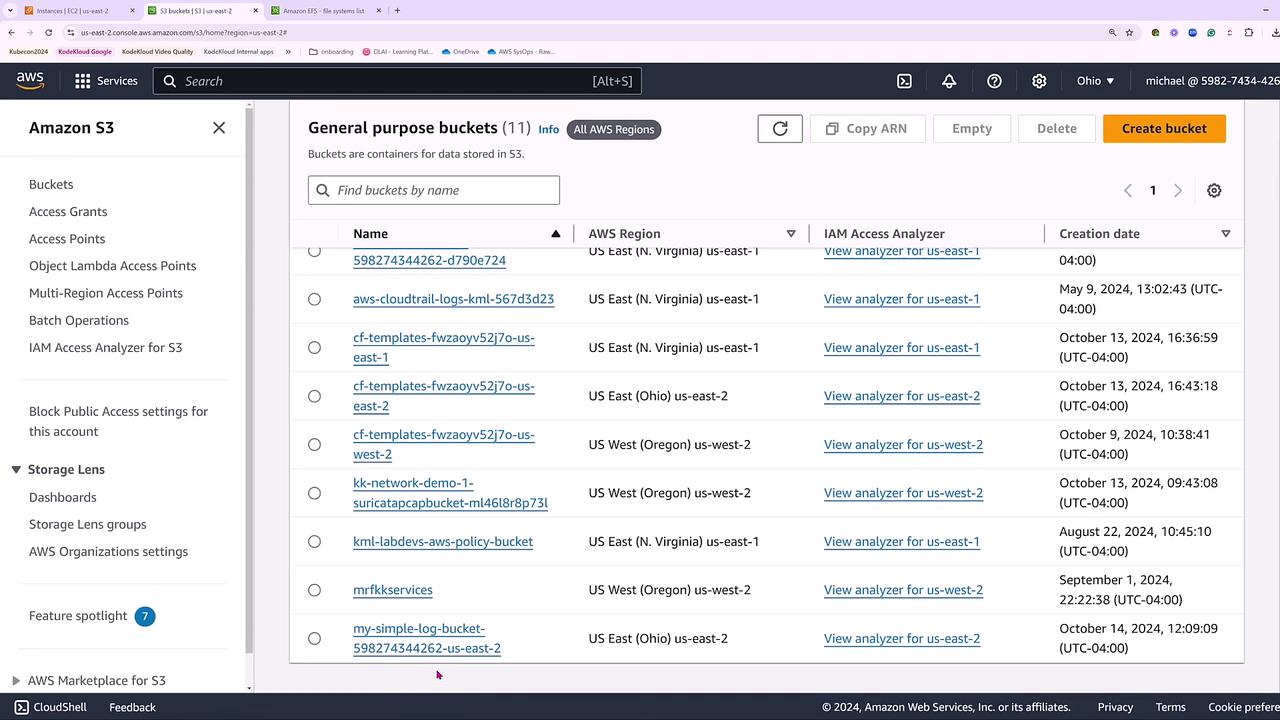
After the events show that the S3 bucket has been created successfully, switch to the Amazon S3 console to verify the bucket. The bucket name will include your account number and region (for example, us-east-2).
This simple example demonstrates that AWS CloudFormation allows you to define your infrastructure as code with just the minimum details necessary to launch resources.
For advanced use cases, enhance your CloudFormation template to include additional configurations such as versioning, encryption, lifecycle rules, logging, website hosting, CORS (Cross-Origin Resource Sharing) configuration, and tagging. The example below sets up a comprehensive S3 bucket along with a dedicated log bucket.
Unique Bucket Naming: The bucket name incorporates the AWS account ID and region for uniqueness.
Versioning: Enabled to maintain a history of object changes.
Encryption: Server-side encryption is set using AES256 to secure your data.
Lifecycle Management: Objects are transitioned to Glacier storage after 60 days and deleted after 365 days.
Logging: Access logs are stored in a dedicated log bucket.
Website Hosting: Configured with specified index and error documents.
CORS Settings: Allows GET requests from all origins.
Tagging: Applies tags to efficiently manage resources in production environments.
Integrating these advanced configurations into your CloudFormation templates enables you to adopt best practices in security, data management, and resource monitoring.
Whether you choose a simple or comprehensive approach, AWS CloudFormation provides the flexibility to manage your infrastructure as code. From launching a basic S3 bucket to configuring a fully featured storage solution with encryption, versioning, and logging, these templates empower you to scale and manage your resources effectively.Thank you for following along in this lesson.