This guide explains how to host static websites using Azure Blob Storage, simplifying the process of serving static content without managing web servers.
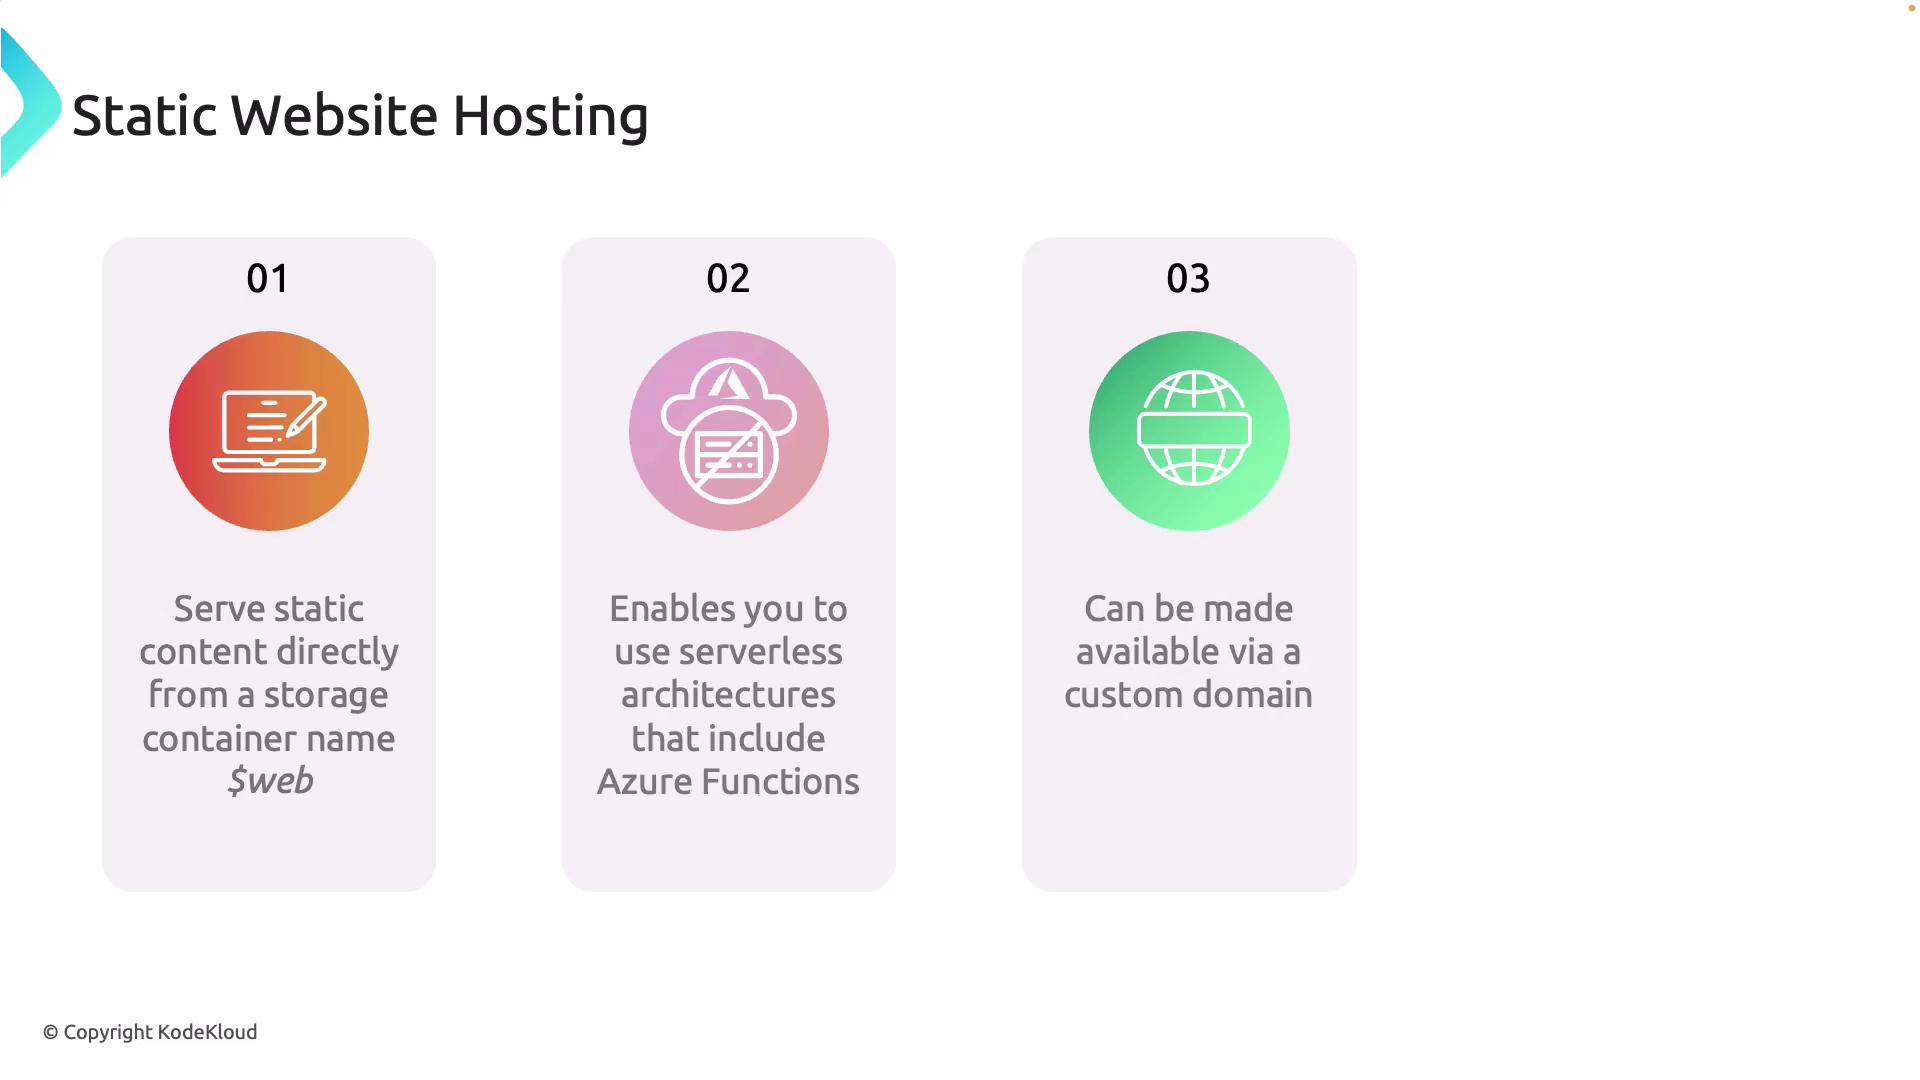
In this guide, we will explain how to host static websites using Azure Blob Storage. Azure Blob Storage offers a streamlined solution for serving static content—HTML, CSS, JavaScript, and image files—without the complexity of managing full web servers. By leveraging a dedicated container named $web, Azure Blob Storage simplifies static website hosting.When you enable the static website feature, Azure automatically creates the $web container. All the static files you upload to this container, such as HTML, CSS, and JavaScript, are immediately available on the internet. This setup removes the need for additional infrastructure like virtual machines or App Services and integrates well with serverless architectures. For instance, you can easily pair your static content with Azure Functions to handle backend operations like form submissions or email processing.Mapping the auto-generated URL (e.g., https://youraccountname.blob.core.windows.net) to a custom domain is also supported. You can provide a memorable domain name like www.kodekloud.com by updating your DNS settings to point to the Azure Blob Storage endpoint.
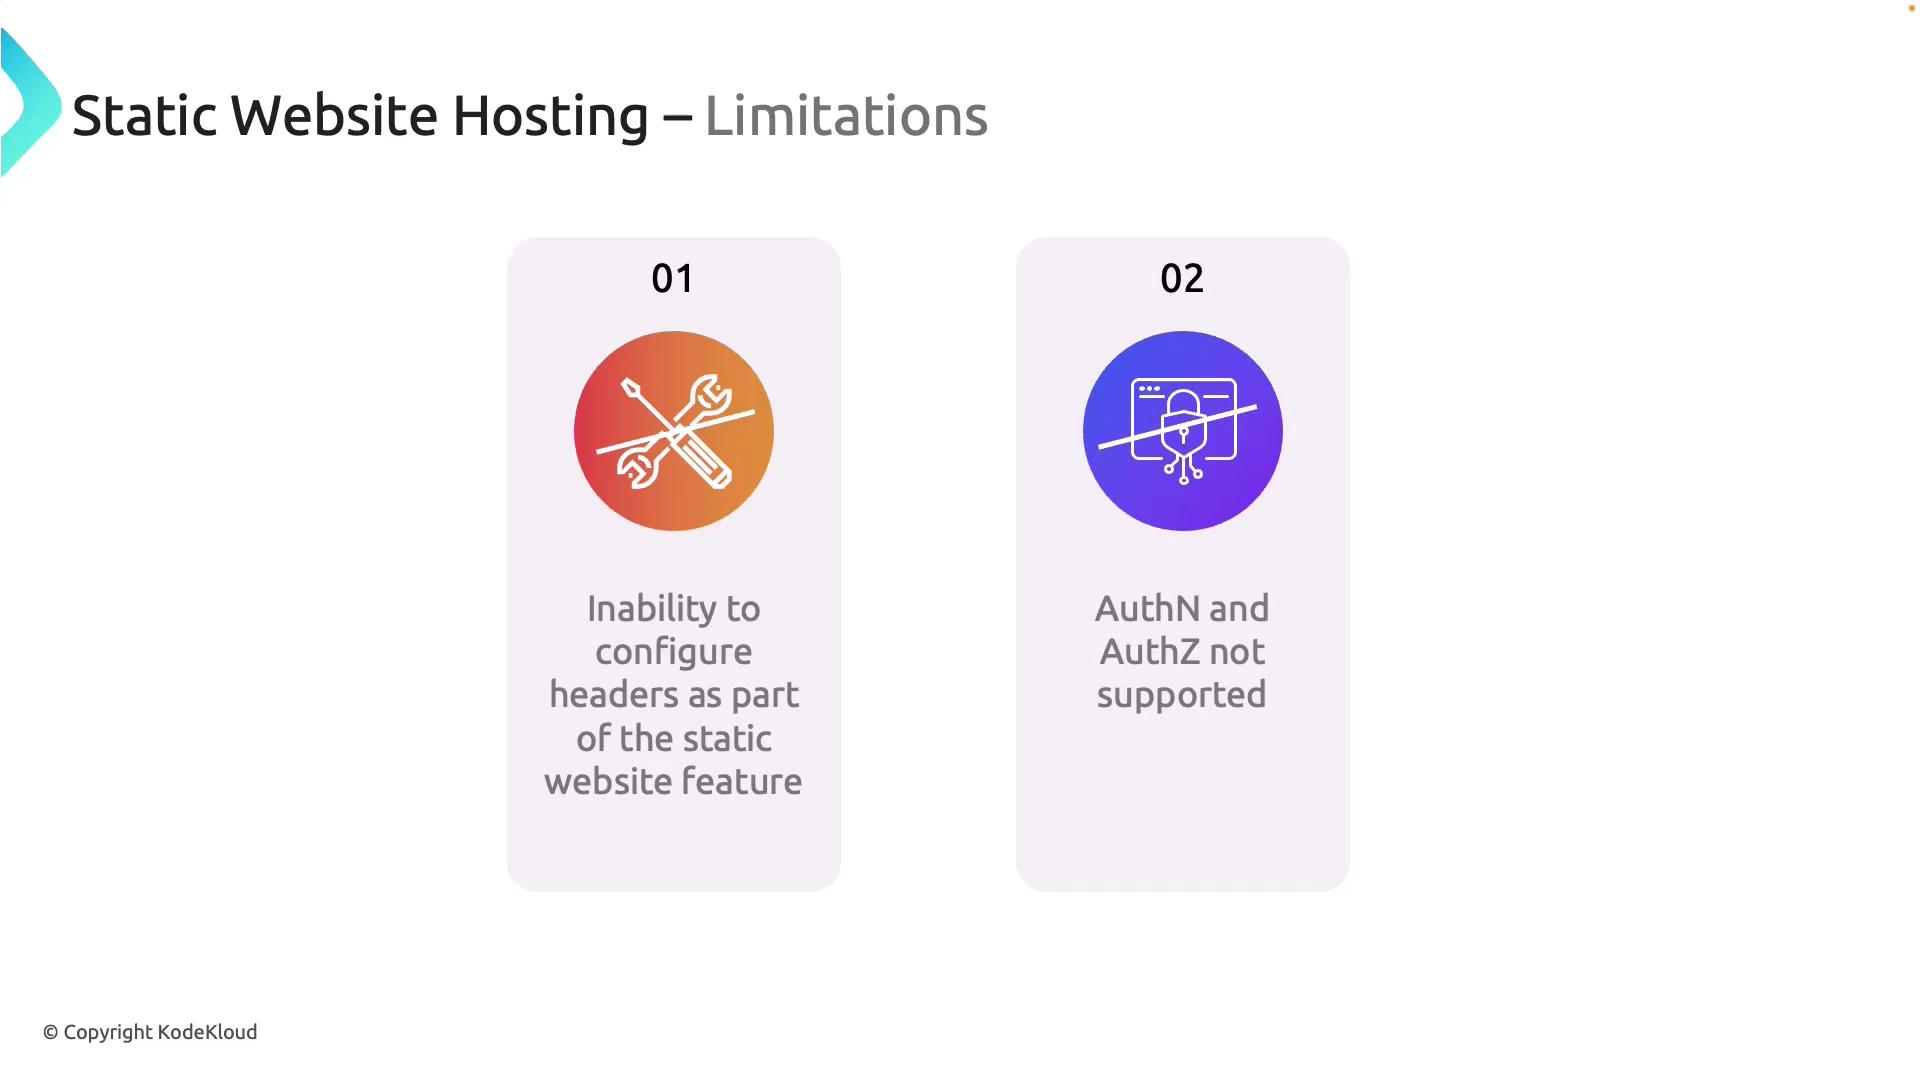
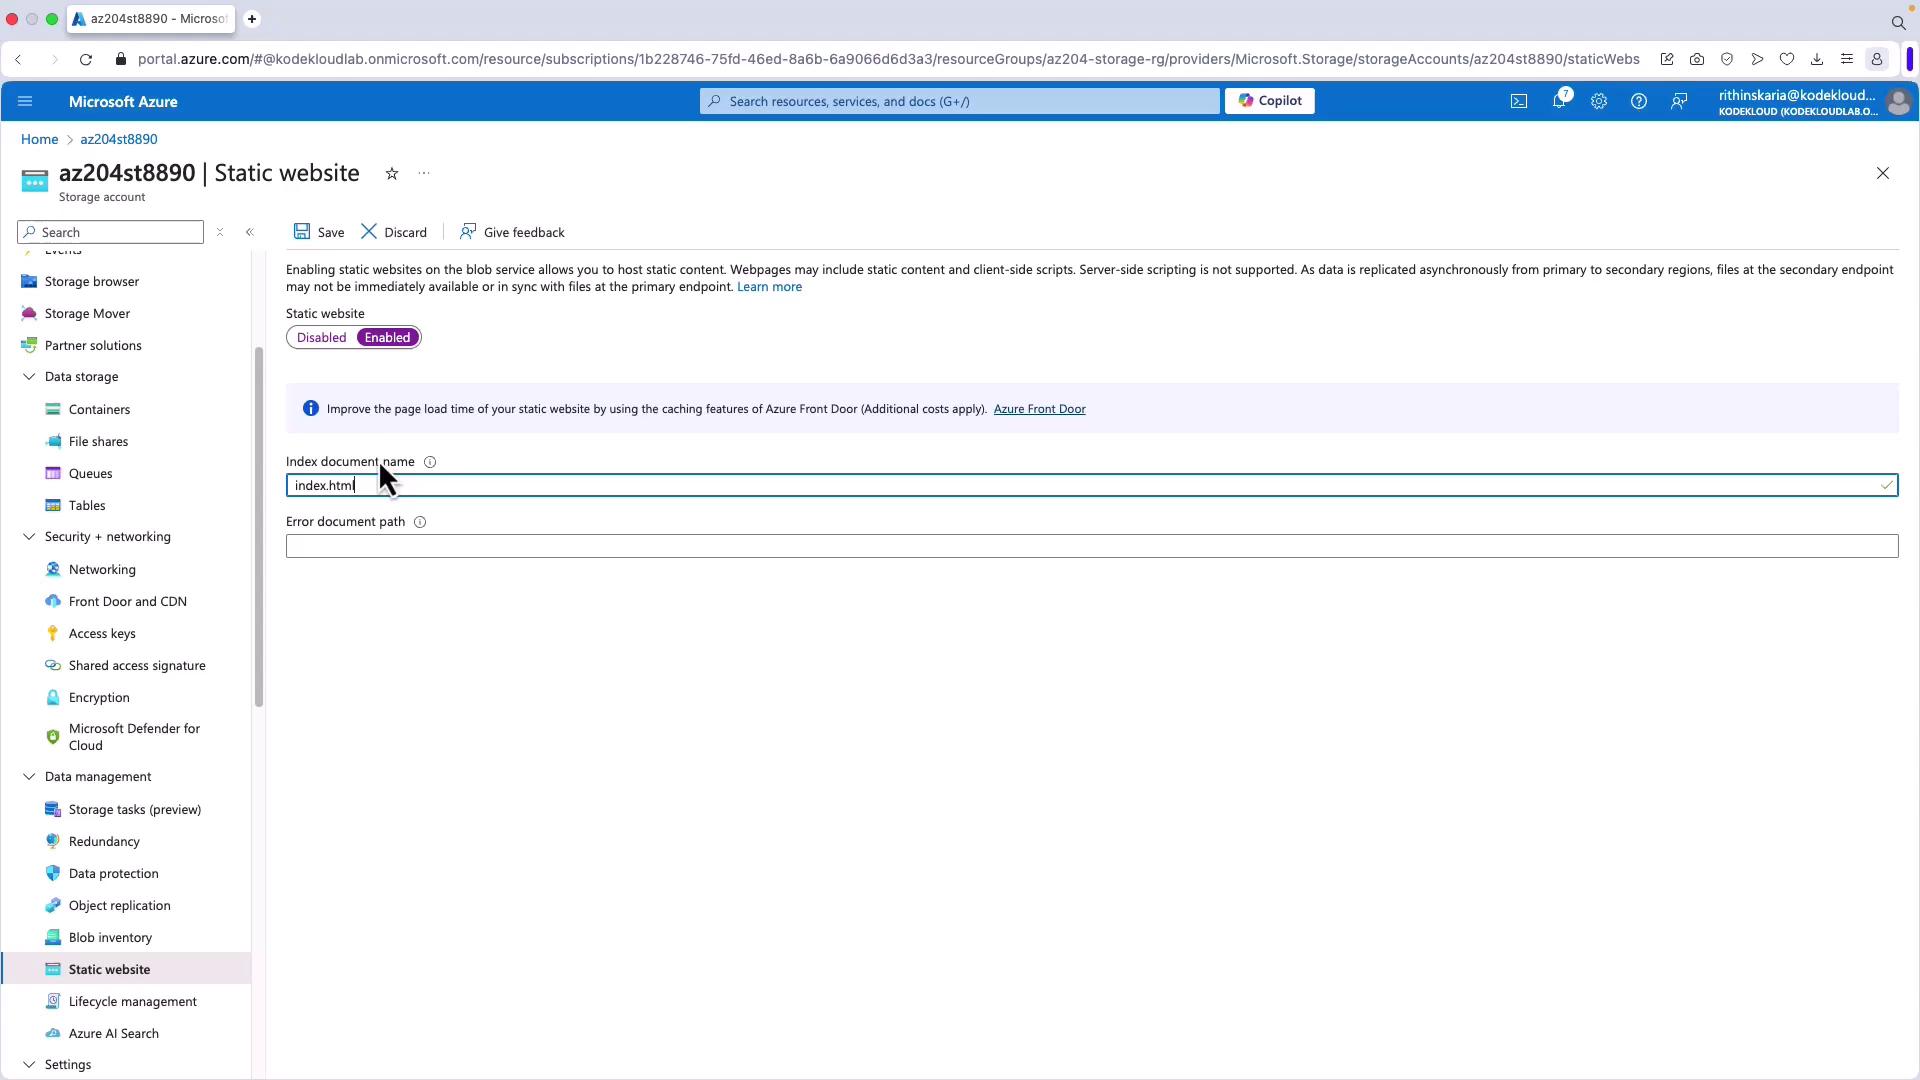
One major benefit is the ease of setup. With just a few clicks in the Azure portal, you can activate the static website feature without dealing with server management. However, there are a few limitations to consider:
Custom HTTP Headers: Azure Blob Storage does not natively support configuring custom HTTP headers (e.g., Content Security Policy, X-Frame-Options, or cache control). Although integrating Azure CDN can serve as a workaround, it introduces additional complexity and potential cost.
Authentication and Authorization: Built-in static website hosting does not offer features for authentication or authorization. To restrict access (for example, to admin or premium sections), you need to integrate services like Microsoft Entra ID or Azure AD.
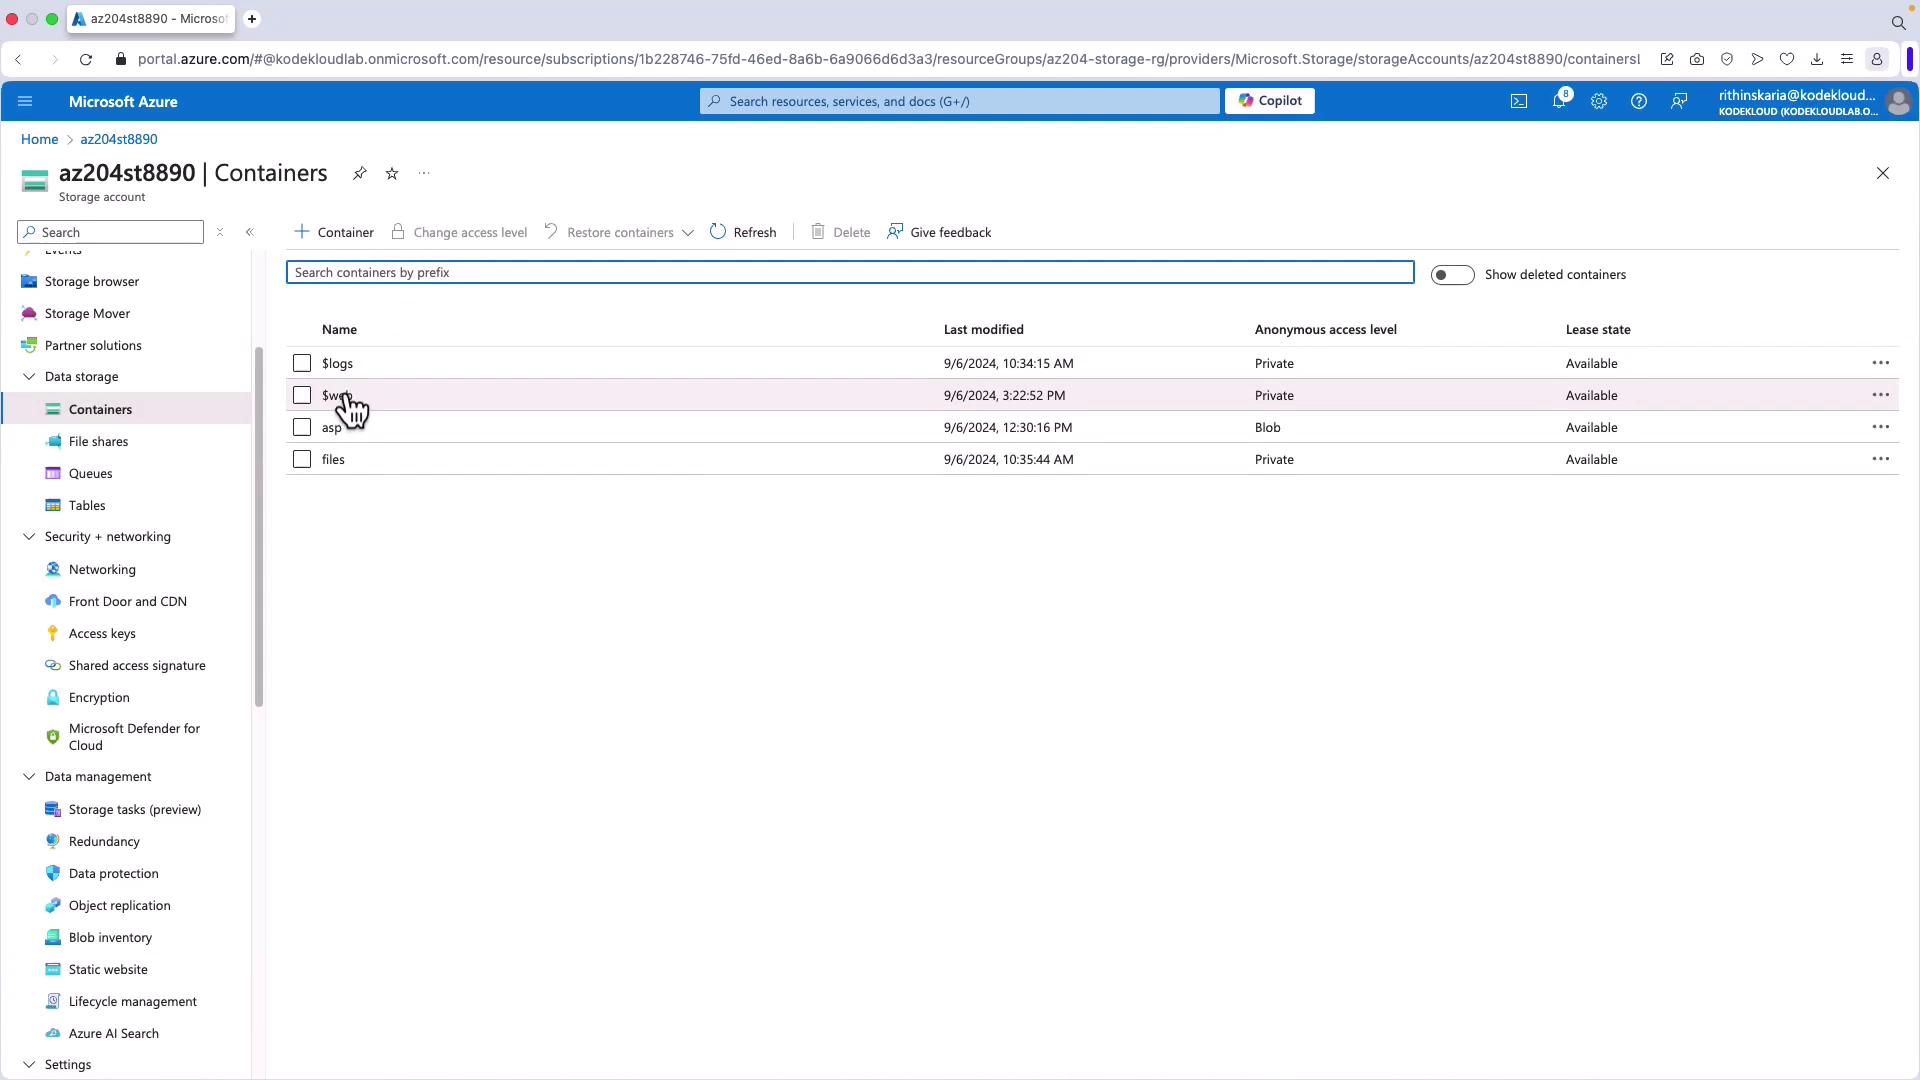
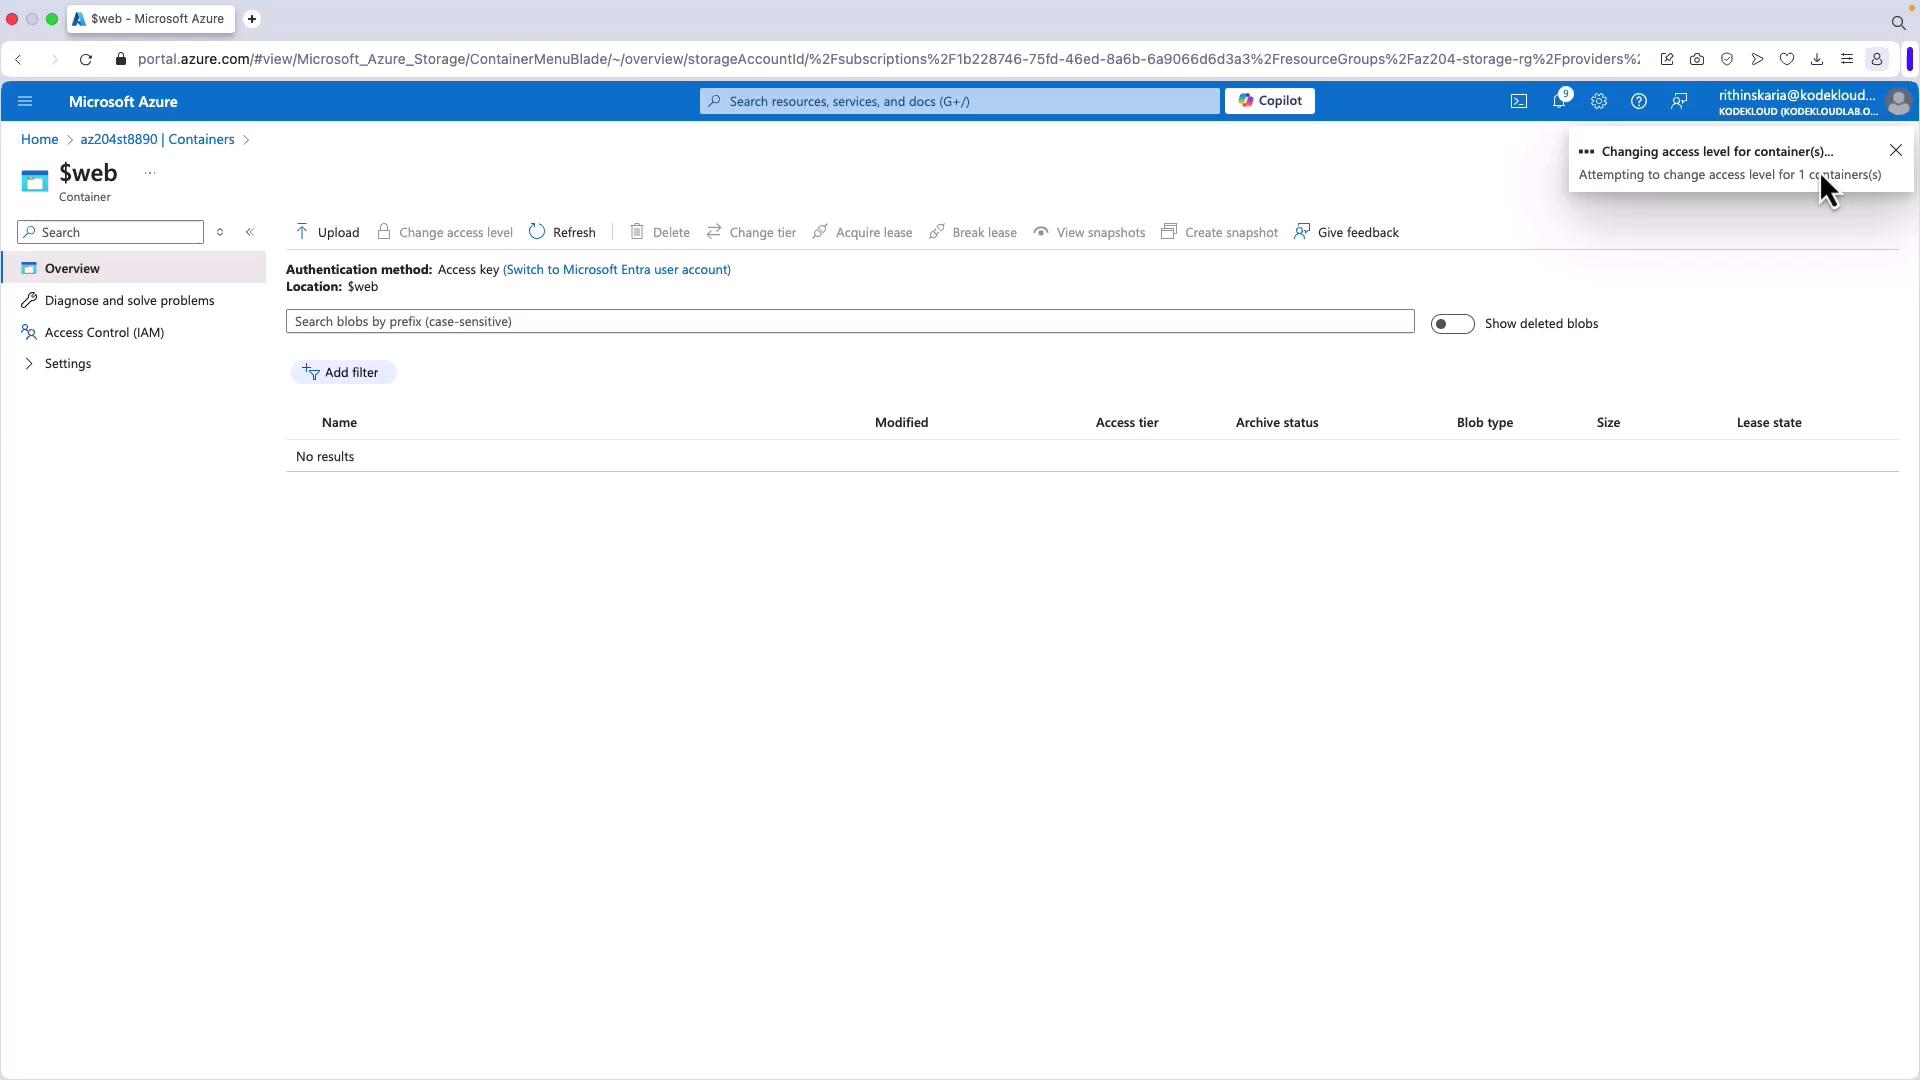
Upload your HTML, CSS, JavaScript, and image files directly into the $web container. There are multiple methods to do this:
Azure Storage Explorer
Azure Portal: Use the “Upload” option within the $web container.
AzCopy: A command-line tool ideal for transferring files.
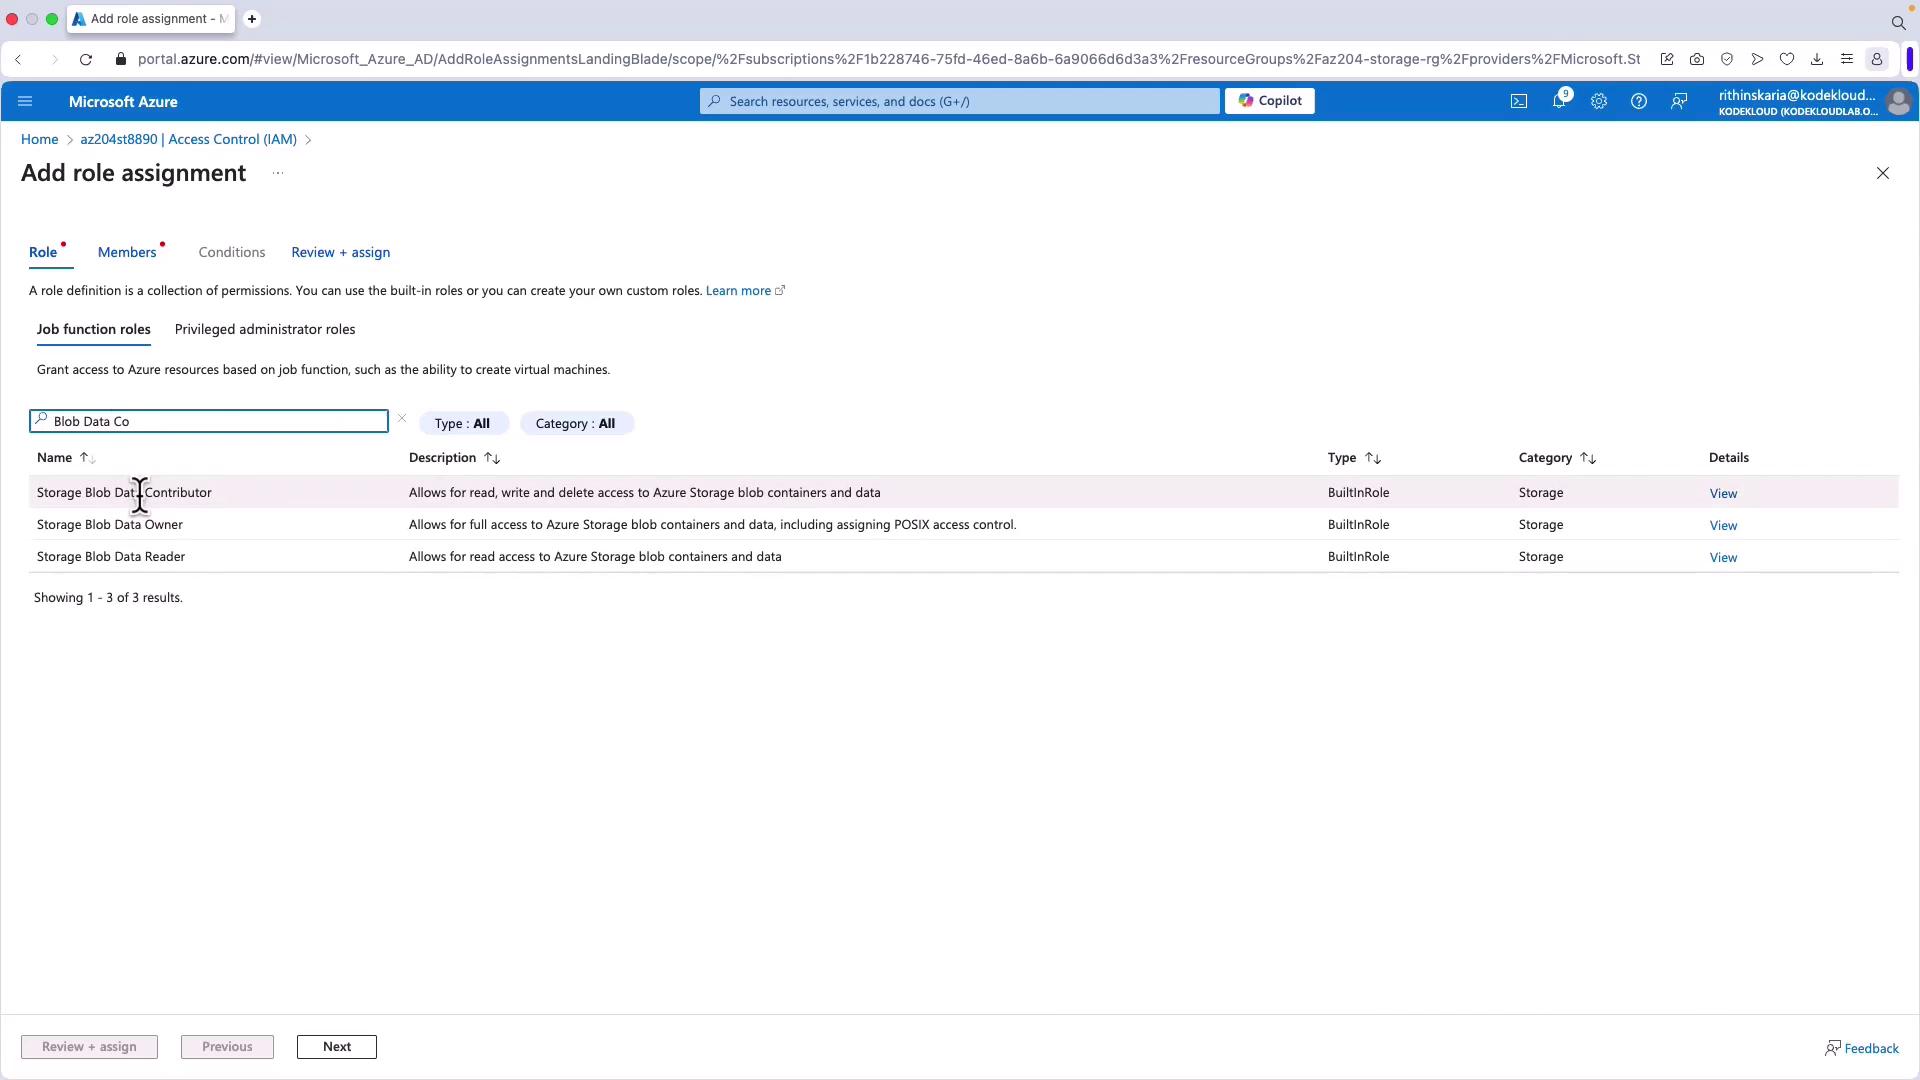
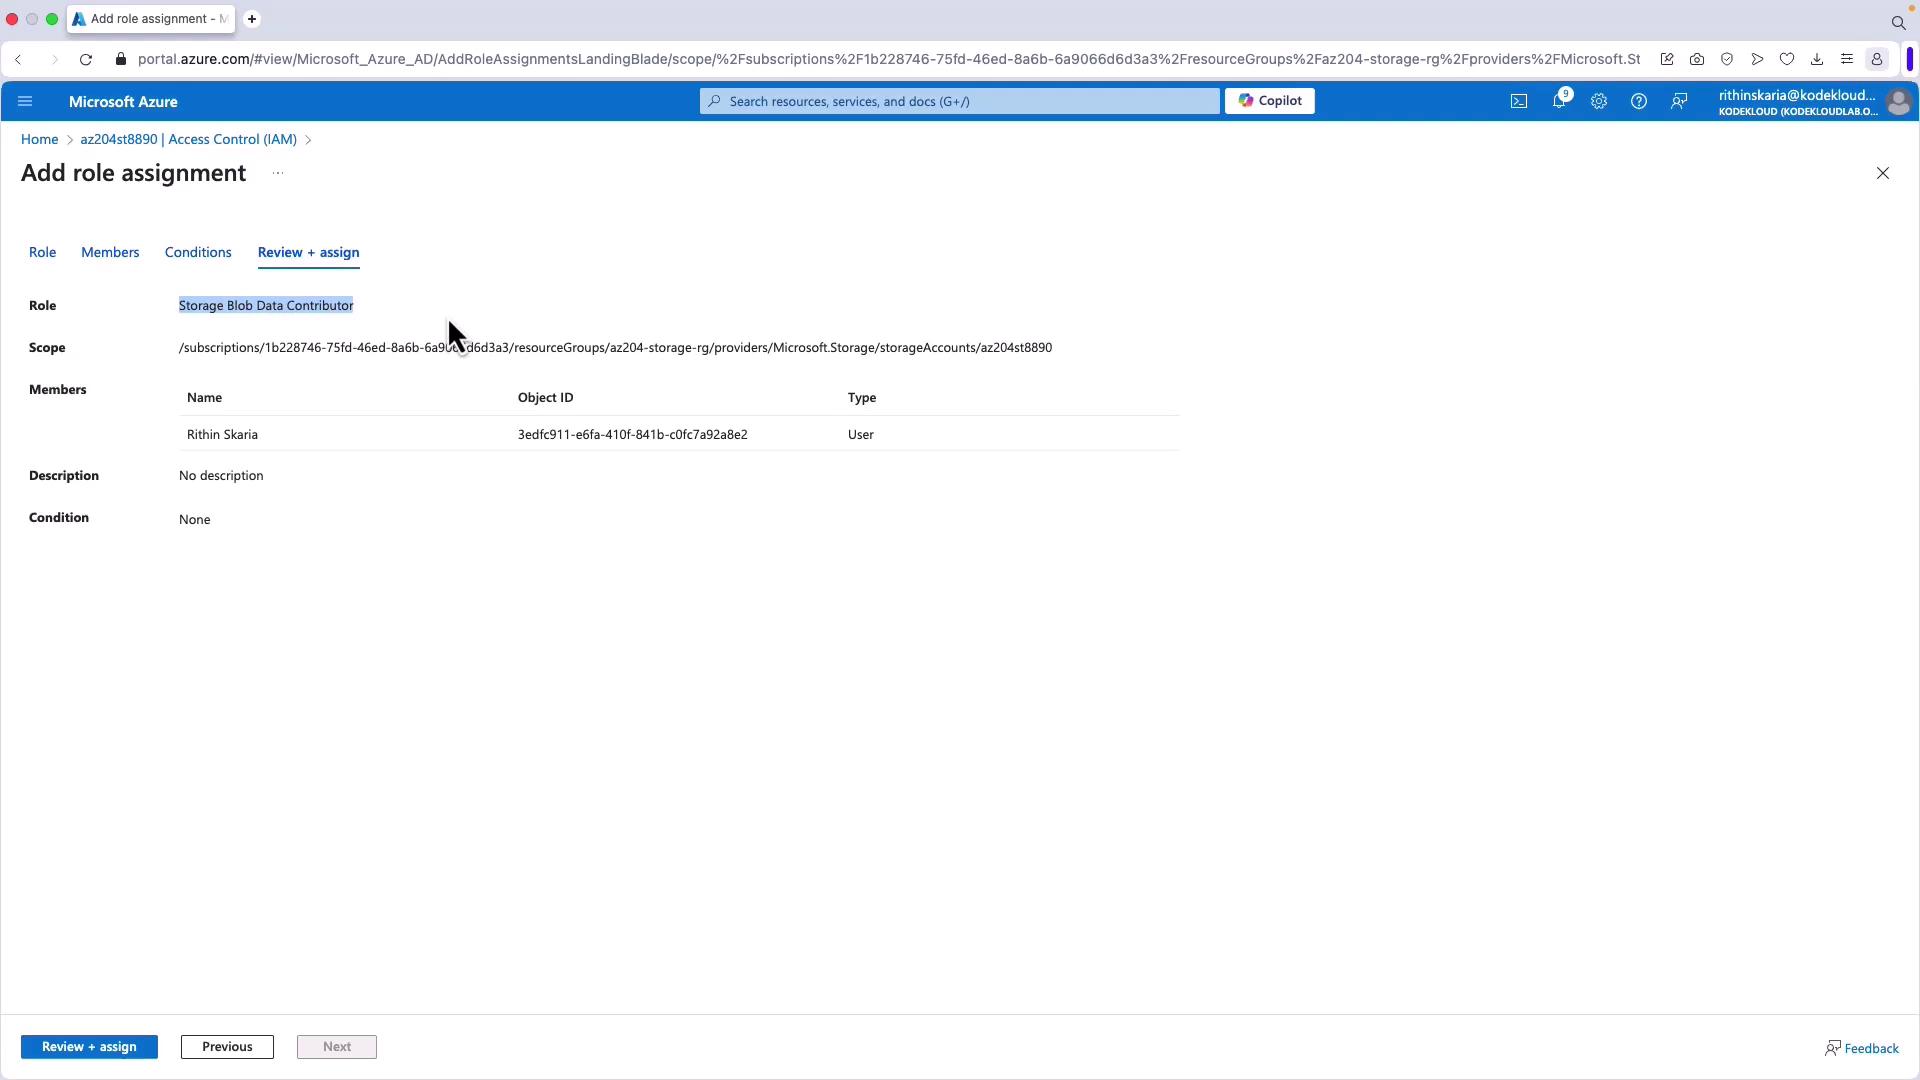
In this example, we will use AzCopy.Before using AzCopy, ensure your account has the necessary permissions for data plane operations by assigning the “Storage Blob Data Contributor” role on your storage account.
Open your terminal to verify that AzCopy is installed. Since you are already logged in, copy the files from your local directory (e.g., “web-template”) to the webcontainer.Remembertoescapethe‘symbol in$web` to avoid variable substitution issues in the terminal.
To escape the $ symbol in the terminal command, use a backslash (\).
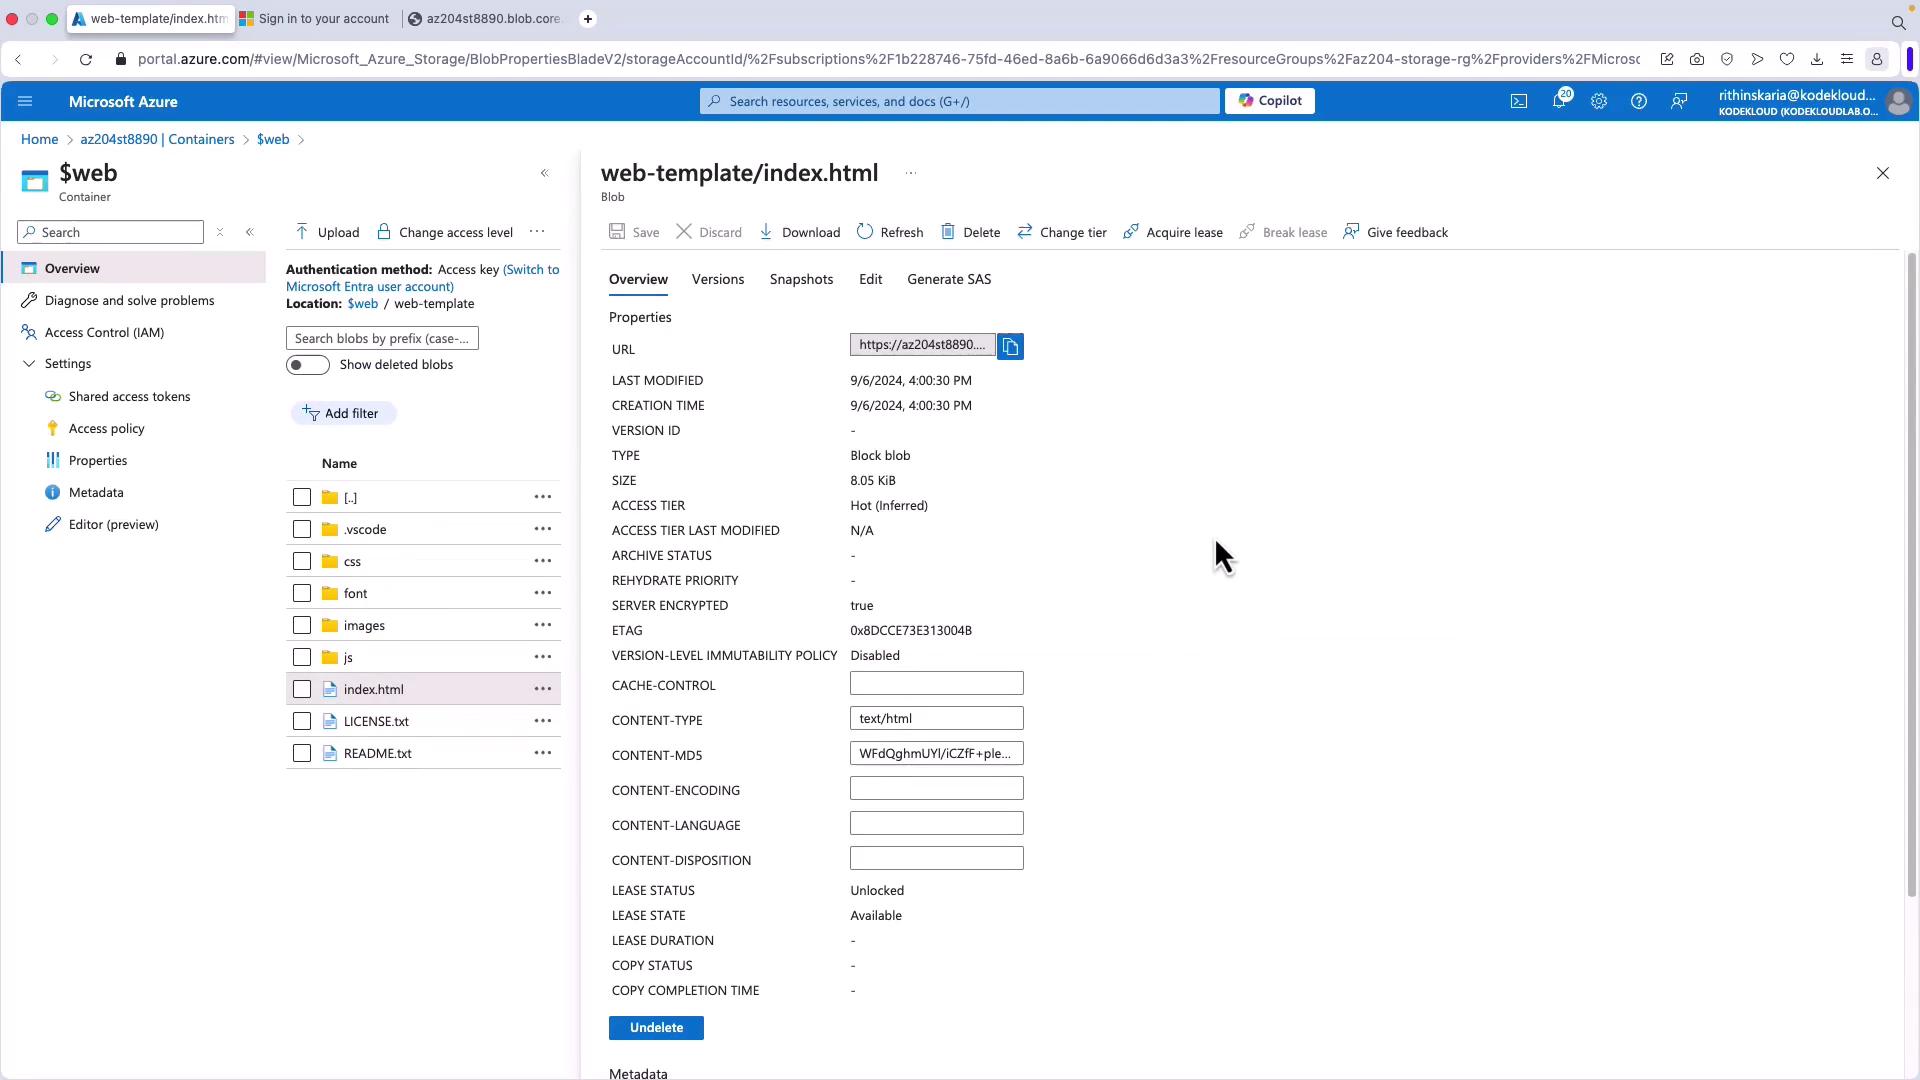
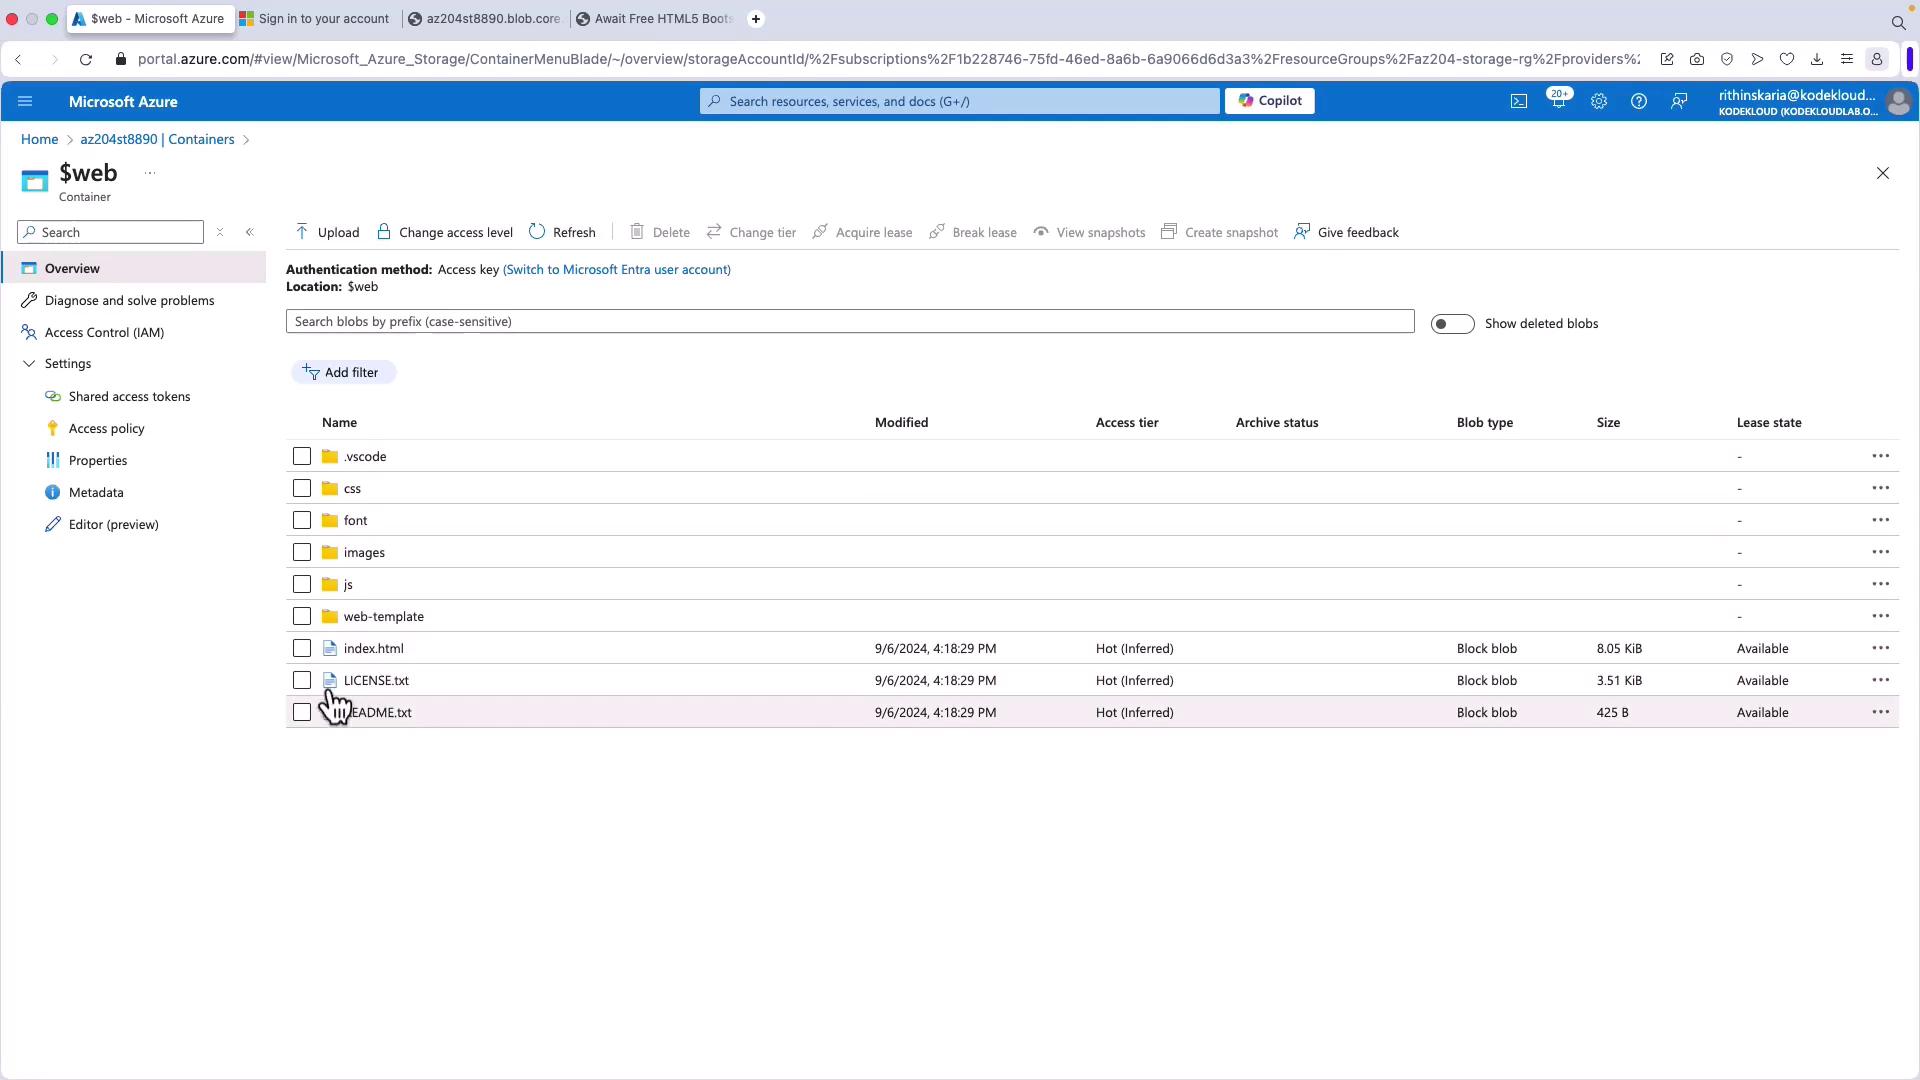
Locate the index.html blob and inspect its properties.
Click on the blob, copy its URL, and paste it into a web browser. The static website should load as expected.
If your files appear in a subdirectory (e.g., the URL includes “web-template/index.html”), use the “—as-subdir=false” parameter with AzCopy to copy the files directly to the root of the $web container:
The output will confirm that the files are copied without the parent directory:
Job 2f57bf1a-44d9-fc4a-452a-381c8cc03e03 has startedLog file is located at /Users/username/.azcopy/2f57bf1a-44d9-fc4a-452a-381c8cc03e03.log100.0 %, 56 Done, 0 Failed, 1 Pending, 0 Skipped, 57 Total, Throughput (Mb/s): 5.2678Job 2f57bf1a-44d9-fc4a-452a-381c8cc03e03 summary:Elapsed Time (Minutes): 0.0667Total Number of Transfers: 57Final Job Status: Completed
Once the files reside at the root, your static website will be directly accessible.
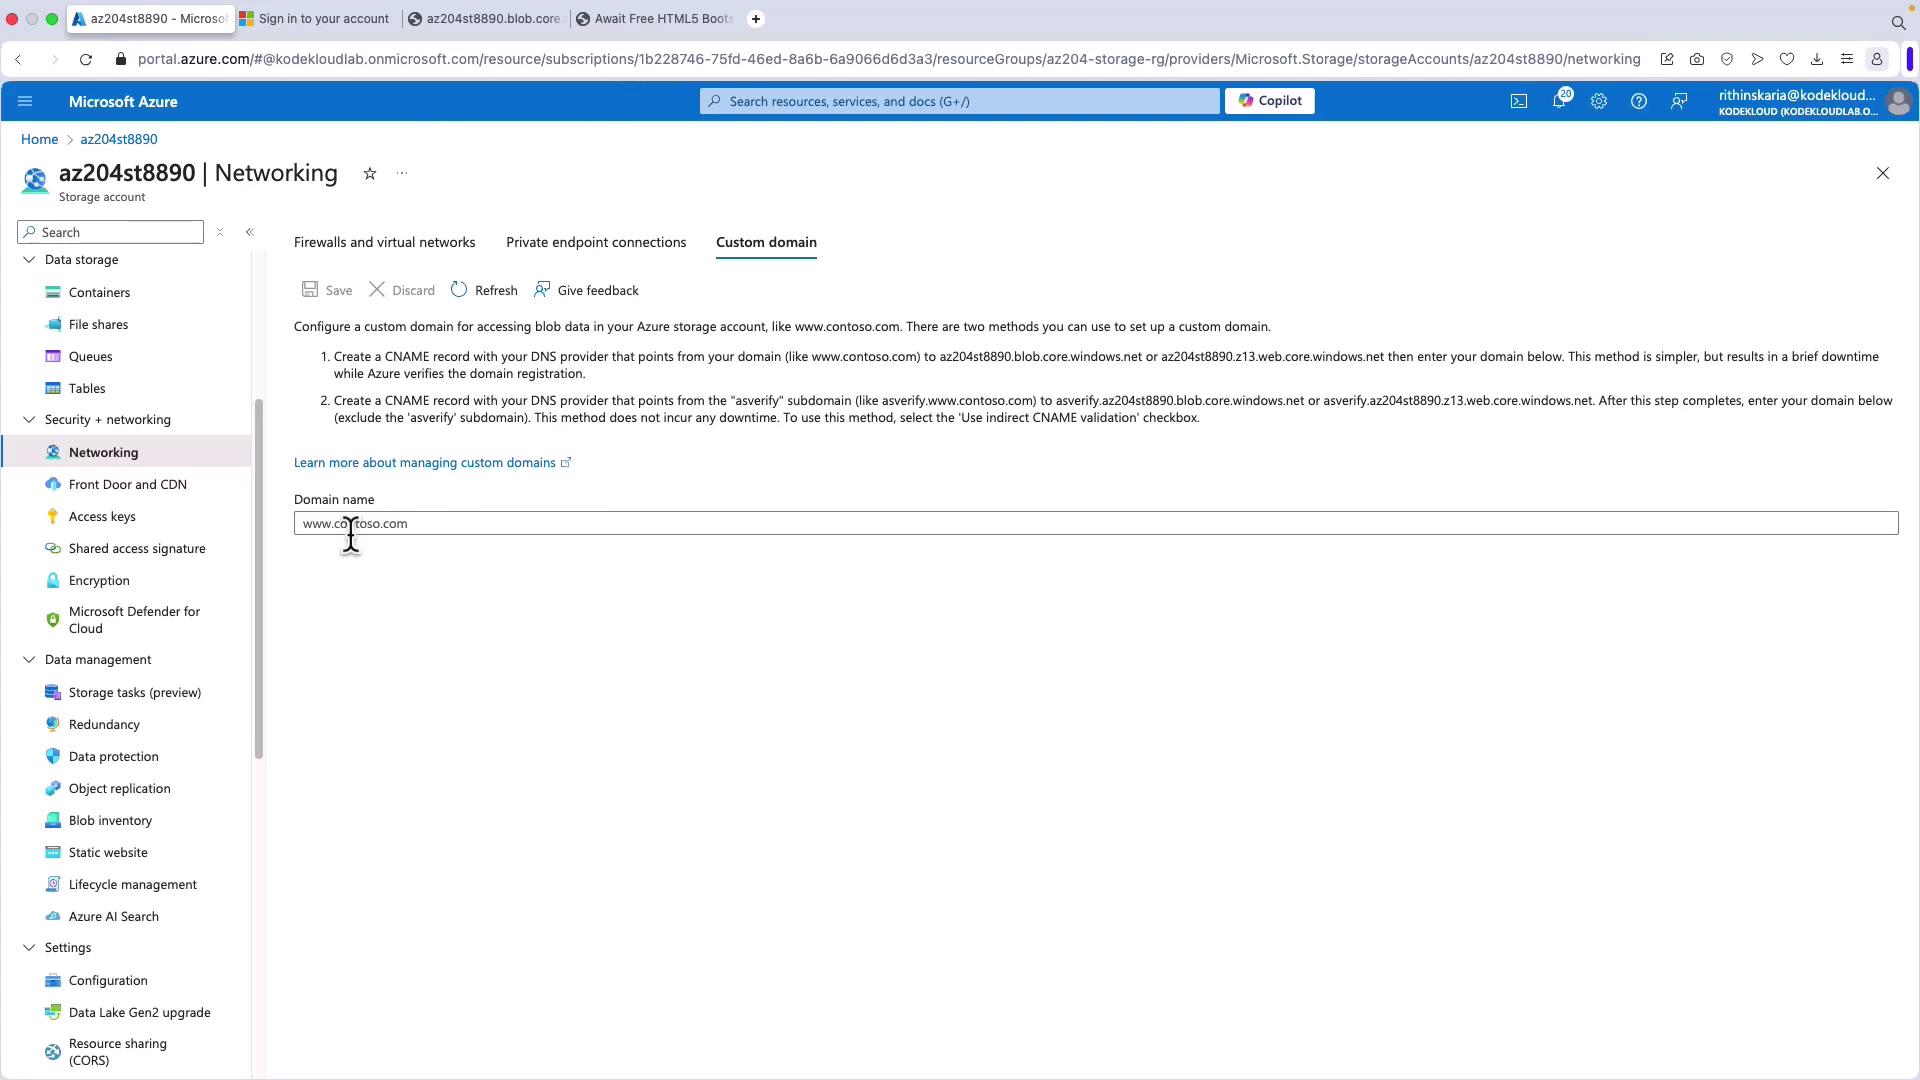
Azure Blob Storage allows you to map a custom domain to your static website. You can also leverage services like Azure Front Door or a CDN for multi-region deployment and content caching.
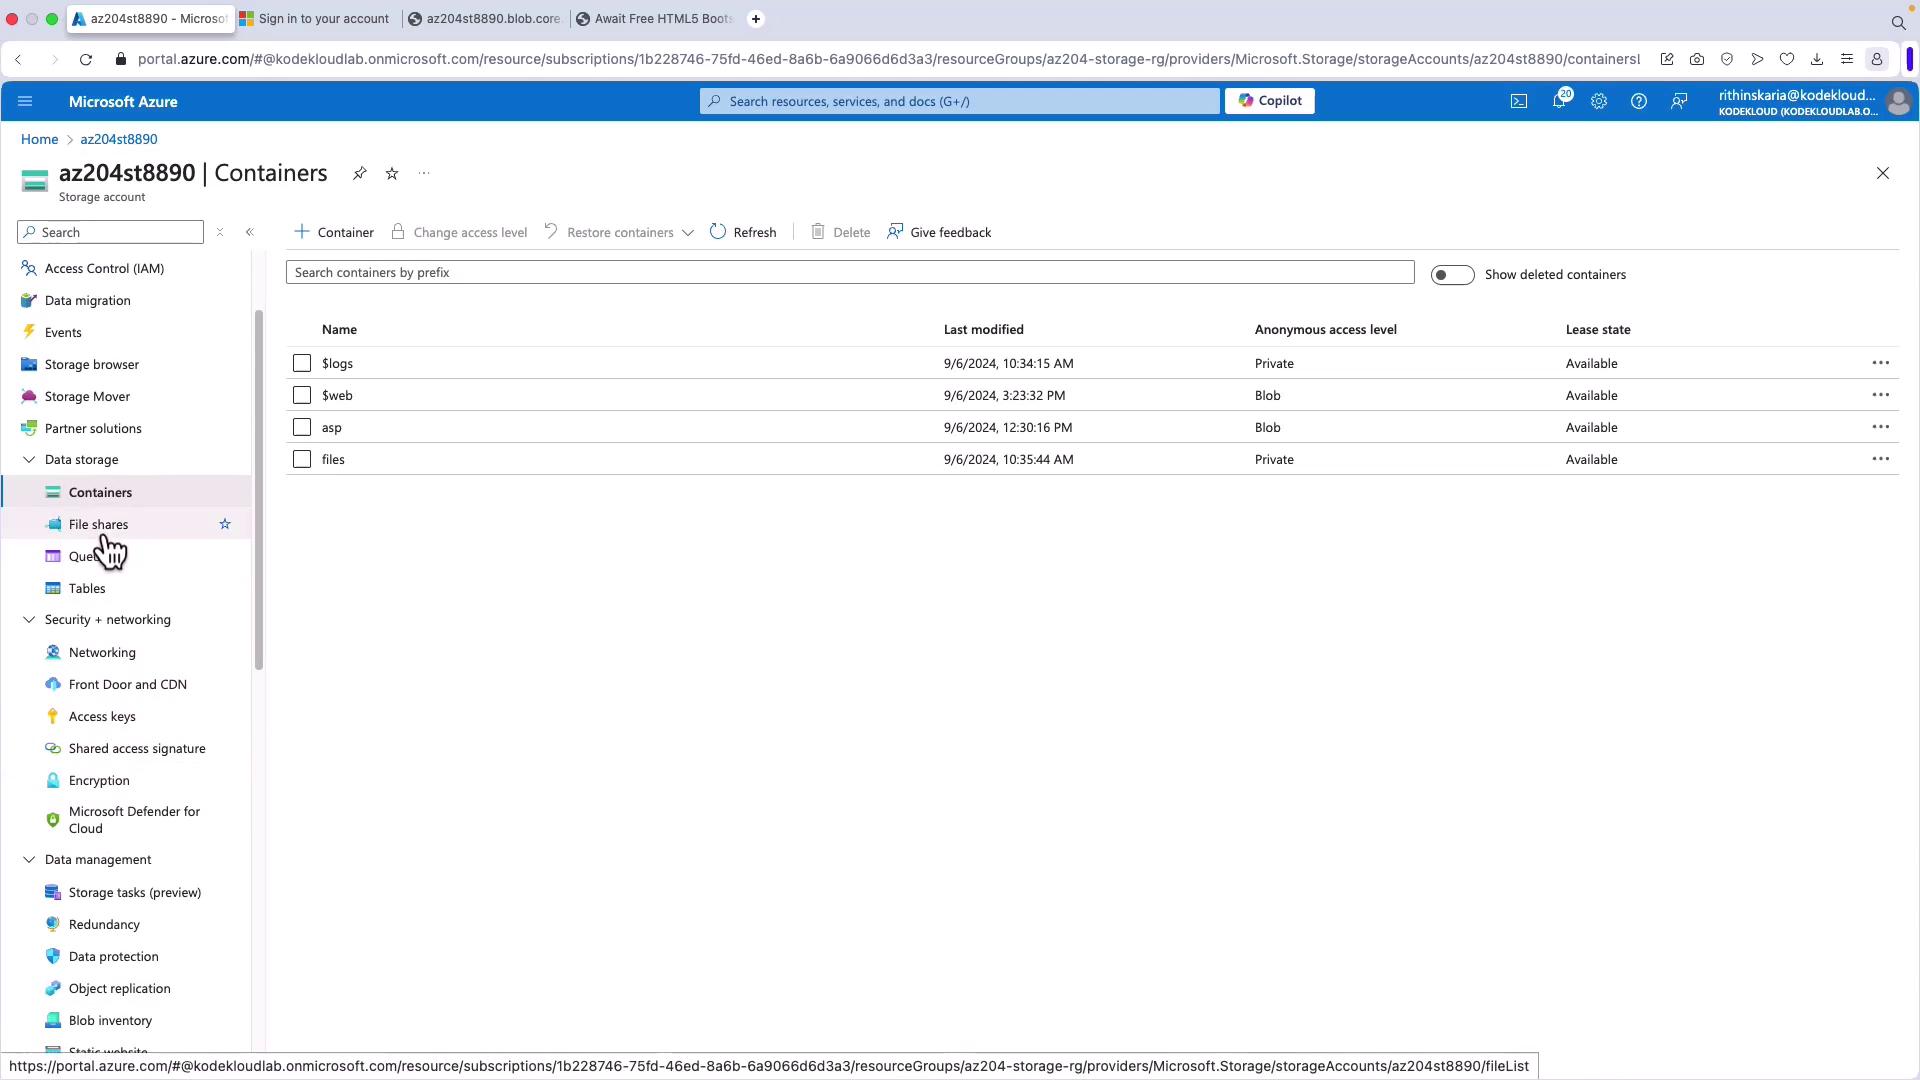
To configure a custom domain, navigate to the networking settings in your storage account and follow the instructions to set up a CNAME record.
For example, you might assign the custom domain “kodekloud.com” so users can access your static website directly via that domain instead of the full Azure Blob Storage URL.At this point, your static website hosted on Azure Blob Storage is fully set up and accessible. You can enhance the functionality further by integrating dynamic backend processing using Azure Functions if needed.Next, explore developing solutions using the Azure Blob Storage Client Library.