

Deployment Options
Azure App Service offers two deployment approaches:- Manual Deployment: Upload and manage your application files directly.
- Automated Deployment: Integrate with CI/CD tools to automatically deploy code changes.
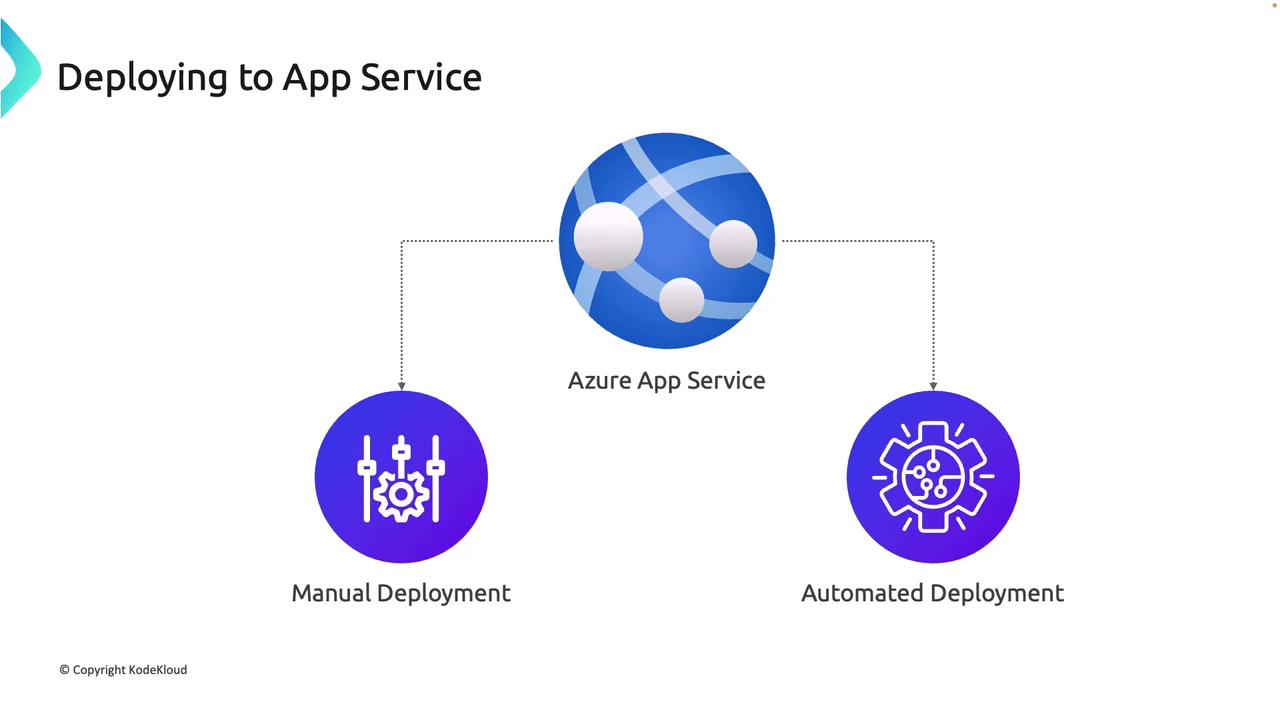
Automated Deployment
Automated deployment leverages tools such as Azure DevOps, GitHub, or Bitbucket to manage and deploy your code changes. This continuous integration and continuous deployment (CI/CD) approach streamlines the update process, minimizes manual errors, and ensures that every commit results in a consistent deployment.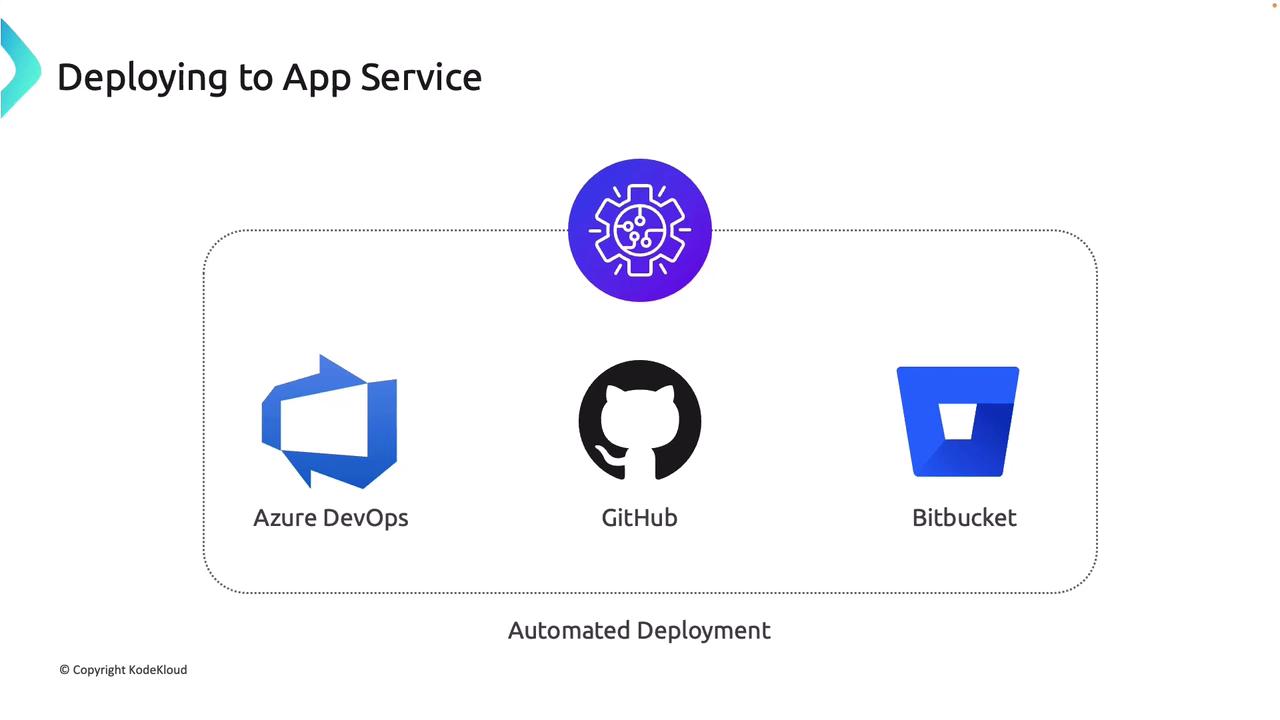
Manual Deployment
Manual deployment is ideal for initial setups or when you require granular control over the deployment process. Azure App Service provides several manual methods:- Git Deployment: Push code directly to the Azure App Service Git repository.
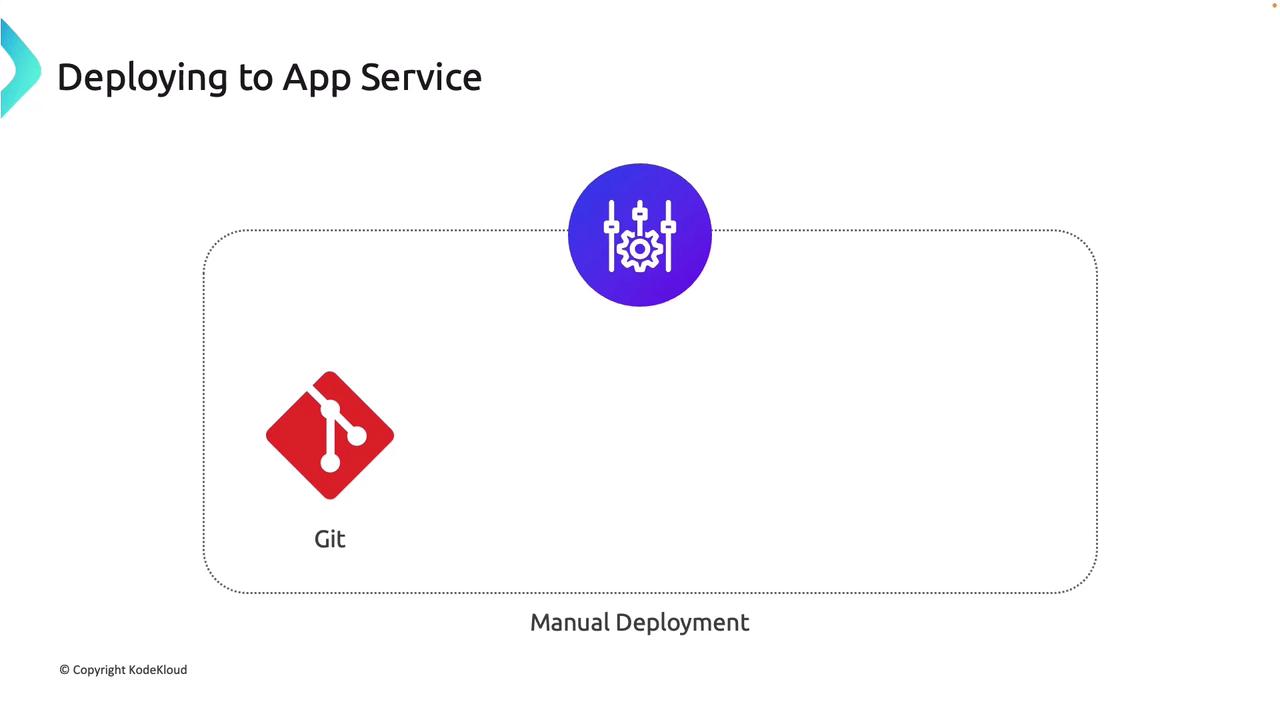
- CLI Deployment: Deploy applications from the command line using the Azure CLI.
- Zip Deploy: Package your application into a zip file and upload it.
- FTP/FTPS Deployment: Directly upload your application files via FTP/FTPS.
Example: Converting Manual Deployment to Automated Deployment
Below is an example of a manual deployment process using Visual Studio Code with a free HTML template to illustrate the setup.Sample HTML Template (Manual Deployment)
Deploying via VS Code with Azure App Service Extension
Before deploying via Visual Studio Code, install the Azure App Service extension, which uses Zip Deploy to package your directory into a zip file and push it to Azure.- Open your project directory in VS Code.
- Launch the command palette by pressing Command+Shift+P (Mac) or Control+Shift+P (Windows).
- Search for and select “Deploy to Web App.”
- Choose the folder that contains your project files (HTML, CSS, JavaScript, images, etc.).
- Select your Azure App Service instance.
- Click “Deploy” to start the process.
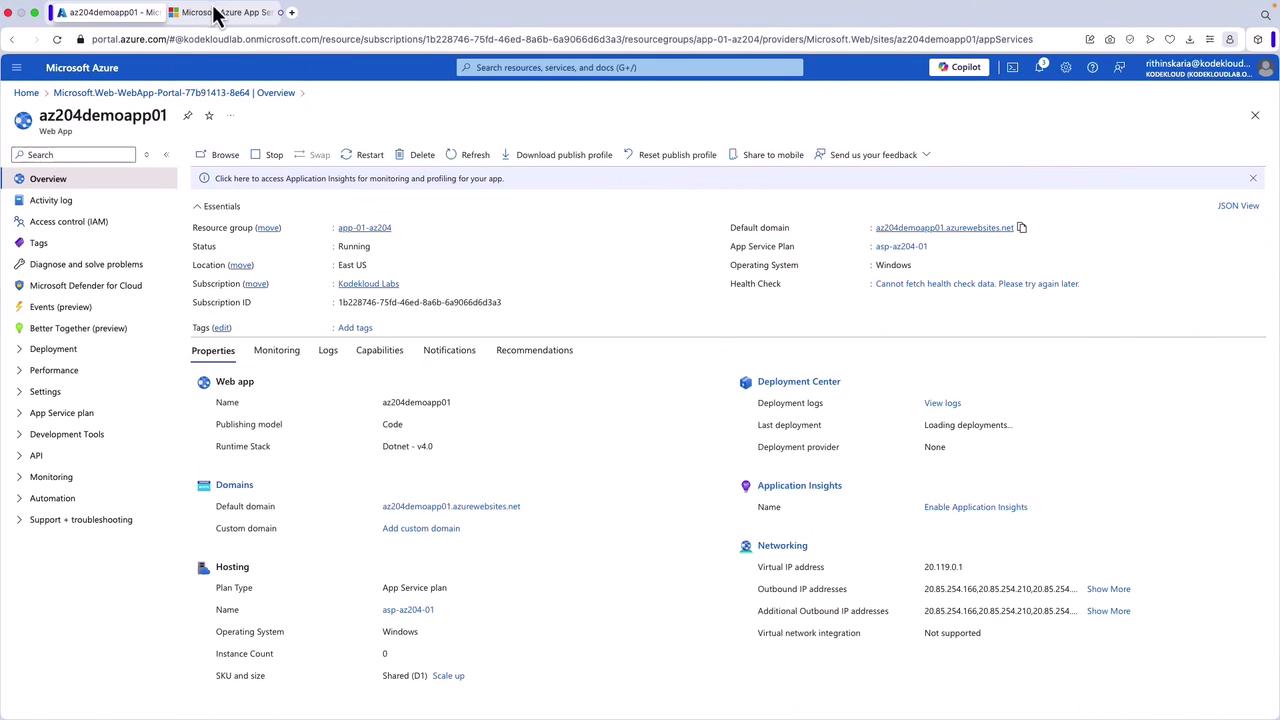
Before deploying, ensure your project folder is free of unnecessary files to optimize the deployment package.
Other Deployment Options
FTP/FTPS Deployment
To deploy via FTP/FTPS, navigate to the Deployment Center in the Azure portal to retrieve your FTPS credentials. Use these credentials to securely upload your files. Remember to enable FTP authentication in the configuration settings.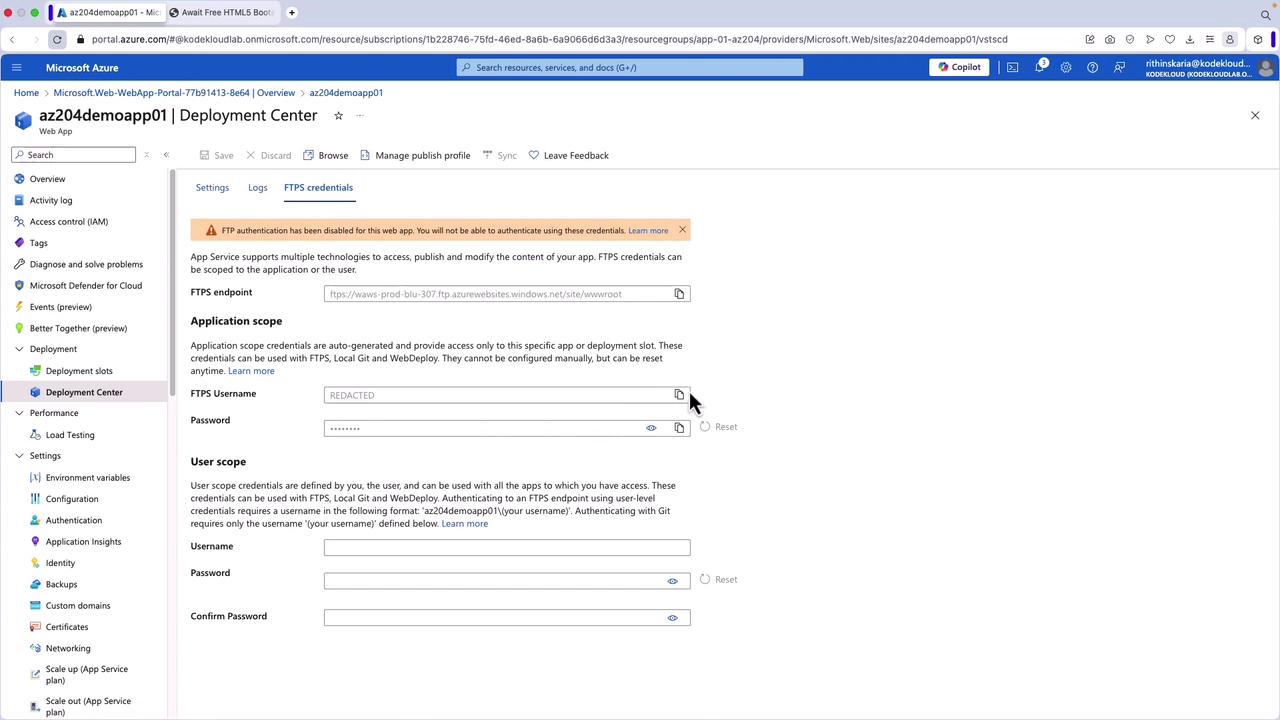
Deploying with Azure CLI
For a command-line deployment, package your application as a zip file and run:Accessing the Kudu Portal
The Kudu portal provides advanced management features, such as file upload/download and direct modifications using PowerShell. To access Kudu:- Open the App Service overview in the Azure portal.
- Click on “Advanced Tools” or modify the URL by inserting “SCM.”
- Use PowerShell commands (e.g.,
ls) within Kudu to explore directories.
Converting Manual Deployment to Automated Deployment with Azure DevOps
Automated deployments ensure that every change pushed to your source control is immediately deployed to Azure App Service. Follow these steps to configure automated deployment with Azure DevOps:- Initialize Your Repository in VS Code
- Clone your Azure DevOps repository.
- Copy your local files into the repository and perform an initial commit (e.g., labeled “init”).
- Commit and Sync Your Changes
- After updating your site design or content, commit and push your changes within VS Code.
- Configure the Deployment Center in Azure
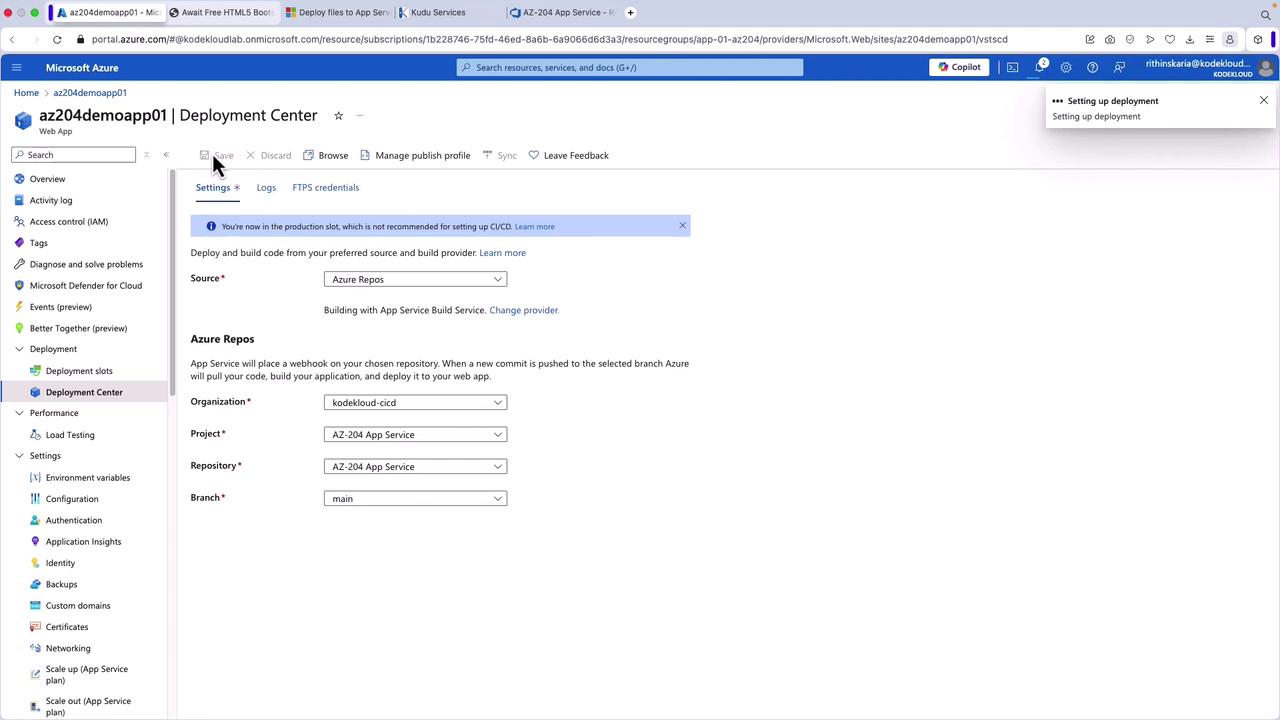
- In the Azure portal, navigate to your App Service’s Deployment Center.
- Select Azure Repos as your source control.
- Choose the organization, project, repository, and branch (typically the main branch).
- Enable the necessary settings (such as SCM basic authentication) and save. Note that this may restart your application.
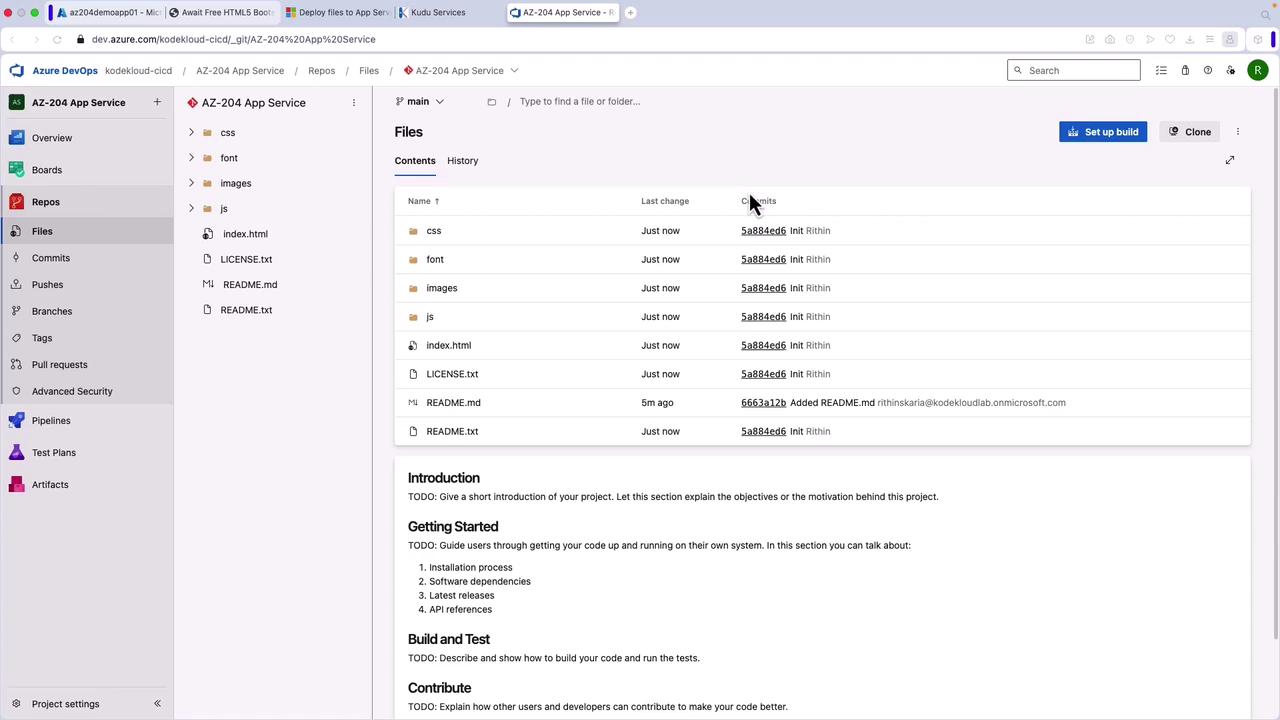
- Trigger Automated Deployment
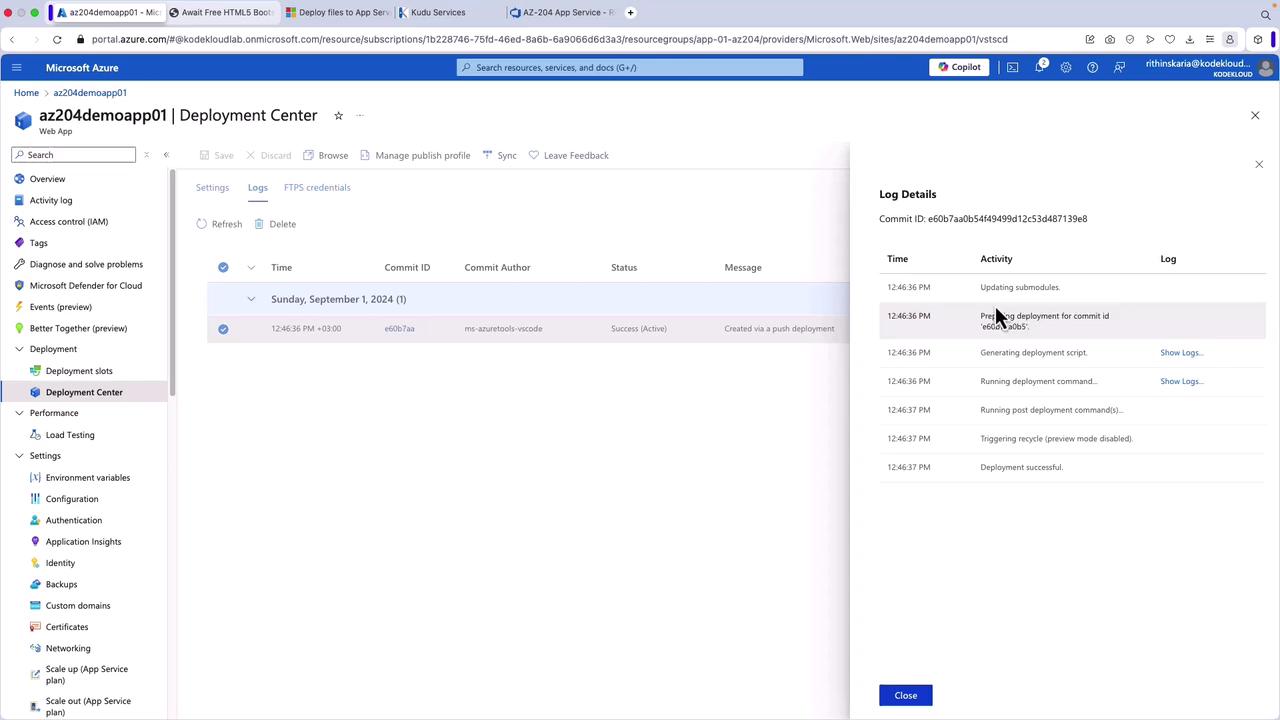
- Once configured, every new commit will trigger an automated deployment. Monitor the deployment logs in the Deployment Center.
- After a successful deployment, refresh the App Service overview to verify that your changes are live.
Automated deployments not only streamline the release process but also enable rapid rollback and improve quality assurance by integrating with continuous testing.