Identity Providers Supported by Azure App Service
Azure App Service supports a broad range of identity providers. Primarily, it integrates with the Microsoft Identity Platform, which allows you to leverage Azure Active Directory (now Microsoft Entra ID) for enterprise-grade authentication and access management. Additionally, you can enable sign-ins using popular services such as Facebook, Google, X (formerly Twitter), and Apple ID. For maximum flexibility, Azure App Service also supports the OpenID Connect protocol—allowing integration with any provider adhering to this open standard.Selecting the right identity provider depends on your user base. For internal users, Microsoft Entra ID is ideal, while external users might benefit from integrating social login providers.
Configuring Authentication in the Azure Portal
In this section, we will configure authentication using the Microsoft Identity Platform for an existing App Service through the Azure Portal.- Navigate to your Azure App Service in the Azure Portal.
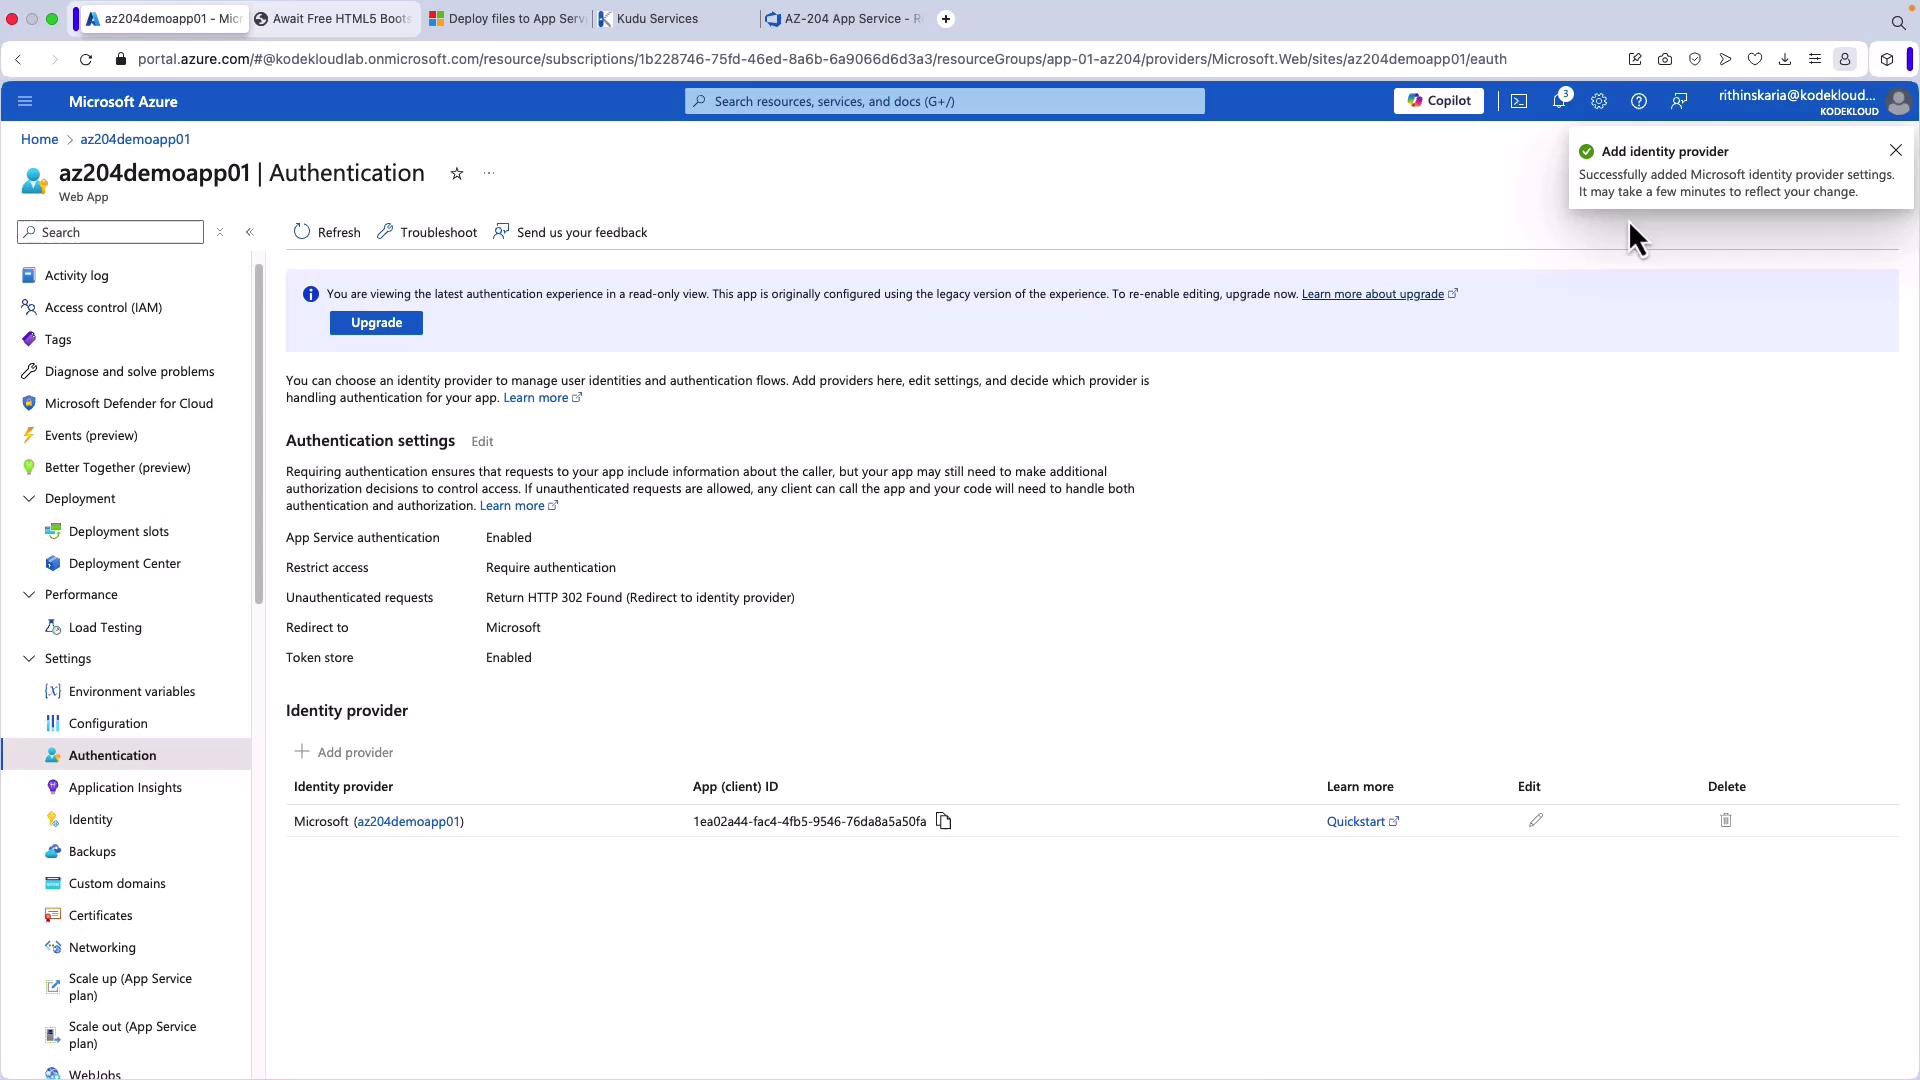
- From the left-hand menu, click Authentication.

Adding an Identity Provider
To set up authentication through a trusted provider:- Click on Add Identity Provider.
- Choose Microsoft as the provider to manage employee and internal user access using your Microsoft Entra ID. (Note: For external users, configuring a B2C tenant is required, which is beyond the scope of this guide.)
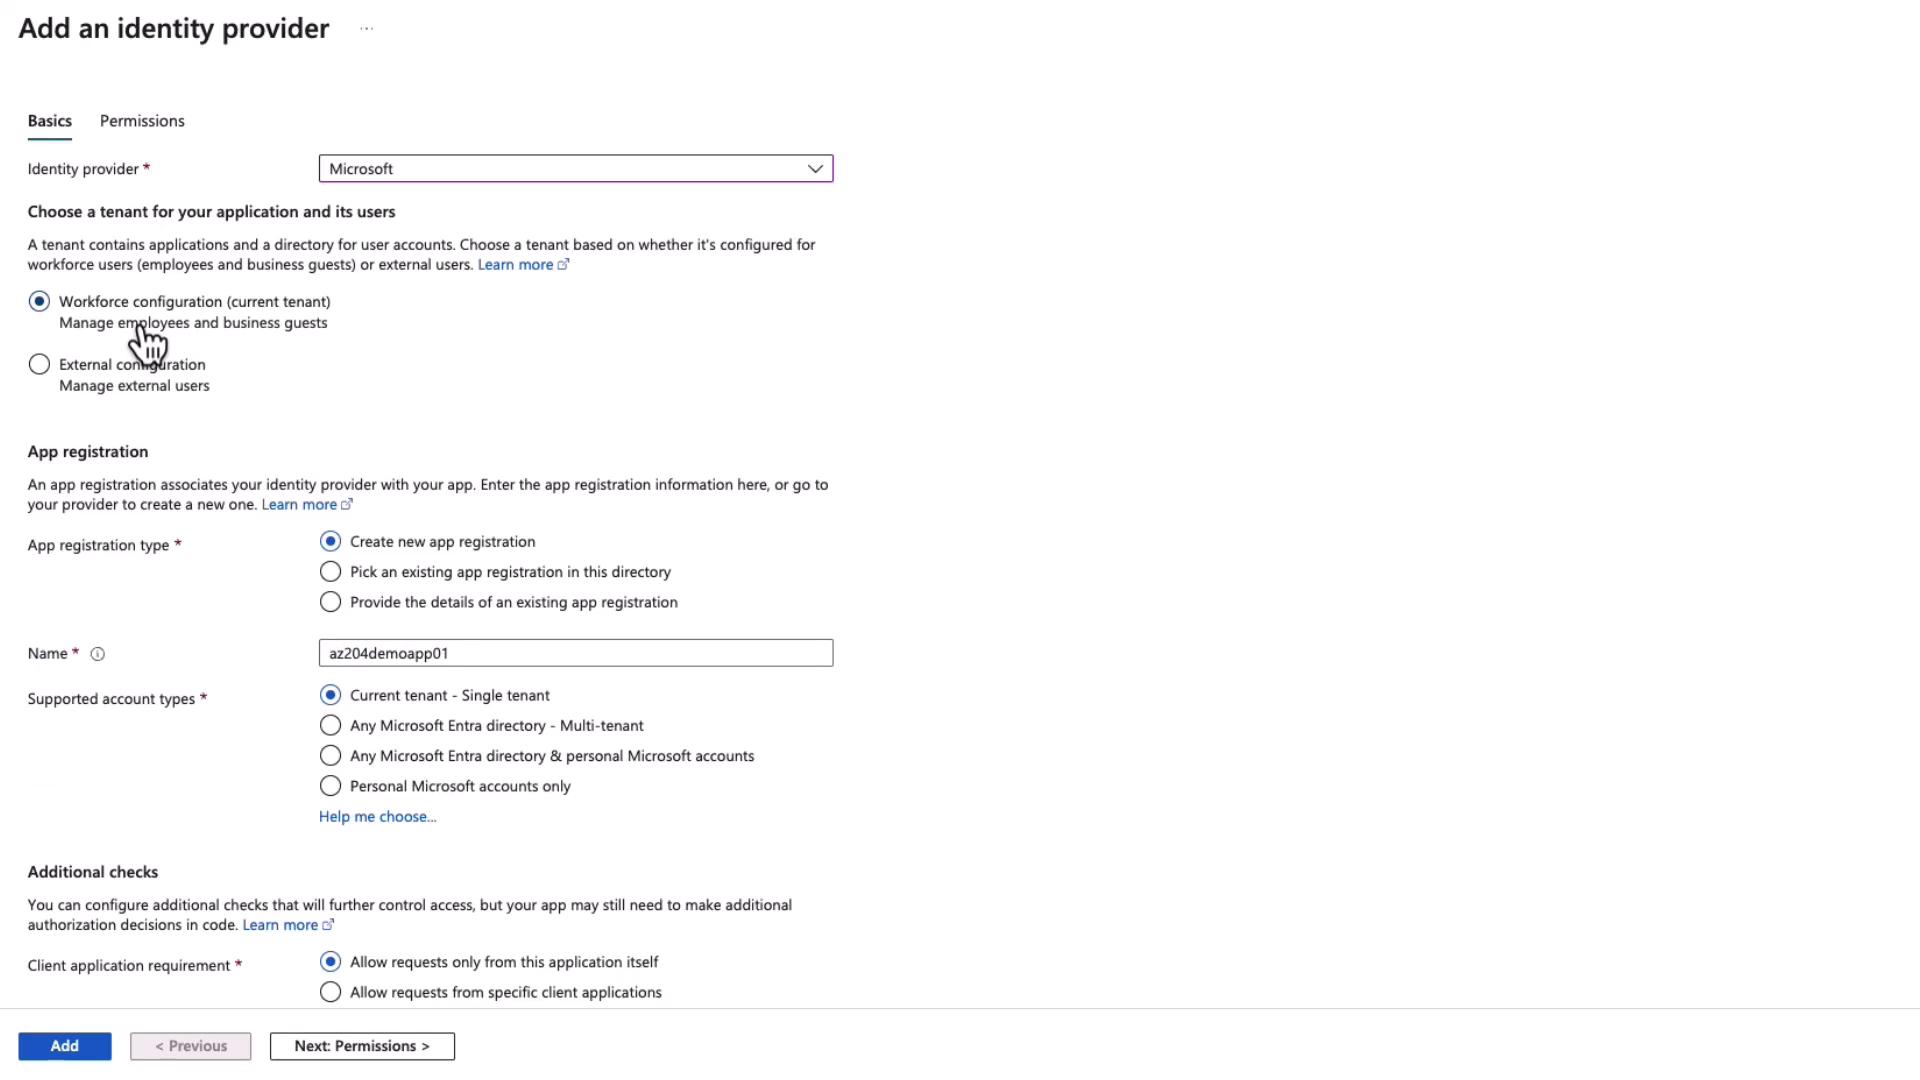
Setting Up App Registration
After adding the identity provider, the next step is to create an app registration within your Microsoft Entra ID (formerly Azure Active Directory). The app registration handles essential delegated permissions (e.g., User.Read). When a user signs in, the app registration captures their credentials and uses the delegated permissions to validate access. During the setup:- Create a new app registration for your tenant.
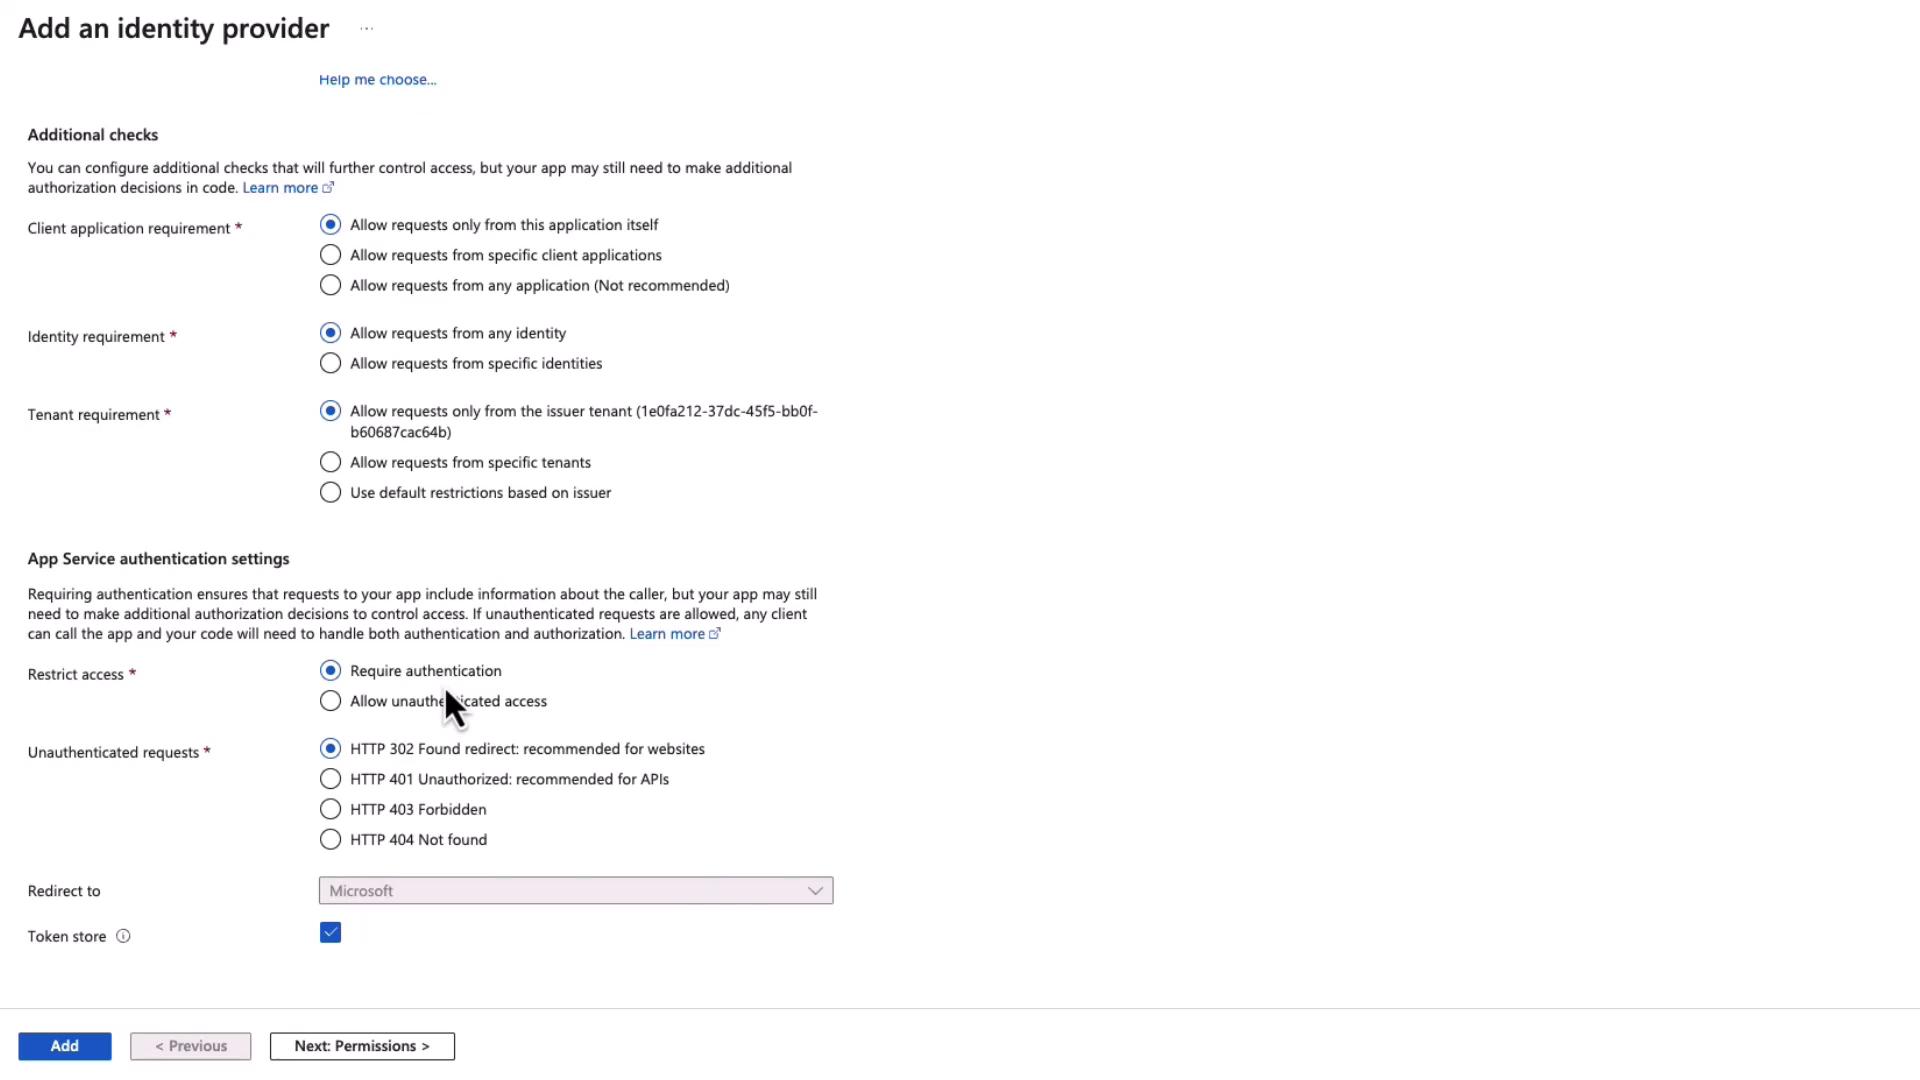
- Ensure access is restricted and authentication enforced.
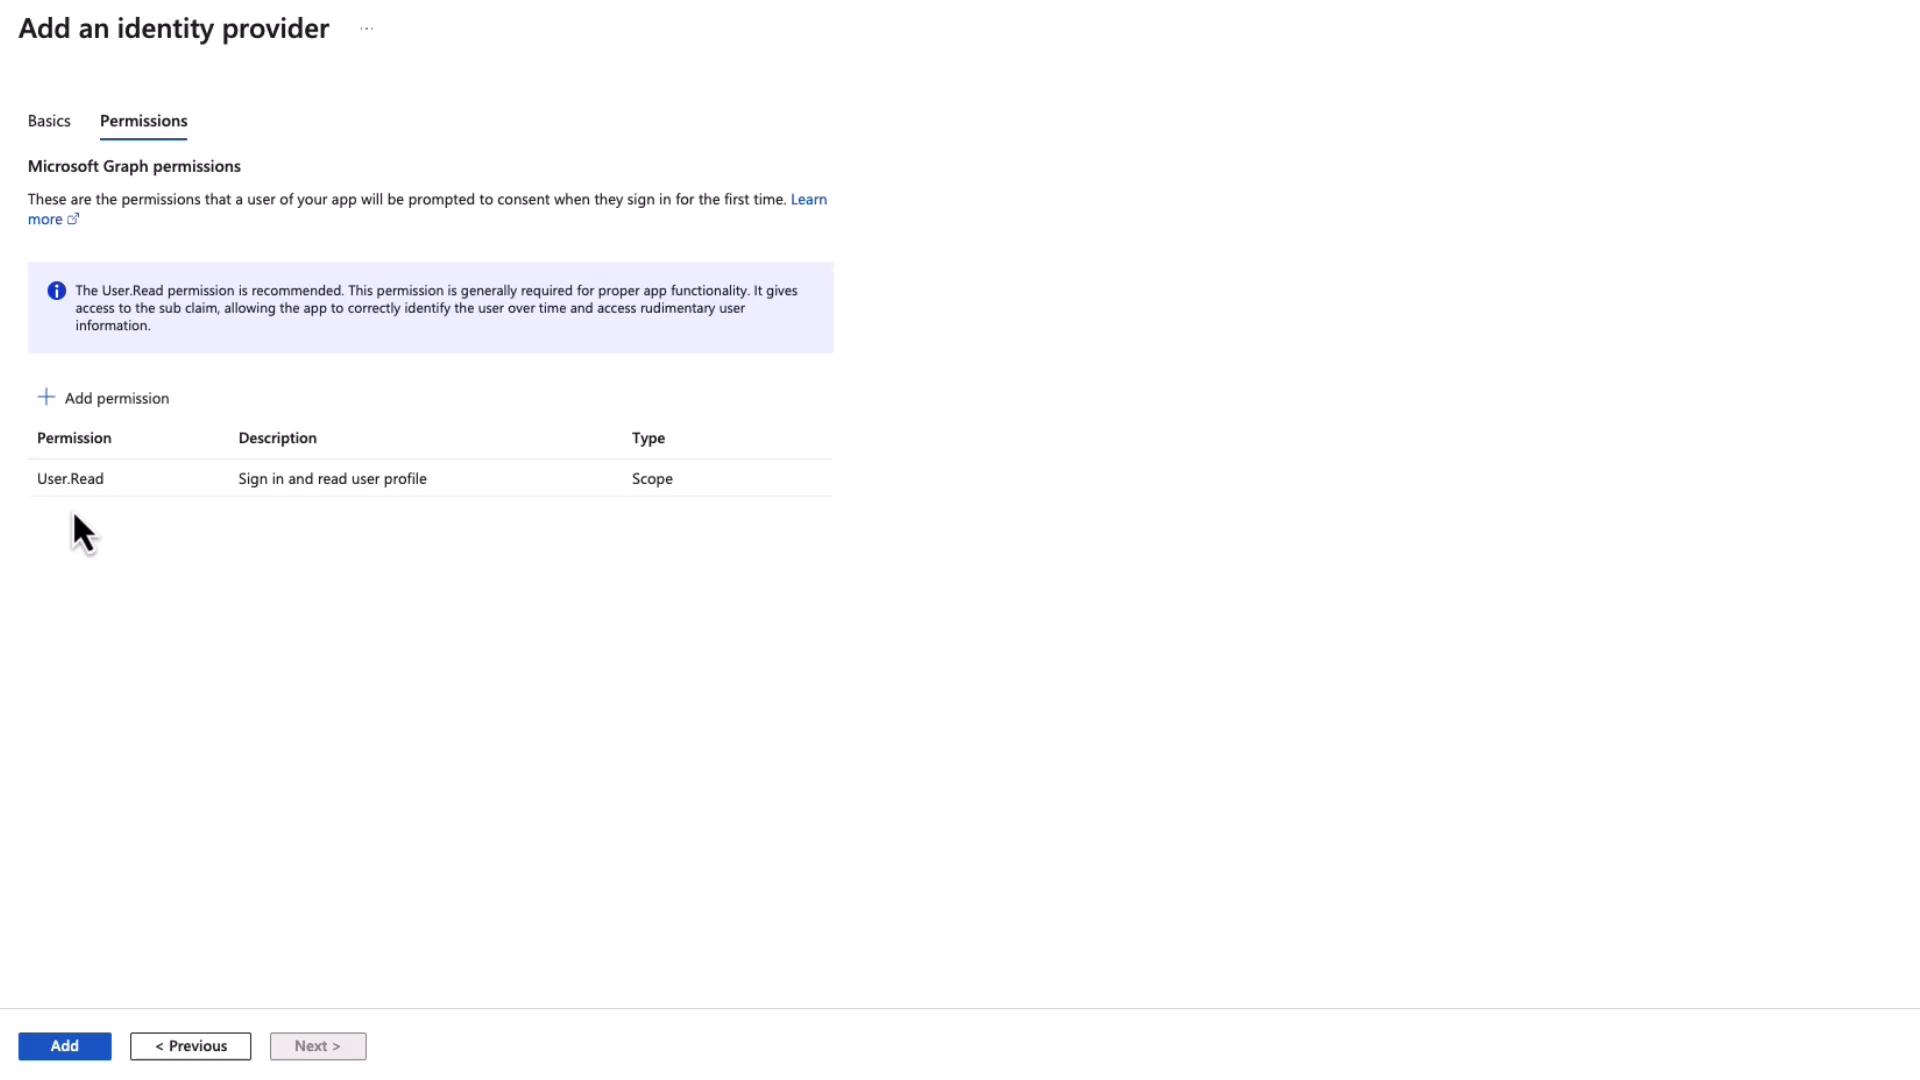
- Note that the default permission, User.Read, is automatically assigned. This permission allows your app to read basic user profile details such as name, picture, and email address.
Ensure that additional permissions are only granted if absolutely necessary. Over-granting permissions may expose sensitive user data.
Testing the Authentication Flow
To ensure that your authentication configuration works correctly:- Return to your application’s overview and copy the URL.
- Open an incognito or private browsing window and paste the URL.
- A message will indicate that the application intends to read your profile due to the default User.Read permission.
- After entering your credentials, you will be prompted to consent to allowing the application to access your basic profile information (name, picture, and email address). Accepting consent ensures this process is not repeated for future logins.