Overview
In this guide, you’ll learn how to set up and secure a project wiki in Azure DevOps for your .NET application, Turkey Time. We’ll cover both the built-in Project Wiki and the Publish Code as Wiki approaches, ensuring your documentation is versioned alongside your code.1. Creating a Project Wiki in Azure DevOps
a. Accessing the Wiki Feature
- In your Azure DevOps project, go to Project Overview → Wiki.
- You’ll see two options:
- Create Project Wiki
- Publish Code as Wiki
Creating a Project Wiki lets you quickly start documenting without touching your code repository. Ideal for high-level docs and team onboarding.
b. Creating the Wiki
- Click Create Project Wiki.
- Enter a title, for example: Turkey Time Wiki.
- Rename the default page to About This Project.
- Add your content using Markdown:
- Headings (
#,##,###) - Lists (
-,*) - Links (
[text](url))
- Headings (
- Click Save when you’re done.
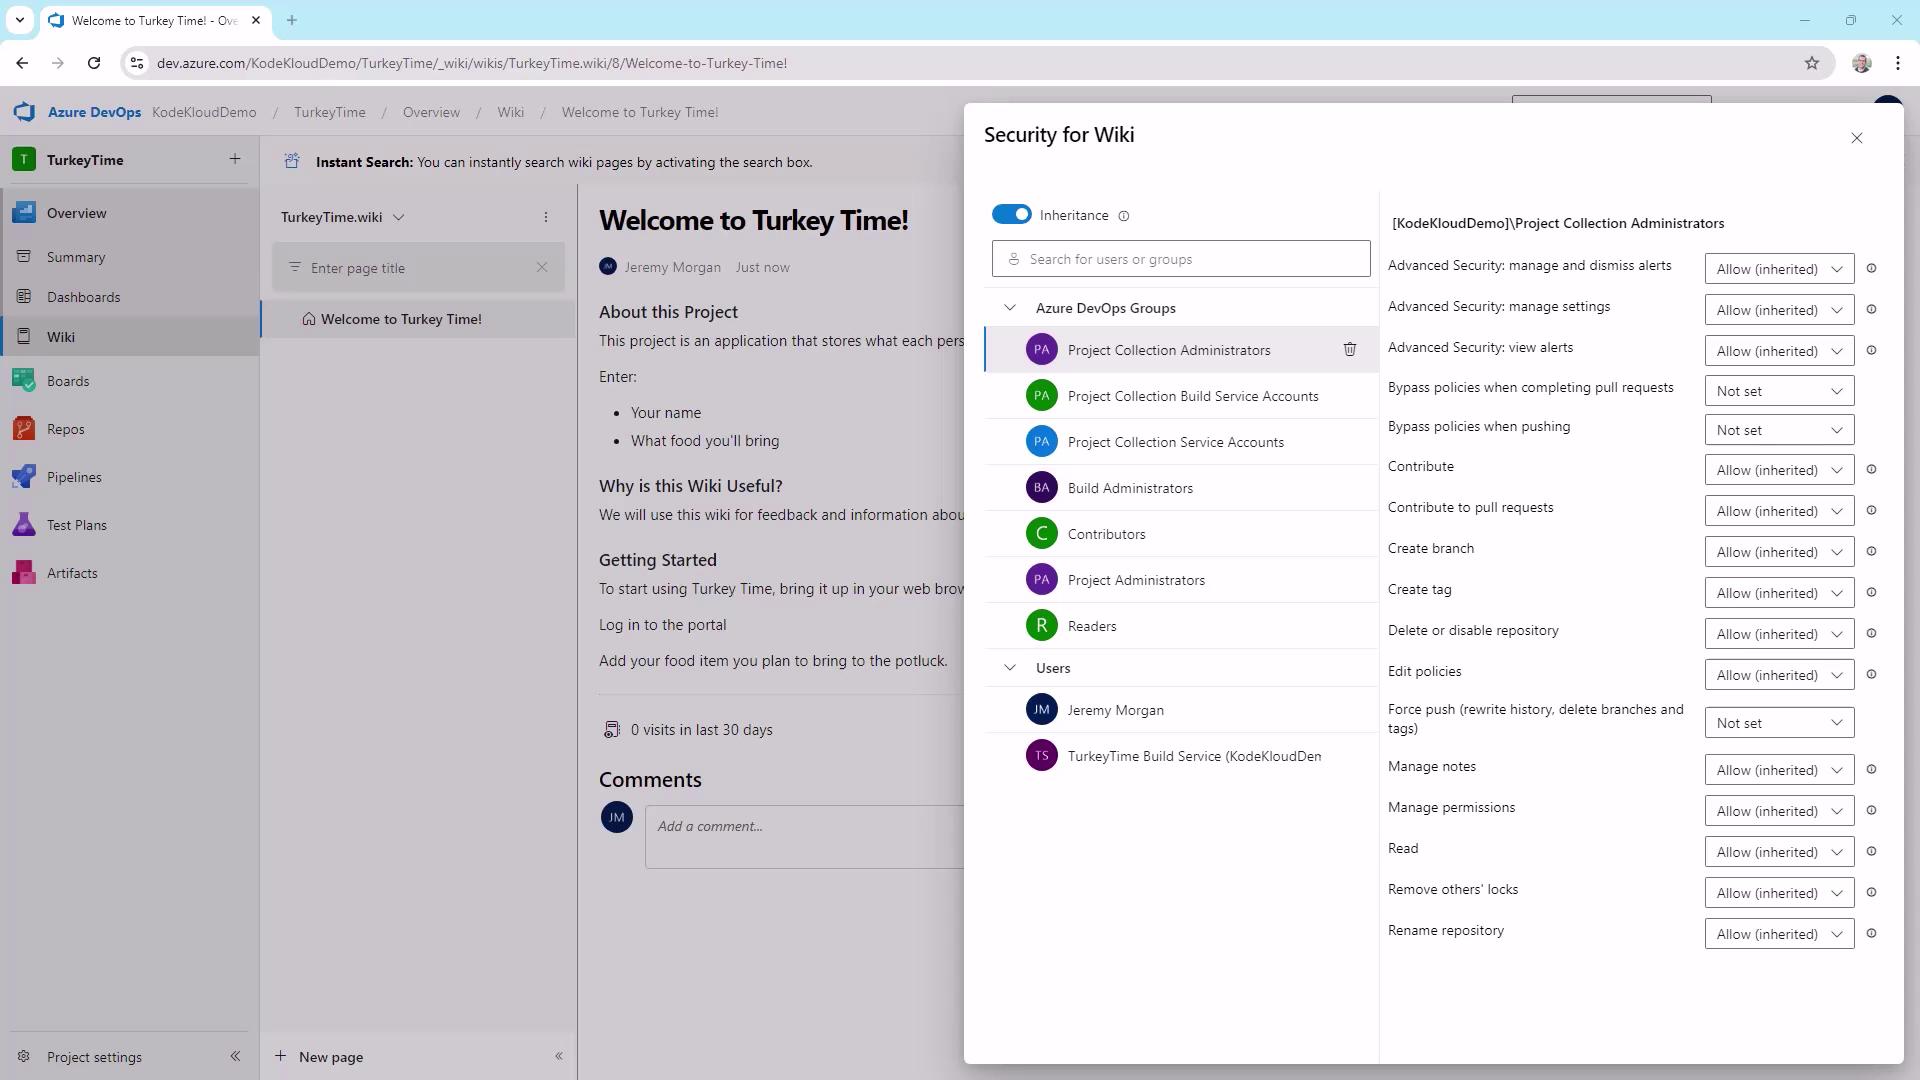
c. Managing Wiki Security
To control who can view or edit your wiki:- Click the … menu at the top right of the wiki page.
- Select Wiki security.
- Add users or groups and assign permissions.
| Permission | Description |
|---|---|
| Read | View all wiki pages |
| Contribute | Edit and create wiki content |
| Delete | Remove pages or sections |
| Administer | Modify wiki settings and security |
Follow the principle of least privilege—only grant the minimum permissions each user or group needs.
2. Publishing Code as a Wiki
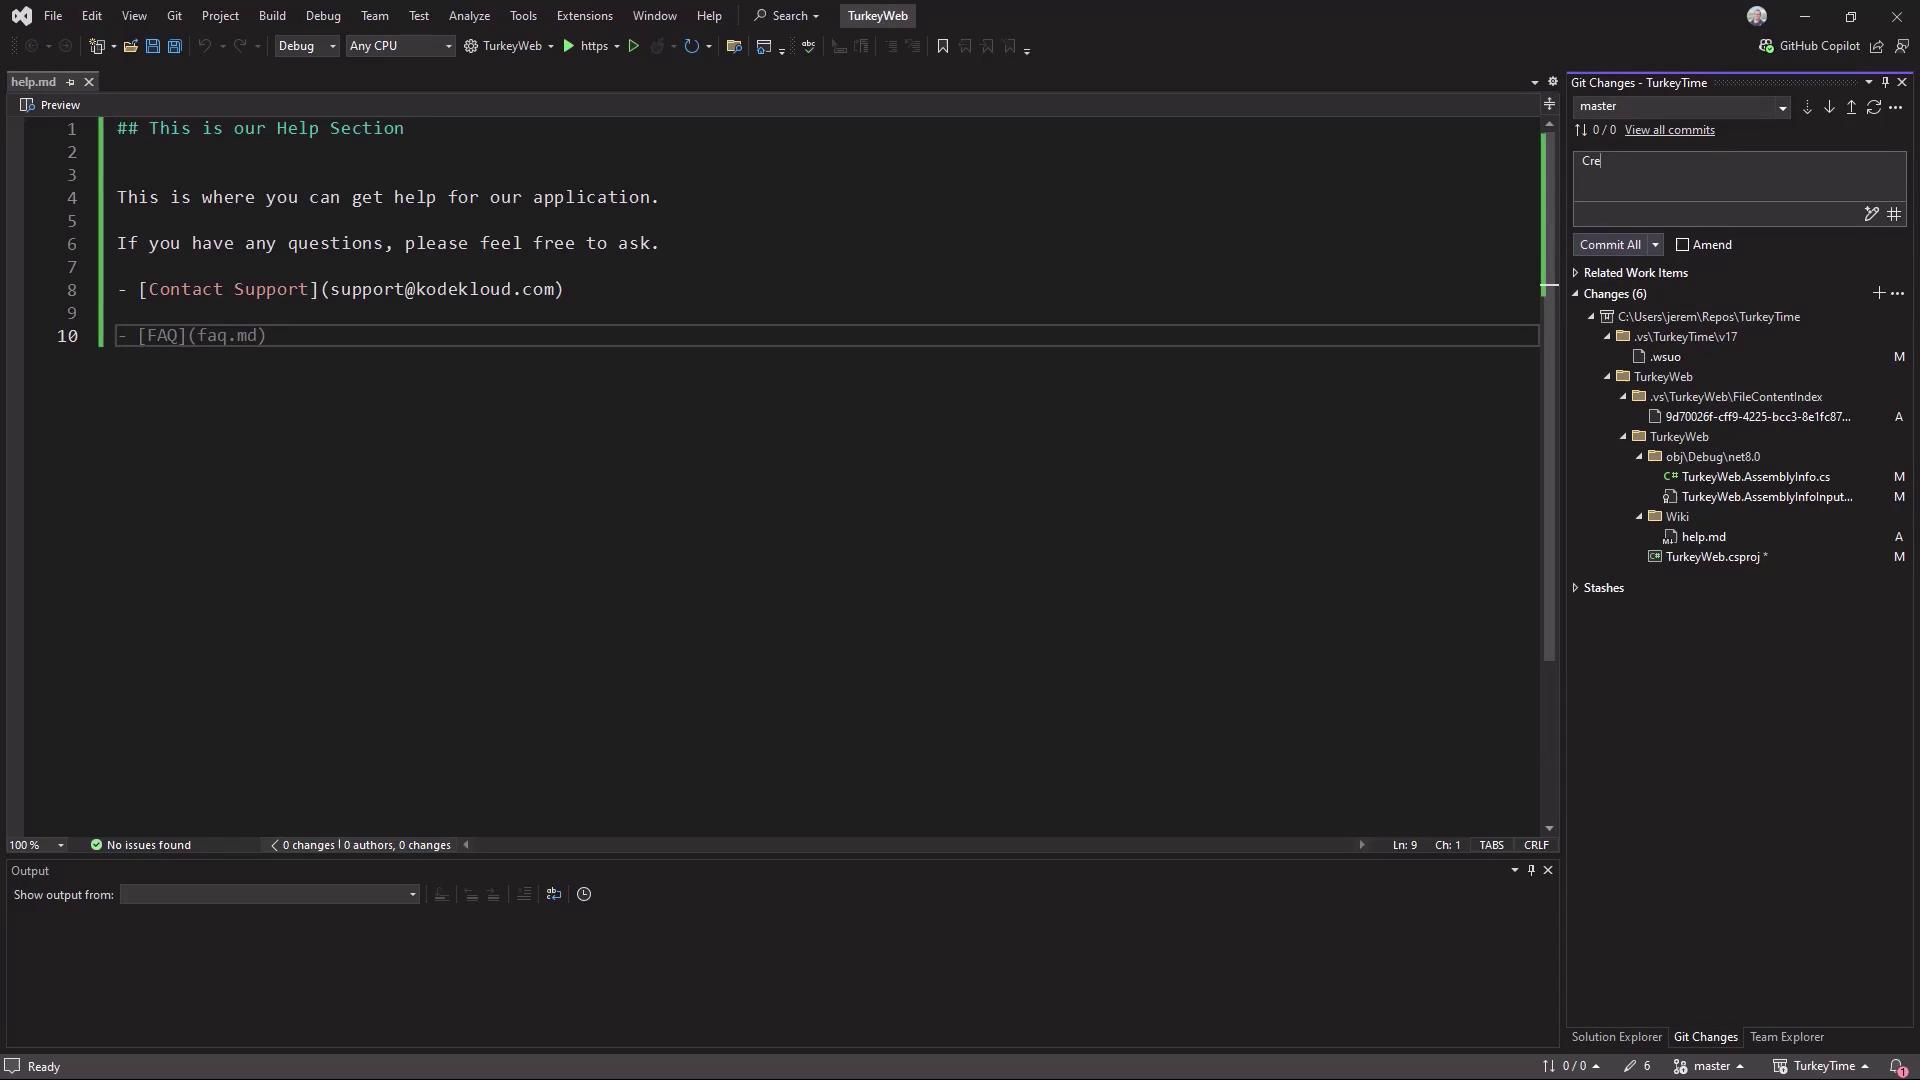
Versioning your documentation alongside your source code ensures every change is tracked.a. Prepare Your Repository
- In your local repo or IDE, create a
Wikifolder: - Inside
Wiki, create a Markdown file (e.g.,HelpPage.md) and write your documentation. - Stage and commit your changes:
b. Publish Code as Wiki
- In Azure DevOps, navigate back to Project Overview → Wiki.
- Select Publish Code as Wiki.
- Choose the
Wikifolder in your repository. - Enter a wiki name (e.g., Help Page).
- Click Publish.