- Creating an Azure Key Vault
- Adding secrets
- Configuring an Azure DevOps service connection
- Building and running a pipeline that fetches Key Vault secrets
1. Creating an Azure Key Vault
- In the Azure Portal, search for Key Vaults and click + Create.
- Select your subscription and resource group.
- Enter a globally unique vault name (e.g.,
KodeKloudKeyVault123). - Choose East US as the region and Standard pricing tier.
- Leave Soft delete enabled (90-day retention) and configure Purge protection as needed.
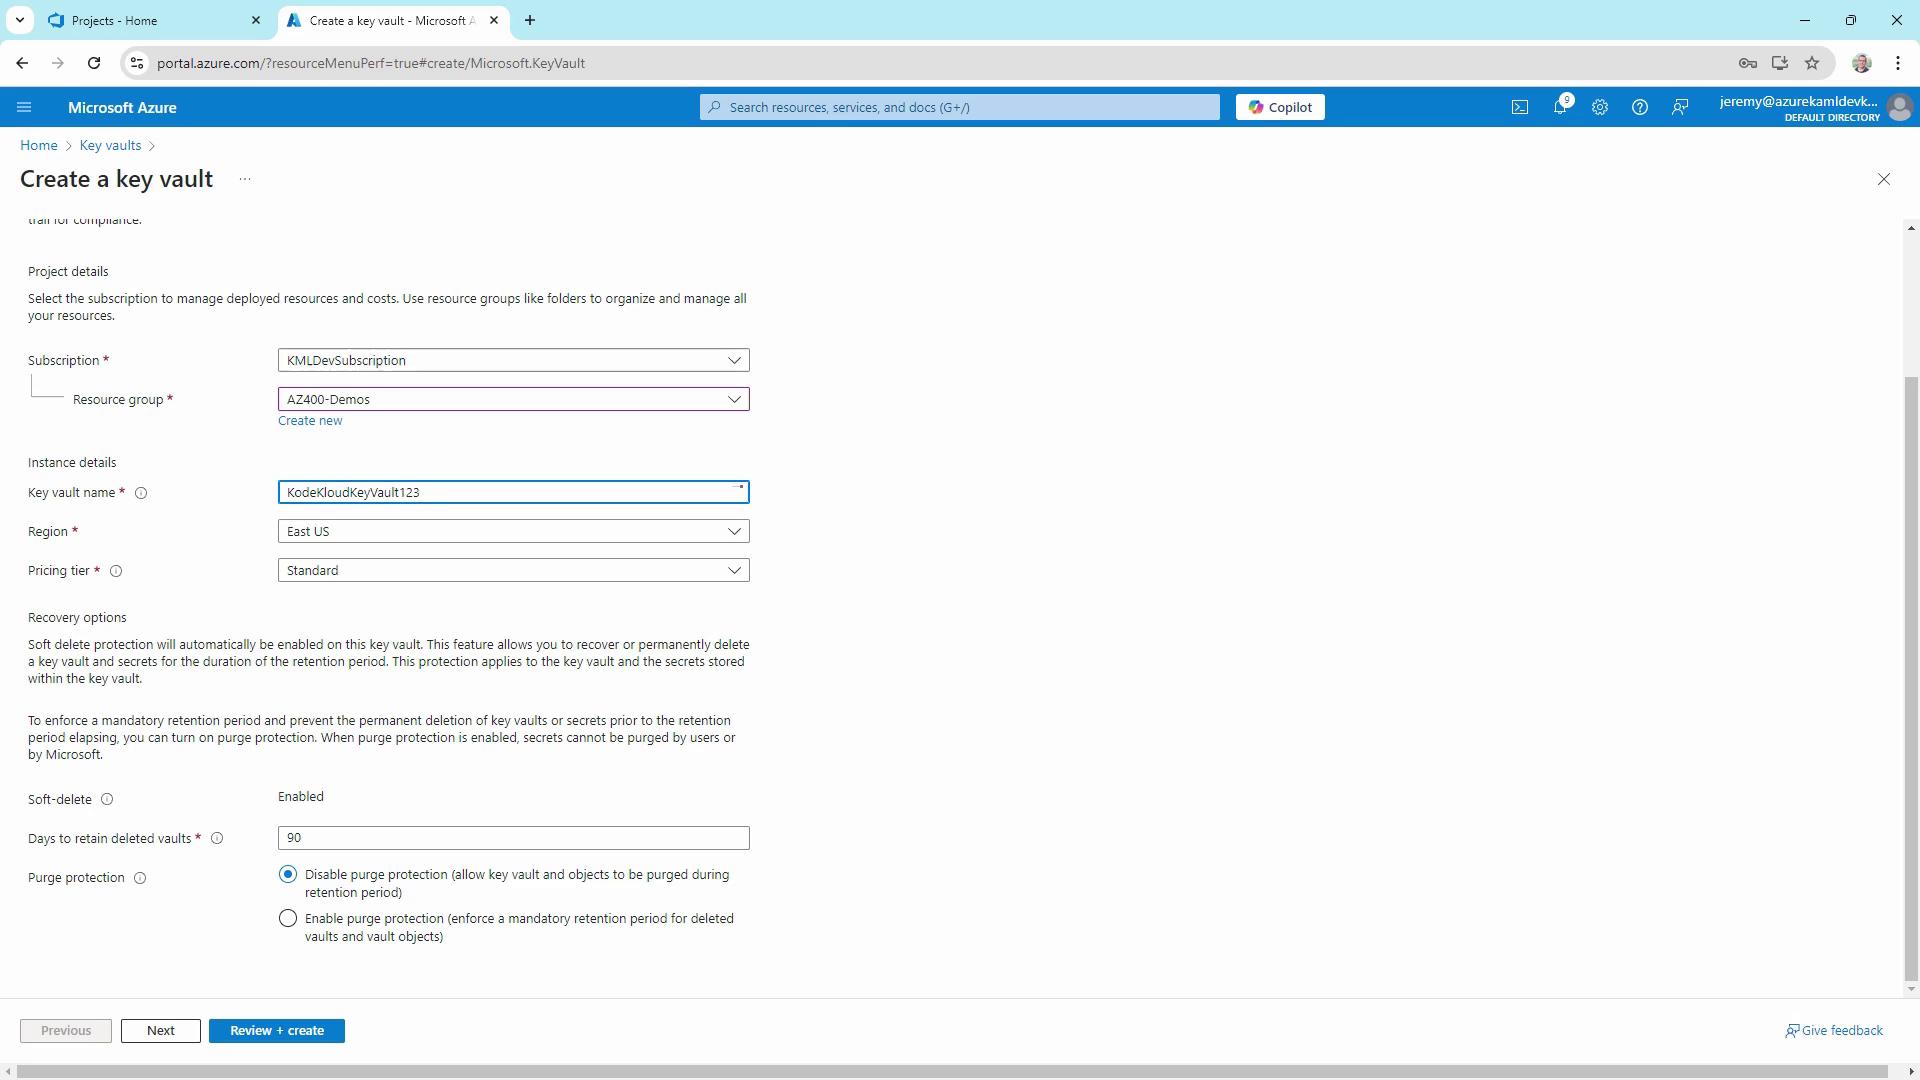
Soft delete is enabled by default to prevent accidental data loss. If you need stricter protection, enable Purge protection.
- Click Next until you reach Access policy, choose the Vault access policy model for granular permissions, and grant yourself Get, List, Create, and Delete rights.
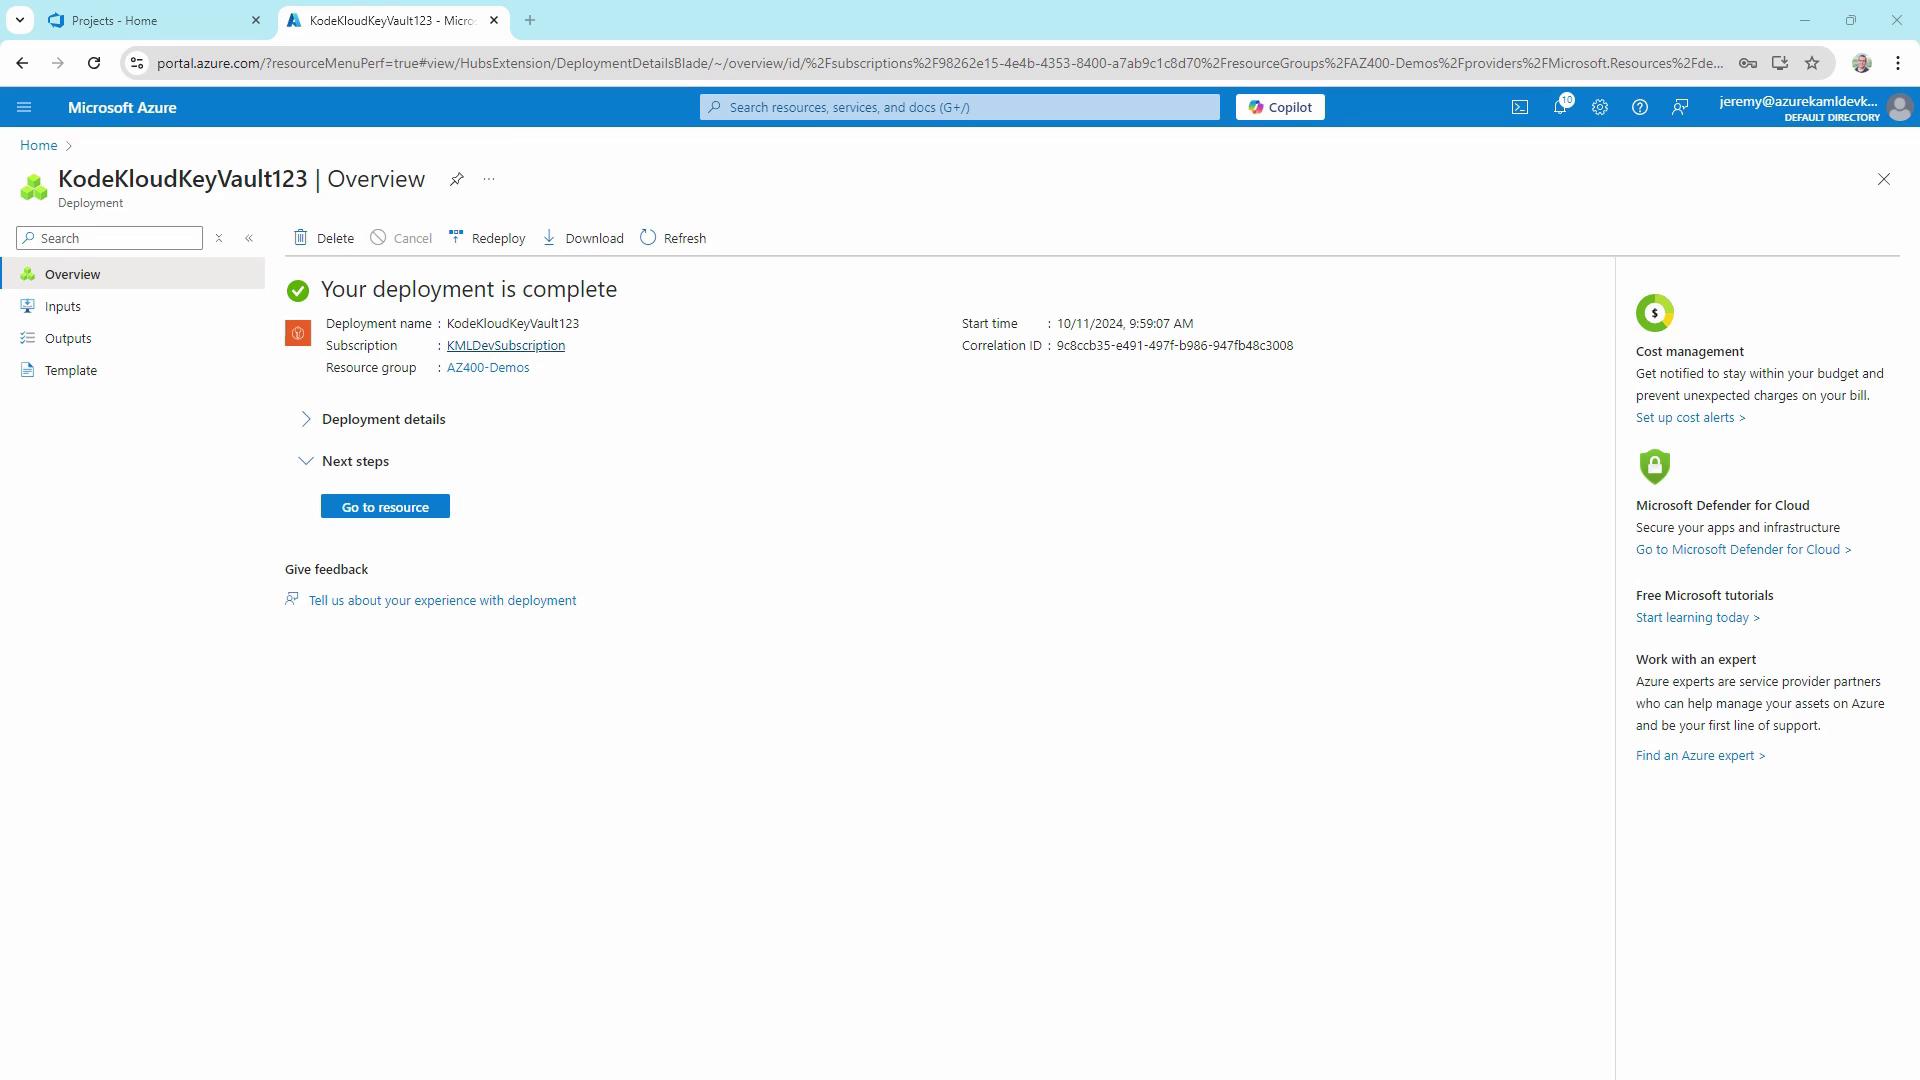
- Review and select Create. After deployment, click Go to resource.
2. Adding a Secret
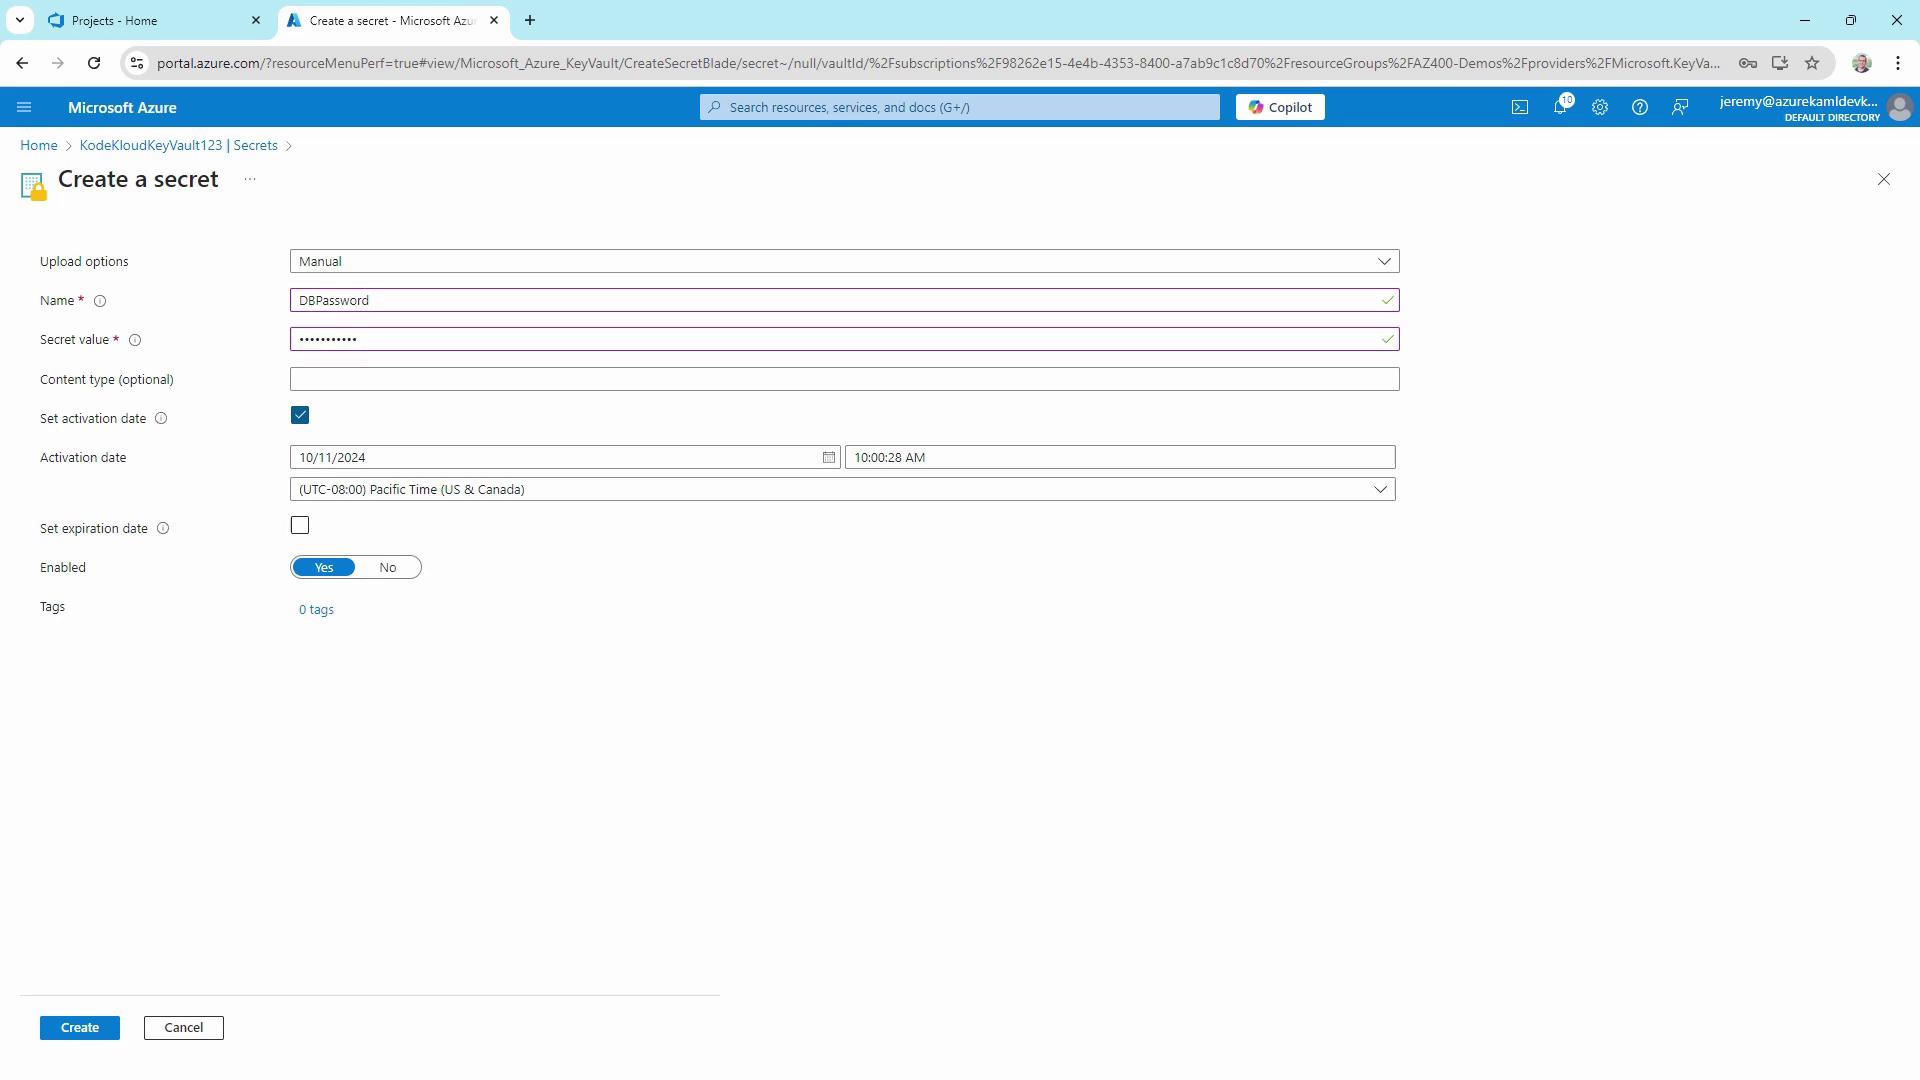
- In your vault’s blade, select Secrets → + Generate/Import.
- Name the secret
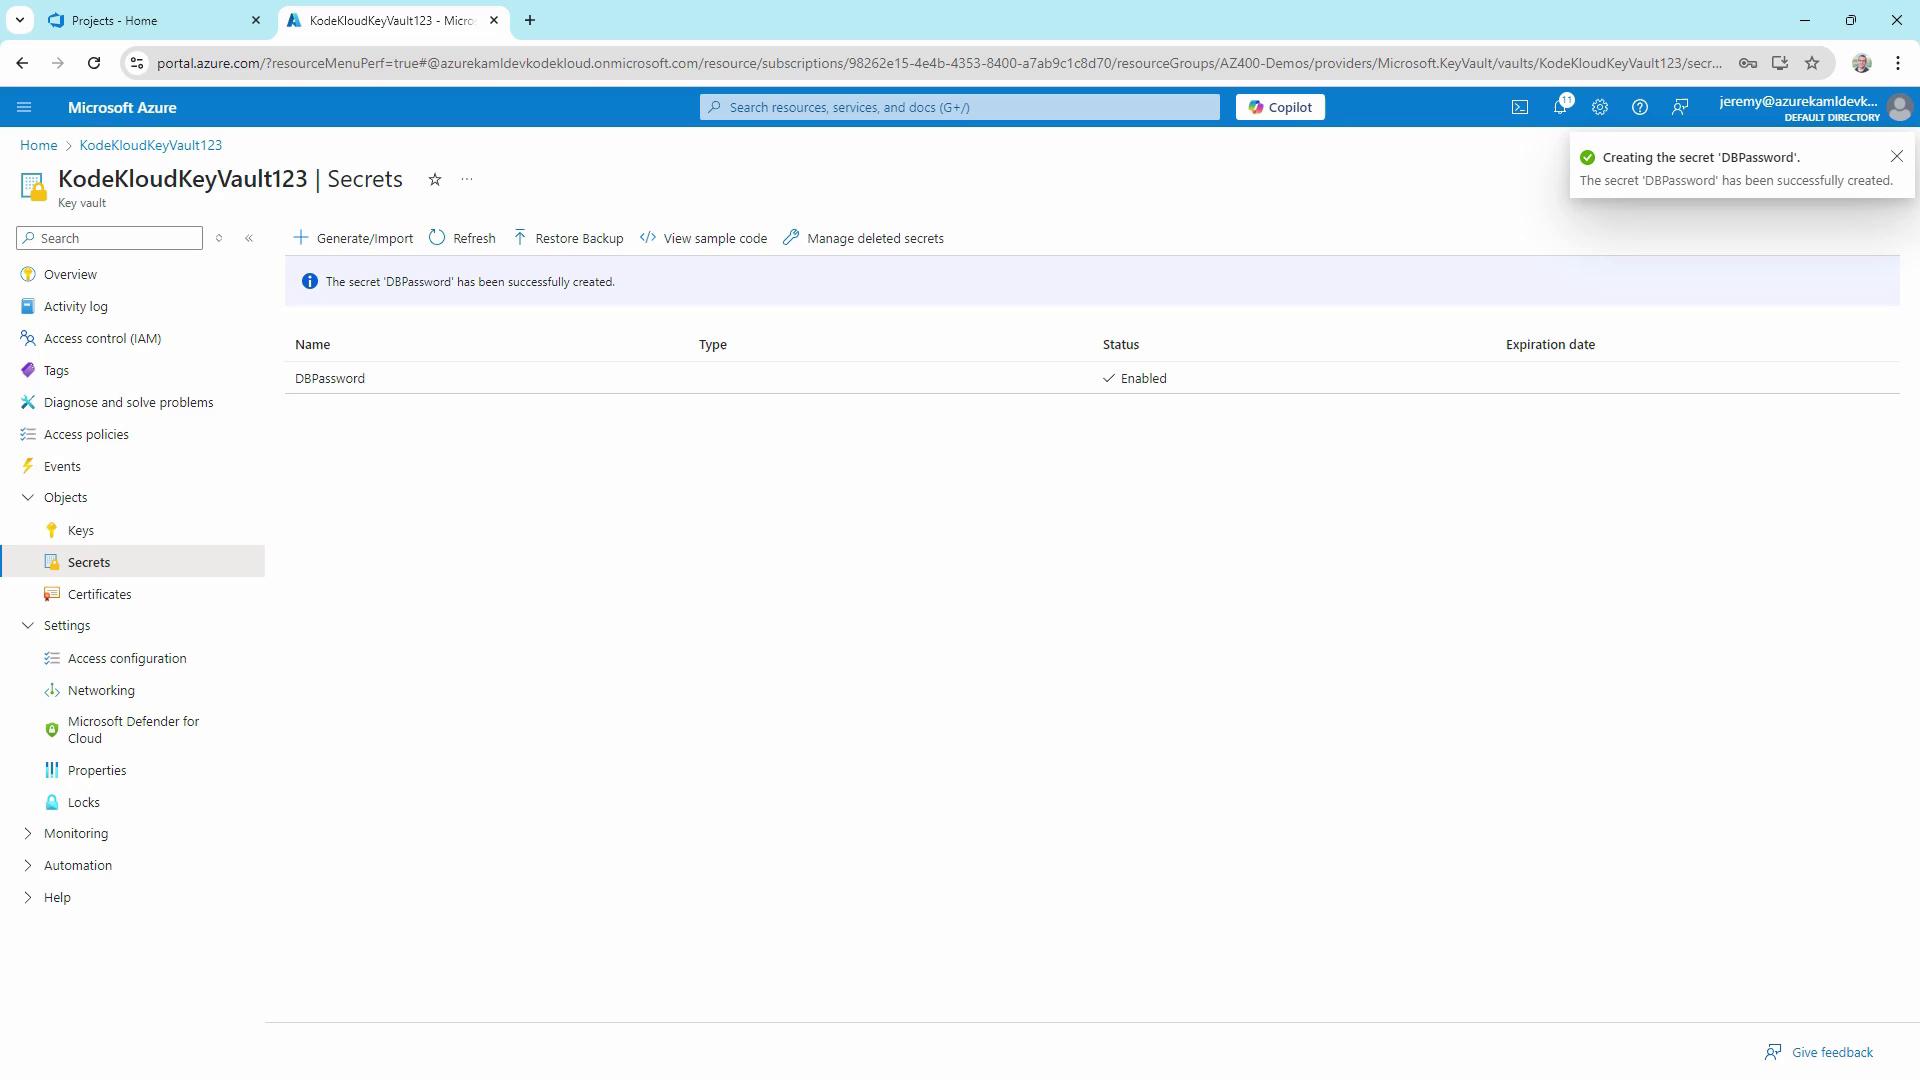
DBPassword, enter a value (e.g.,Password123), and optionally set activation/expiration dates. - Click Create and confirm the secret appears enabled in the list.
3. Setting Up a Service Connection
- In your Azure DevOps project, go to Project Settings → Pipelines → Service Connections.
- Click New service connection → Azure Resource Manager.
- Select Service Principal (automatic), choose your subscription and resource group (e.g.,
AZ-400-DevOps), then name itKodeKloud Key Vault Connection. - Enable Grant access permission to all pipelines and save.
Make sure this service principal has Get and List permissions on your Key Vault. Otherwise, Azure Pipelines won’t be able to fetch secrets.
4. Creating a Starter Pipeline
Under Pipelines, click New pipeline and use a starter template. Set the trigger tonone for manual execution, then run it to verify the build agent.
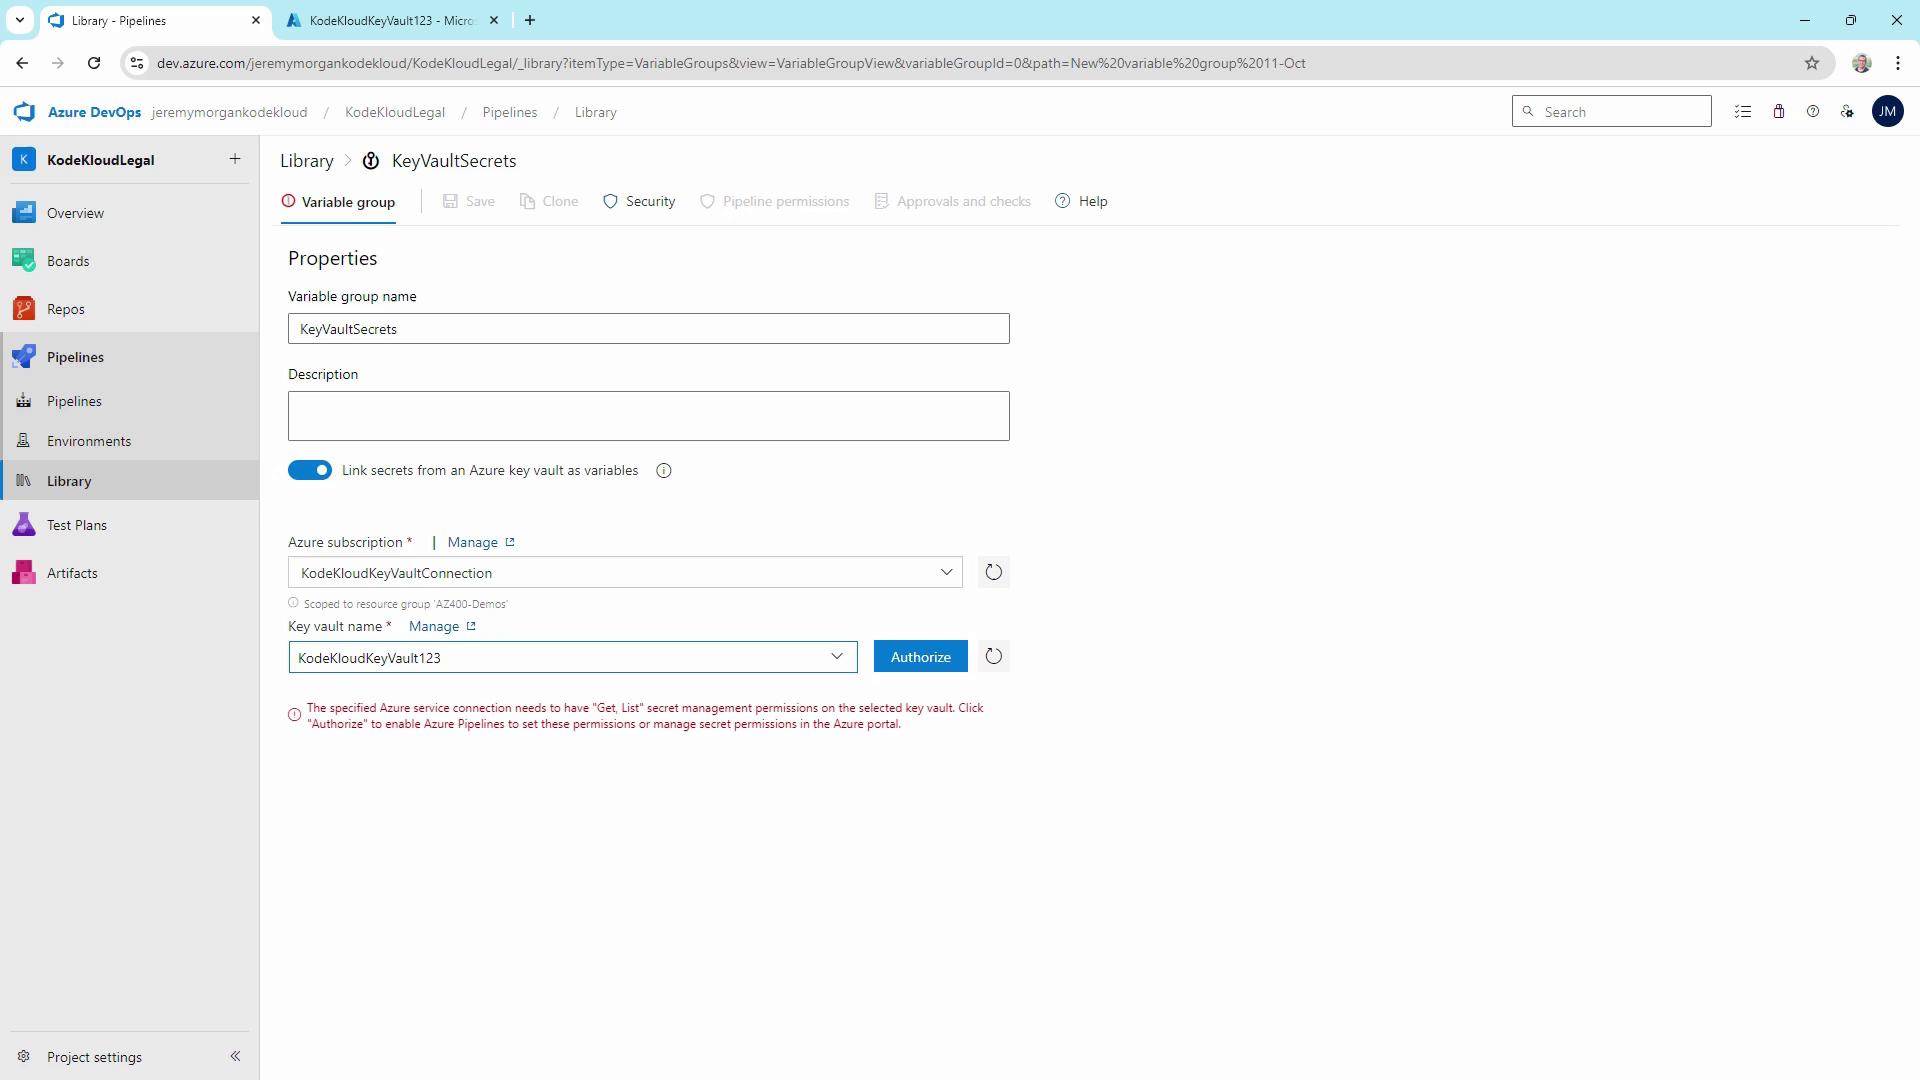
5. Linking Key Vault Secrets in a Variable Group
- In Azure DevOps, navigate to Pipelines → Library → + Variable group.
- Name it
KeyVaultSecrets. - Toggle on Link secrets from an Azure key vault as variables.
- Select your
KodeKloud Key Vault Connectionand choose the vaultKodeKloudKeyVault123. - Add the secret DBPassword and click Save.
6. Retrieving and Using the Secret in a Pipeline
Extend your YAML to reference the variable group and add the Azure Key Vault task: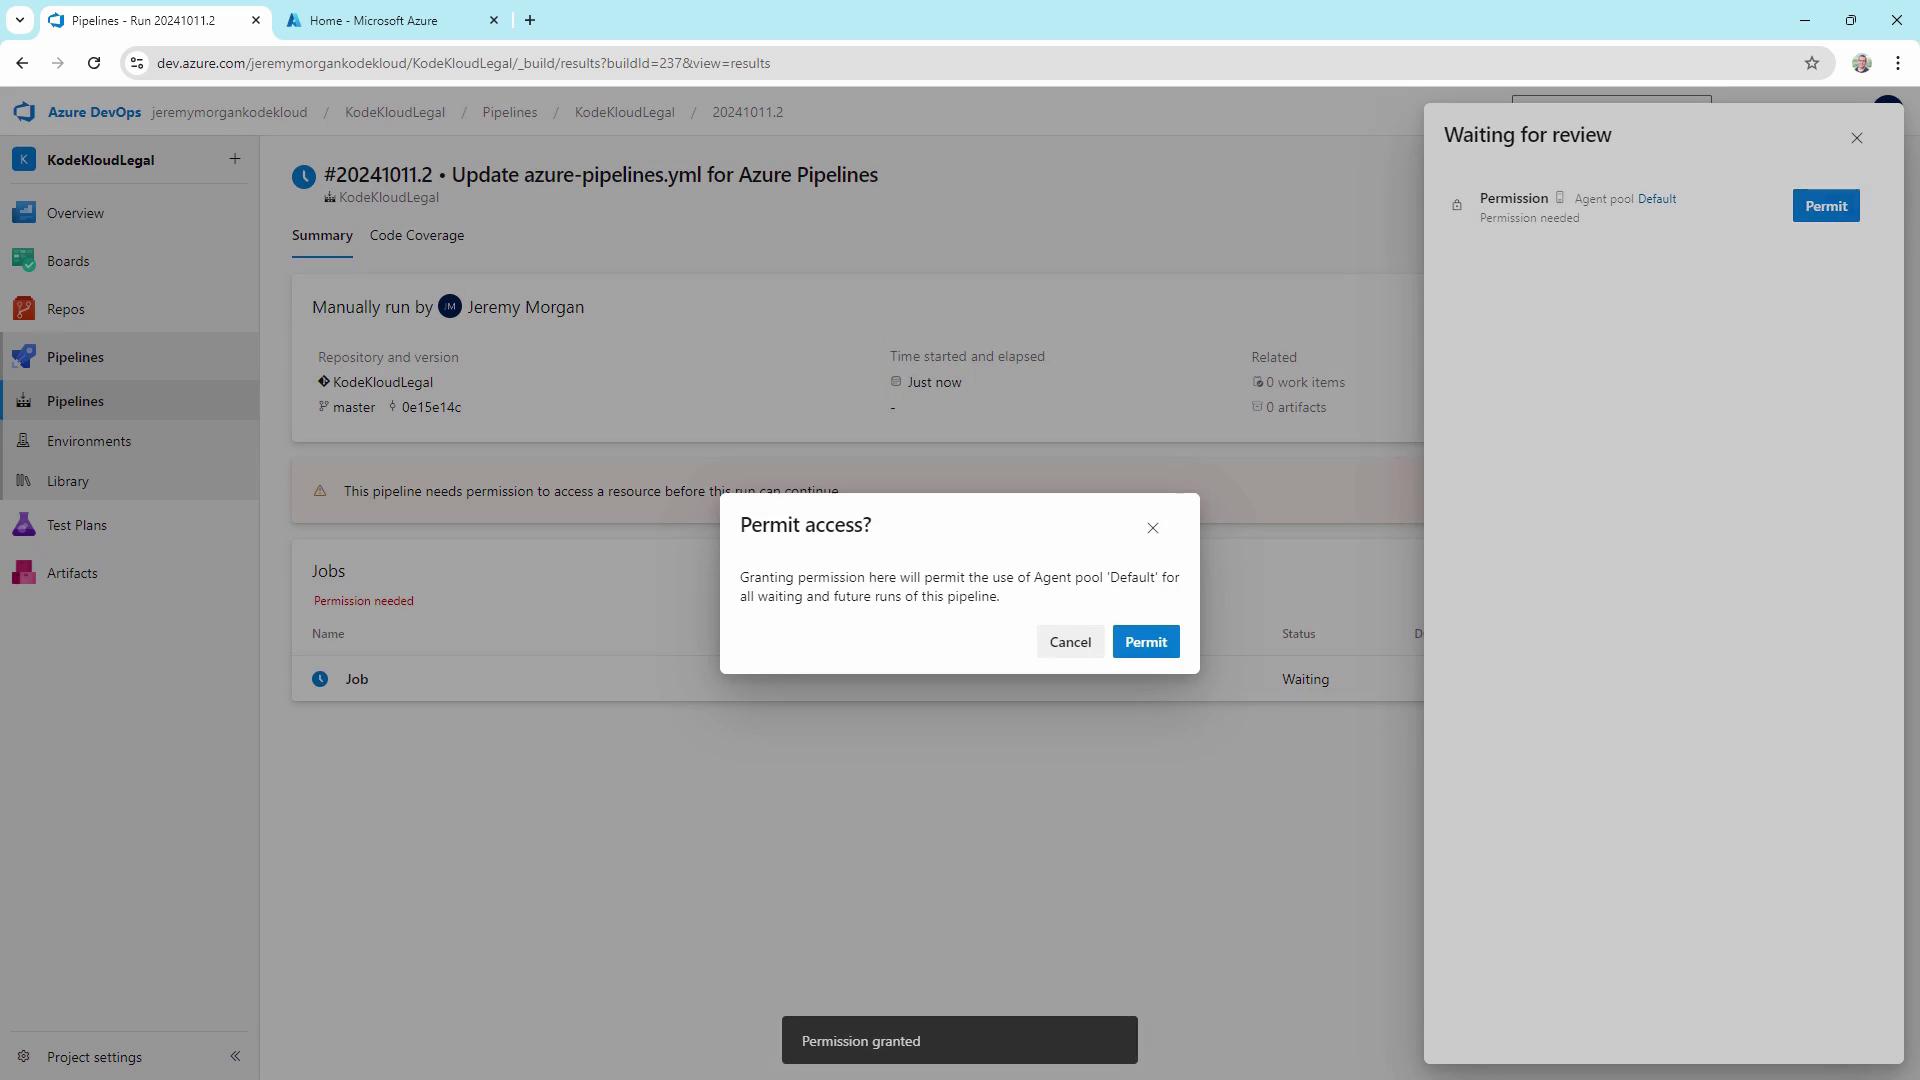
Additional Examples
Below are common scenarios for using Key Vault in pipelines.| Scenario | Task |
|---|---|
| .NET Core build | Fetch DatabasePassword then run DotNetCoreCLI@2 |
| Web App deployment with API key | Fetch ApiKey then run AzureWebApp@1 |
Best Practices
- Never store secrets in source code or text files.
- Enforce the principle of least privilege on Key Vault access policies.
- Rotate and expire secrets routinely.
- Prefer Managed Identities over service principals when possible.
- Implement logging and auditing for all Key Vault operations.
- Maintain separate vaults for development, testing, and production.
Links and References
- Azure Key Vault Documentation
- Azure Pipelines YAML Schema
- Azure DevOps Service Connections
- Managing Secrets with Azure Key Vault