In this lesson, you’ll work with Vault namespaces using both the CLI and UI. We assume Vault Enterprise 1.11 is running locally, unsealed, and you’re authenticated as root.

Prerequisites

  • Vault Enterprise 1.11 installed and unsealed
  • root token available

Listing and Creating Namespaces via CLI

  1. List existing namespaces:
    If none exist, you’ll see:
  2. Create a top-level namespace named hcvop:
    Output:
  3. Verify it’s listed:

Creating Child Namespaces

Method 1: use the -namespace flag.
Method 2: set VAULT_NAMESPACE:
List the children under hcvop:
Return to root:

Exploring Namespaces in the UI

Fetch your root token if needed:
  1. Open the Vault UI.
  2. Log in with your root token.
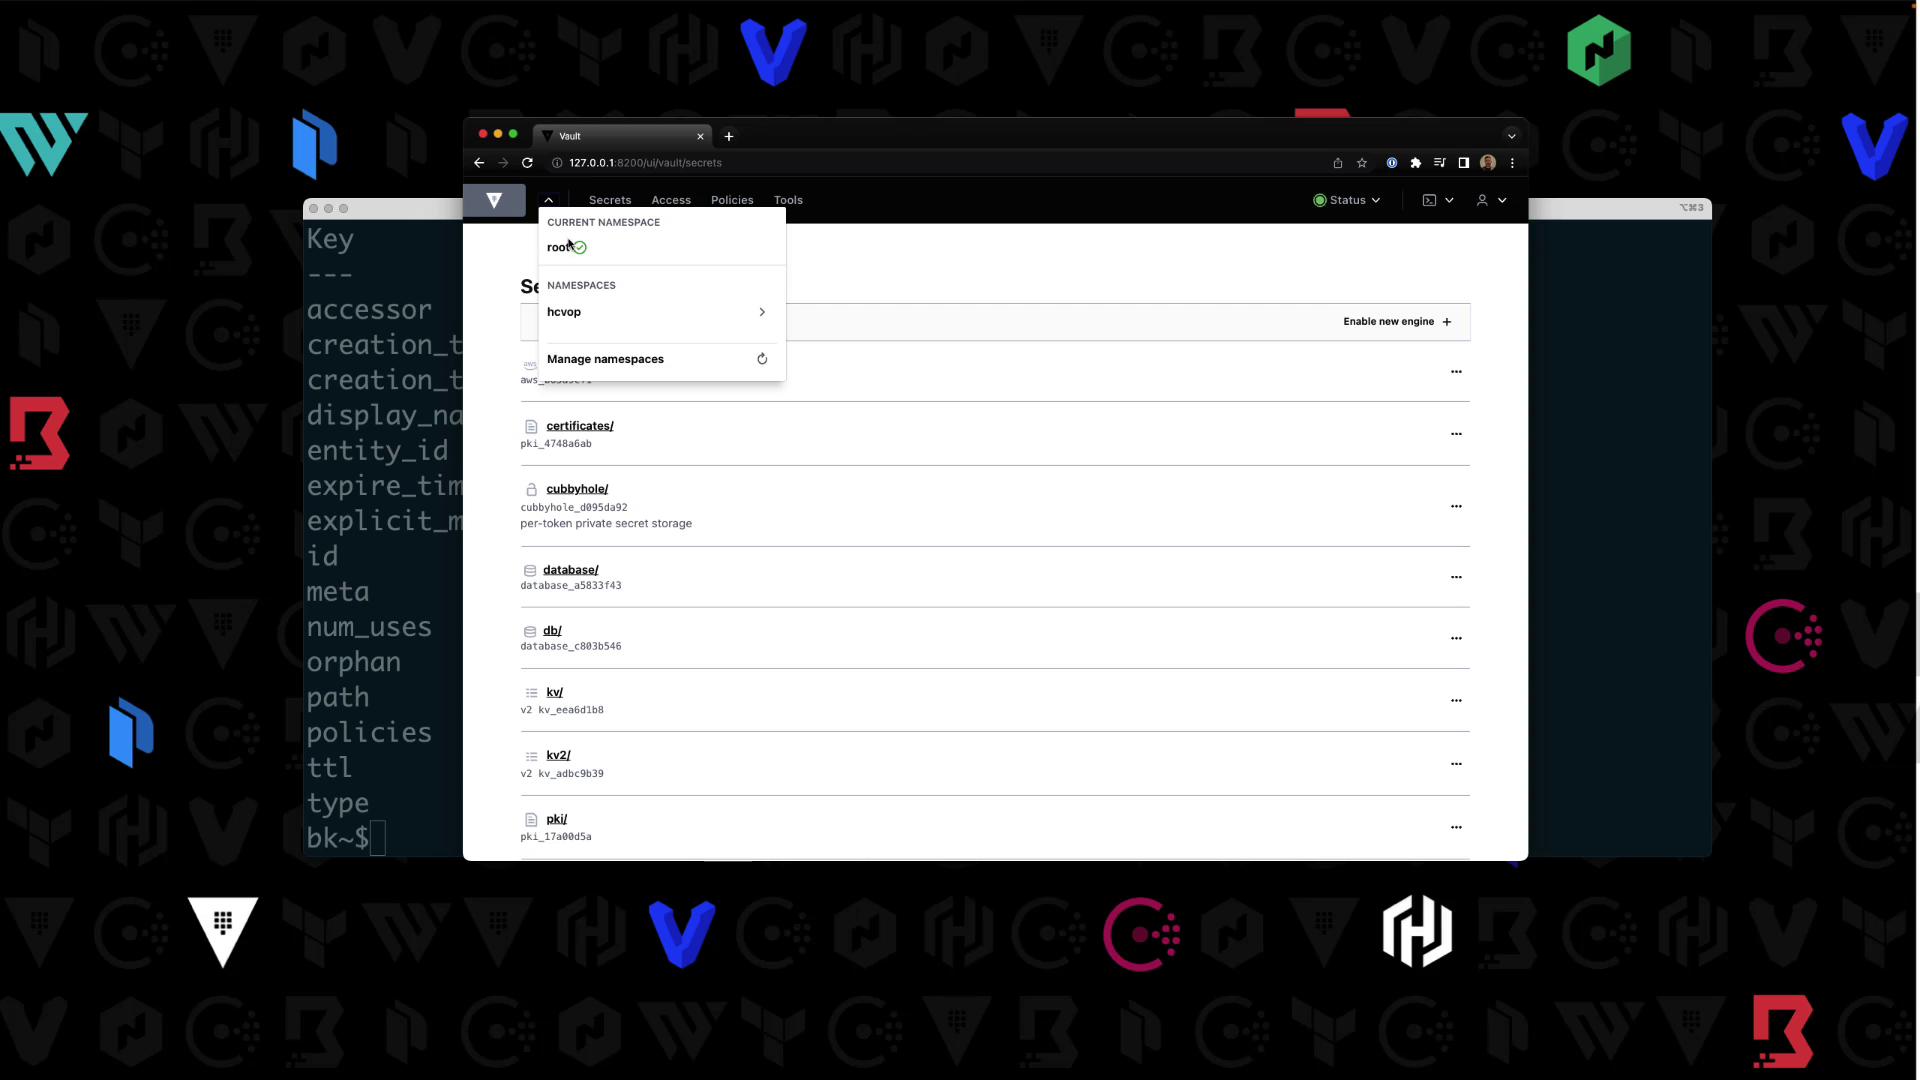
  3. Click the Namespaces dropdown—you’ll see hcvop/ listed:
The image shows a web interface of HashiCorp Vault displaying a list of secret engines and namespaces. The background features various tech-related logos.
  1. Select hcvop, re-enter your token, then switch between its certification and training child namespaces.

Enabling Secrets Engines in a Child Namespace

Target hcvop/certification in your shell:
Enable AWS and KV v2:
Confirm:
In the UI under Secrets, you’ll see your enabled engines:
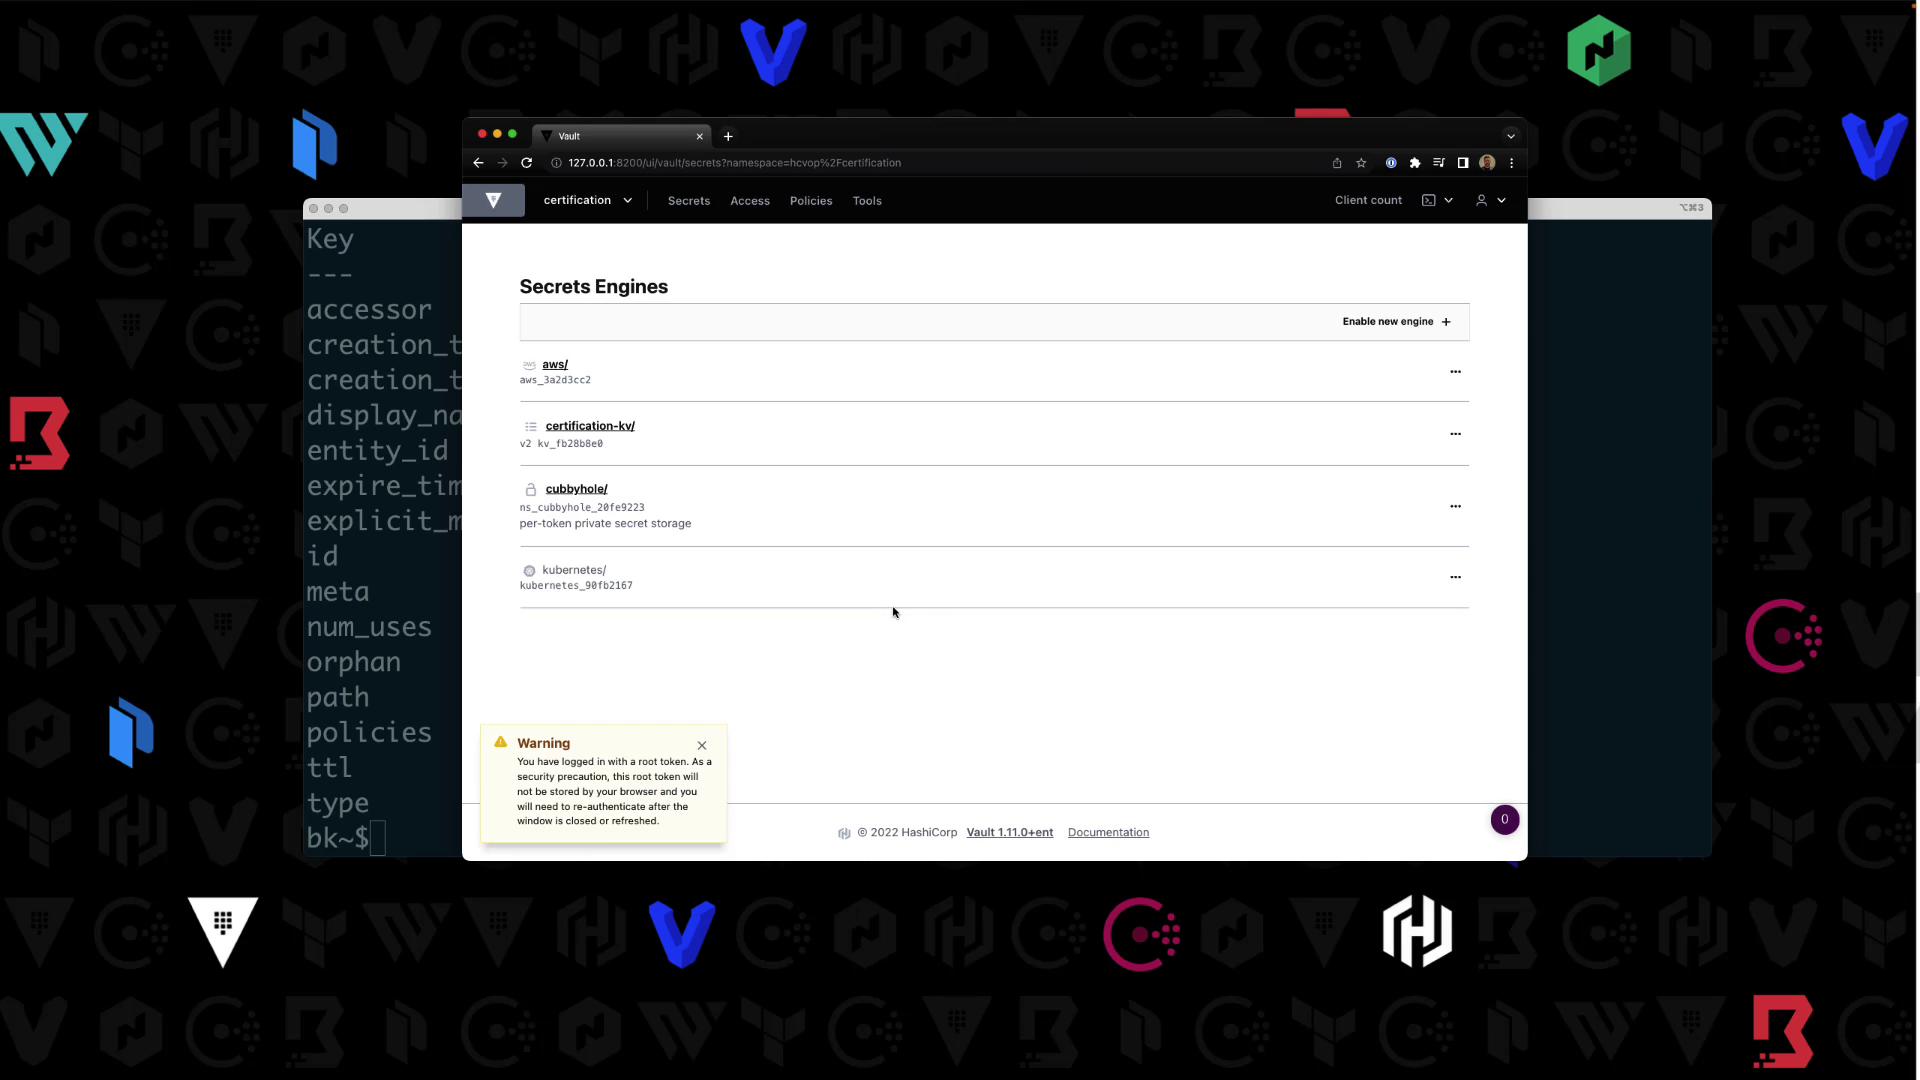
The image shows a web interface for HashiCorp Vault, displaying a list of secret engines such as AWS, certification-kv, cubbyhole, and Kubernetes. There's also a warning about being logged in with a root token.

Writing a Policy in a Namespace

Still in hcvop/certification, write certification-policy:
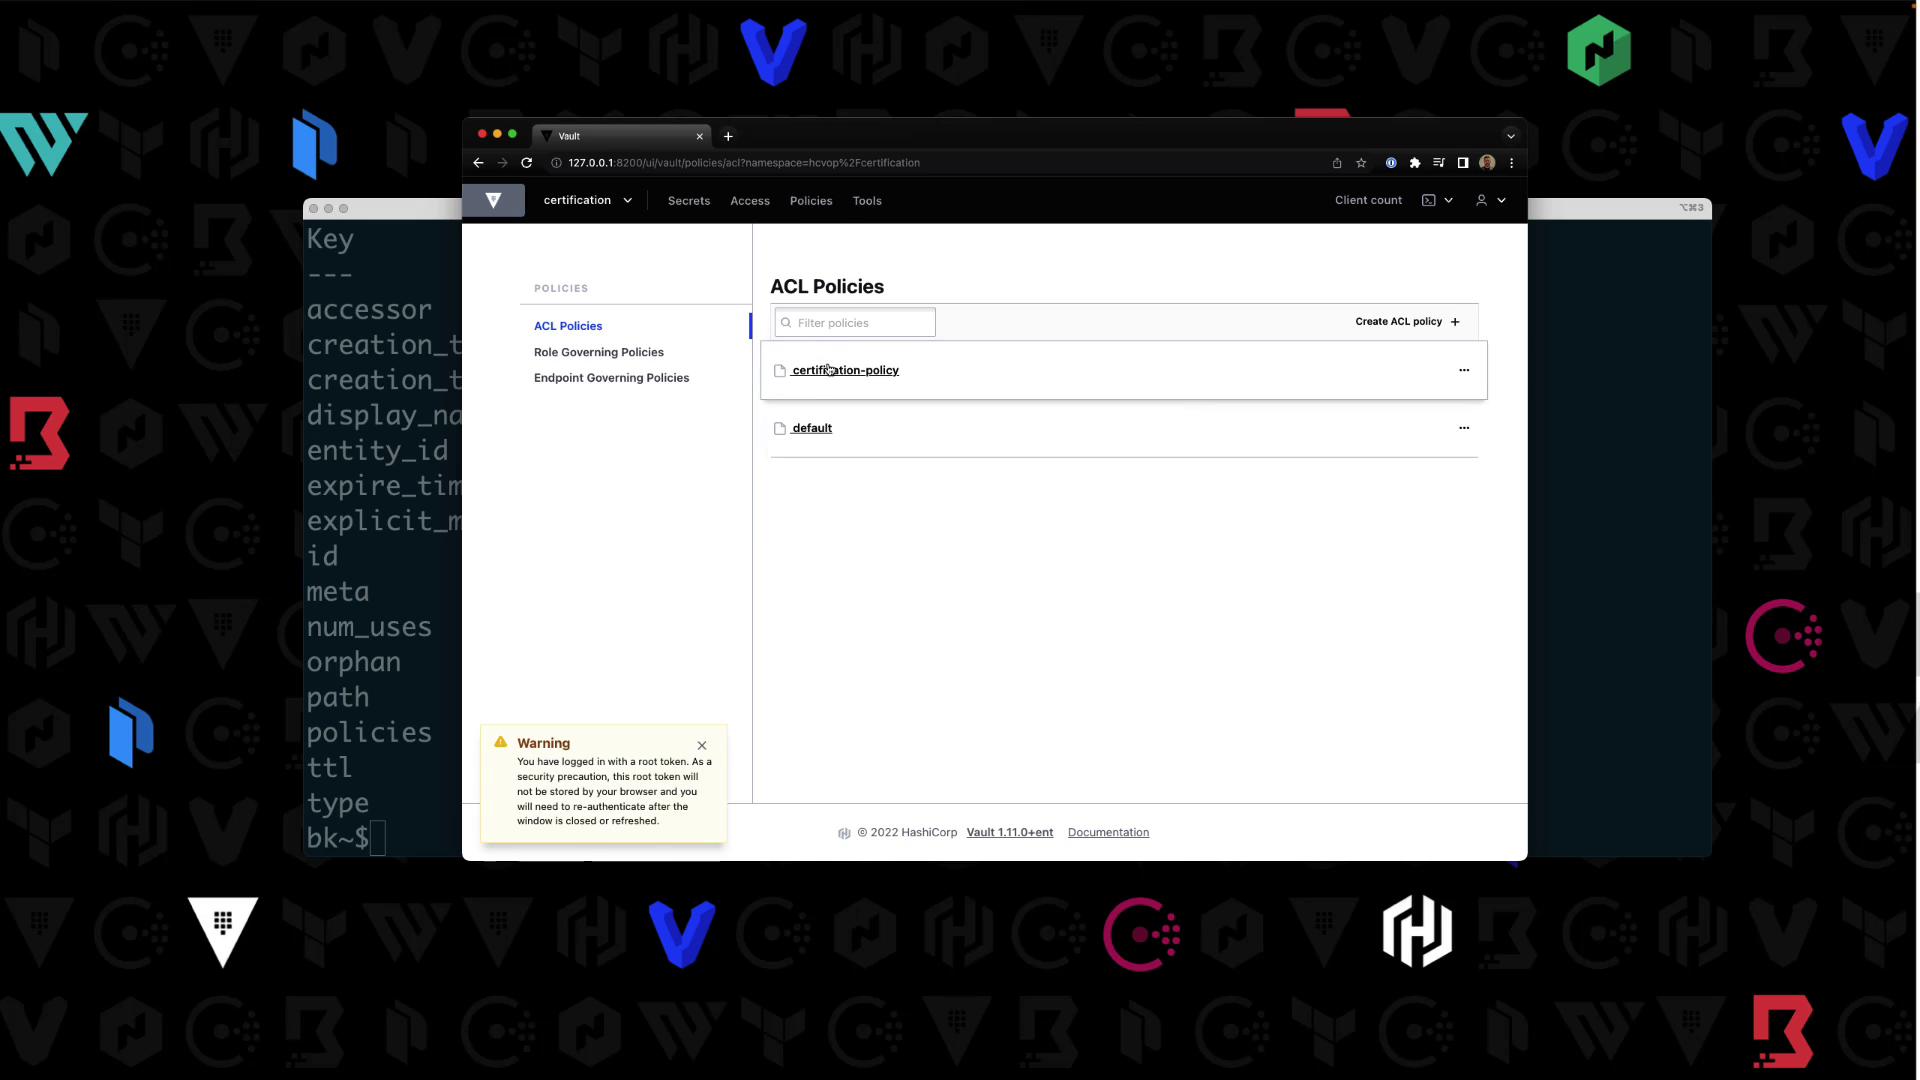
Success! In the UI under Access > Policies, you’ll see your new policy:
The image shows a web interface for managing ACL policies in HashiCorp Vault, with a warning about using a root token. The background features various tech-related logos.

Enabling Userpass Authentication

Authentication methods are namespace-specific. Confirm your context is hcvop/certification.
  1. In the UI, navigate to Auth > Enable new method.
  2. Select Username & Password, then click Enable:
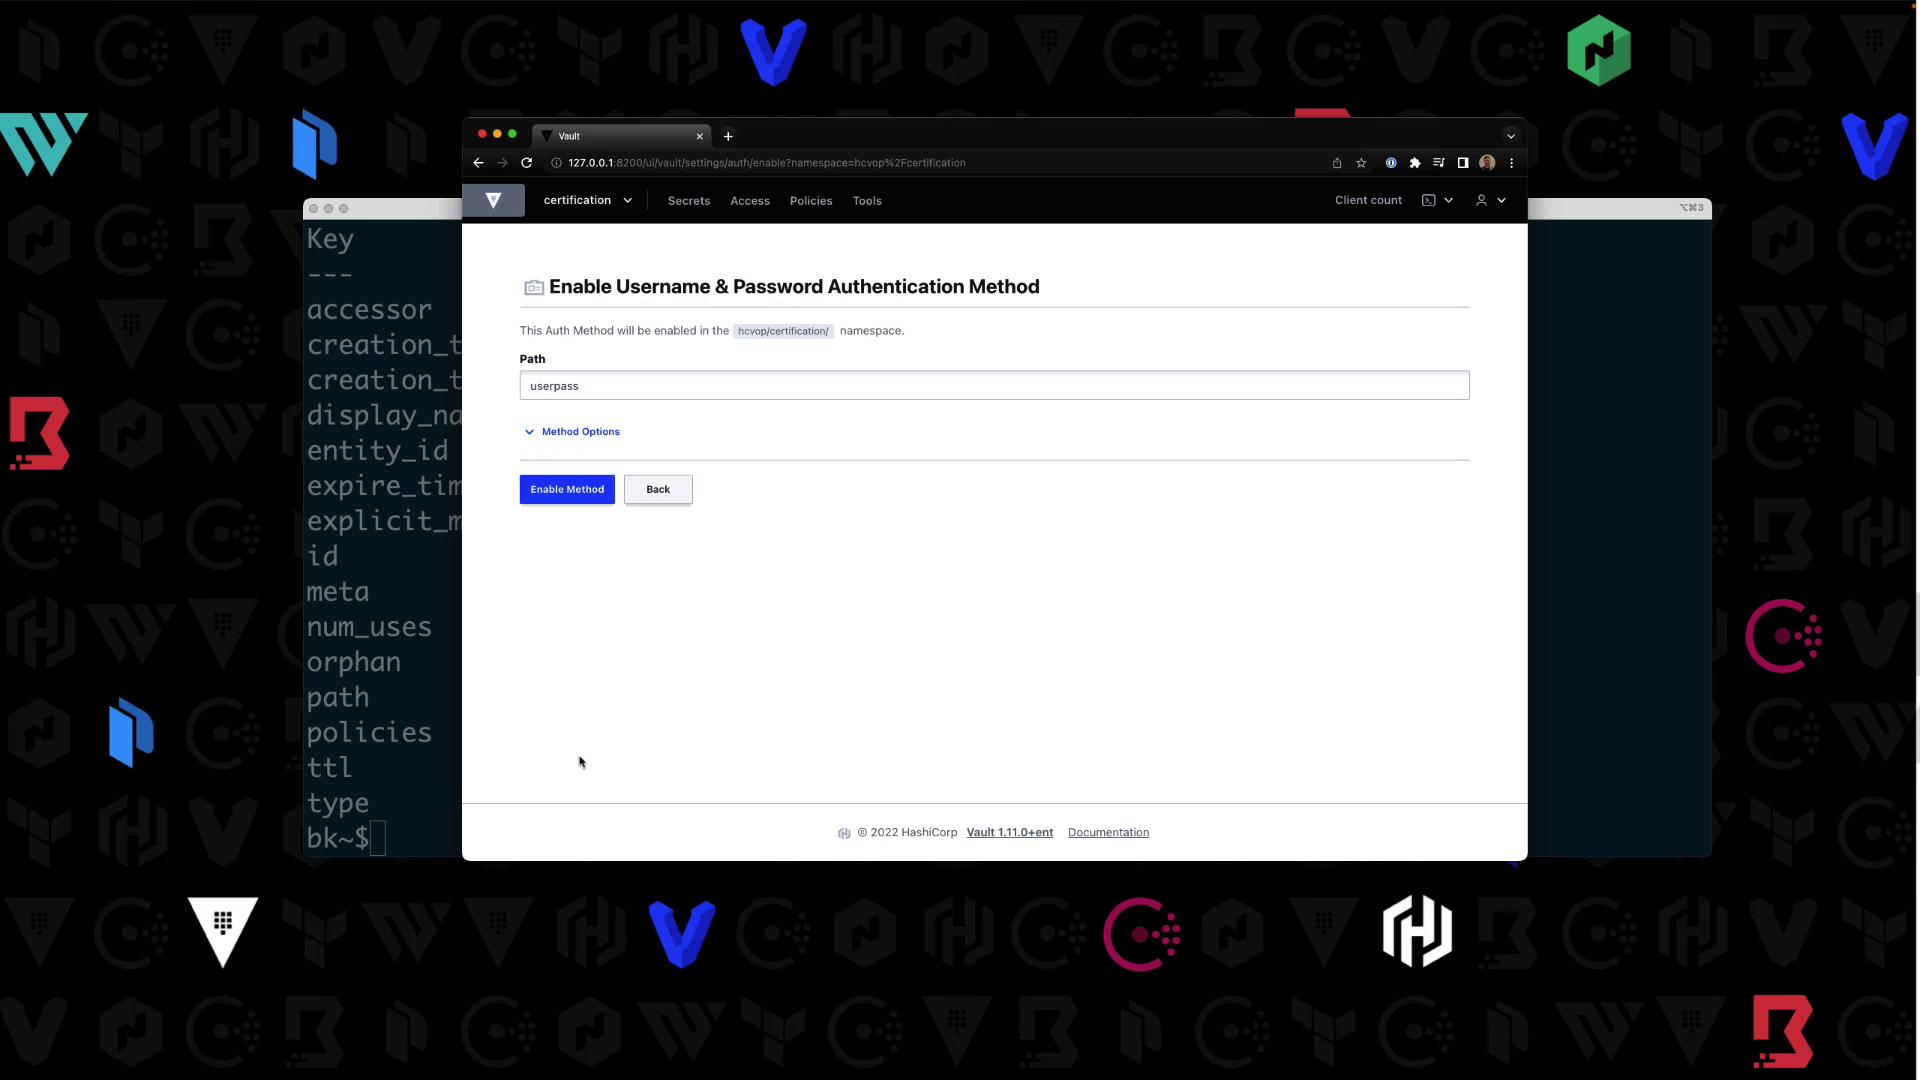
The image shows a web interface for enabling a username and password authentication method in HashiCorp Vault, with a terminal window partially visible in the background.
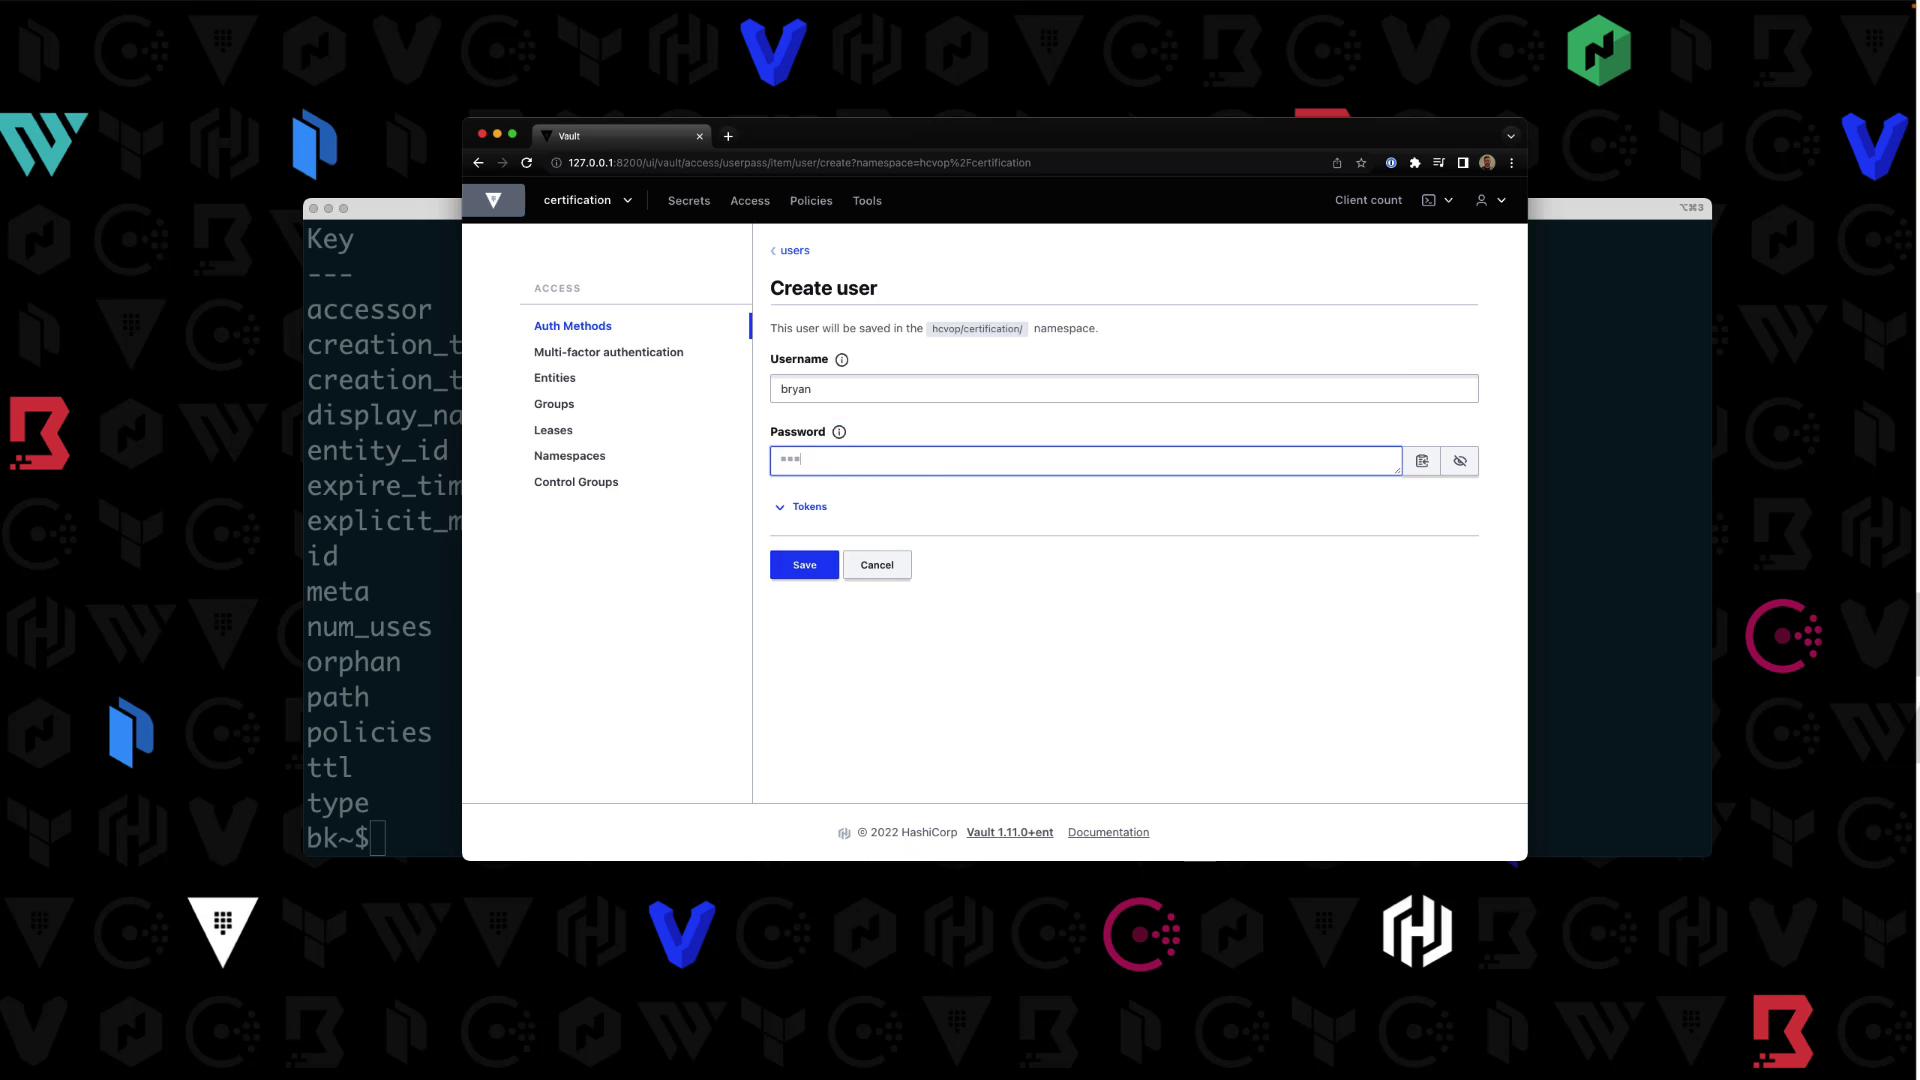
  1. Create a user Bryan with password HCVOP and attach certification-policy:
The image shows a web interface for creating a user in a system, with fields for entering a username and password. The background features a terminal window with text and a pattern of logos.

Logging in as the New User

Log out of the root session. On the UI login page:
  • Namespace: hcvop/certification
  • Method: Username & Password
  • Credentials: Bryan / HCVOP
You’ll see only the certification-kv/ engine. Other paths (e.g., aws/) will return an authorization error:
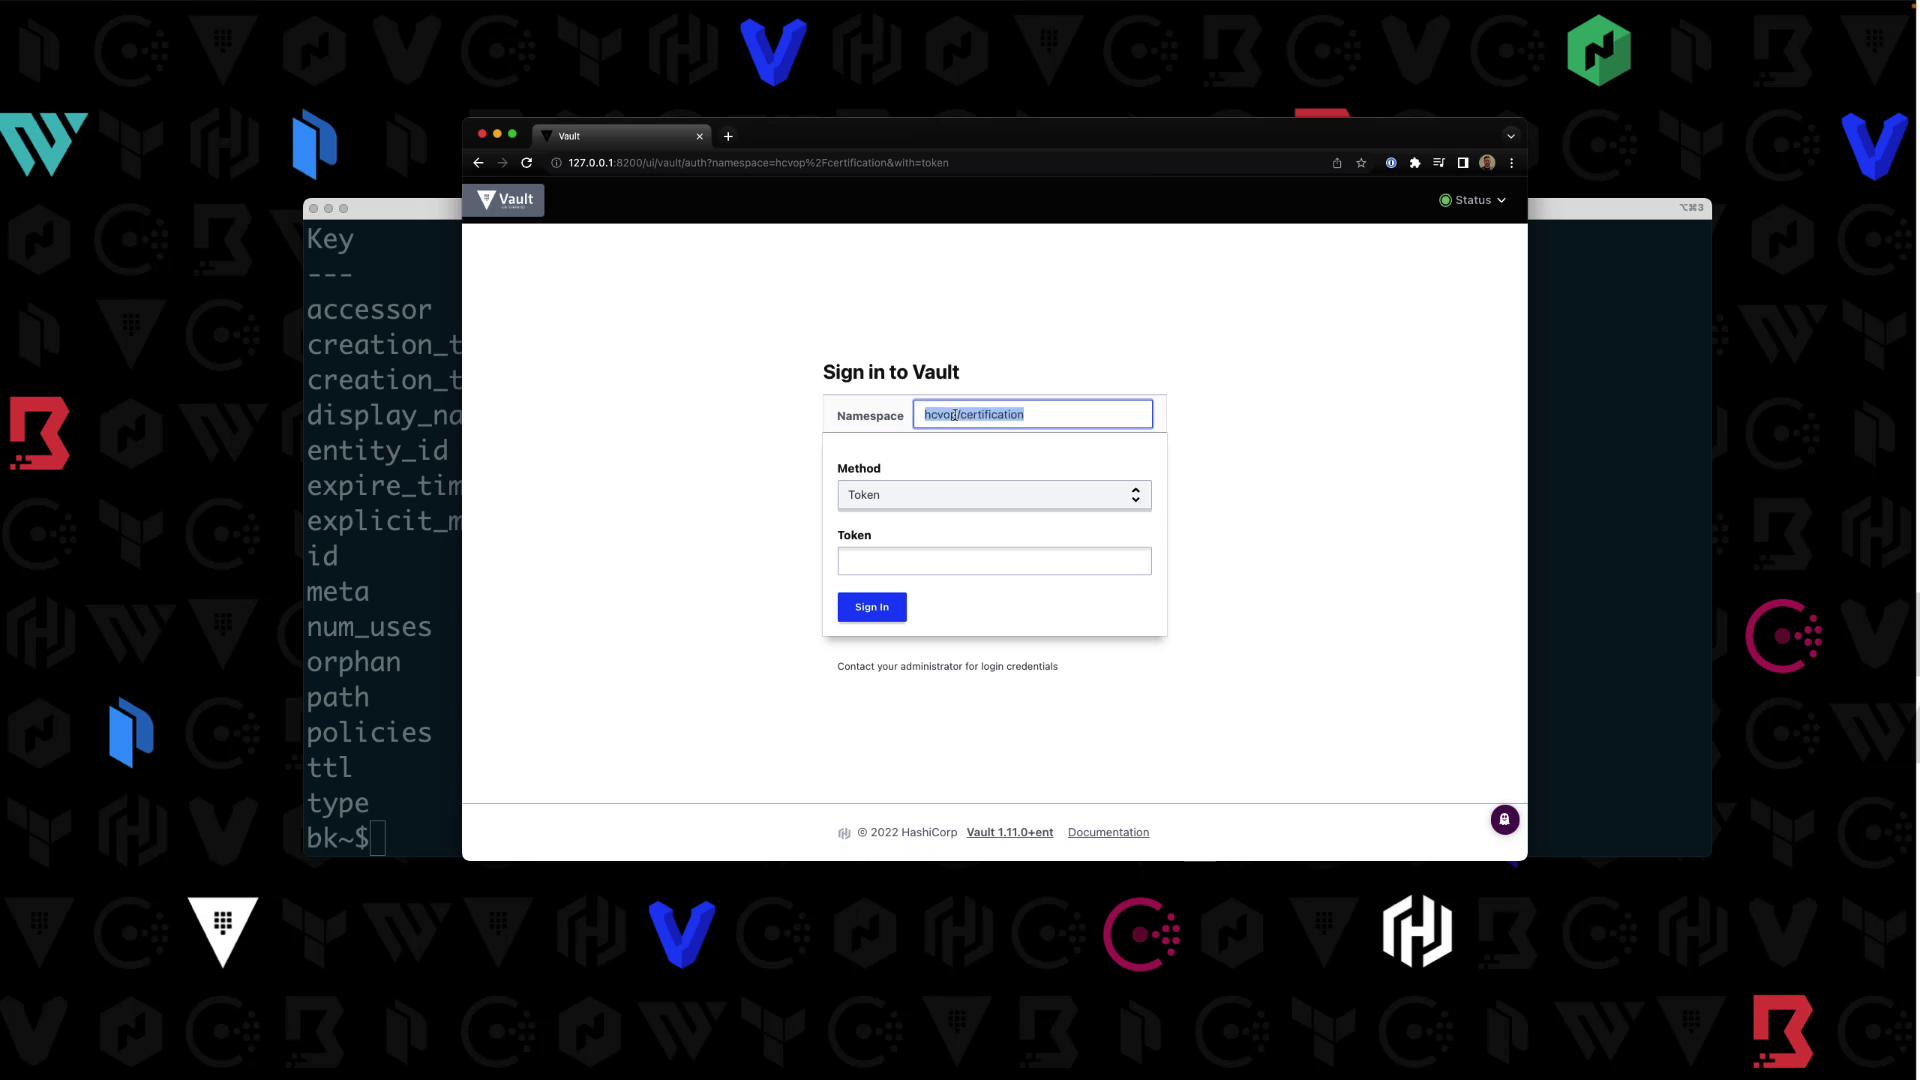
The image shows a login page for "Vault" with fields for namespace, method, and token, alongside a terminal window displaying a list of keys.

Extending the Policy

To allow users to list policies:
After re-login, visit Access > Policies to confirm.

Summary

You can target a namespace in two ways:
  1. Add -namespace=<ns> to your Vault commands
  2. Export VAULT_NAMESPACE=<ns>
Namespaces let you organize and isolate Vault resources for different teams, applications, or environments.
Learn more: Vault Namespaces

Watch Video

Practice Lab