

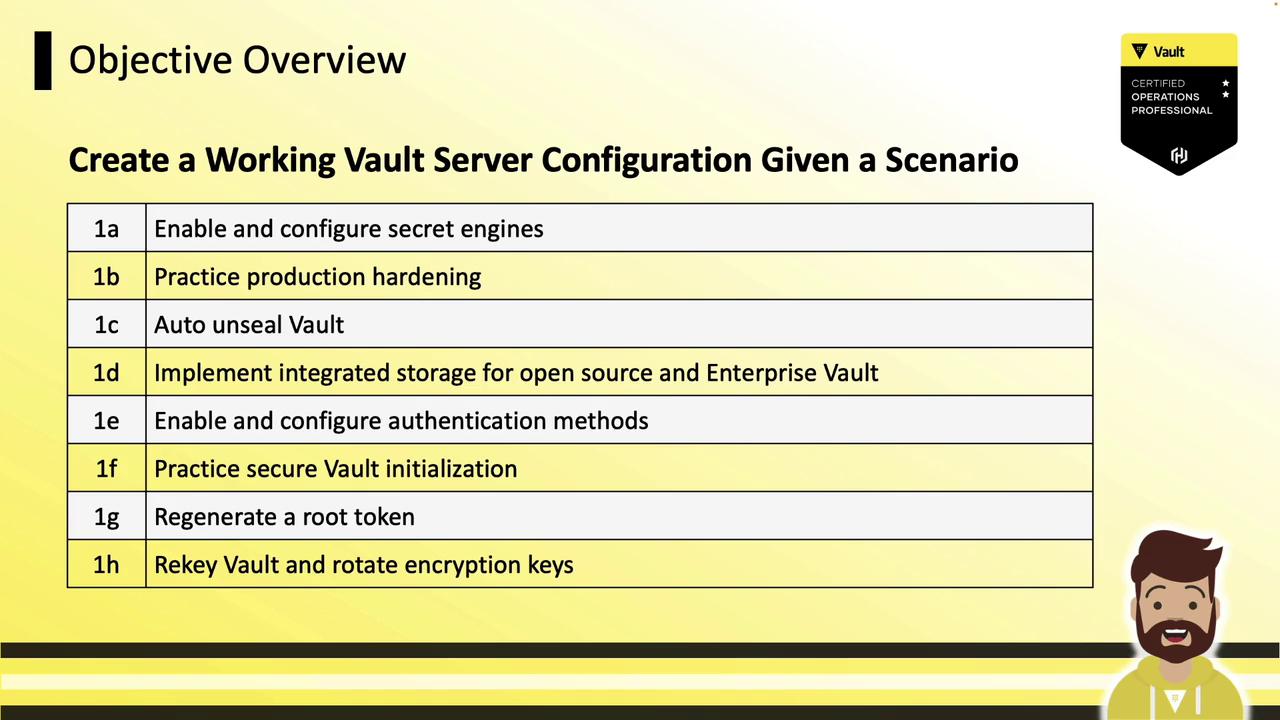
- Launching Vault and managing its configuration files
- Enabling and tuning Secrets Engines
- Auto-unseal and Integrated Storage
- Configuring authentication methods
- Secure initialization, root token regeneration, and key rotation
Available Secrets Engines
Vault supports a wide range of Secrets Engines for cloud providers, directories, databases, and more. While Vault can integrate with AWS, Azure, GCP, Active Directory, and others, our focus will be on the core, cross-platform engines: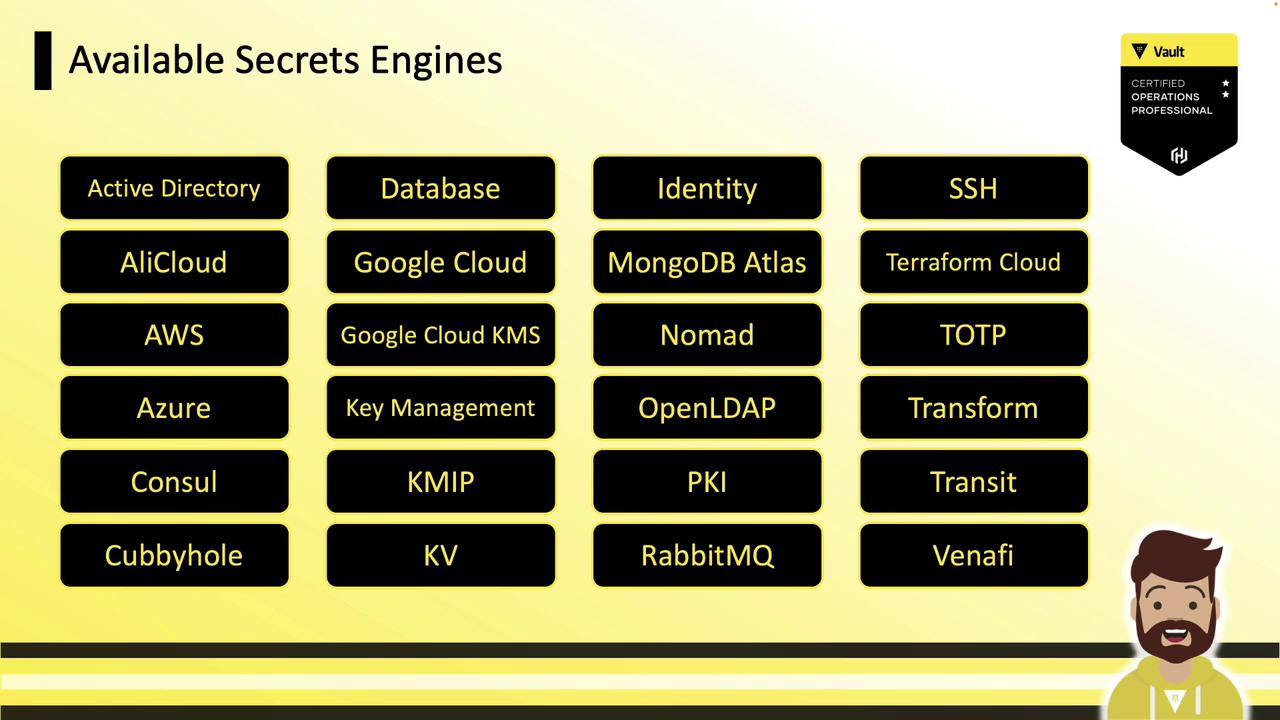
Generic Secrets Engine Features
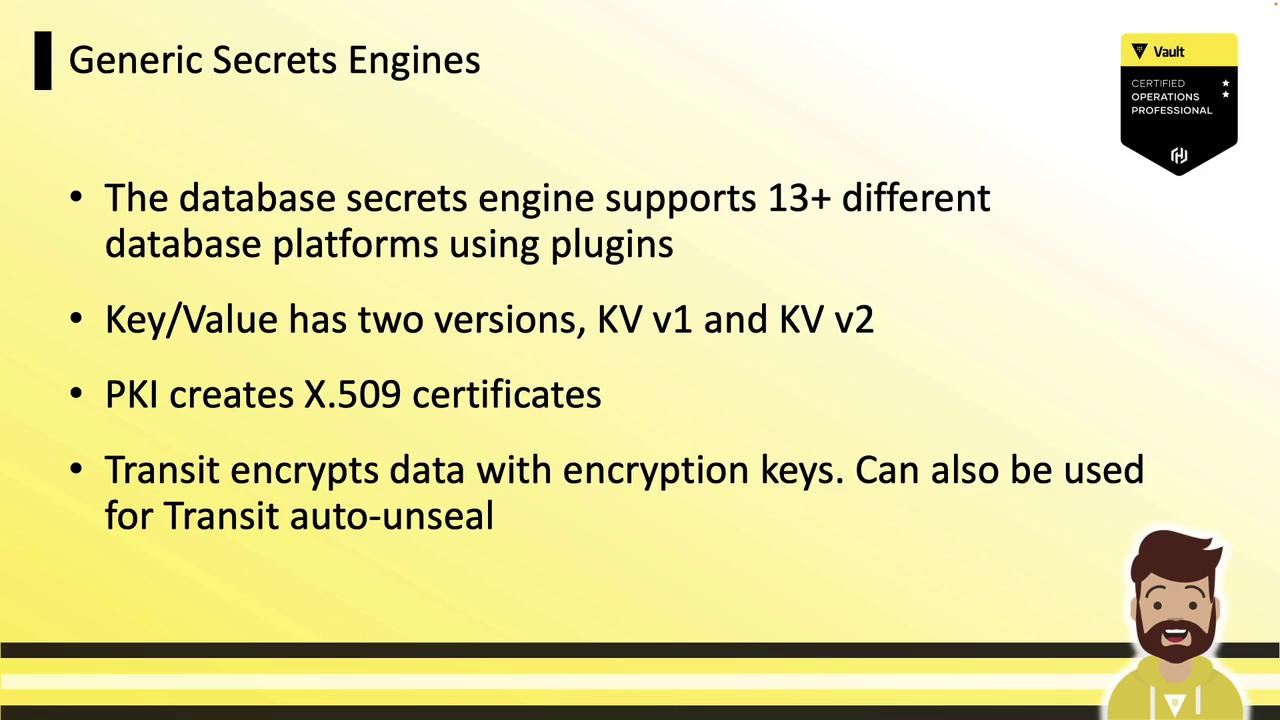
Vault’s generic engines share powerful capabilities:- Database Secrets Engine
Manage credentials for MySQL, PostgreSQL, Oracle, and more via a single plugin-based engine. - Key/Value (KV) Secrets Engine
KV v2 adds versioning and metadata on top of the simple key/value store. - PKI Secrets Engine
Issue and revoke X.509 certificates with customizable roles, CA certs, and TTLs. - Transit Secrets Engine
Encrypt/decrypt data without storing it, and integrate with Auto Unseal systems. - Cubbyhole & Identity Engines
Enabled by default; provide per-token isolated storage and an identity backend.
Enabling Secrets Engines
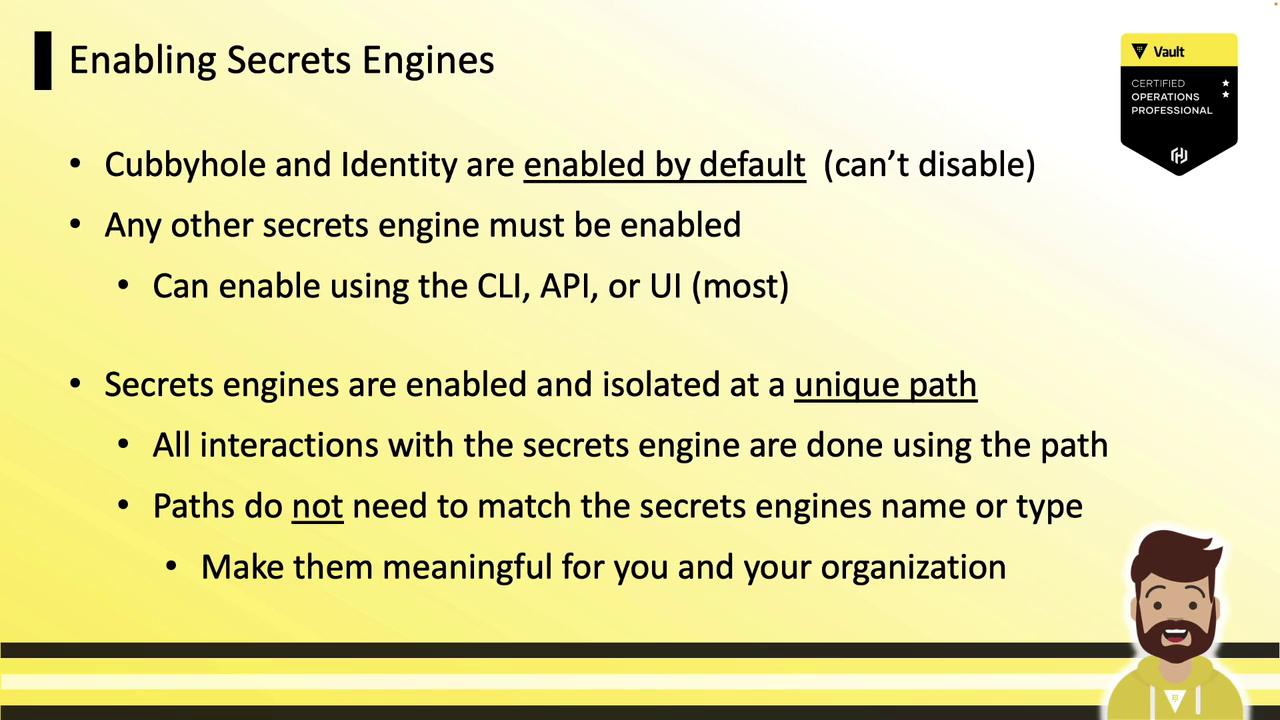
By default,cubbyhole/ and identity/ are mounted. All other engines must be enabled at a unique mount path.
Vault’s
cubbyhole/ and identity/ engines are mounted by default and cannot be disabled.- Default mount: use the engine type (e.g.,
aws/,kv/). - Custom mount: choose any path (e.g.,
team1-db/).
CLI: vault secrets
Vault’s primary CLI for secrets engines:Always choose a unique mount path to prevent conflicts when enabling multiple secrets engines.
Custom Path & Description
You can customize both the mount path and its metadata:-path="cloud-kv": custom mount point-description="Team A Key/Value Store": shown invault secrets listkv-v2: engine type (Key/Value version 2)
Example: Listing Secrets Engines
kv in vault secrets list; the version is visible with -detailed.*
Enabling via UI
In the Vault UI, go to Secrets → Enable new engine. Select the engine type, configure options, and mount it—all in one guided flow.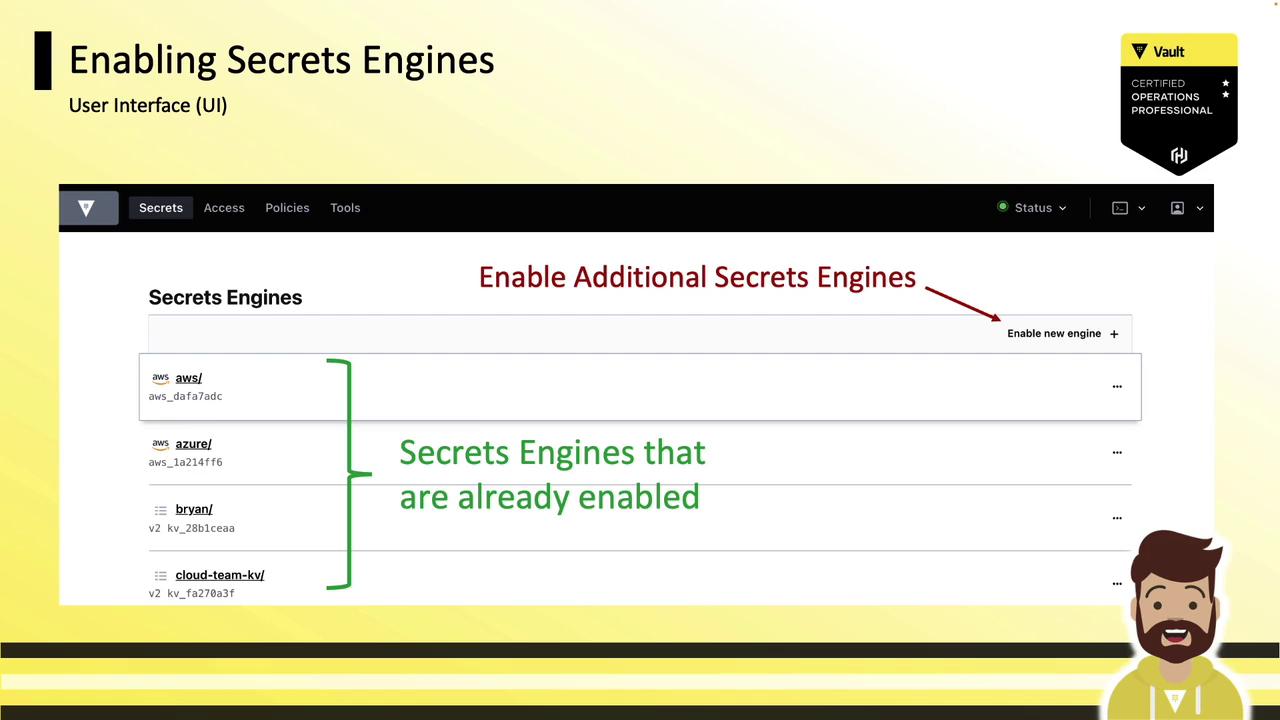
With your Secrets Engines enabled and tuned, you’re now prepared to dive into the Key/Value Secrets Engine details—exploring data versioning, access control, and best practices.