In this walkthrough you’ll install Argo CD into a Kubernetes cluster, expose its server so the UI is reachable from a browser, and retrieve the initial admin credentials. The steps show how to install a specific Argo CD release (not necessarily the latest) and how to quickly test the UI using a NodePort exposure for demos.
  1. Create the argocd namespace and install Argo CD
  • The Argo CD Getting Started docs show installing the latest release, but you can install a specific version by referencing the Git tag in the manifest URL.
Install typeCommand
Non-HA (single-instance)bash kubectl create namespace argocd kubectl apply -n argocd -f https://raw.githubusercontent.com/argoproj/argo-cd/v3.0.5/manifests/install.yaml
HA (high-availability)bash kubectl create namespace argocd kubectl apply -n argocd -f https://raw.githubusercontent.com/argoproj/argo-cd/v3.0.5/manifests/ha/install.yaml
  1. Verify cluster connectivity and namespaces
  • Confirm your kubeconfig is working and list nodes and namespaces:
kubectl get nodes
kubectl get ns
  1. Review the install output
  • Applying the manifest creates many Kubernetes resources (ConfigMaps, Secrets, Services, Deployments, StatefulSets, NetworkPolicies, RBAC objects, CRDs, etc.). Typical console output after applying the install manifest:
configmap/argocd-rbac-cm created
secret/argocd-initial-admin-secret created
service/argocd-server created
deployment.apps/argocd-server created
statefulset.apps/argocd-application-controller created
networkpolicy.networking.k8s.io/argocd-server-network-policy created
rolebinding.rbac.authorization.k8s.io/argocd-server created
clusterrolebinding.rbac.authorization.k8s.io/argocd-application-controller created
  • For a quick reference, common resource types created are:
Resource TypePurpose
ConfigMap / SecretConfiguration and credentials (e.g., initial admin secret)
ServiceNetwork access (argocd-server, repo-server, etc.)
Deployment / StatefulSetApplication controller, repo server, server
NetworkPolicyRestrict network traffic to Argo CD components
RBACRoles and rolebindings for Argo CD controllers
  1. Check Argo CD pods and services
  • Give Kubernetes a minute, then list pod, service, and deployment resources in the argocd namespace:
kubectl -n argocd get pods,svc,deployments
Sample output (representative):
NAME                                       READY   STATUS    RESTARTS   AGE
pod/argocd-application-controller-0        1/1     Running   0          2m
pod/argocd-repo-server-xxxxxx              1/1     Running   0          2m
pod/argocd-server-xxxxx                    1/1     Running   0          2m

NAME                         TYPE        CLUSTER-IP      EXTERNAL-IP   PORT(S)
service/argocd-server        ClusterIP   10.106.172.73   <none>        80/TCP,443/TCP
service/argocd-repo-server   ClusterIP   10.104.191.94   <none>        8081/TCP,8084/TCP
  1. Expose the argocd-server Service via NodePort (for browser access)
  • For a quick demo from your workstation, change the argocd-server Service type from ClusterIP to NodePort:
kubectl -n argocd edit svc argocd-server
# (edit `spec.type: ClusterIP` to `spec.type: NodePort`, save and exit)
  • After saving the edit you should see:
service/argocd-server edited
  • Verify the service now shows a NodePort mapping:
kubectl -n argocd get svc argocd-server
Example result:
NAME             TYPE       CLUSTER-IP      EXTERNAL-IP   PORT(S)
argocd-server    NodePort   10.107.64.168   <none>        80:30880/TCP,443:31428/TCP
Exposing argocd-server via NodePort is convenient for demos but not recommended for production. For production use, prefer an Ingress with TLS termination or a cloud load balancer and secure RBAC. Ensure firewall rules restrict access as needed.
  1. Access the Argo CD UI in your browser
  • Open the server using the NodePort on the node IP (or localhost if running a local cluster that maps ports):
  • Example URLs:
    • http://localhost:<NODEPORT> (HTTP)
    • https://localhost:<NODEPORT> (HTTPS — default uses a self-signed certificate)
  • Expect a browser security warning when using the self-signed certificate — proceed after accepting the warning for demo/testing.
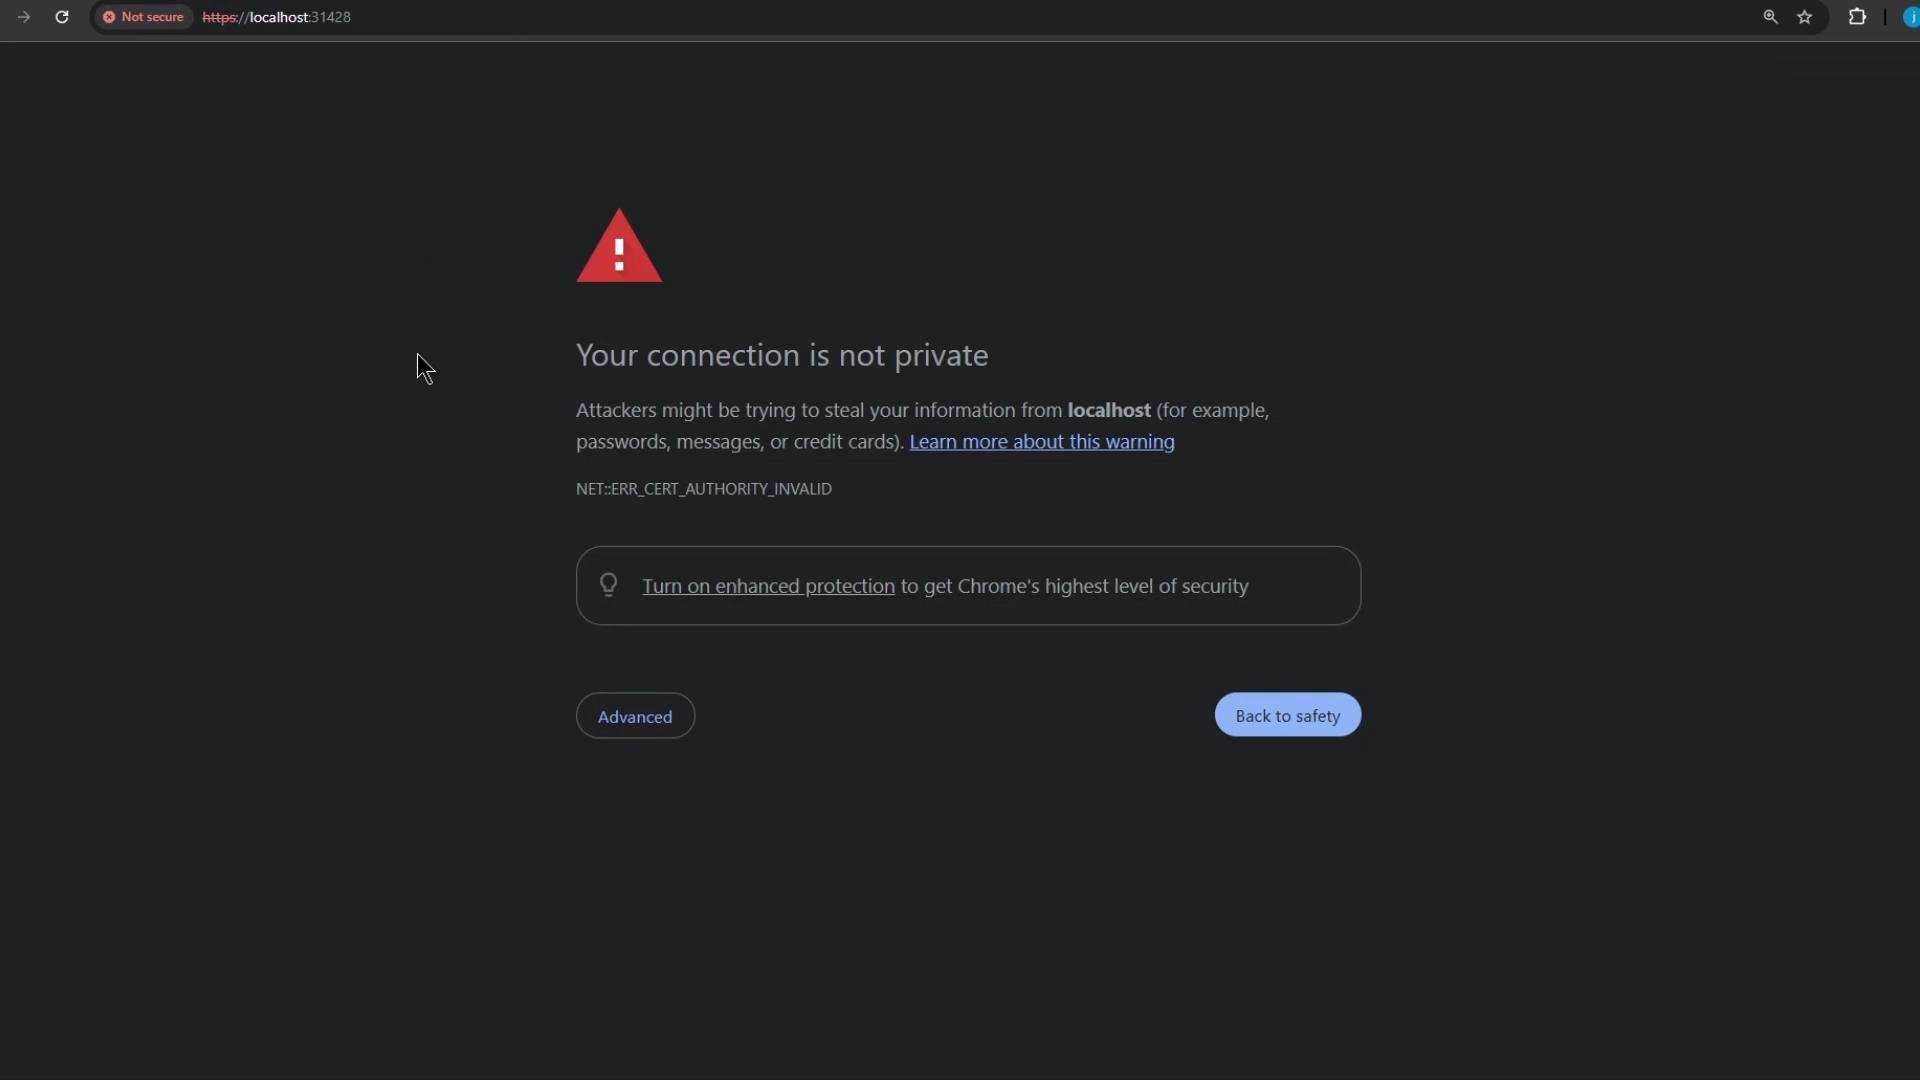
The image shows a browser security warning stating "Your connection is not private" with options to learn more, enhance security, or return to safety.
  1. Retrieve the initial admin password
  • The initial admin password is stored in the argocd-initial-admin-secret secret. To list available secrets and decode the admin password:
# List secrets in argocd namespace
kubectl -n argocd get secret

# Decode the initial admin password
kubectl -n argocd get secret argocd-initial-admin-secret -o jsonpath='{.data.password}' | base64 --decode; echo
  • Login credentials:
    • Username: admin
    • Password: (decoded value from the command above)
After the first login, change the admin password or create RBAC-backed users/service accounts. Leaving default credentials in place is a security risk.
  1. Update the admin password via the UI
  • After logging in with the initial password, open User Info (top-right), update your password to a secure value, and re-authenticate. The UI typically logs you out after a password change — sign back in with the new password.
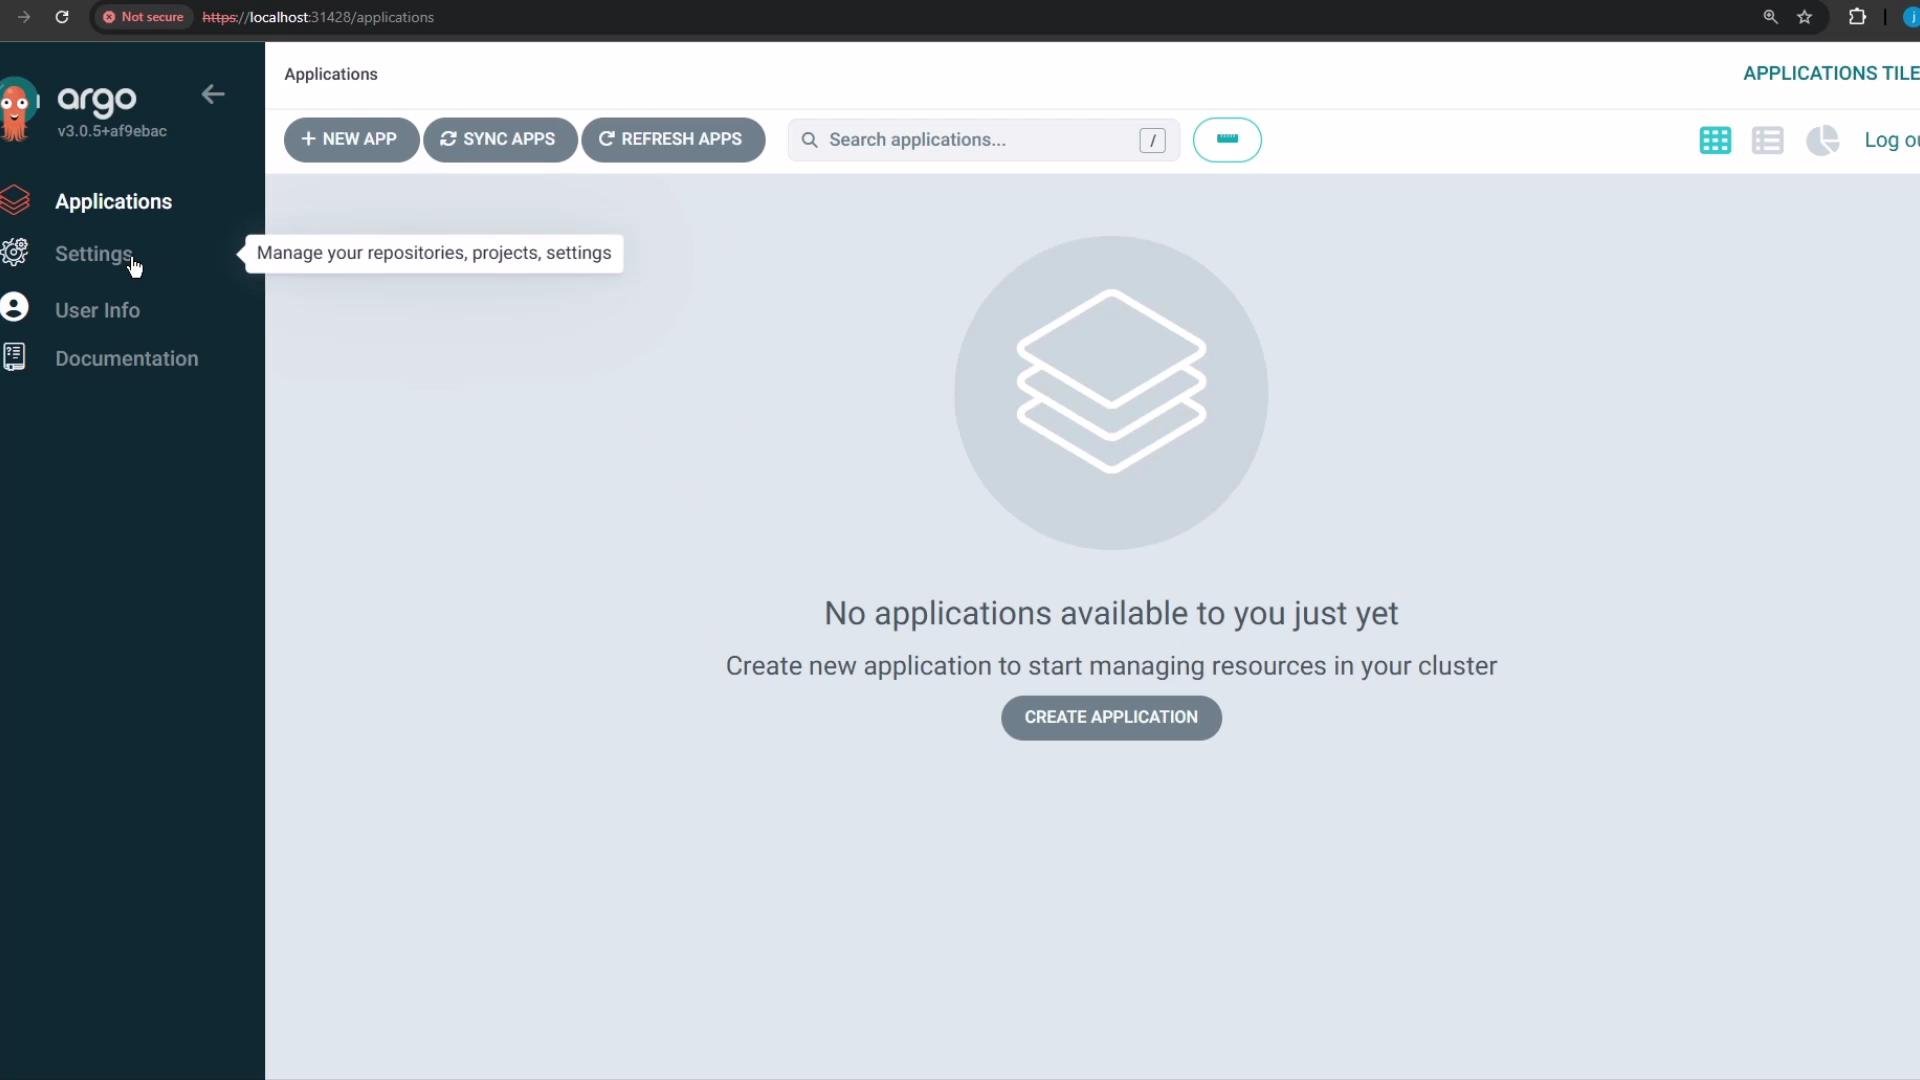
The image shows the Argo CD application dashboard with no applications listed. There is a prompt to create a new application to start managing resources in the cluster.
  1. What’s next
  • With Argo CD running and accessible, you can:
    • Create Argo CD Applications that point to Git repositories to manage cluster state.
    • Configure repositories, RBAC, and SSO (OIDC) for production-ready setups.
    • Integrate Argo CD with CI pipelines and cluster observability tools.
Links and references That’s all for this installation walkthrough.

Watch Video

Practice Lab