This guide covers the process of upgrading a Kubernetes clusters control plane components while managing dependencies and minimizing downtime.
Welcome to this comprehensive guide on upgrading your Kubernetes cluster. In this lesson, we explore the process of upgrading the core control plane components while temporarily setting aside external dependencies such as etcd and CoreDNS. This guide builds on our previous discussion about Kubernetes software releases and component versioning.
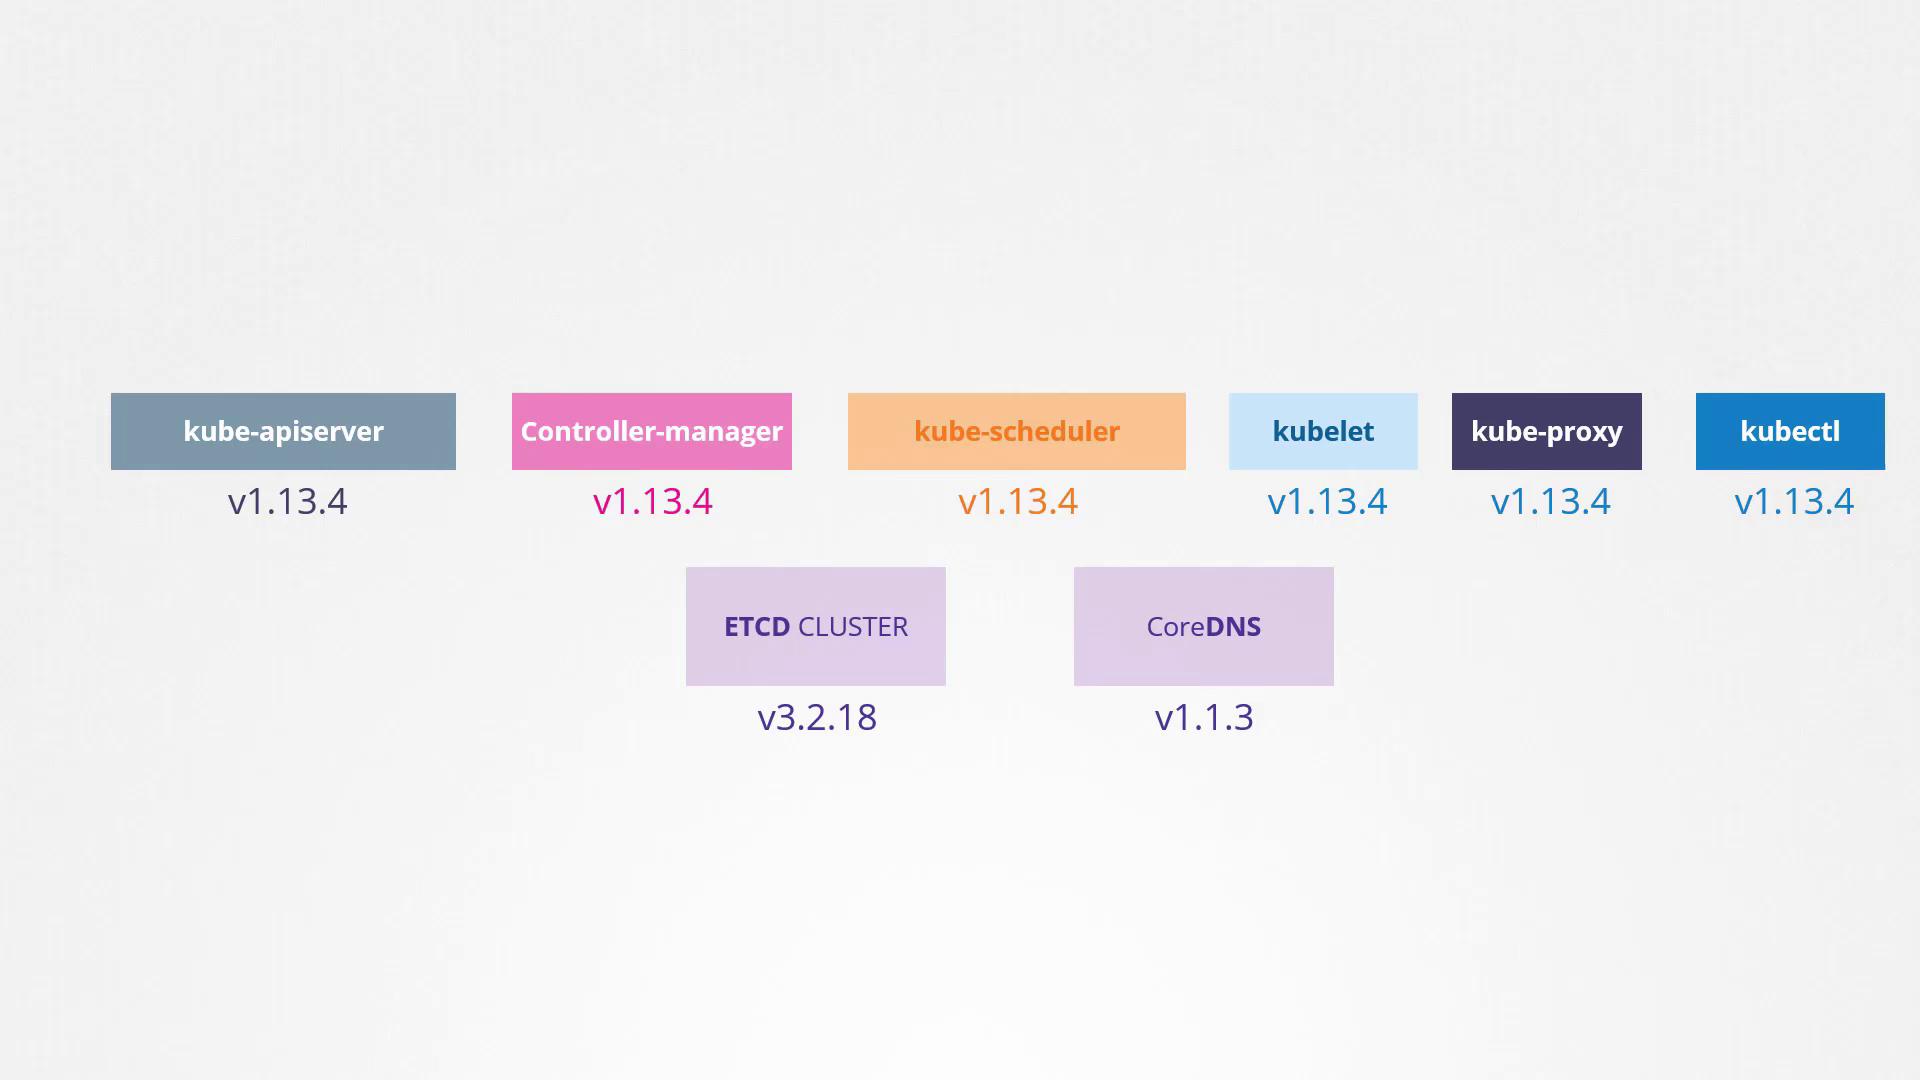
It is not mandatory for all components to run the same version. Typically, the kube-apiserver—the primary control plane component—must have a version that is equal to or higher than that of the other components. The controller manager and scheduler may lag by one minor version, while kubelet and kube-proxy can lag by two minor versions. For example, if the kube-apiserver is running version v1.10, the controller manager and scheduler can run at either v1.10 or v1.9, and kubelet and kube-proxy may run at v1.8. However, none of these components should exceed the kube-apiserver’s version (e.g., v1.11).The kubectl utility is an exception—it can be one minor version ahead, equal to, or one minor version behind the apiserver. This permissible version skew facilitates live upgrades by allowing one component to be upgraded at a time.
Upgrading your Kubernetes cluster one minor version at a time ensures smoother transitions and minimizes downtime.
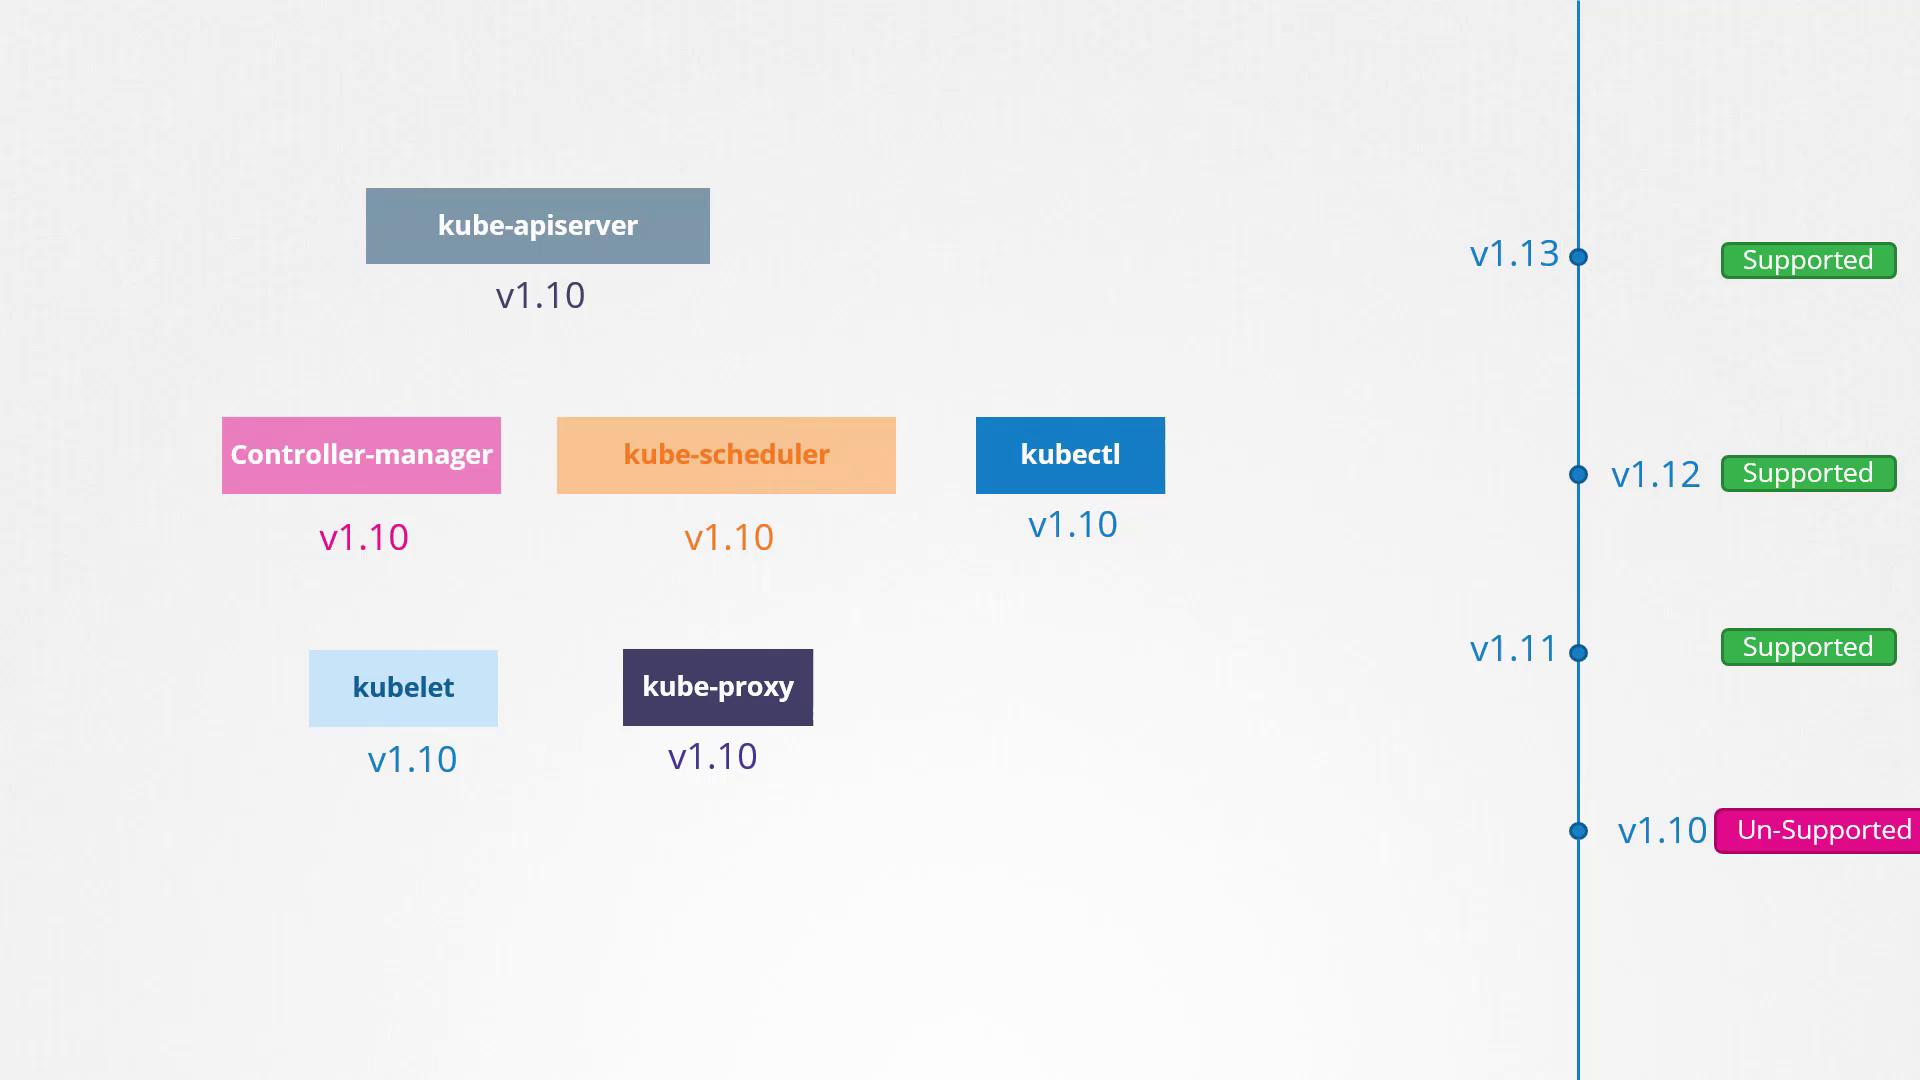
Imagine your cluster is running version 1.10 and Kubernetes has released versions 1.11 and 1.12. Kubernetes supports only the three most recent minor versions at any given time. For instance, if v1.12 is the latest release, then versions 1.12, 1.11, and 1.10 are supported. When v1.13 is released, the supported versions become 1.13, 1.12, and 1.11. It is always advisable to upgrade your cluster to a newer release before your current version falls out of the supported list.
Direct upgrades from version 1.10 to 1.13 are not recommended. Instead, upgrade one minor version at a time—from 1.10 to 1.11, then from 1.11 to 1.12, and finally from 1.12 to 1.13. The upgrade steps vary depending on your cluster setup. Managed Kubernetes clusters (e.g., on Google Kubernetes Engine) offer a more streamlined upgrade process, while clusters deployed using kubeadm benefit from tools that help plan and execute the upgrade. For clusters set up manually, all components require an individual upgrade.
Consider a production cluster with master and worker nodes running version 1.10 and hosting live applications. The upgrade process is divided into two major steps:
Upgrade the master nodes (control plane components).
Upgrade the worker nodes.
During the master node upgrade, the control plane components (API server, scheduler, and controller manager) experience a brief downtime. While management functions (such as kubectl access and new deployments) are temporarily unavailable, workloads on the worker nodes continue to serve users. Post-upgrade, the cluster operates in a supported mixed-version state (for example, masters at v1.11 while workers remain at v1.10).
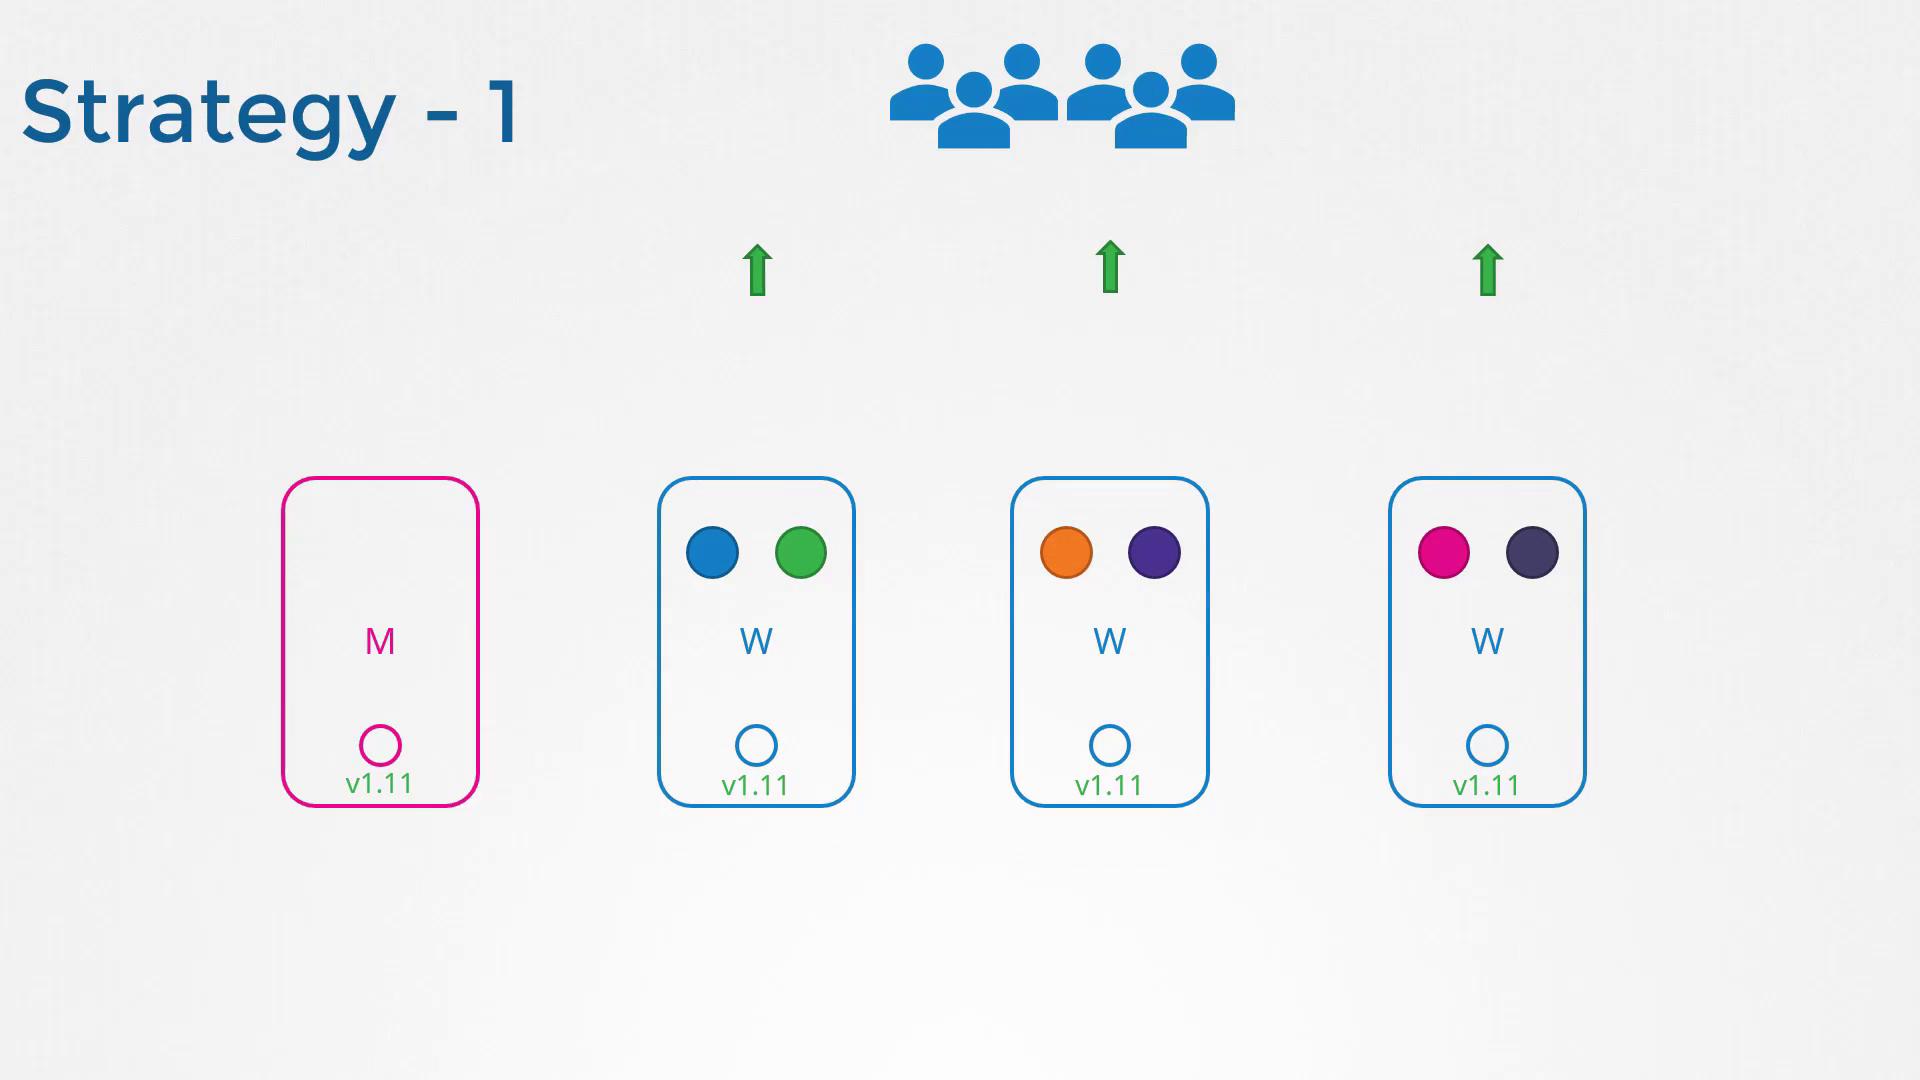
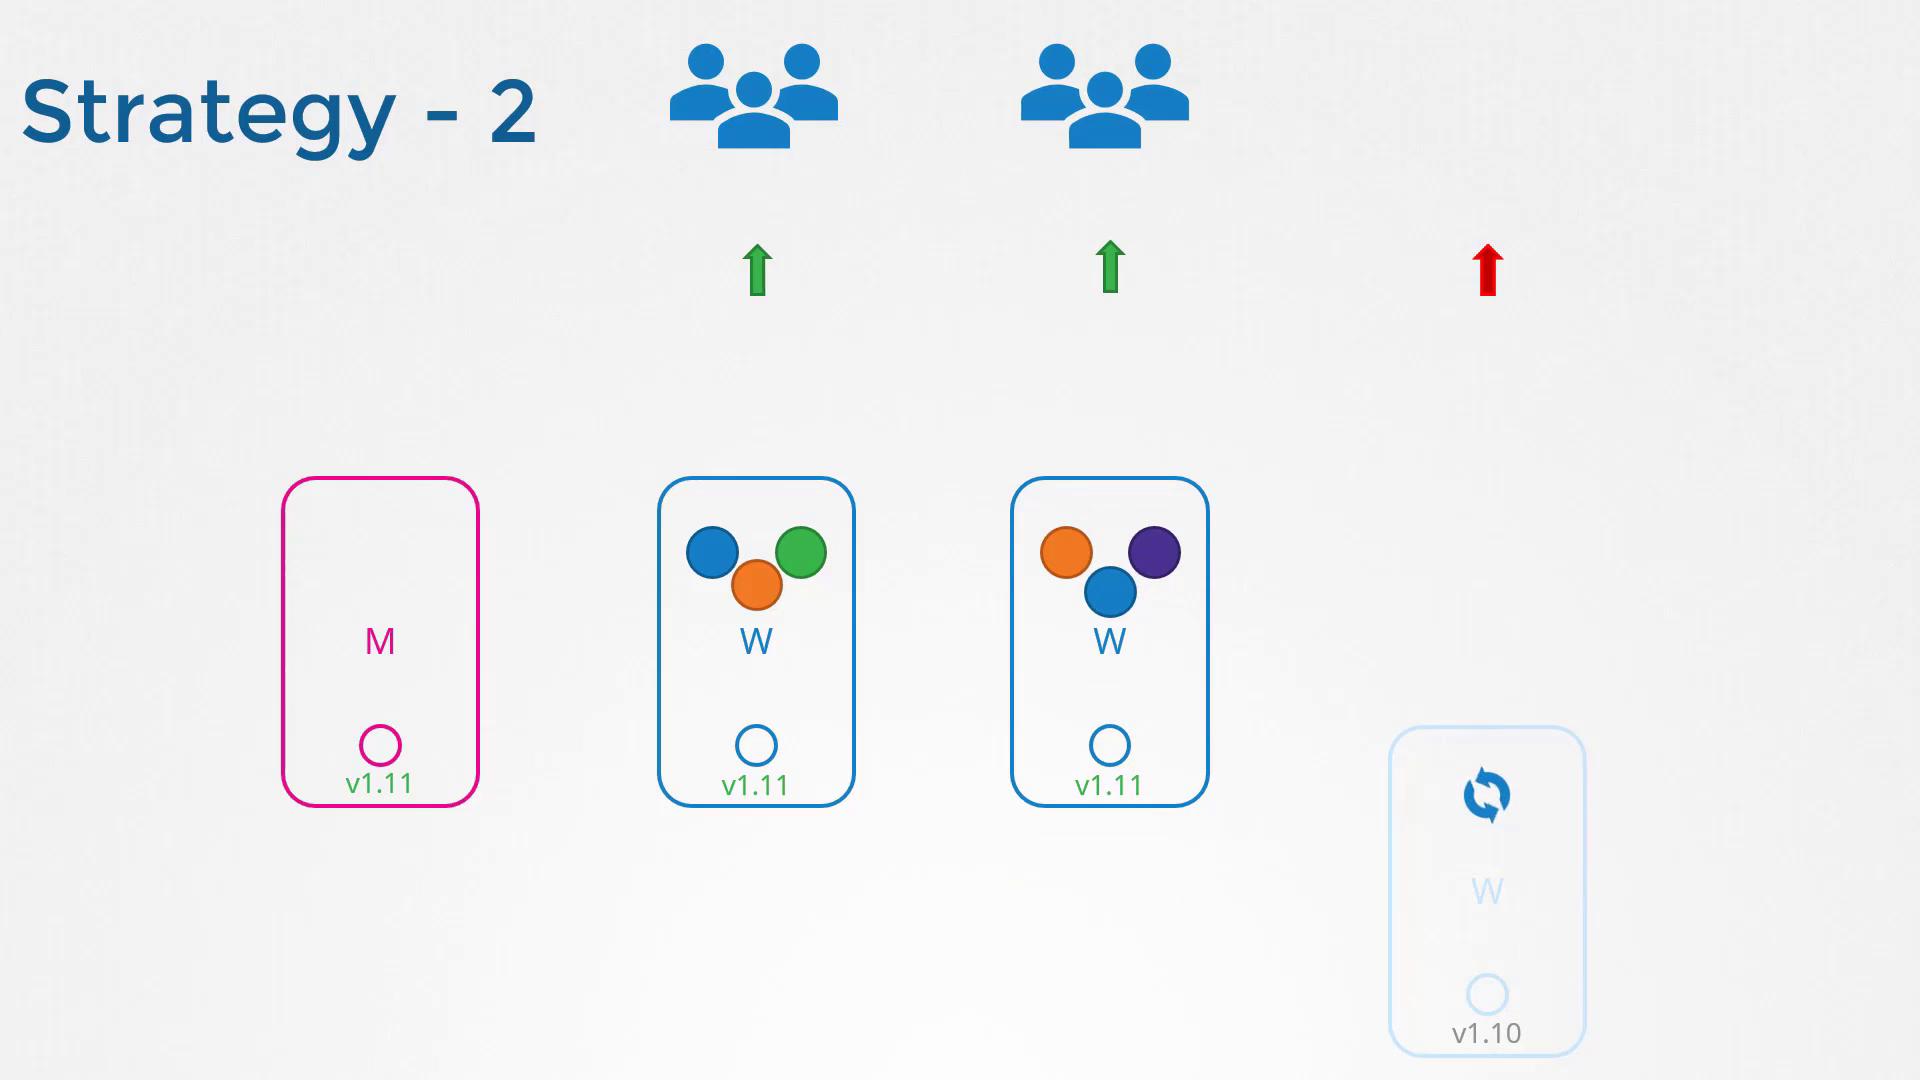
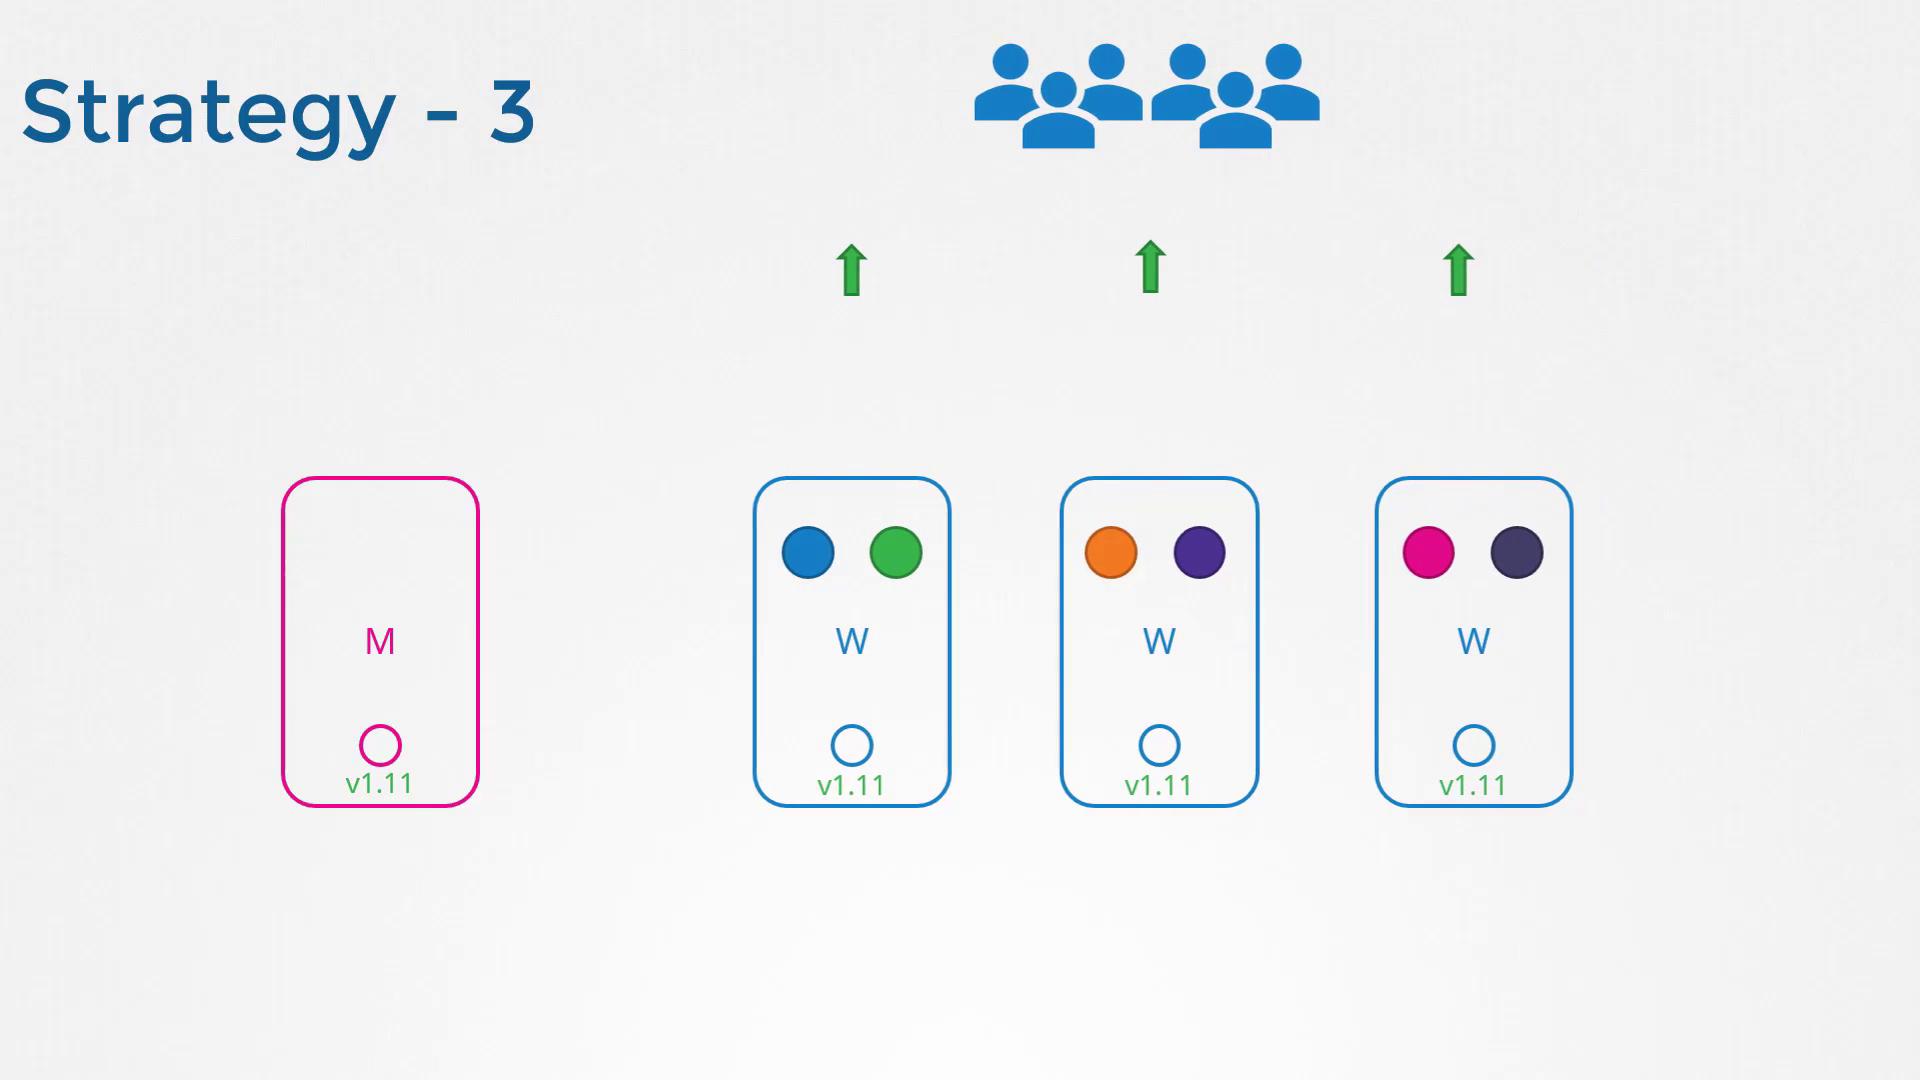
There are several strategies for upgrading worker nodes:
Upgrade all worker nodes simultaneously:
This method leads to downtime as pods become unavailable until the upgrade is complete.
Upgrade one node at a time:
This approach minimizes downtime because workloads are automatically rescheduled to the remaining nodes.
Add new worker nodes:
Deploy new nodes with the updated version, migrate workloads to them, and decommission the older nodes. This strategy is especially effective in cloud environments.
Assume you intend to upgrade your cluster from version 1.11 to 1.13. The kubeadm tool simplifies this process by providing an upgrade command that shows the current cluster version, the kubeadm tool version, and the latest stable Kubernetes version, along with the required steps.Run the following command to plan the upgrade:
kubeadm upgrade plan
The output includes:
The current cluster version.
The kubeadm tool version.
The latest available version in your current series.
A table indicating which components require manual upgrades post control plane upgrade (typically the kubelet).
For example, the output might look like:
[preflight] Running pre-flight checks.[upgrade] Making sure the cluster is healthy:[upgrade/config] Making sure the configuration is correct:[upgrade] Fetching available versions to upgrade to[upgrade/versions] Cluster version: v1.11.8[upgrade/versions] kubeadm version: v1.11.3[upgrade/versions] Latest version in the v1.11 series: v1.11.8Components that must be upgraded manually after you haveupgraded the control plane with 'kubeadm upgrade apply':COMPONENT CURRENT AVAILABLEKubelet 3 x v1.11.3 v1.13.4Upgrade to the latest stable version:COMPONENT CURRENT AVAILABLEAPI Server v1.11.8 v1.13.4Controller Manager v1.11.8 v1.13.4Scheduler v1.11.8 v1.13.4Kube Proxy v1.11.8 v1.13.4CoreDNS v1.1.3 v1.1.3Etcd 3.2.18 N/AYou can now apply the upgrade by executing the following command:
Before proceeding, ensure that the kubeadm tool itself is updated to the target version since it must match the Kubernetes release series.Remember, only one minor version upgrade is permitted at a time. If you are on v1.11 and wish to reach v1.13, you must first upgrade to v1.12. Begin by upgrading the kubeadm tool:
apt-get upgrade -y kubeadm=1.12.0-00
Then, apply the control plane upgrade:
kubeadm upgrade apply v1.12.0
Upon successful completion, you should see an output similar to:
[upgrade/successful] SUCCESS! Your cluster was upgraded to "v1.12". Enjoy![upgrade/kubelet] Now that your control plane is upgraded, please proceed with upgrading your kubelets if you haven't already done so.
At this stage, the control plane components have been upgraded to version 1.12. However, running kubectl get nodes will show the kubelet version on each node, which might not yet reflect the updated control plane version.
If your master nodes are running kubelet processes, you need to upgrade them as well. Upgrade the kubelet package and then restart the kubelet service.For example, check the current node versions:
kubectl get nodes
The output might be:
NAME STATUS ROLES AGE VERSIONmaster Ready master 1d v1.11.3node-1 Ready <none> 1d v1.11.3node-2 Ready <none> 1d v1.11.3
Proceed to upgrade the kubelet on the master node:
This step-by-step guide has walked you through the critical phases of the Kubernetes cluster upgrade process—from planning the control plane upgrade using kubeadm to carefully upgrading your worker nodes. By upgrading one minor version at a time, you ensure that your cluster remains healthy and your applications experience minimal downtime.For further insights, try upgrading a live cluster with running applications and observe how workloads are seamlessly shifted to minimize disruptions. Happy upgrading!