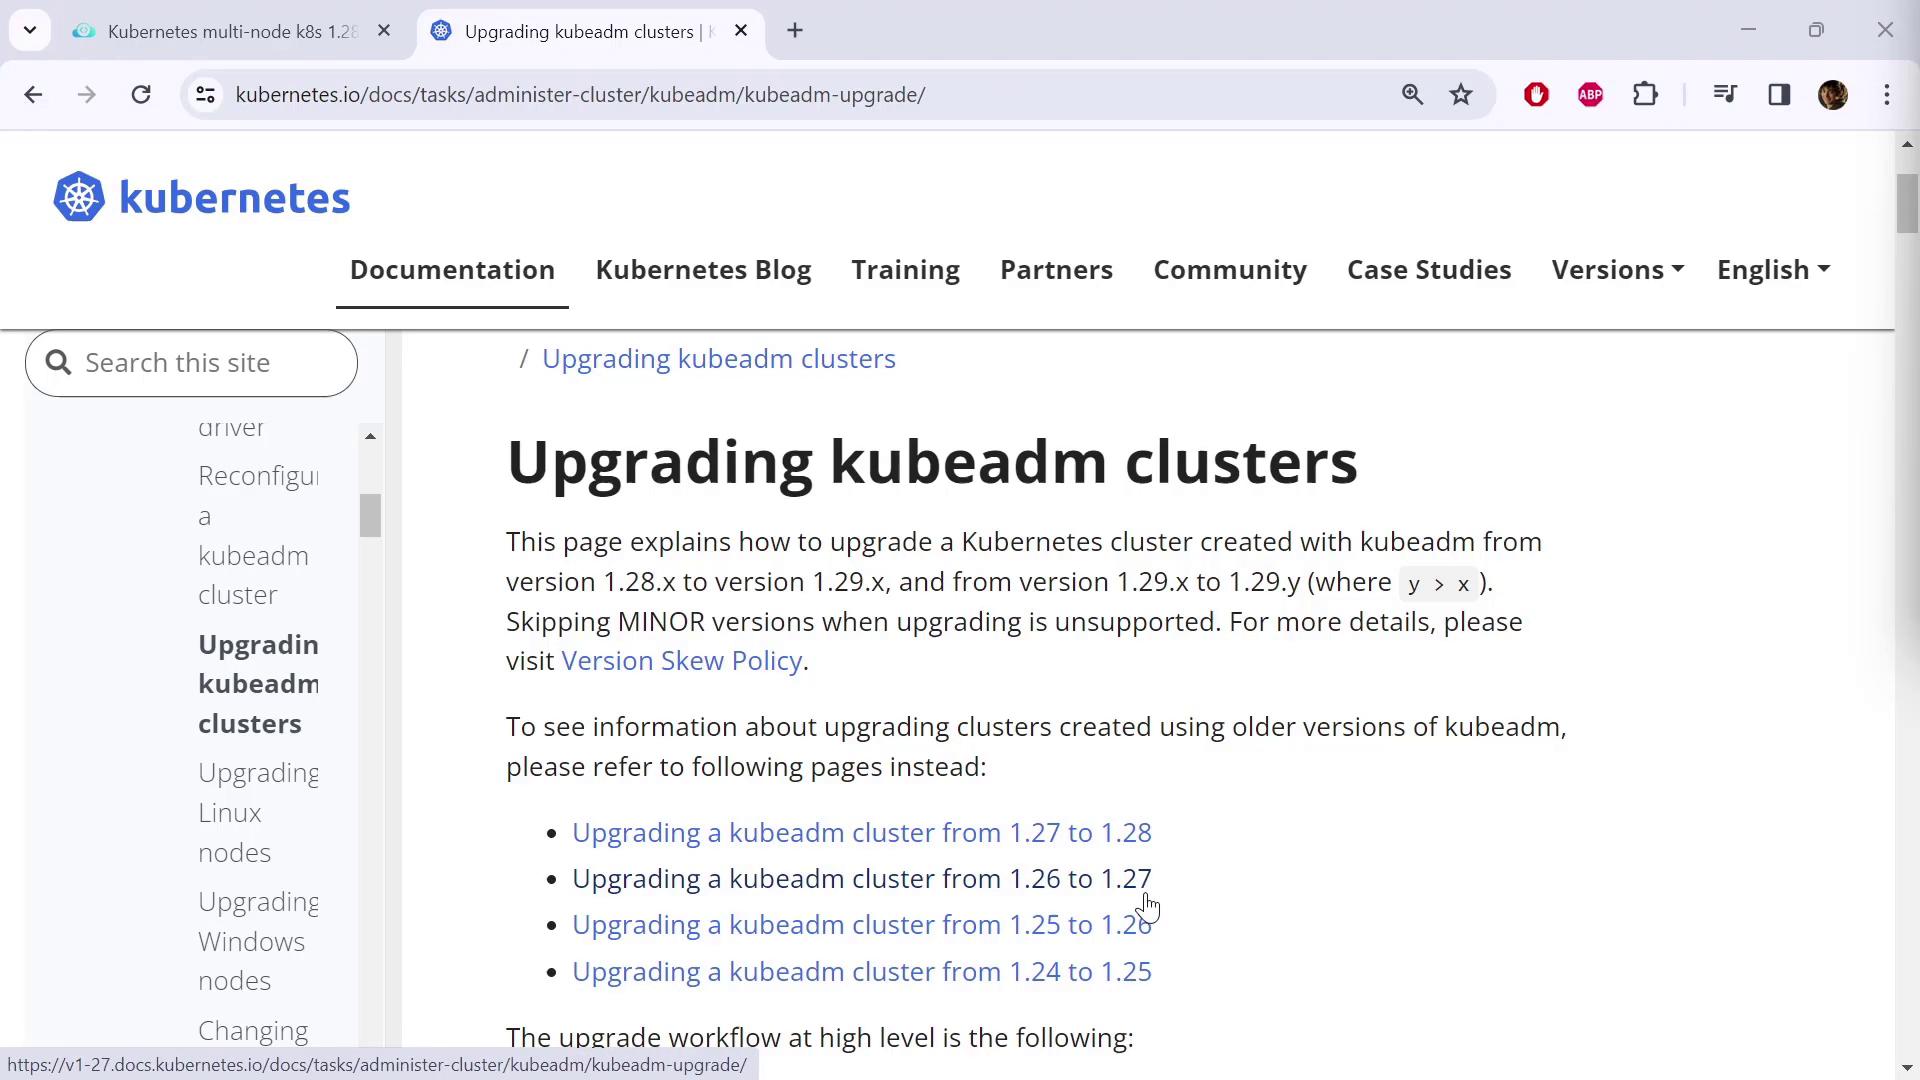
In this lesson, we’ll demonstrate upgrading a Kubernetes cluster from version 1.28 to 1.29 using kubeadm. The procedure follows the official Kubernetes documentation under “Tasks → Administer Cluster → Administration with KubeADM → Upgrading a KubeADM Cluster.” Although the documentation provides upgrade paths for various version transitions, this demo focuses on moving from v1.28 to the latest v1.29 release.
The image shows a webpage from Kubernetes documentation about upgrading kubeadm clusters, detailing version upgrade paths and linking to additional resources.
Select the upgrade path that best suits your environment and follow the provided commands. The process remains largely consistent regardless of the version specifics.

Preliminary Steps: Updating Package Repositories

Before starting the upgrade, scroll down the official documentation until you find the important note about changing the package repository. Previously, Kubernetes packages were hosted at app.kubernetes.io and yum.kubernetes.io, but these repositories have been deprecated. You must now use packages.k8s.io to download the latest versions of tools such as kubectl and kubeadm.
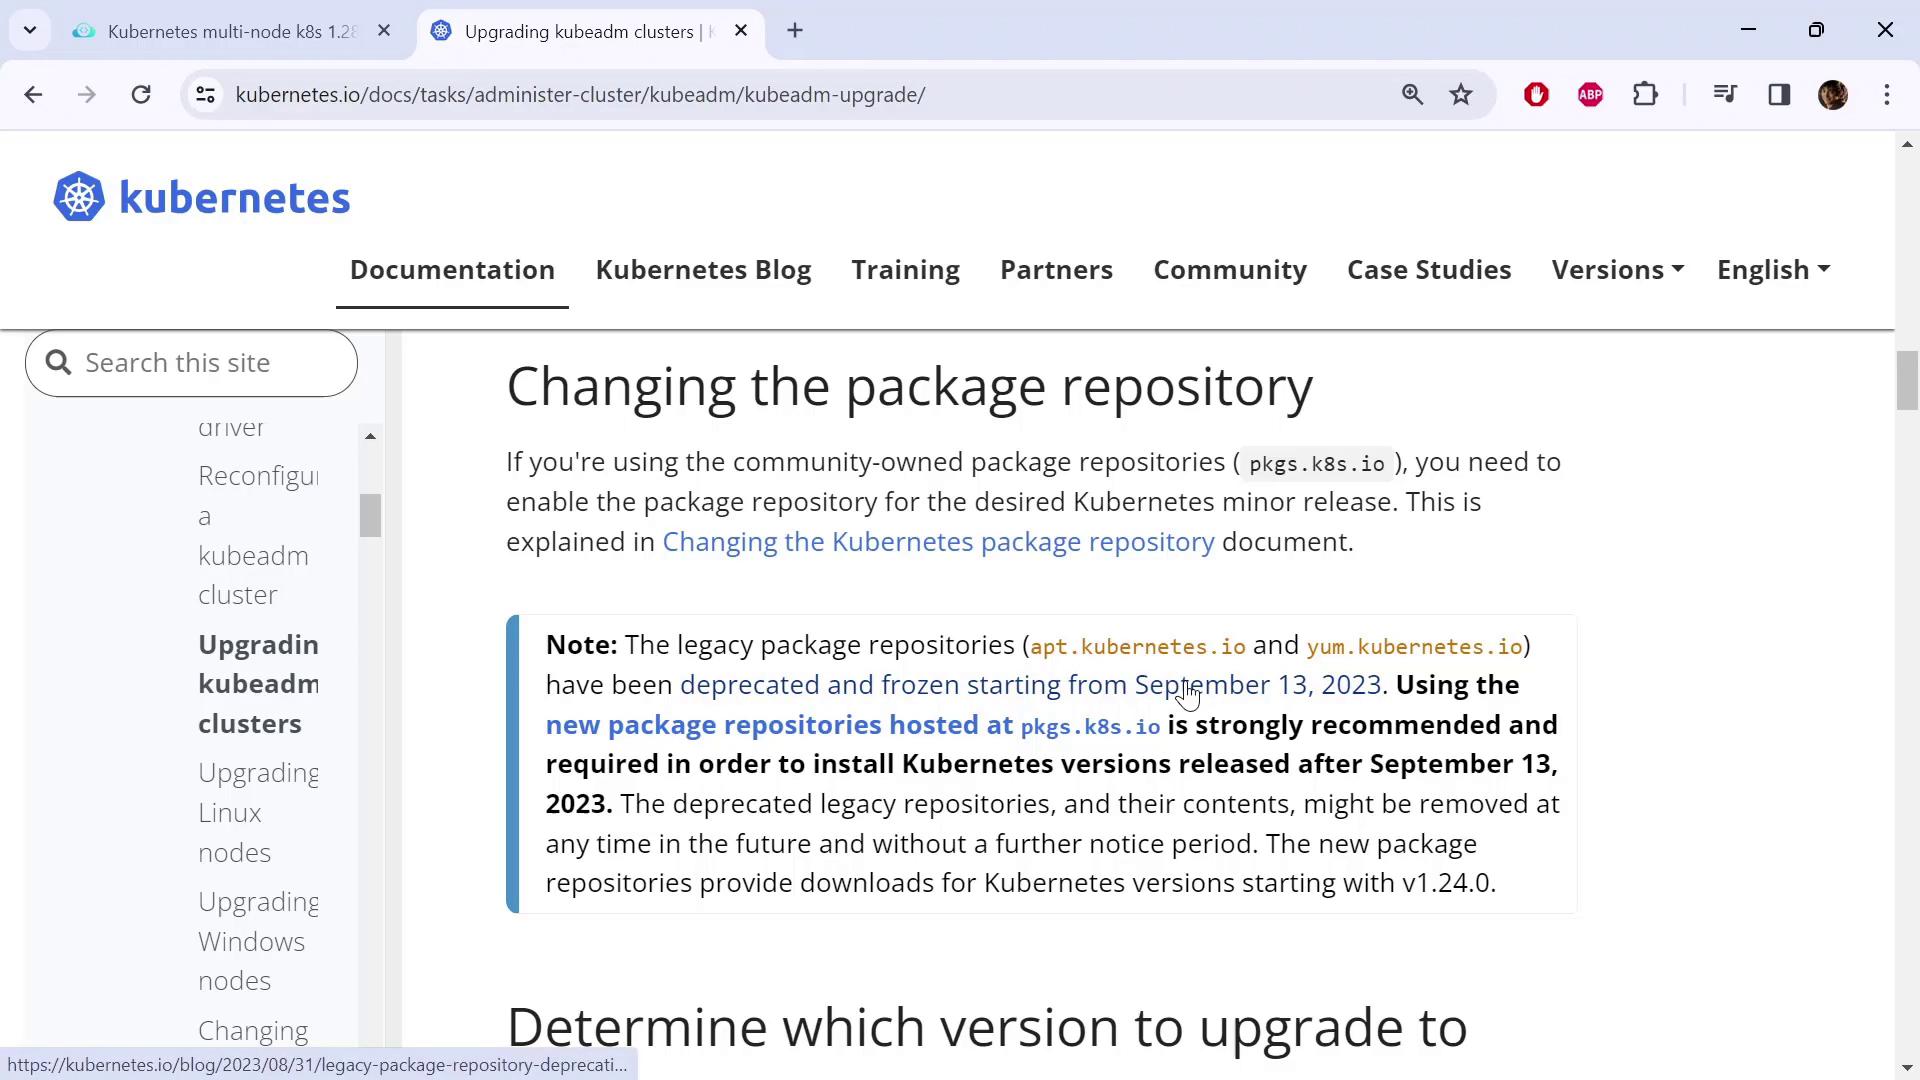
The image is a webpage from Kubernetes documentation about changing the package repository, highlighting the deprecation of legacy repositories and recommending new ones.
Before proceeding, ensure that you update the package repository configuration on every cluster node.

Determine Your Operating System Distribution

To see which operating system you are using, run:
On a two-node cluster (one control-plane and one worker node), you can verify your distribution with:
If the output indicates Ubuntu 20.04 or another Debian-based distribution, follow the Debian/Ubuntu instructions in the documentation and update your package repository accordingly. For instance, initially run a command like this:
To upgrade to v1.29, adjust the version in the command as follows:
After modifying the repository configuration on both control-plane and worker nodes, refresh the package list:

Determining the Target Version

To identify the latest available version in the 1.29 series, use these commands:
You should see output resembling:
Select the highest version available (for example, 1.29.3-1) and note it for subsequent steps.

Upgrading the Control Plane Node

Step 1: Upgrade the kubeadm Tool

First, update kubeadm on the control plane node to prepare for the upgrade. Replace the version string with the latest version (e.g., 1.29.3-1.1):
Verify the upgrade by checking the version:
Expected output:

Step 2: Run the Upgrade Plan

Before applying the upgrade, conduct a dry run to see the available upgrade options. This command will outline which components upgrade automatically and those requiring manual updates (e.g., kubelet):
The output should indicate that your cluster is currently at v1.28.0 with the target control plane version of v1.29.3. Typically, kubeadm upgrades essential components such as the API server, controller manager, scheduler, and kube-proxy automatically, while kubelet must be updated separately.

Step 3: Apply the Upgrade

Initiate the upgrade process for the control plane:
Monitor the progress as the system renews certificates, updates static pod manifests, and restarts components. After a successful upgrade, you may see messages similar to:
Keep in mind that when you verify node versions via kubectl get nodes, the displayed version corresponds to the kubelet, which will still show v1.28.0 until its upgrade is completed.

Upgrading kubelet and kubectl on the Control Plane Node

Drain the Control Plane Node

Before upgrading kubelet (which runs outside the control plane pods), drain the control plane node to ensure safe maintenance:

Upgrade kubelet and kubectl

Next, update kubelet and kubectl on the control plane node by specifying the target version:
Restart the kubelet service to apply the changes:
Finally, confirm the node version:
Since the control plane node might still be marked as “SchedulingDisabled” due to the drain operation, uncordon it to allow scheduling:

Upgrading Worker Nodes

Follow a similar process to upgrade each worker node.

Step 1: Upgrade kubeadm on the Worker Node

On each worker node, upgrade kubeadm with:
Then, from a control plane node, initiate the upgrade for the worker node:

Step 2: Drain the Worker Node

Drain the worker node to safely upgrade kubelet. Replace <node-name> with the actual name of your worker node:
If you encounter issues related to DaemonSet-managed pods, ensure that the --ignore-daemonsets flag is used correctly. Refer to kubectl drain --help for further details if needed.

Step 3: Upgrade kubelet and kubectl on the Worker Node

Upgrade the kubelet and kubectl packages with:
Restart the kubelet service:
After the upgrade, uncordon the worker node to resume scheduling:
Finally, verify that all nodes are upgraded:
Both control-plane and worker nodes should now display version v1.29.3.

Summary

This guide has detailed the process of upgrading a Kubernetes cluster using kubeadm. The critical steps include:
  1. Updating the package repository to packages.k8s.io.
  2. Determining the target version available from the repository.
  3. Upgrading the control plane by updating kubeadm, applying the upgrade, and then updating kubelet and kubectl.
  4. Draining nodes before performing kubelet upgrades and uncordoning them afterwards.
  5. Repeating the process on each worker node.
By following these steps, you ensure that every component of your Kubernetes cluster is updated properly, maintaining compatibility with the newer version. Happy upgrading!

Watch Video

Practice Lab