

1. Creating a Secret in Kubernetes
Begin by launching your single-node Kubernetes playground built with Kubernetes and ContainerD. Open your terminal to create a secret object using various methods. Here are several examples:--allow-missing-template-keys=true--append-hash=false--dry-run='none'
Storing secrets in base64 does not provide true security. Without encryption at rest, confidential data can be exposed by anyone with direct access to the etcd datastore.
2. Inspecting Secrets in etcd
Now, explore how Kubernetes stores secret data in etcd. The secret data is persisted under paths such as/registry/secrets/default/secret1.
Viewing Unencrypted Data via etcdctl
You can use theetcdctl client (with API version 3) to view raw data stored in etcd. For example, run the following command:
3. Installing and Running etcdctl
If you encounter a missingetcdctl command, install it using your package manager. For Ubuntu users:
etcdctl displays usage information along with a relevant warning regarding the API version:
4. Verifying etcd Data for Your Secrets
Ensure your Kubernetes cluster contains the necessary certificate files, such as/etc/kubernetes/pki/etcd/ca.crt. Then inspect the raw secrets stored in etcd using:
5. Determining if Encryption at Rest Is Enabled
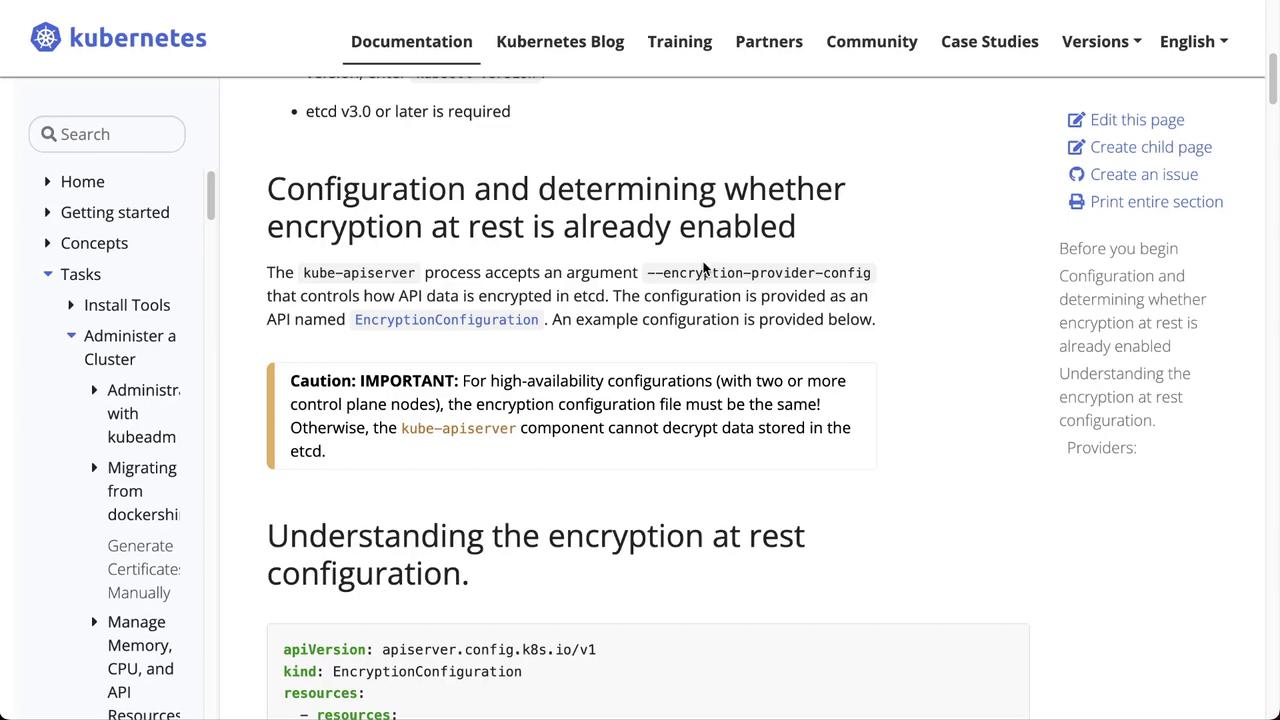
Before proceeding further, confirm that the Kube API server is configured with an encryption provider. Check for the--encryption-provider-config flag in the process arguments or in the API server manifest file. If the flag is absent, you must enable encryption at rest for your secrets.
6. Configuring Encryption at Rest
To secure your secret data at rest, create an encryption configuration file that specifies which resources to encrypt and which encryption providers to use. Create a file named “enc.yaml” with the following content:- The resource targeted for encryption is
secrets. - The first provider uses the AES-CBC algorithm. Its key must be a base64-encoded 32-byte value (generate one with the command below if needed).
- The
identityprovider acts as a fallback and will not encrypt data. Its placement after the AES-CBC provider ensures new secrets are encrypted.
enc.yaml.
7. Updating the Kube API Server Manifest
To apply the encryption configuration, update the Kube API server manifest with the new encryption file reference. Follow these steps:-
Create a local directory to store the encryption file (e.g.,
/etc/kubernetes/enc). -
Move
enc.yamlinto this directory: -
Modify the Kube API server manifest (typically found at
/etc/kubernetes/manifests/kube-apiserver.yaml) to include a new volume mount and add the--encryption-provider-configflag. An example snippet is as follows: -
Save your changes. The API server will restart and load the new configuration. Verify the running process with:
--encryption-provider-config flag is present and references the correct path.