This article introduces UFW, a user-friendly firewall interface for managing Linux firewall rules on an Ubuntu server.
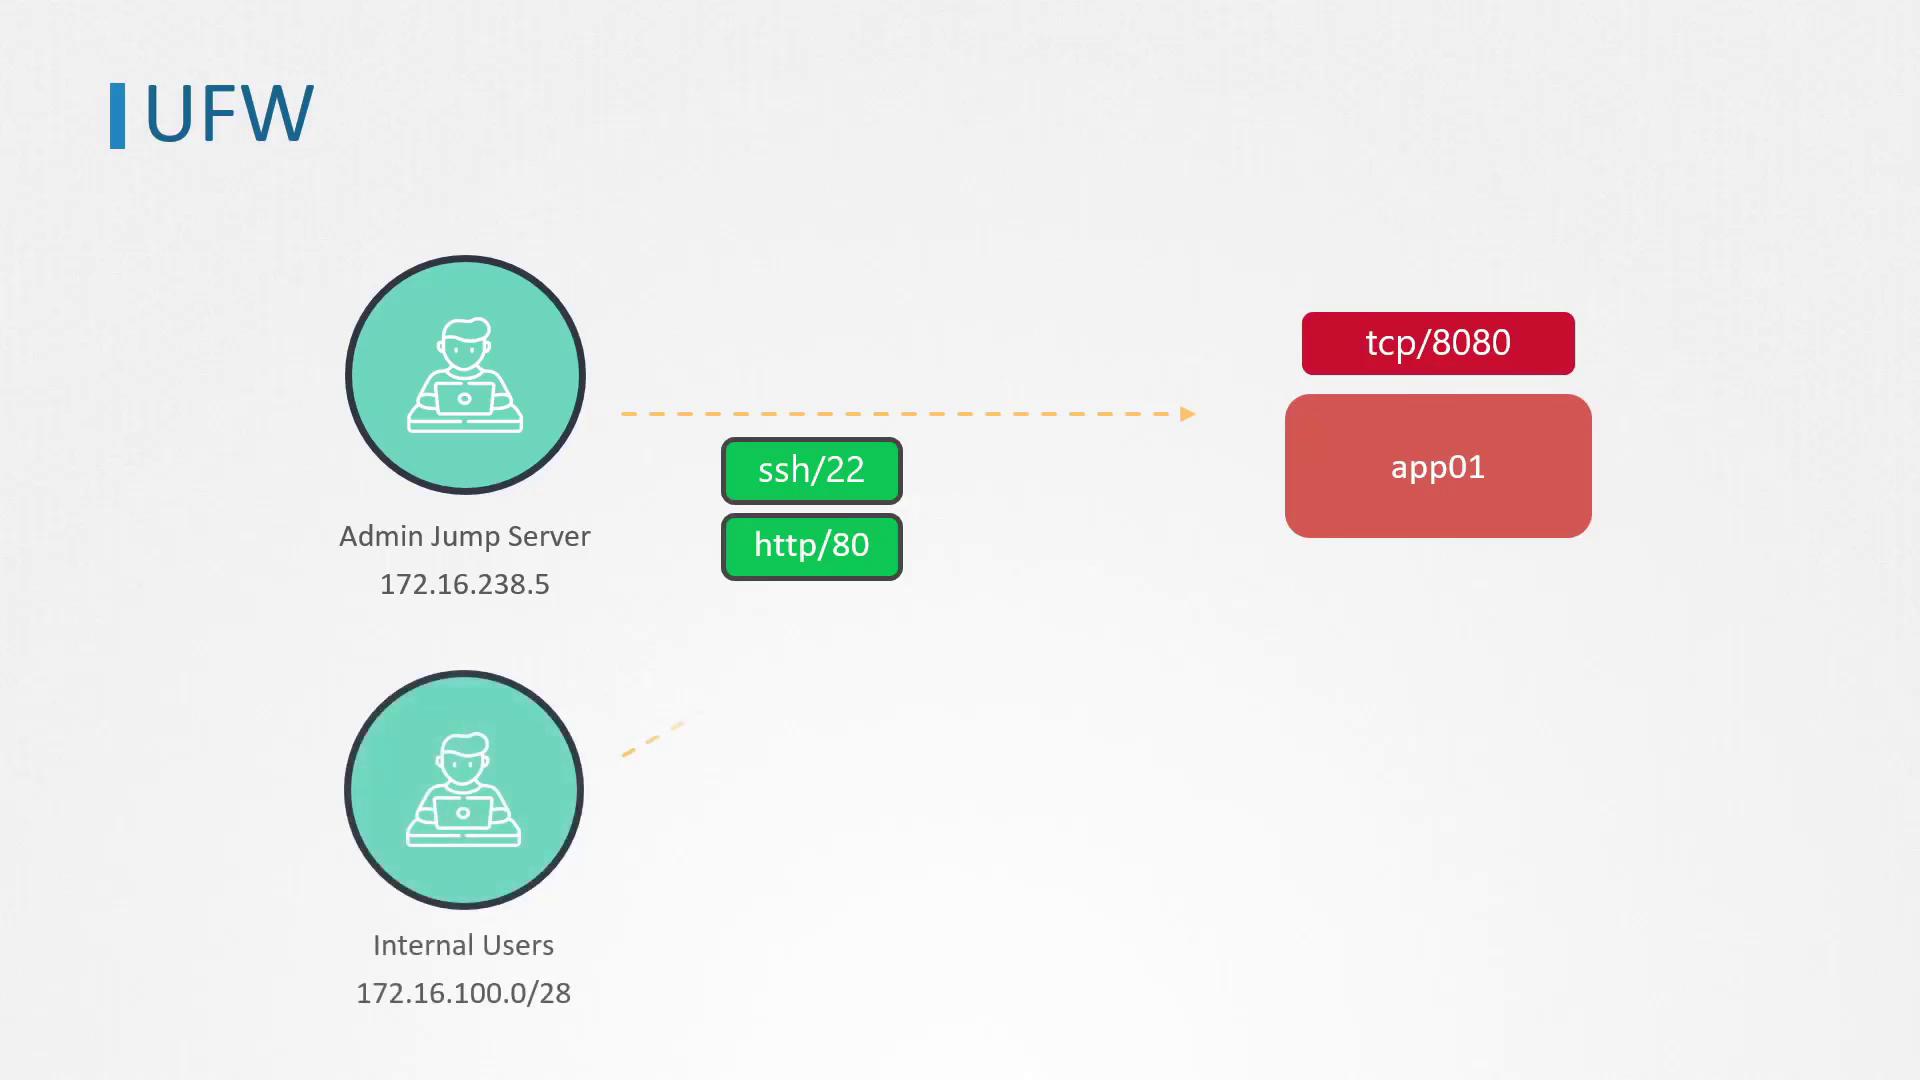
In this lesson, we introduce UFW (Uncomplicated Firewall), a user-friendly interface designed to simplify managing Linux firewall rules. We’ll walk through configuring UFW on an Ubuntu server (app01) to restrict network access and secure your environment.Imagine a setup where access to app01 must be limited. In this scenario, only the jump server with IP address 172.16.238.5 is allowed to establish SSH connections. This jump server is the primary access point for system administrators. Additionally, app01 hosts a web server on port 80, which needs to be accessible not only from the jump server but also from internal clients within the IP range 172.16.100.0/28.
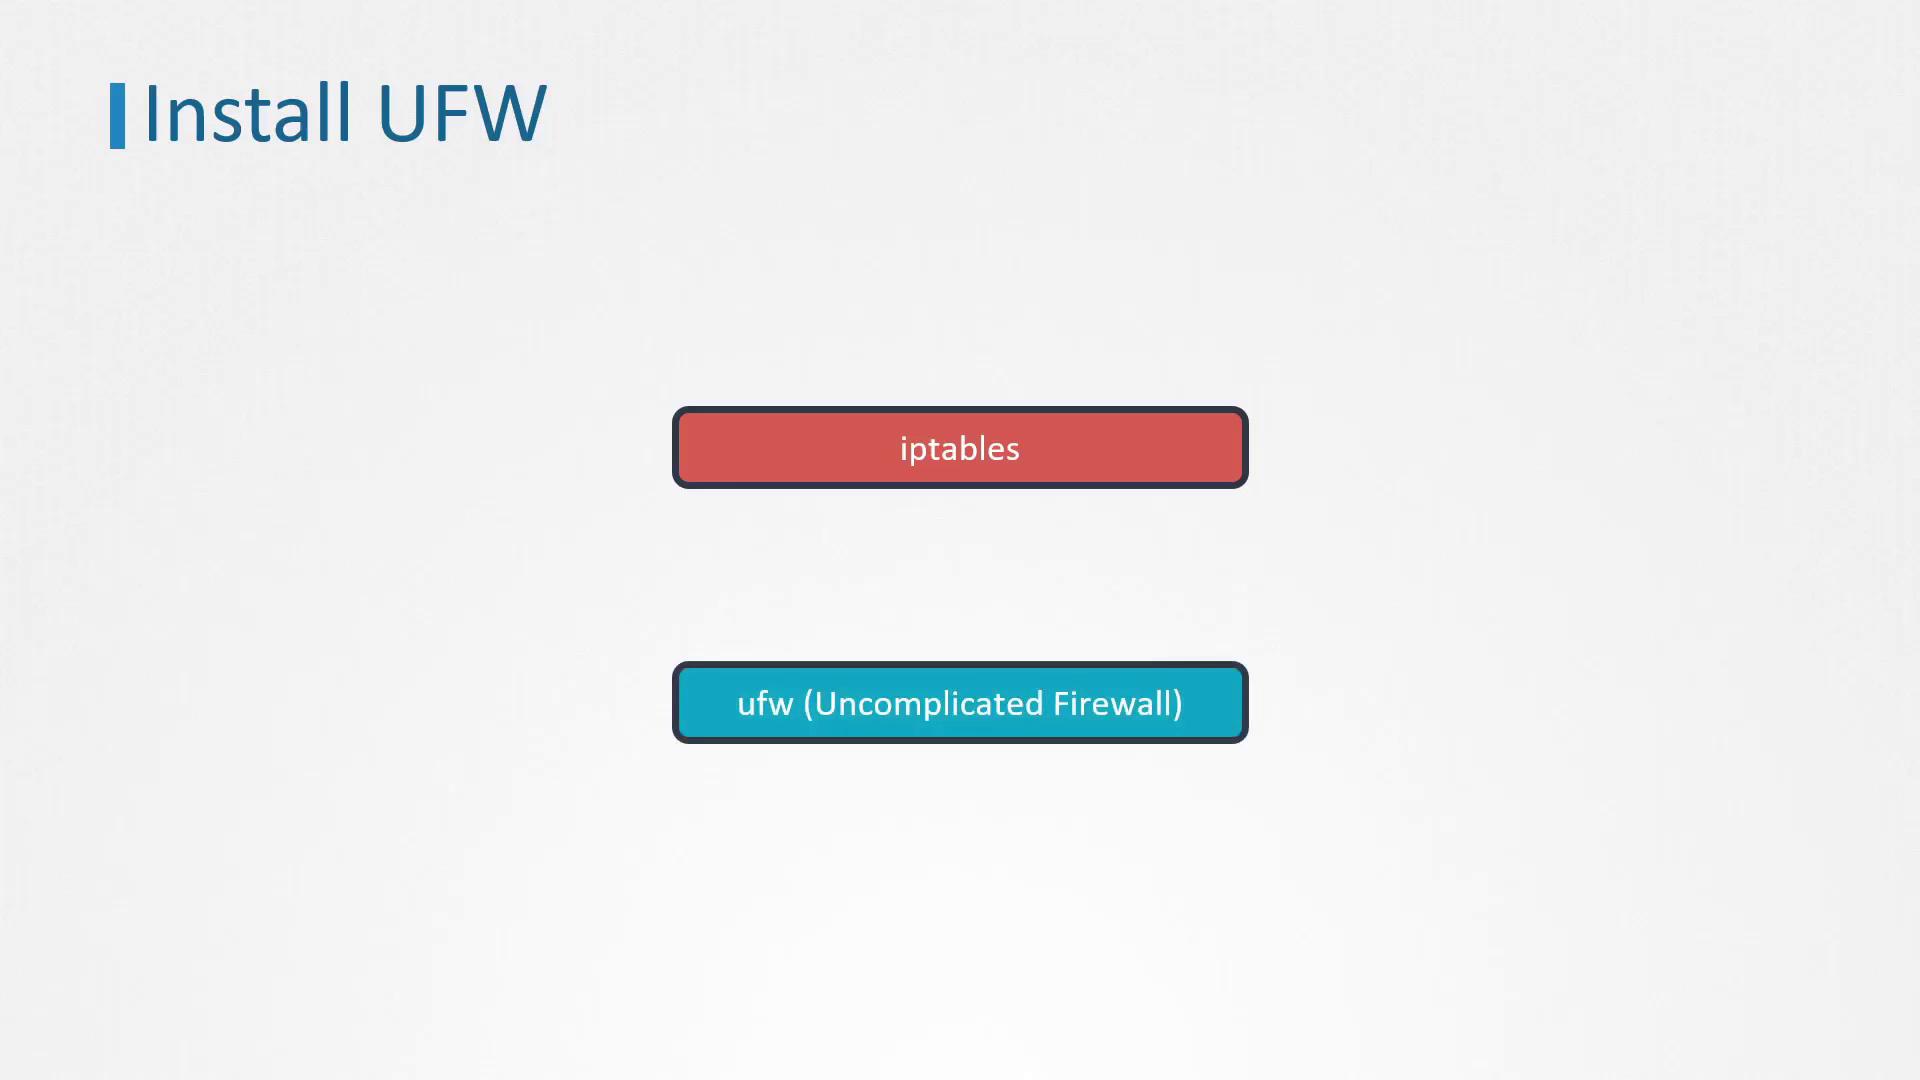
All other ports on app01 must remain closed to inbound traffic. To achieve this, we leverage Netfilter, the Linux kernel’s internal packet filtering system. Although IPTables is a common command-line tool for managing firewall rules, its complexity often demands a simpler solution. UFW serves as an intuitive front-end for configuring IPTables.
Before configuring UFW, log in via SSH to app01 and inspect the active listening ports using the netstat utility. Run the following command to confirm that SSH (port 22) and HTTP (port 80) are active, along with port 8080 which should be blocked from inbound connections:
Since no firewall rules are active yet, begin by setting default policies. We want to permit all outbound traffic while denying inbound connections. Execute these commands as the root user:
ufw default allow outgoing
The system will confirm:
Default outgoing policy changed to 'allow'(be sure to update your rules accordingly)
Next, set the default rule to deny all inbound connections:
To remove a specific rule, such as the deny rule for port 8080, use the following command:
ufw delete deny 8080
The system confirms the deletion:
Rule deletedRule deleted (v6)
Alternatively, you can delete rules based on their line numbers listed in the firewall status. For example, if the deny rule for port 8080 is listed as rule number 5 and then as rule number 4, delete them one by one:
ufw delete 5# Confirm deletion when prompted, then:ufw delete 4
This lesson provided a comprehensive guide to configuring UFW on an Ubuntu server to secure SSH and HTTP traffic while blocking unauthorized connections. By setting default policies and specifying clear allow/deny rules, you can effectively manage your server’s firewall and maintain a secure environment.Practice these UFW commands to solidify your understanding and ensure your server remains protected against unwanted network traffic.