
Documentation Index

Fetch the complete documentation index at: https://notes.kodekloud.com/llms.txt

Use this file to discover all available pages before exploring further.

In this solution walkthrough, we’ll explore how to list and count namespaces, inspect pods within them, deploy resources, and leverage DNS-based service discovery both within the same namespace and across namespaces.

1. List and Count Namespaces

You can view all namespaces in your cluster using:
kubectl get namespaces
# or shorthand
kubectl get ns
CommandDescription
kubectl get namespacesList all namespaces (full form)
kubectl get nsList all namespaces (short form)
Example output:
NAME              STATUS   AGE
default           Active   6m55s
kube-system       Active   6m54s
kube-public       Active   6m54s
kube-node-lease   Active   6m54s
finance           Active   32s
marketing         Active   32s
dev               Active   32s
prod              Active   32s
manufacturing     Active   32s
research          Active   32s
There are 10 namespaces in total.
You can add -o wide or use -o jsonpath to customize the output format.

2. Count Pods in the research Namespace

To see how many pods are running in research:
kubectl get pods -n research
Example:
NAME   READY  STATUS             RESTARTS   AGE
dna-2  0/1    CrashLoopBackOff   3          76s
dna-1  0/1    CrashLoopBackOff   3          76s
There are 2 pods in this namespace.

3. Create a Pod in the finance Namespace

Deploy a Redis pod into finance:
kubectl run redis --image=redis -n finance
Verify the pod:
kubectl get pods -n finance
Example:
NAME     READY  STATUS              RESTARTS   AGE
payroll  1/1    Running             0          2m20s
redis    0/1    ContainerCreating   0          8s

4. Locate the blue Pod Across All Namespaces

To identify which namespace hosts the blue pod:
kubectl get pods --all-namespaces
# or shorthand
kubectl get pods -A
Sample output shows blue in marketing:
NAMESPACE    NAME   READY  STATUS           RESTARTS   AGE
marketing    blue   1/1    CrashLoopBackOff 4          3m3s
...

5. Service DNS Within the Same Namespace

Services in the same namespace can be reached by <service-name>:<port>. In marketing:
kubectl get svc -n marketing
Example:
NAME           TYPE       CLUSTER-IP      PORT(S)
blue-service   NodePort   10.43.82.162    8080:30082/TCP
db-service     NodePort   10.43.134.33    6379:30758/TCP
The blue app connects to db-service on:
  • Host: db-service
  • Port: 6379
The image shows a "Connectivity Test" interface with fields for "Host Name" and "Host Port," and a "TEST" button. The result indicates "Success!" for the connection test.

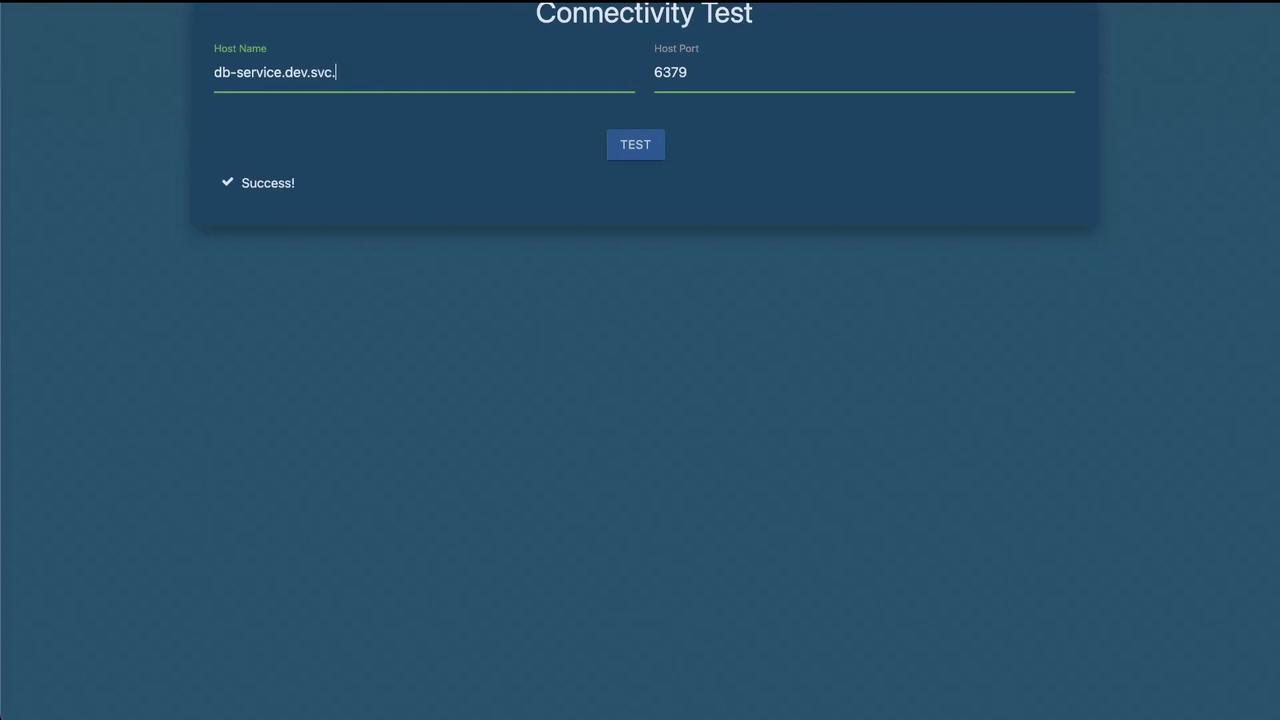
6. Service DNS Across Namespaces

Accessing a service in a different namespace (e.g., dev) requires the full DNS name:
db-service.dev.svc.cluster.local:6379
Verify the service definition:
kubectl get svc -n dev
Example:
NAME        TYPE        CLUSTER-IP      PORT(S)
db-service  ClusterIP   10.43.252.9     6379/TCP
Always use the full DNS (<svc>.<namespace>.svc.cluster.local) when connecting across namespaces to avoid resolution errors.

Watch Video