

- RBAC is a security model that grants permissions through roles rather than assigning permissions directly to individual users.
- Administrators are placed into role groups; role groups contain one or more roles; and group members inherit the permissions defined by those roles.
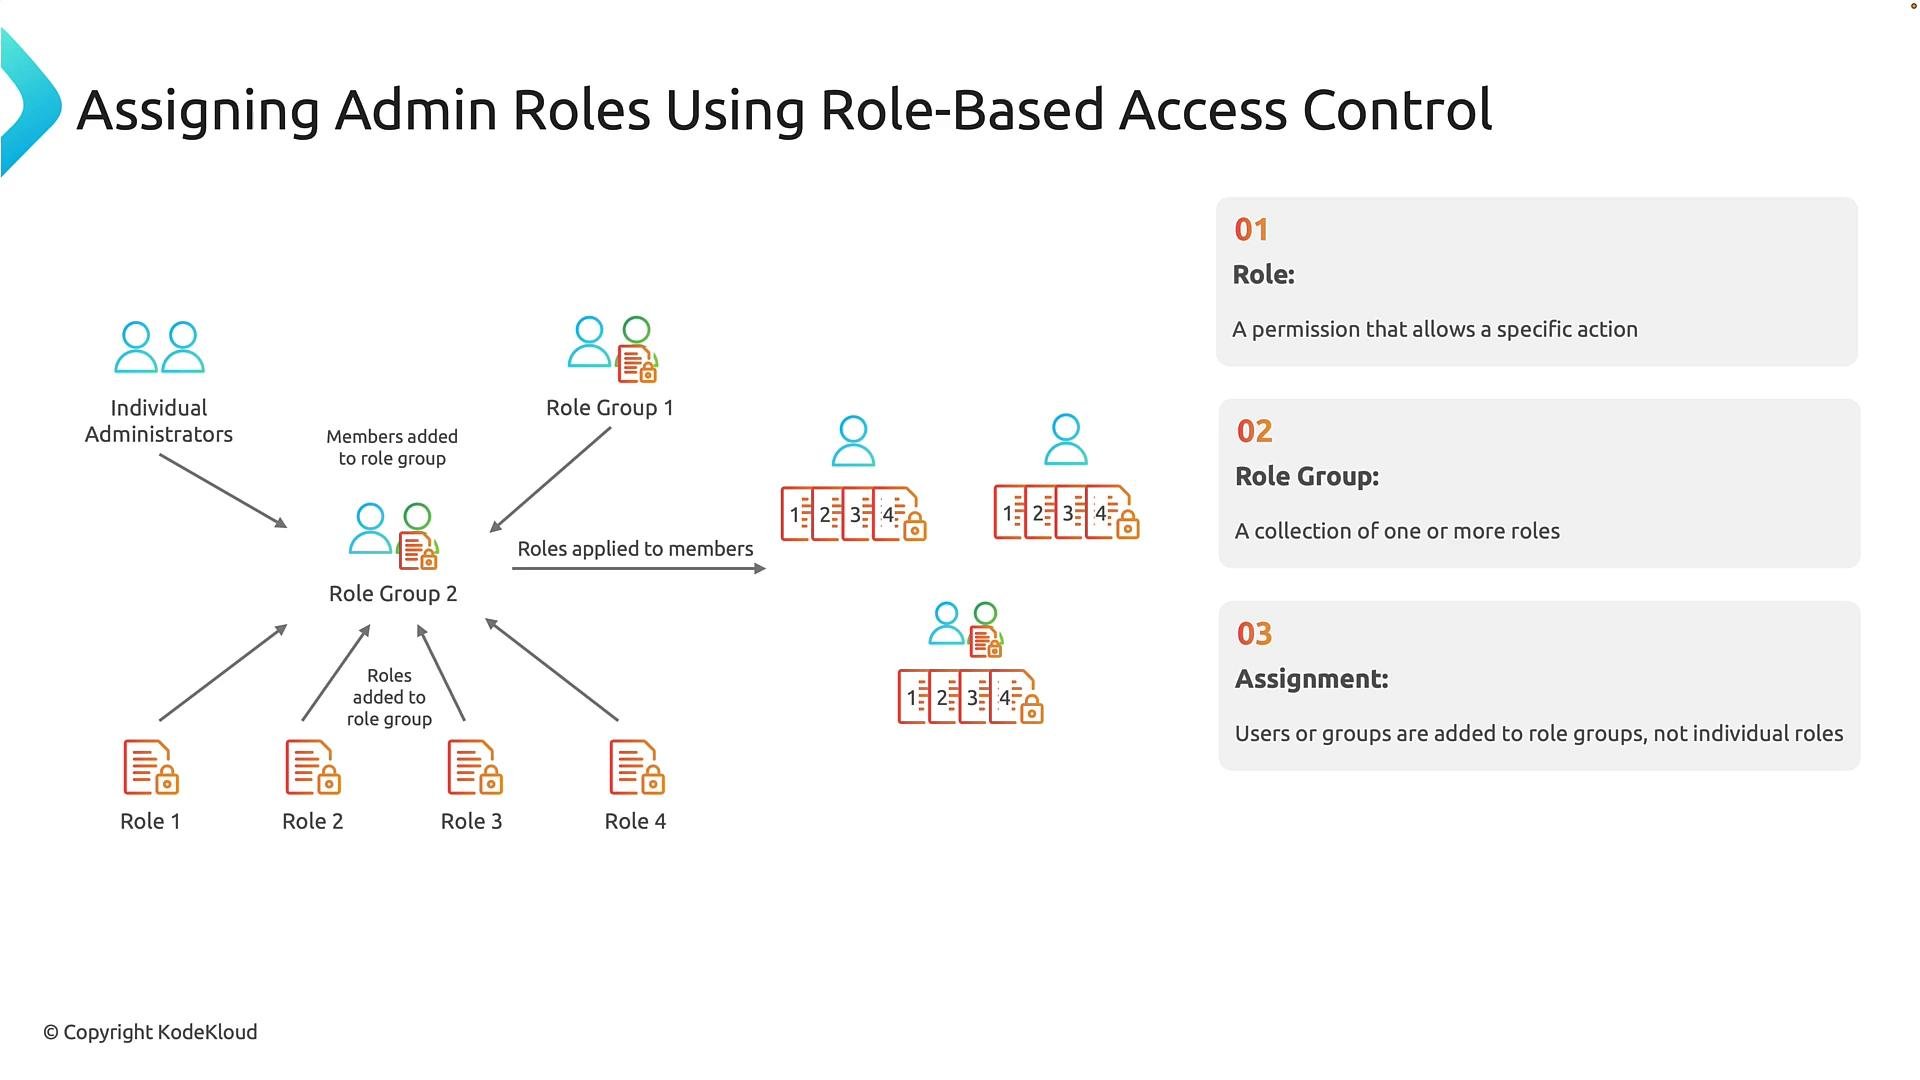
- Think of a role as a named collection of permissions. One role might allow password resets; another might allow Teams configuration. Assigning a role to a role group lets you grant a bundle of permissions to all group members at once, which simplifies administration and supports least-privilege access.
Where to manage roles
- The Microsoft 365 admin center provides a tenant-wide view of many built-in roles (for example, Global Administrator) and role assignments.
- Workload-specific admin centers (Exchange, Teams, SharePoint) provide role definitions and role groups scoped to those services.
- In the Microsoft 365 admin portal, go to Teams & groups → Active teams & groups.
- Choose the group type. Common types:
- When creating a security group, you can enable the option to allow Azure AD roles to be assigned to the group. This setting is required if you want to use the group for role-based assignments.
When you enable the option to assign Azure AD roles to a security group, that choice is permanent for the group. If you do not enable it at creation, the group cannot be used for role assignments later.
- Create a security group named
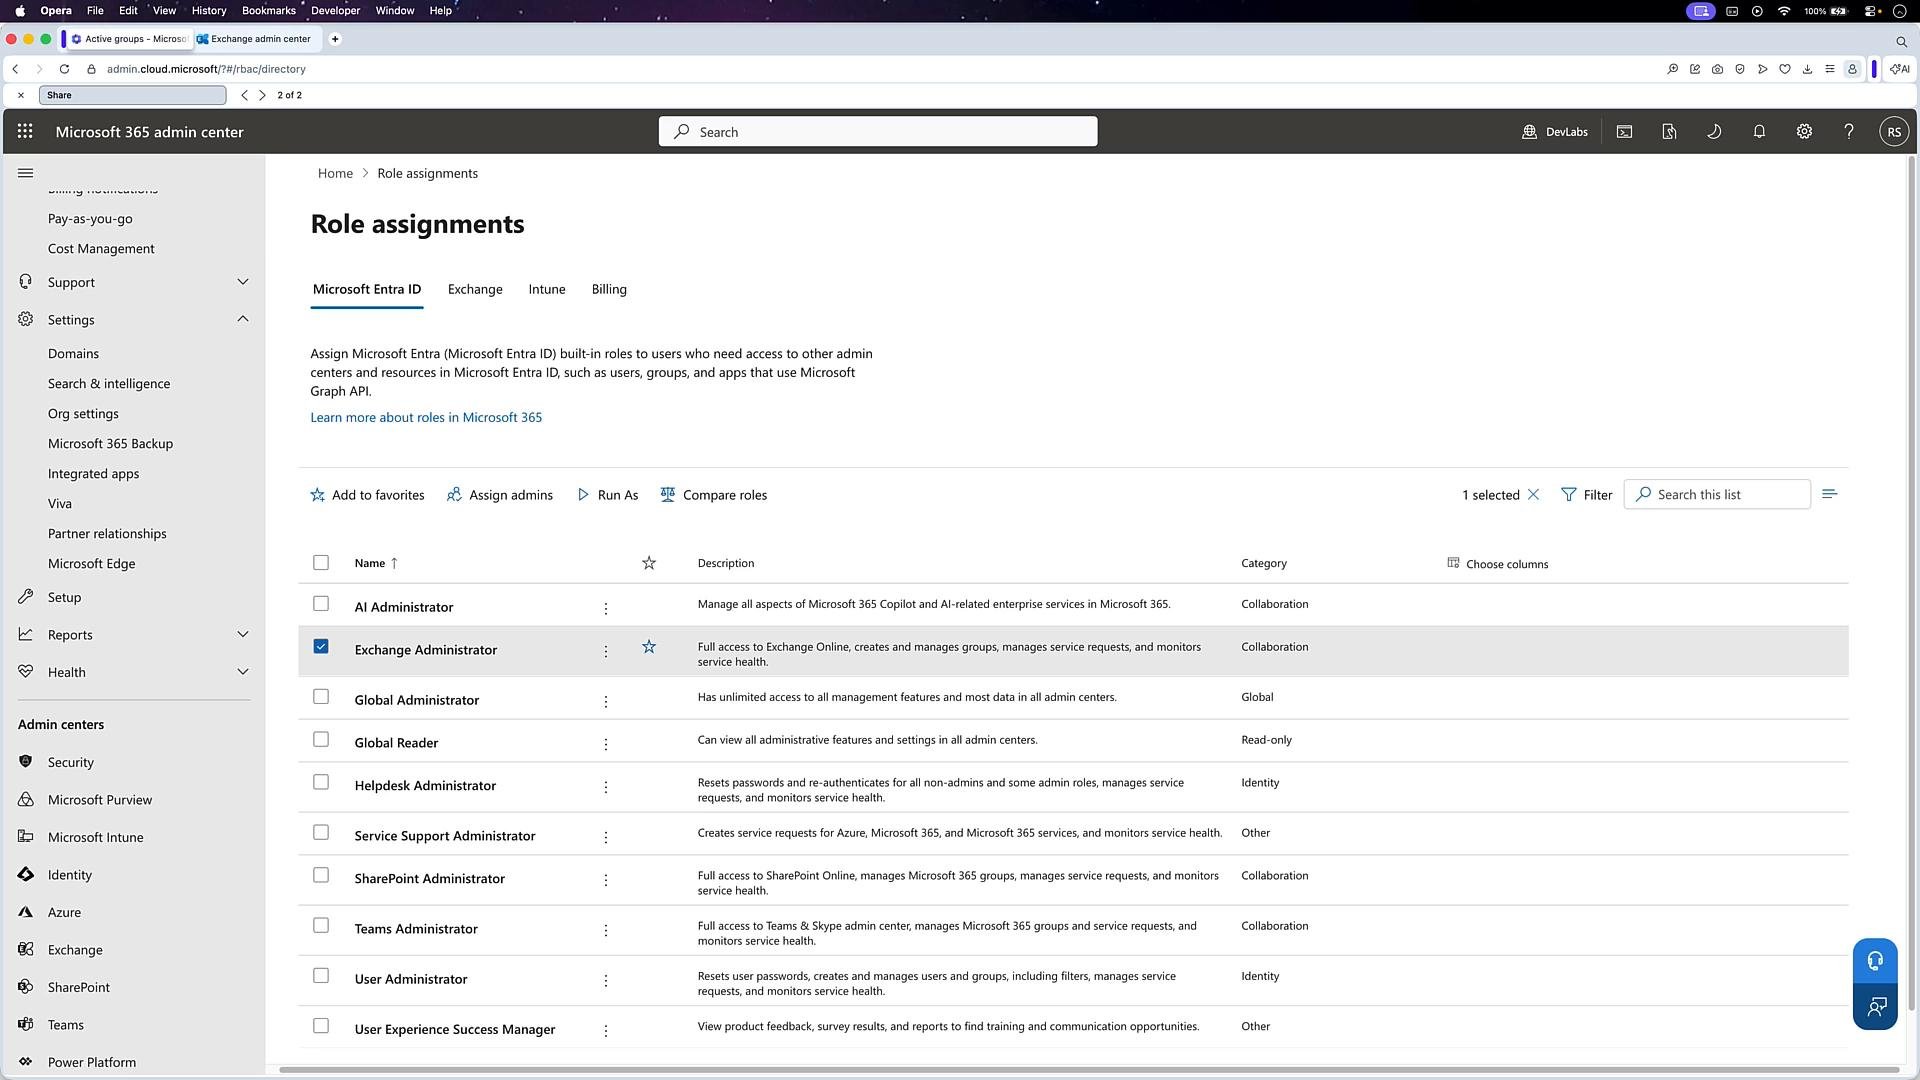
AB-900 role groupand enable role assignment support. - In the Microsoft 365 admin center navigate to Roles → Role assignments.
- Select a built-in role (for example, AI Administrator) to view role details, included permissions, and current assignments.
- Choose Assign roles, add the
AB-900 role group, and save. Repeat to add other roles such as Exchange Administrator. - Any user added to
AB-900 role groupnow inherits all assigned roles.
- You can often nest groups (add groups into groups) to reflect organizational structure. Support and membership evaluation for nested groups varies across admin centers and features—test nested membership behavior for specific roles and services before relying on it in production.
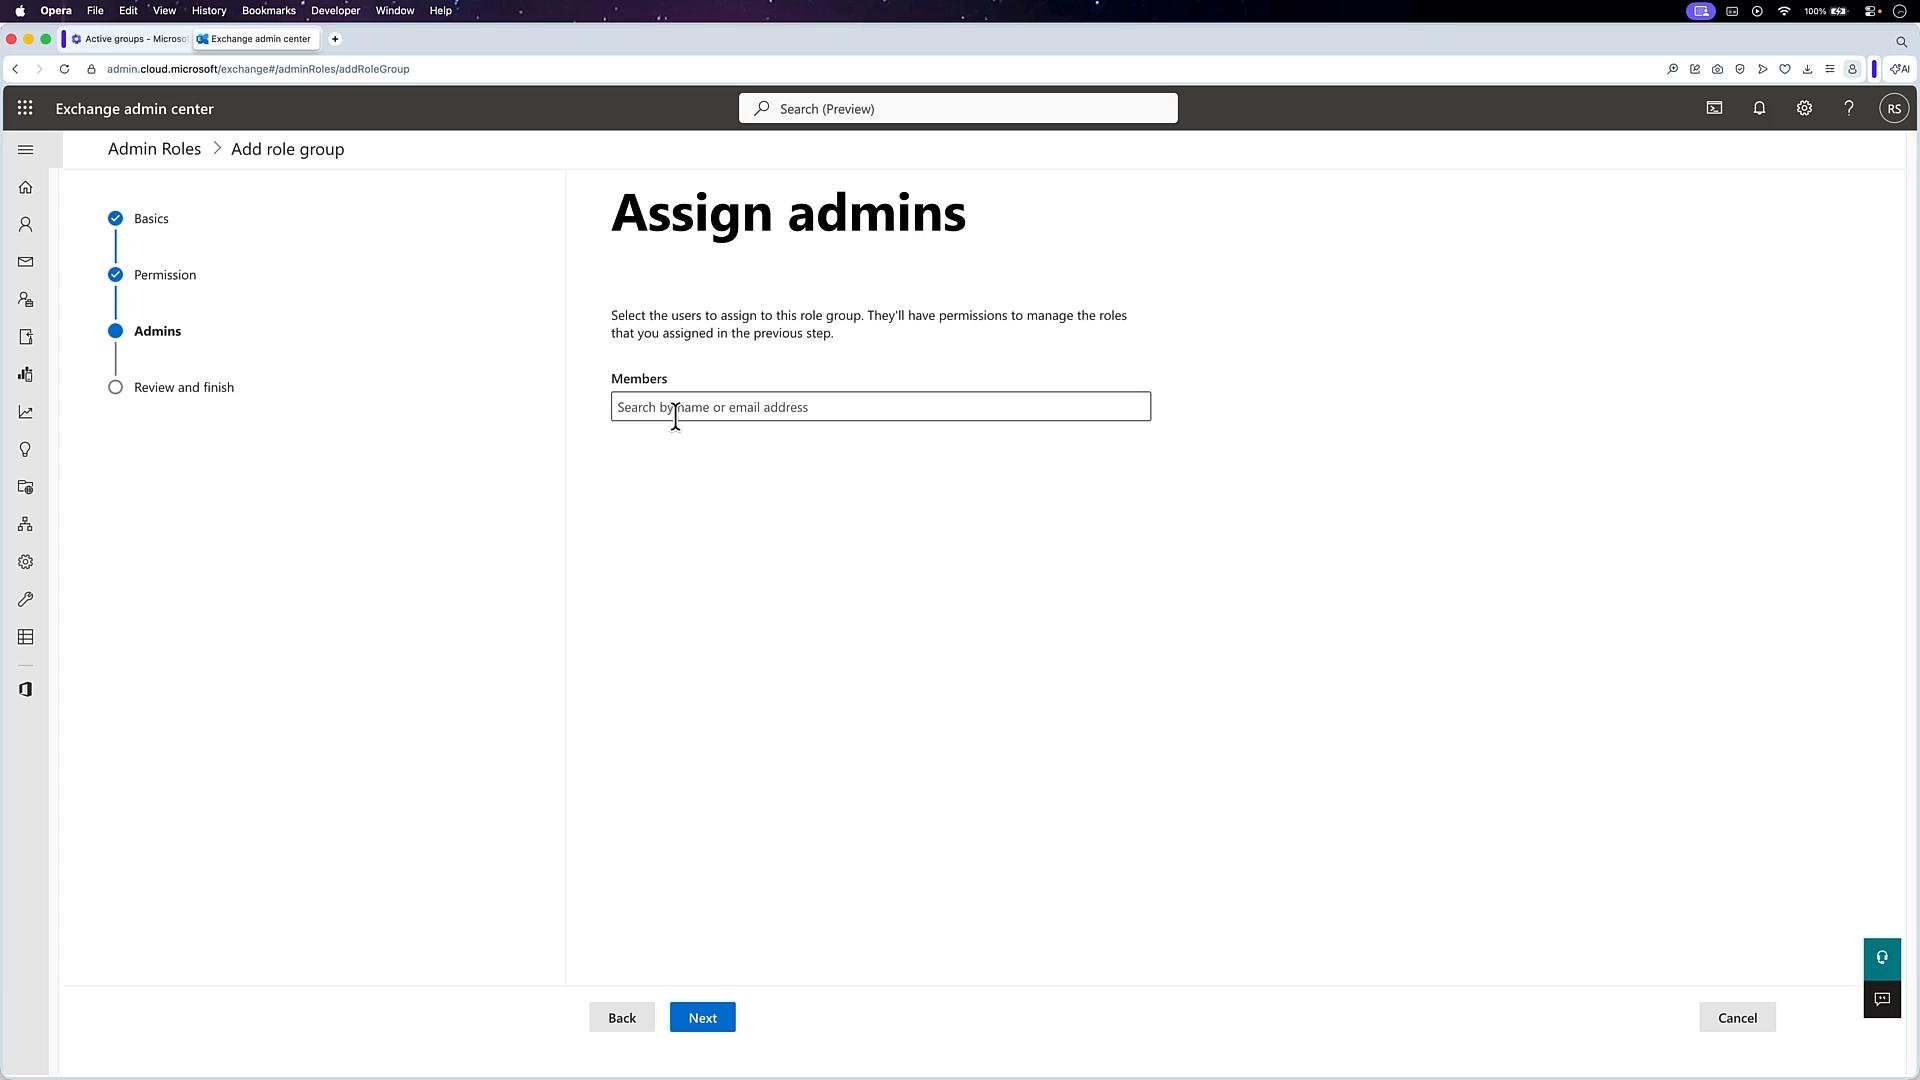
- The Exchange admin center exposes Exchange-specific role groups tailored for mail and recipient management. When creating an Exchange role group you select a name, description, write scope, specific Exchange roles (for example, Address Lists, Mail Recipient Creation), and members.
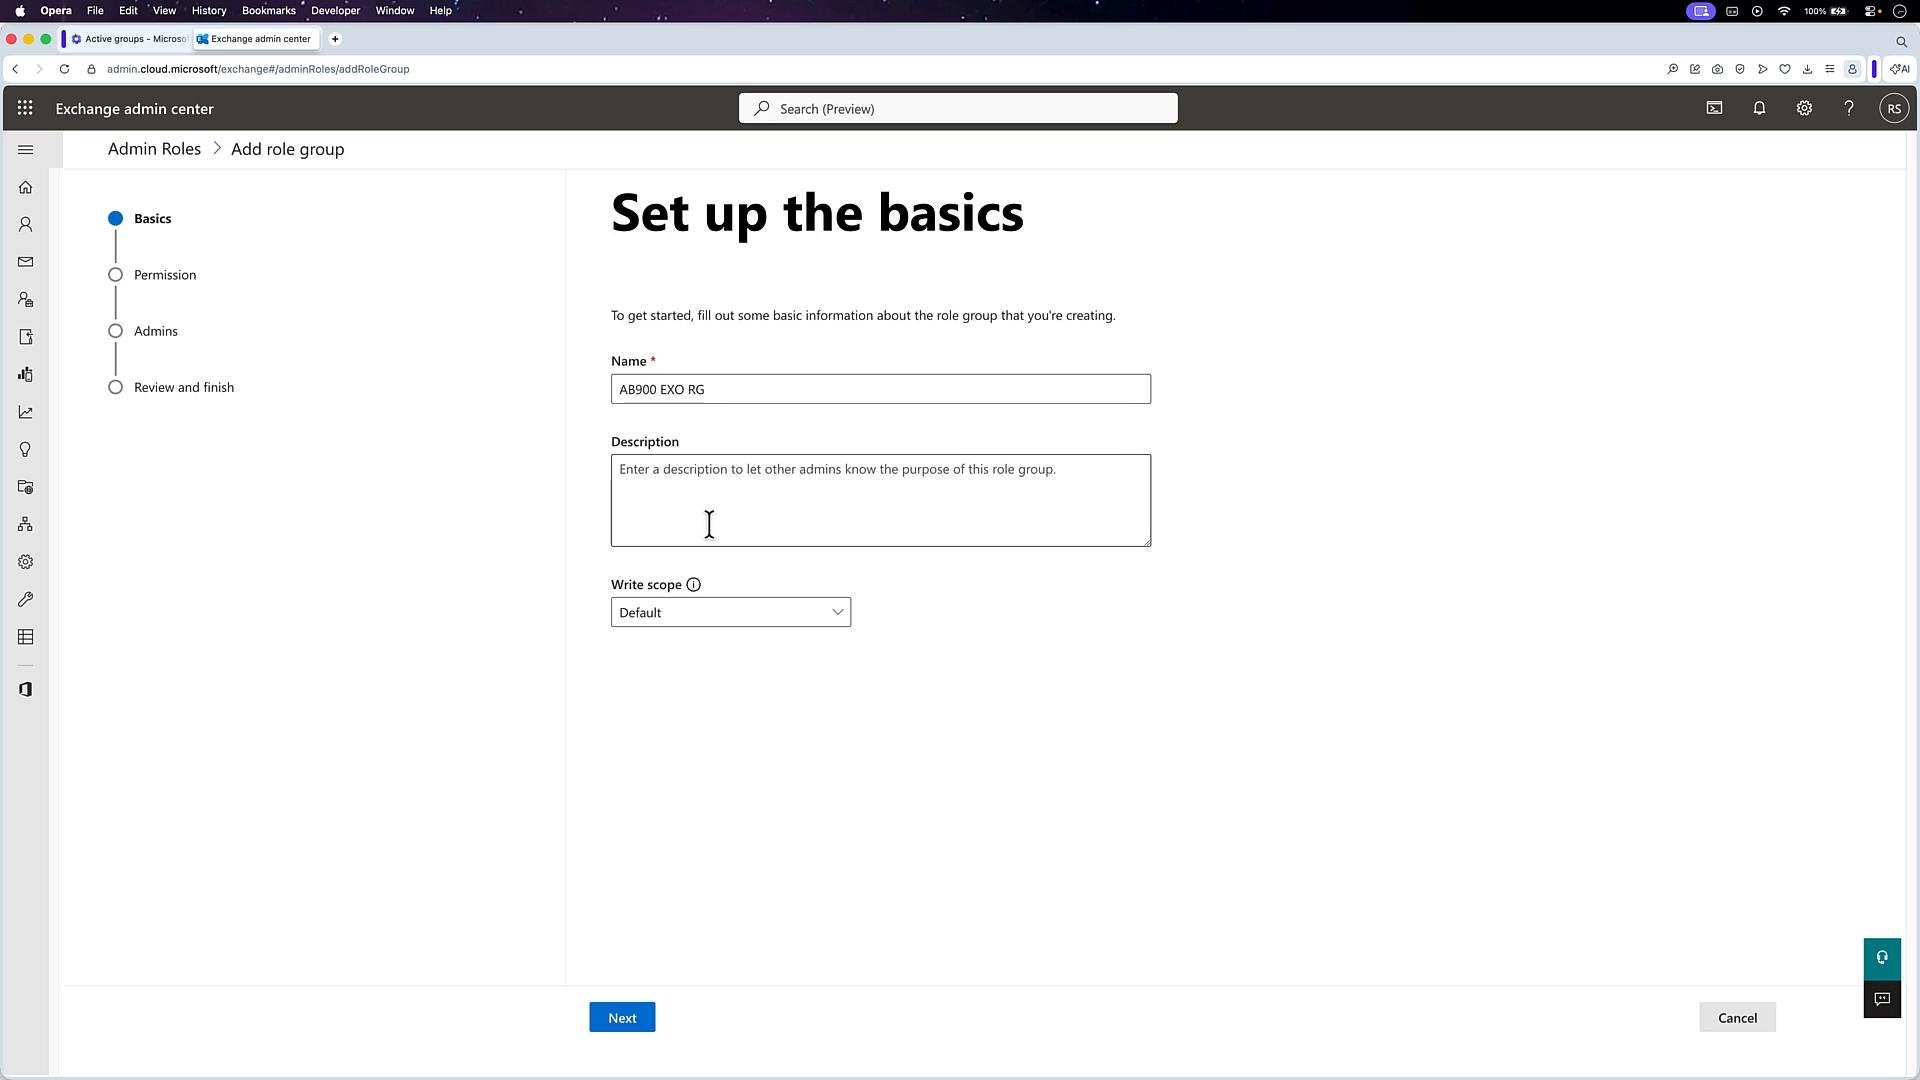
- The Exchange role-group creation workflow guides you through: Basics → Permission → Admins → Review and finish.
- Roles available in the Microsoft 365 admin center are often tenant-level and span services, while workload admin centers expose roles scoped to service-specific responsibilities. For example, Exchange role groups are tightly focused on mail and recipient tasks; Microsoft 365 tenant roles may include broader privileges.
- Understand the difference between:
- Role = collection of permissions
- Role group = collection of roles for centralized assignment
- Assignment = users/groups added to role groups
- Use group-based role assignments to centralize management and enforce least privilege.
- Always review the role definition and permission scope before assigning it.
- Enable a security group for Azure AD role assignment at creation time if you plan to use it for RBAC.
- Test nested group behavior for your target admin center and roles before broad adoption.
Use role groups to centralize administrative permissions and keep assignments consistent. Always review role permissions and scope before assigning them to any group.
- Microsoft 365 admin center: Manage roles
- Azure AD: Assign directory roles to groups
- Exchange admin center: Role-based access control (RBAC)