

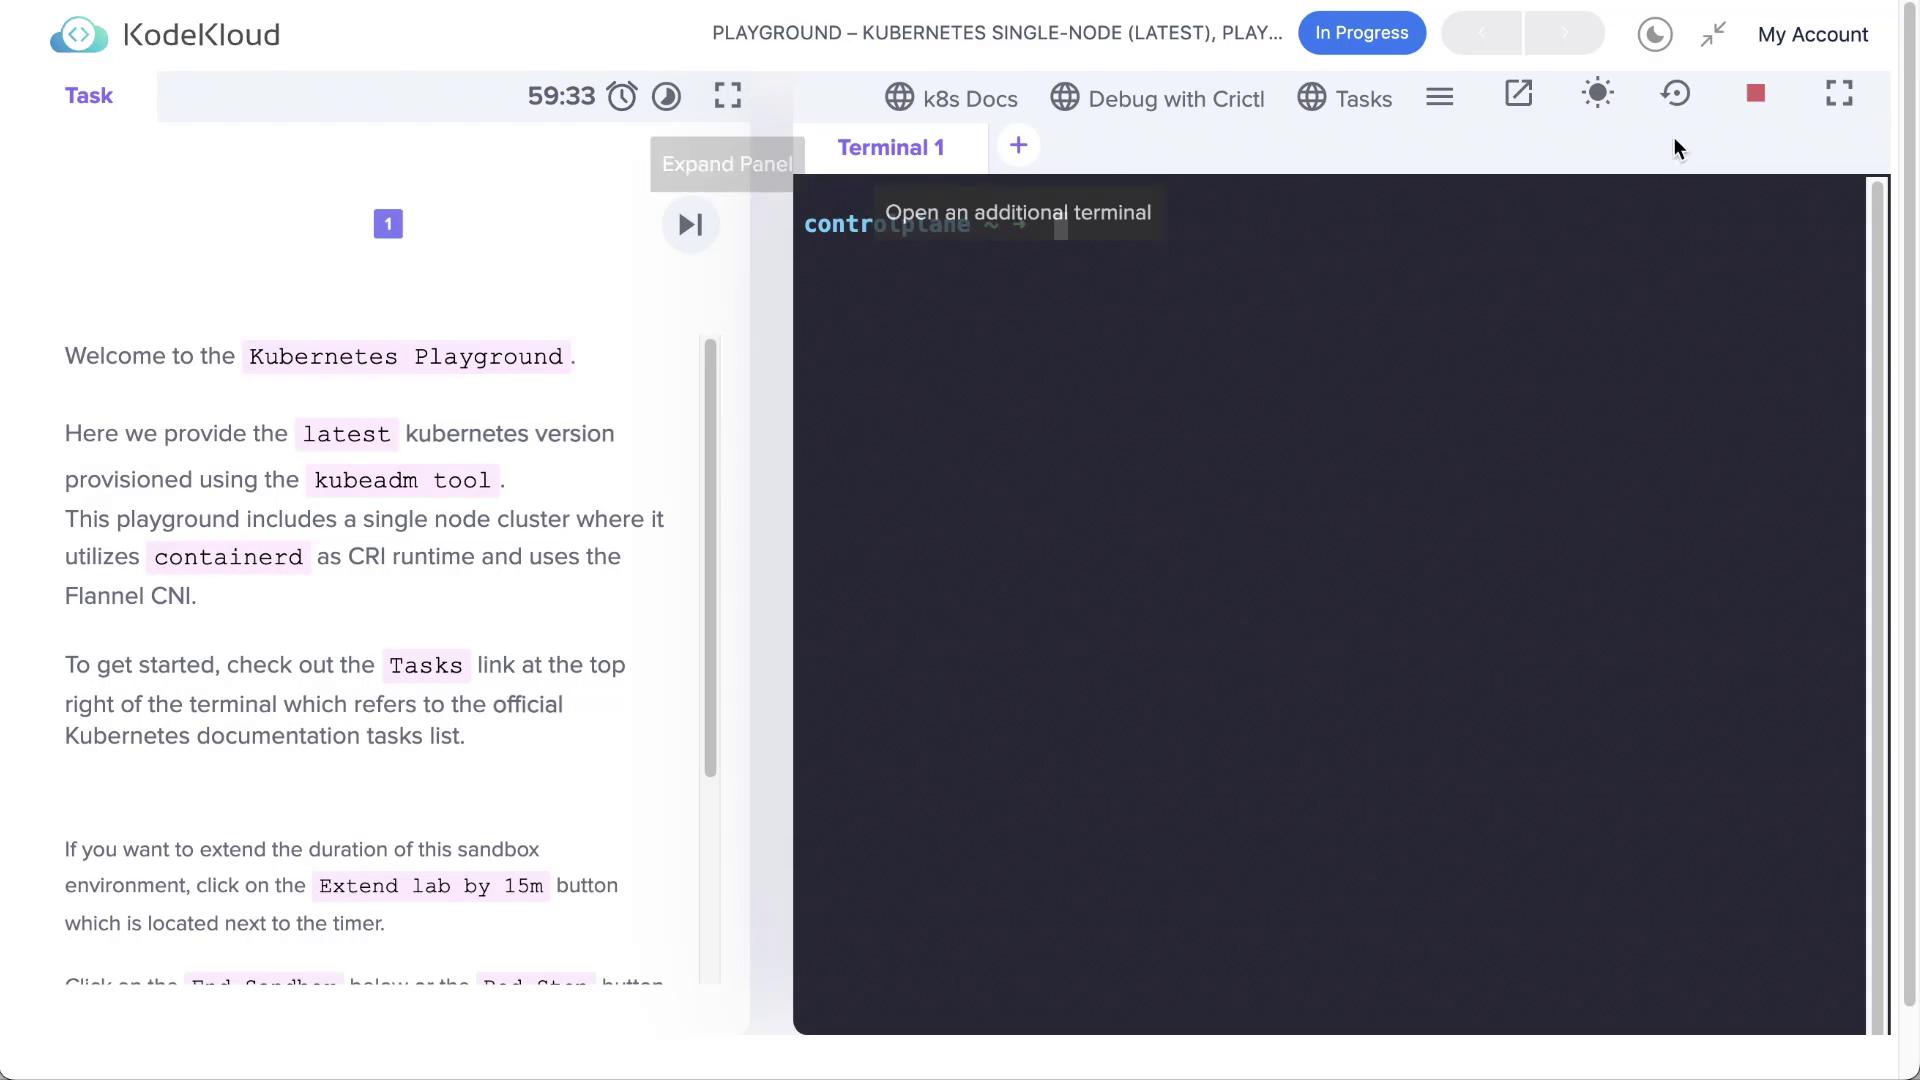
In the beginning, launch a Kubernetes playground running a single-node cluster based on Kubernetes and ContainerD.
Creating a Secret Object
Kubernetes secrets help to store sensitive data such as passwords, tokens, or keys. There are multiple methods to create a secret object, including from files, literals, or environment variable files. Below are some examples:- —allow-missing-template-keys=true: Ignores errors in templates if fields or keys are missing.
- —append-hash=false: Appends a hash of the secret to its name.
- —dry-run: Specify “none”, “server”, or “client” to perform a dry run or see what object would be sent.
Because secrets are stored as base64 encoded plaintext, anyone with access to etcd can decode and view them. Avoid storing secret definition files in public repositories without further protection.
Inspecting Secret Data in etcd
Next, examine how Kubernetes stores secrets in etcd, where the data is kept unencrypted by default. To inspect the stored secrets, use the etcdctl utility with API version 3.-
Start by verifying that etcd is running on your cluster:
You should see an etcd pod (for example, “etcd-controlplane”).
-
Confirm the existence of the certificate file:
-
If etcdctl is not installed, install it using:
-
Set the ETCDCTL_API to version 3 and check the etcdctl version:
-
Retrieve and inspect your secret stored in etcd. Adjust the key path to match your secret (e.g., “my-secret”):
Configuring Encryption at Rest
To secure secret data, enable encryption at rest in etcd. Begin by verifying whether encryption is already configured in your cluster. Check the Kube API server for the “encryption-provider-config” flag:-
Inspect the API server manifest, typically located in:
-
Open the kube-apiserver manifest:
Encryption Configuration File
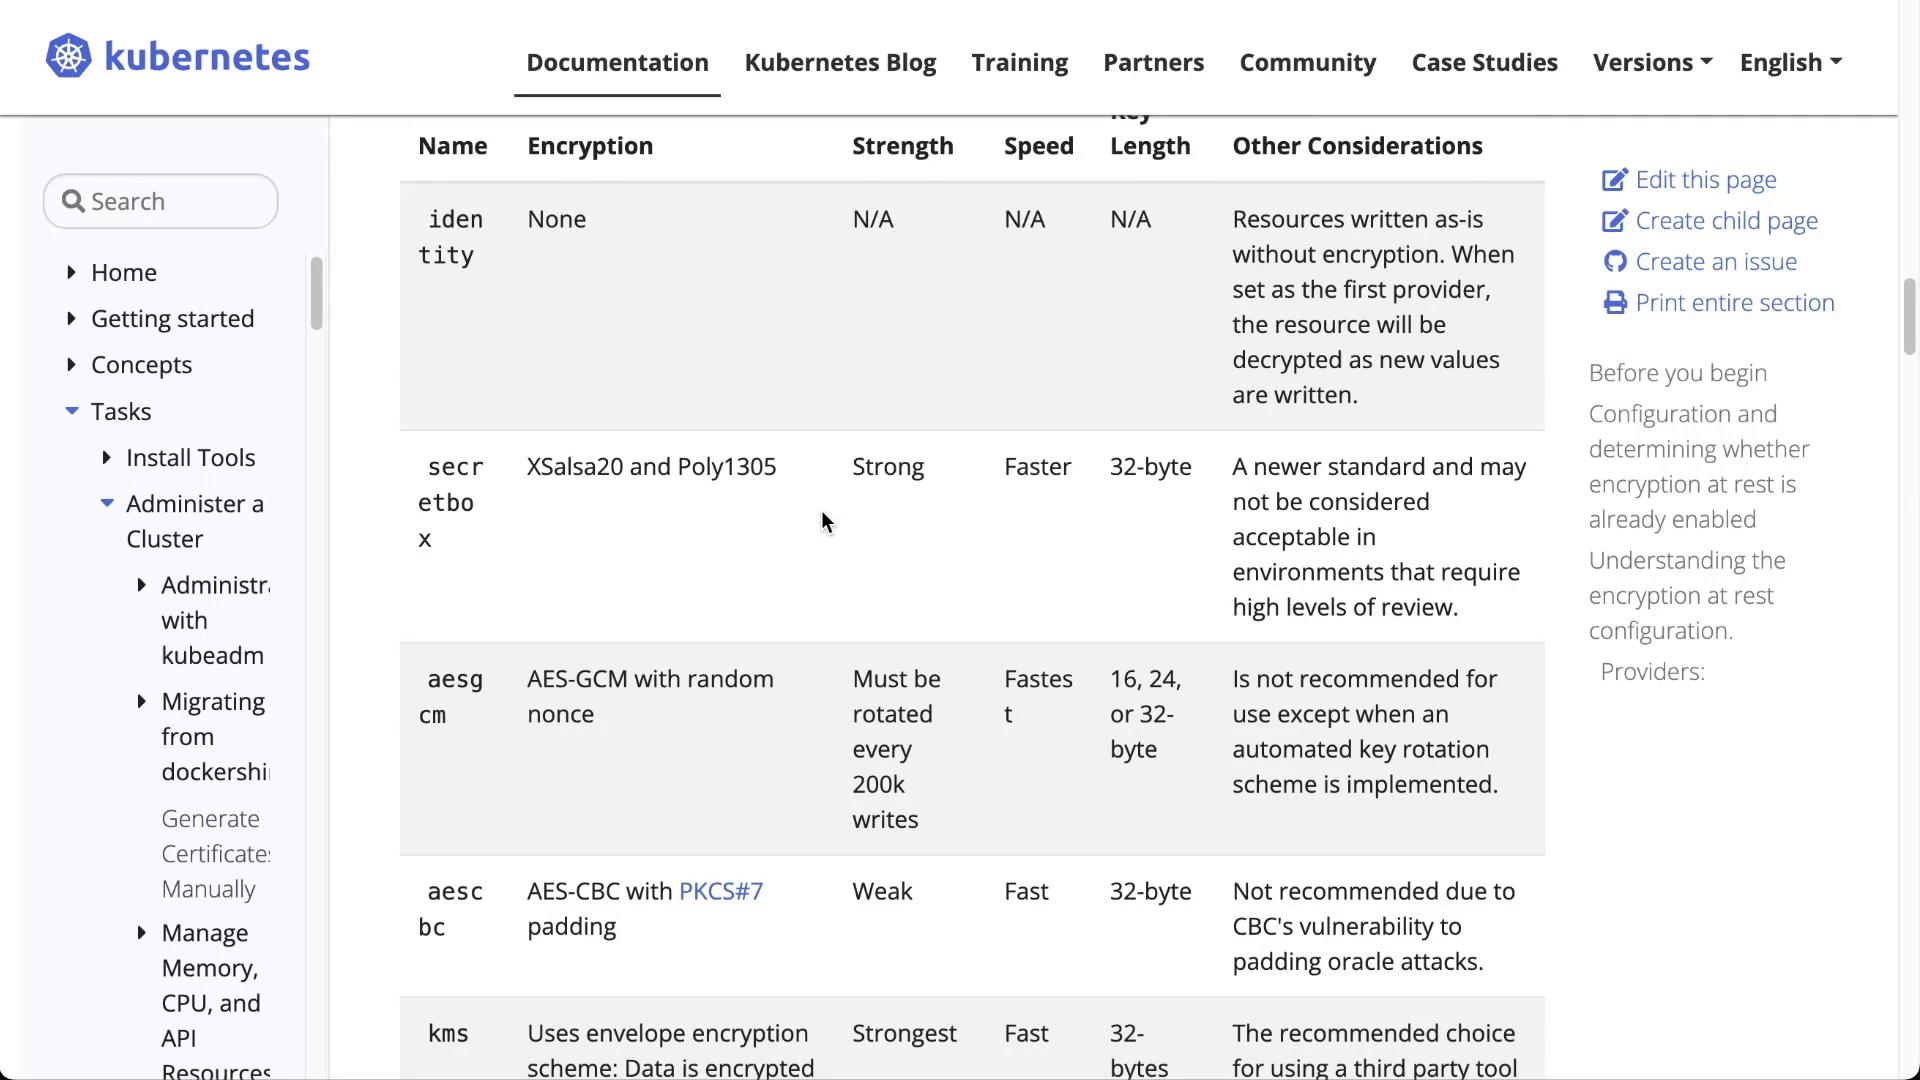
Create a YAML file (for example,enc.yaml) with the following content. This configuration specifies that secret objects will be encrypted using the AESCBC provider:
INSERT_BASE64_ENCODED_32_BYTE_KEY_HERE with the generated key. Move the enc.yaml file to your control plane node:
Updating the Kube API Server Manifest
Edit the kube-apiserver manifest (/etc/kubernetes/manifests/kube-apiserver.yaml) to apply the encryption configuration:
-
Append the following flag to reference the encryption configuration file:
-
Under the
volumeMountssection of the kube-apiserver container, add: -
Under the
volumessection, add a hostPath volume:
Verifying Encryption
Once the API server has restarted with the new encryption configuration, create a new secret so it will be encrypted on write:Note that secrets created before enabling encryption remain unencrypted until updated. To re-encrypt these, fetch and replace them without modifying the data:
Summary
This article demonstrated how to:- Create and inspect Kubernetes secrets.
- Verify that secrets are stored in etcd as base64-encoded plaintext.
- Enable encryption at rest by creating an encryption configuration file.
- Update the kube-apiserver manifest to integrate the encryption config.
- Confirm that new secrets are encrypted and secure in etcd.