Before containerizing, consider the manual deployment steps: starting with a base operating system (like Ubuntu), updating package repositories using APT, installing required system and Python packages, copying the source code to a designated directory (e.g.,
/opt), and finally running the web server with Flask.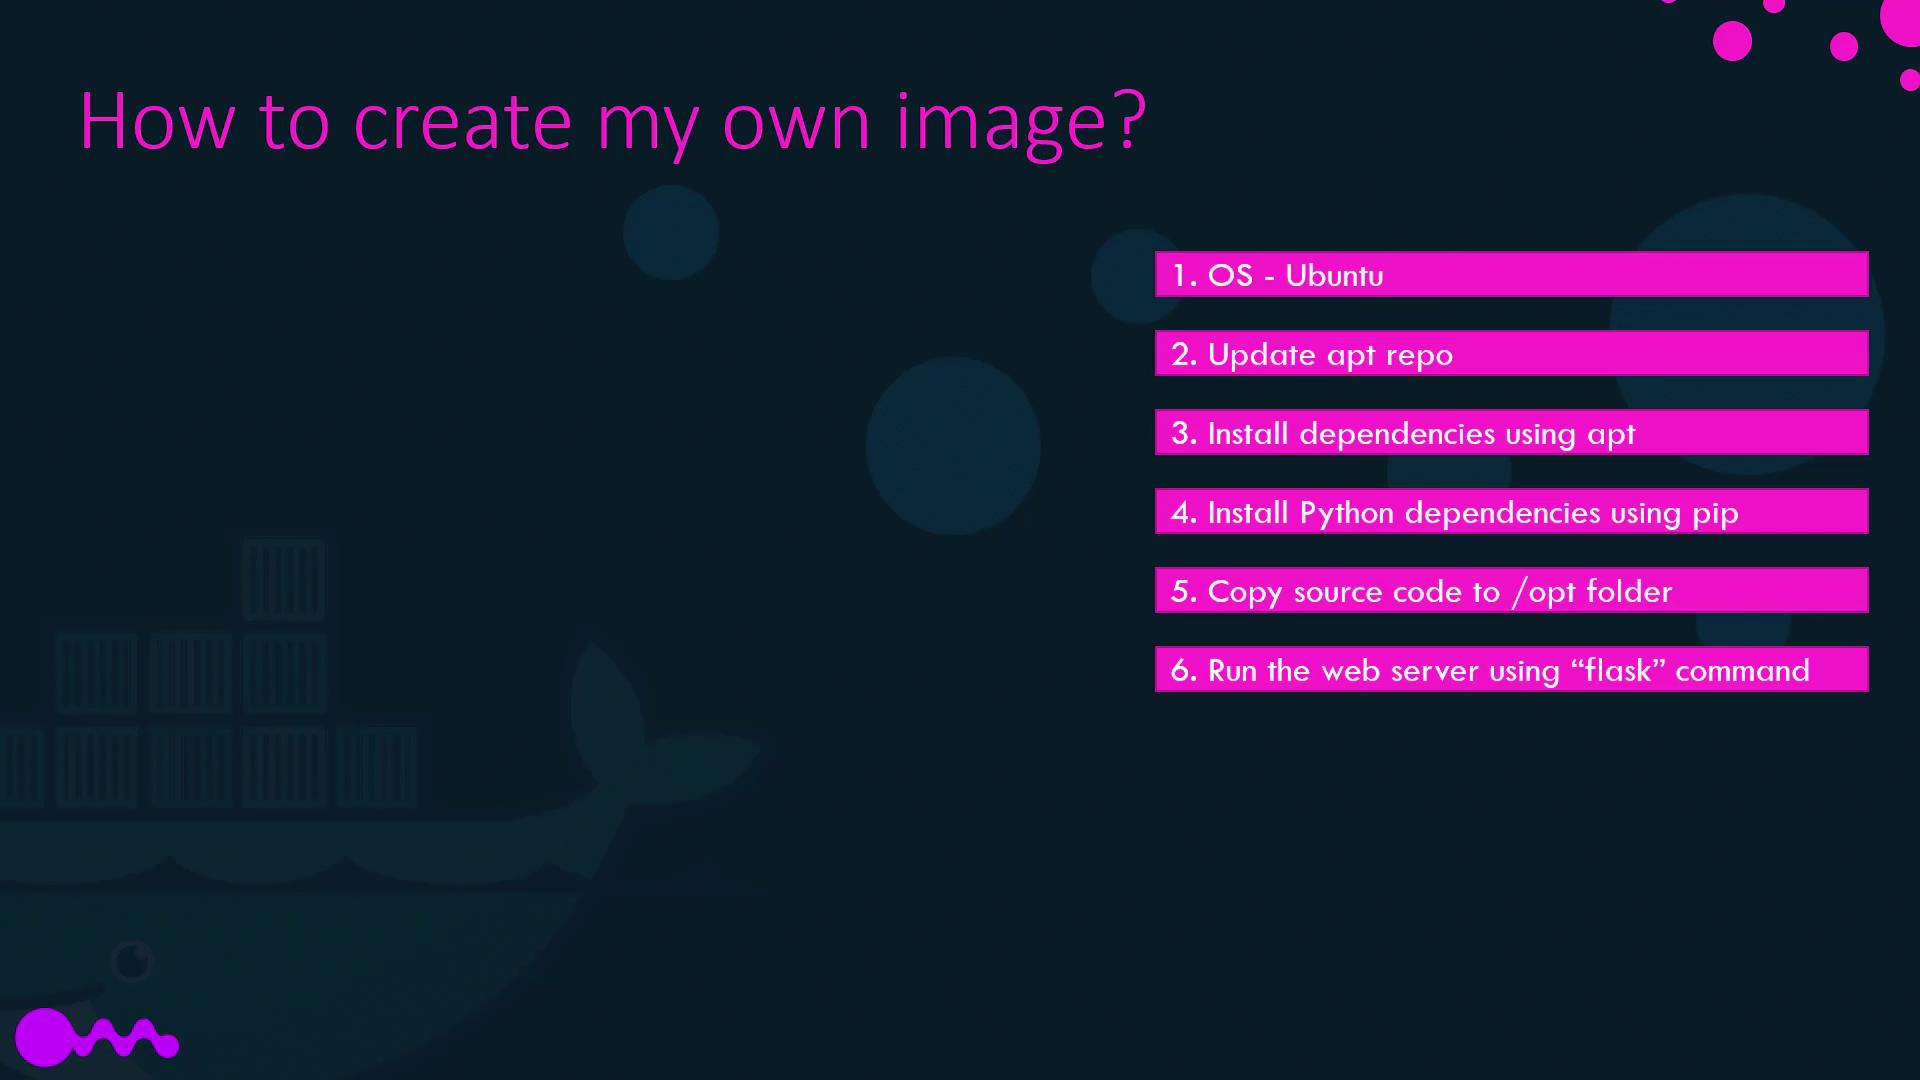
Dockerfile Breakdown
- FROM: Sets the base image as Ubuntu. Every Docker image starts with a base layer from either an operating system or a prebuilt image available on Docker Hub.
- RUN: Executes commands during image build. The first
RUNupdates the system and installs Python, while the second installs Flask and MySQL support viapip. - COPY: Transfers your application’s source code from your local repository to the container directory
/opt/source-code. - ENTRYPOINT: Specifies the command to execute when the container launches, setting the
FLASK_APPenvironment variable and starting the Flask server.
Viewing Docker Image Layers
To inspect the image layers and their sizes, run the following command:Building the Docker Image
After finalizing your Dockerfile, build your image with the following command:If a build step fails, Docker caches the successful layers up to the failure point. After correcting the error, re-running the build command leverages the cached layers, drastically reducing rebuild times.
Containerizing a Diverse Range of Applications
Docker is not limited to web applications. You can containerize databases, development tools, web browsers, and utilities like curl, Spotify, or Skype. The versatility of containerization is reshaping how applications are deployed and managed.