

Identifying the Number of Namespaces
To begin, determine how many namespaces exist on the system. Run the following command to list all namespaces:Listing Pods in a Specific Namespace
Next, check the number of pods running within the research namespace. Use one of the following commands:Creating a Pod in the Finance Namespace
To create a pod in the finance namespace, you can use thekubectl run command with the appropriate namespace flag. For instance, running the following command without specifying a namespace creates the pod in the default namespace:
-n flag as shown below:
Determining the Namespace of the Blue Pod
To identify which namespace contains the blue pod, you can either inspect pods in each namespace individually or use the--all-namespaces flag to list every pod cluster-wide.
First, inspect a specific namespace using:
Accessing the Blue Application and Its Database Service
The blue application is a simple web-based tool used for connectivity tests. When launched from the terminal interface, it opens up a browser window that displays the application. The next step is to determine which DNS name the blue application should use to access the database (DB) service within its own namespace. To verify, first list the pods and services in the marketing namespace. List the pods:Note: DNS Access When connecting to services within the same namespace, referencing the service by its name (e.g., “db-service”) is sufficient due to Kubernetes’ internal DNS resolution.After configuring the connection, verify that the connectivity test confirms the correct host name and port settings.
Accessing the DB Service in a Different Namespace
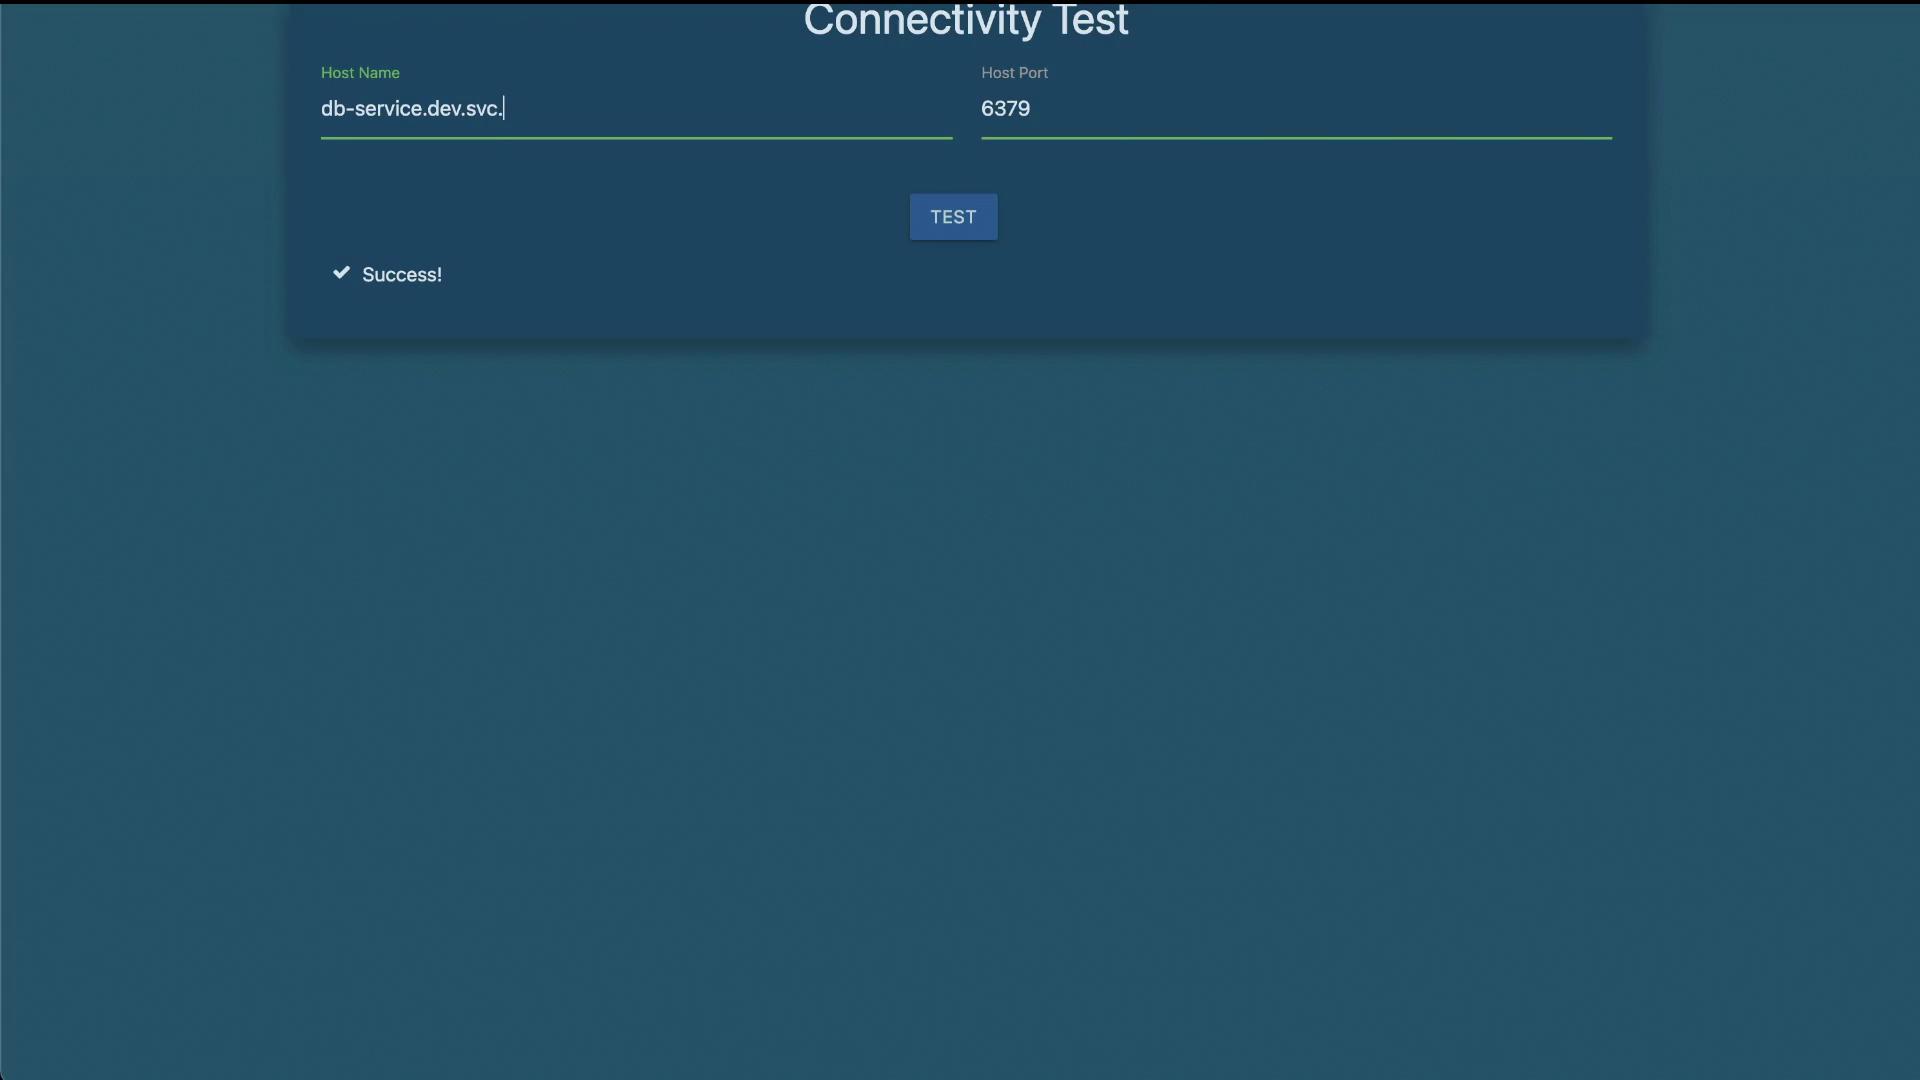
Now, consider how to access the DB service when it is located in a different namespace from the blue application. Assume that there is a service named “db-service” in both the marketing and dev namespaces. First, verify the services in these namespaces. In the marketing namespace:Tip for Inter-Namespace Communication: Using the FQDN is essential when accessing services from a different namespace. This ensures clear resolution, especially in clusters with multiple services sharing the same name.Testing the connection with this FQDN should confirm that the blue application can successfully communicate with the DB service in the dev namespace. At this point, you have successfully completed all the lab tasks related to Kubernetes namespaces. Right. That’s the end of the lab.