

Deploying an Nginx Pod
Start by deploying a pod named “nginx-pod” using the nginx Alpine image with the following command:Deploying a Redis Pod with Labels
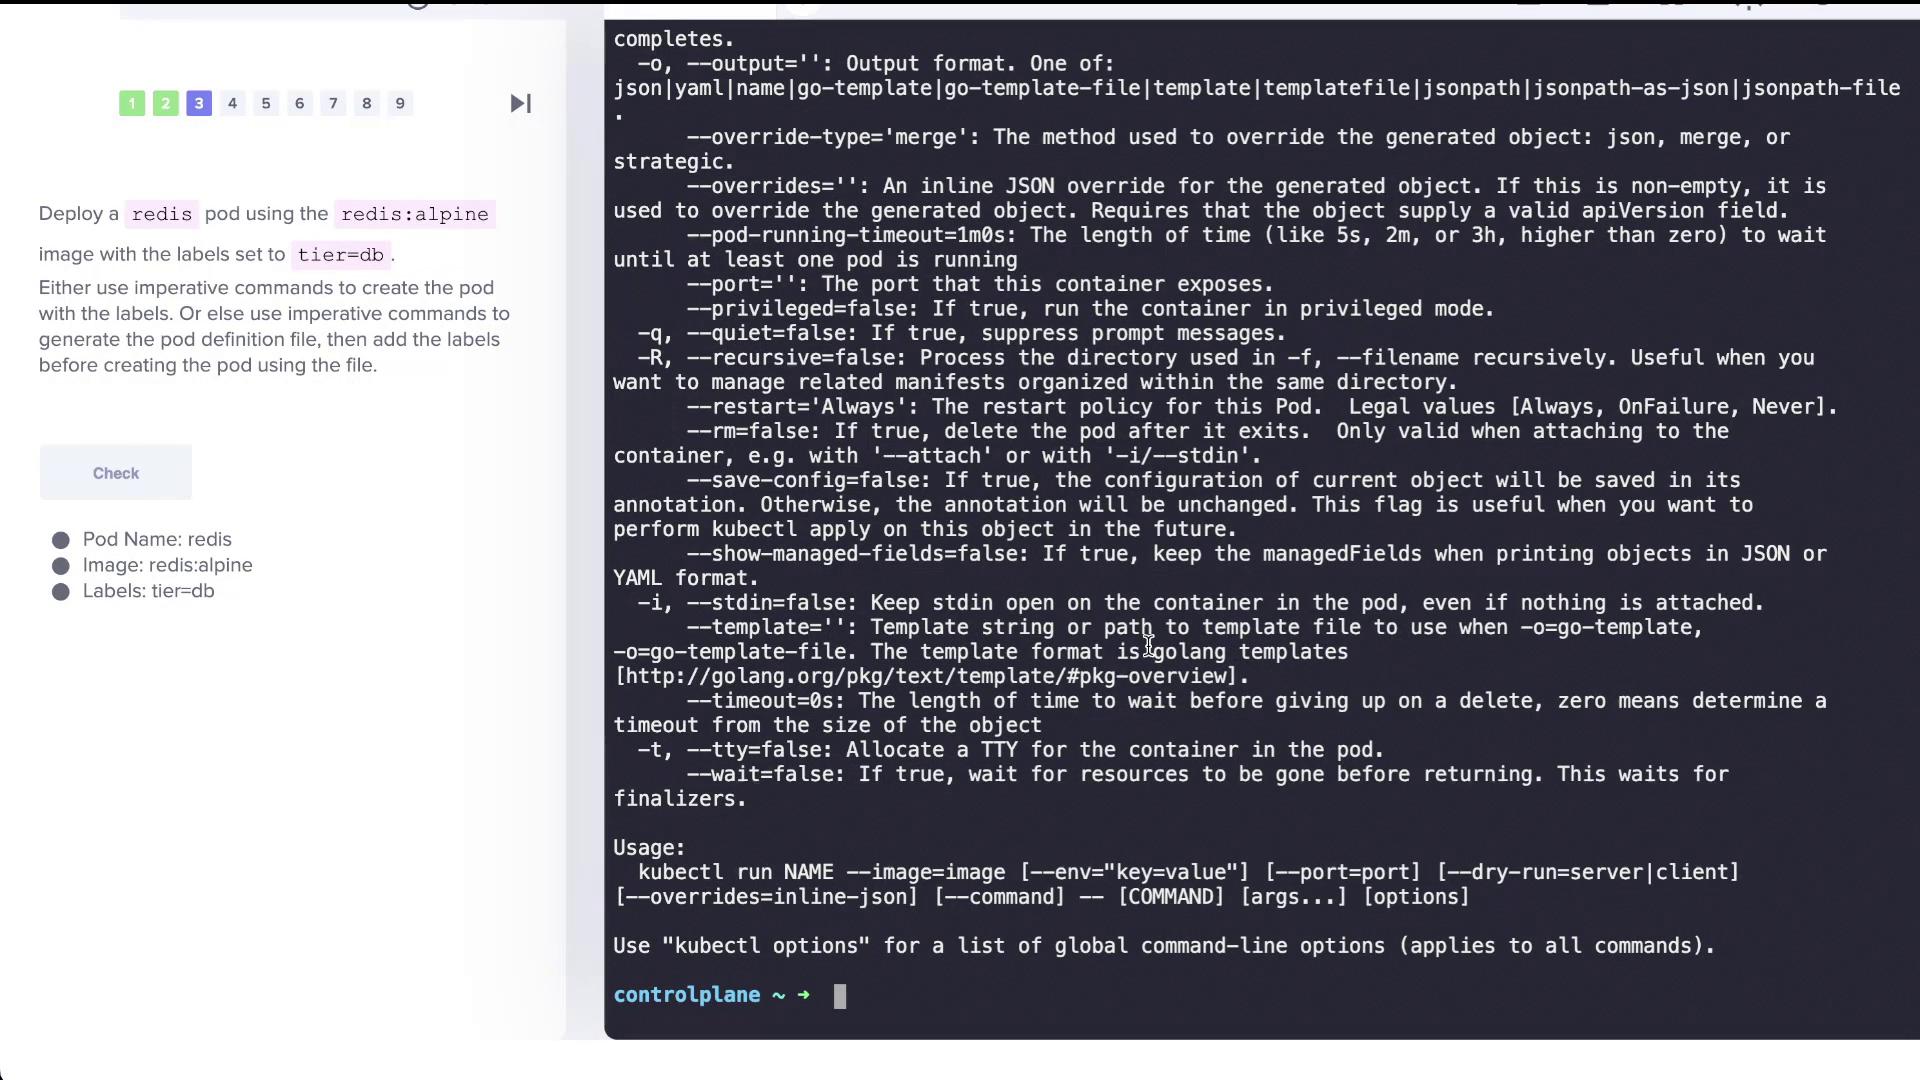
Next, create a Redis pod using the Redis Alpine image and assign it a label (tier=db) to facilitate later operations like service selection:
Creating a Redis Service
Expose the Redis pod within the cluster by creating a service called “redis-service” on port 6379. We recommend using the kubectl expose command as it automatically detects pod labels to configure selectors. Run the following command to expose the pod: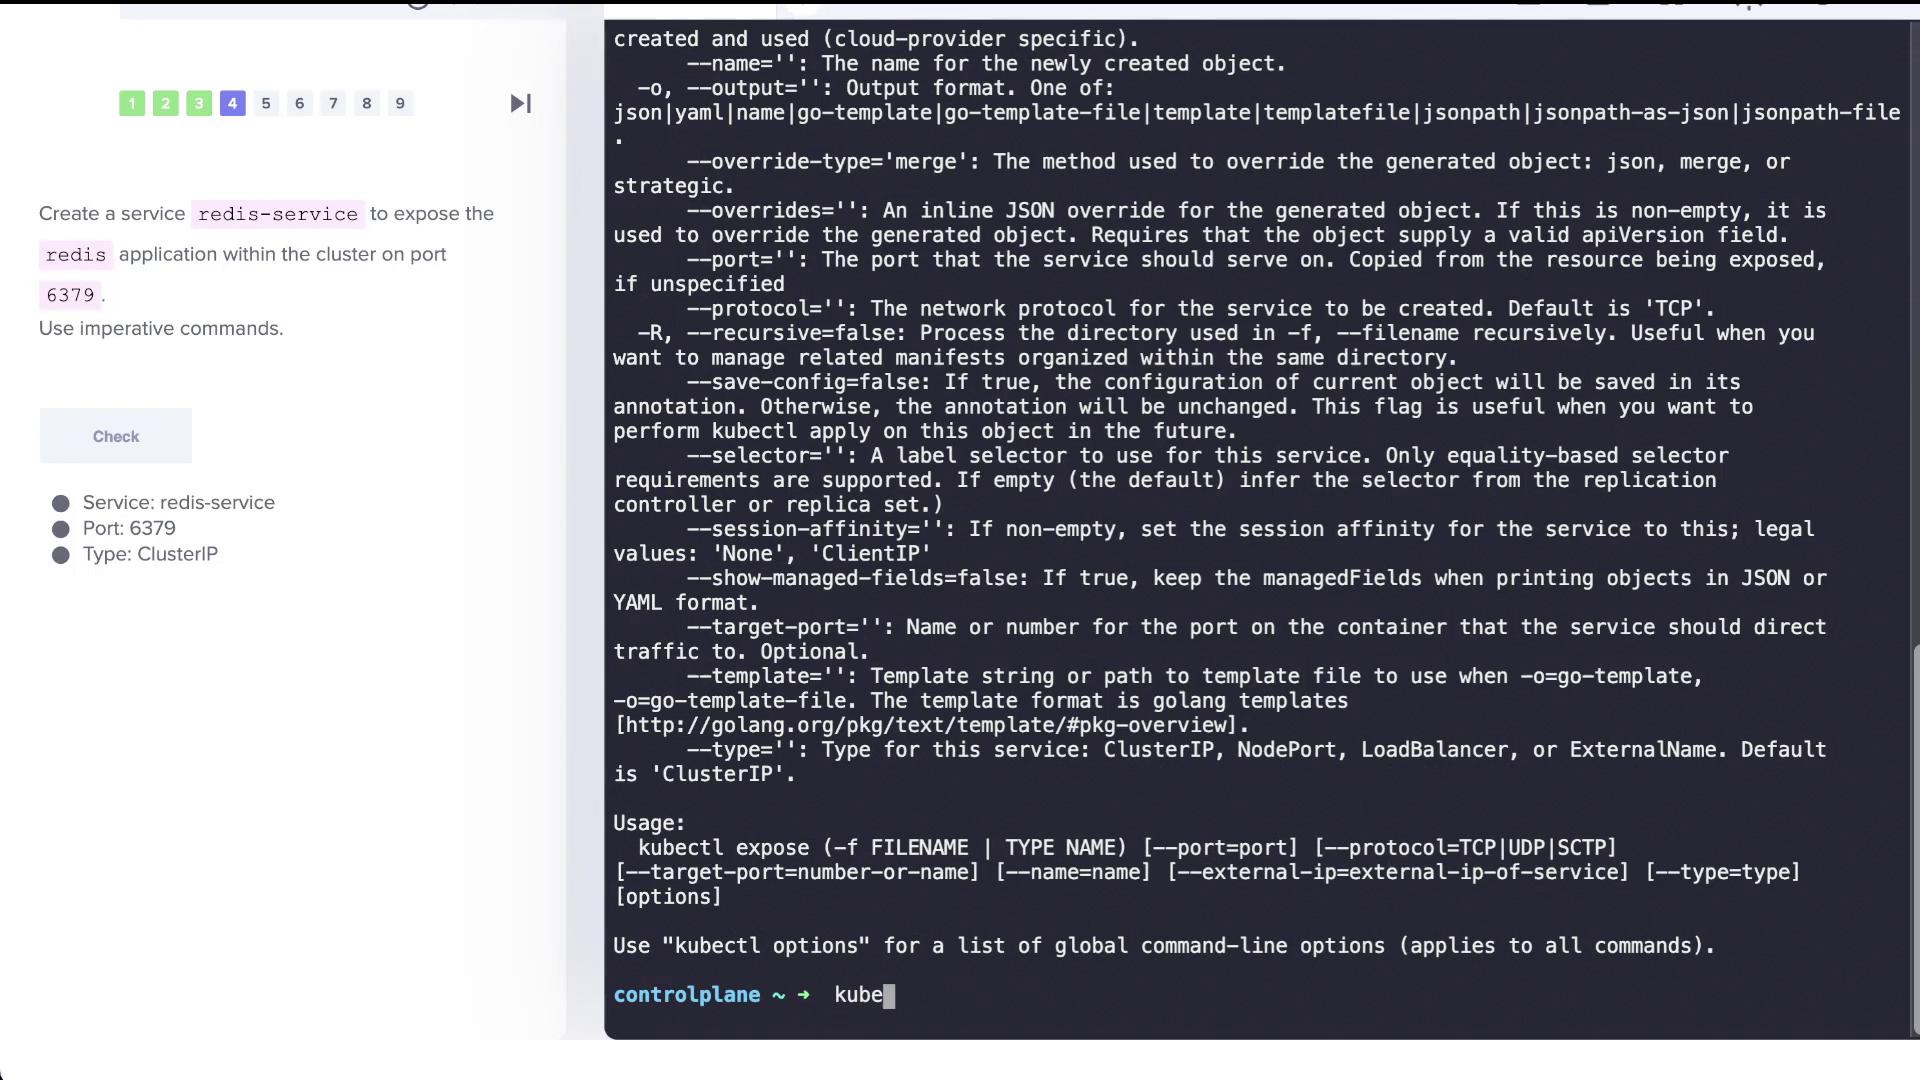
Creating a Deployment for a Web Application
Now, create a deployment named “webapp” with a specified image and scale it to three replicas using the following command:Ensure you use the correct number of dashes when specifying replica count to avoid syntax errors.
Creating a Custom Nginx Pod with a Specific Port
Create a pod named “custom-nginx” with the nginx image and set up the container to listen on port 8080:Creating a New Namespace
To isolate your resources, create a new namespace called “dev-ns”:Creating a Redis Deployment in the “dev-ns” Namespace
Within the “dev-ns” namespace, deploy a Redis application with two replicas by running:Creating a Pod and Exposing It as a Service in a Single Command
For the final task, create a pod named “httpd” using the httpd Alpine image and simultaneously expose it as a ClusterIP service on port 80. You can accomplish this in a single step:- Creates a pod named “httpd”.
- Exposes the pod by creating a corresponding ClusterIP service on port 80.
Verification Commands
After completing the above tasks, use the following commands to check the status of your pods and services:-
To list all pods:
An example output might look like:
-
To list all services:
Sample output:
-
To describe the httpd service in detail:
You should see output detailing the service configuration, such as:
This concludes the lab on imperative commands for deploying and exposing Kubernetes objects. Each command illustrates a practical approach to managing pods, deployments, and services, providing valuable hands-on experience for your journey toward becoming a certified Kubernetes professional. Happy practicing!