

Identifying Containers in the Red Pod
To determine the number of containers in the red pod, you have two options:- Check the “READY” column in the pod listing—the numbers indicate total containers versus how many are ready.
- Use the
describecommand to inspect the pod details. In the output, look for the “Containers:” section. For example, the following YAML snippet shows three container entries namedapple,wine, andsearle:
Identifying Containers in the Blue Pod
Next, determine the container names in the blue pod. Examining its details reveals two containers, namedteal and navy. Below is an excerpt of the pod details:
teal and navy.
Creating a Multi-Container Pod (Yellow Pod)
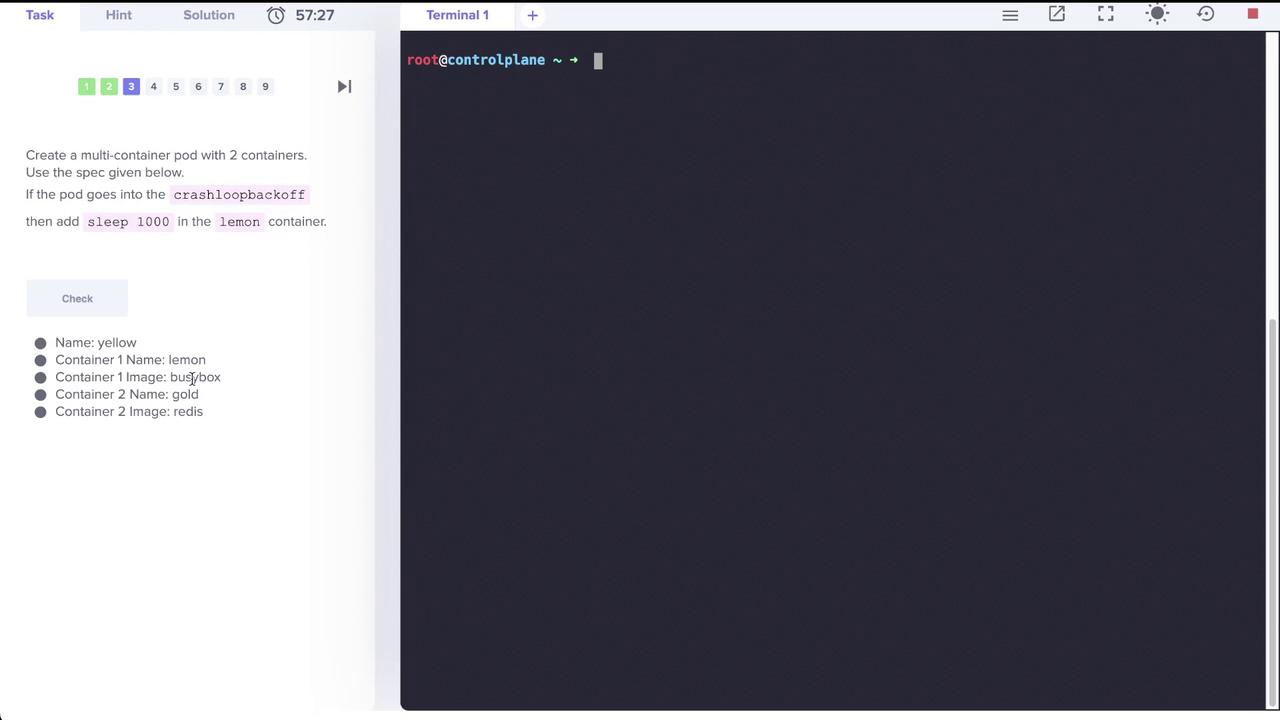
The next task is to create a multi-container pod named yellow that includes two containers. Follow these specifications:- Container 1: Named lemon, uses the
busyboximage with a sleep command (sleep 1000) to prevent a CrashLoopBackOff state. - Container 2: Named gold, uses the
redisimage.
Step 1: Generate the Base Pod Definition
Run the following command using dry run to generate a YAML definition for the pod:Step 2: Update the YAML
Rename the first container from yellow to lemon and add the sleep command. Then, include a second container named gold with theredis image. The updated YAML should look like this:
yellow.yaml) and apply the configuration:
Verifying the Yellow Pod
After the pod is created, verify the status with:sleep 1000 and gold (redis).
Exploring the Elastic Stack Logging Setup
This section covers the deployment of a simple application and a logging stack within the elastic-stack namespace. The deployment includes:- app pod (running the event simulator)
- elastic-search pod
- kibana pod
Inspecting the Kibana UI
Once the pods are up and running, open the Kibana UI using the link provided above your terminal. Kibana serves as the dashboard for viewing the logs gathered by Elasticsearch. Elasticsearch collects log data—such as metrics and application logs—and Kibana visualizes them. To view logs from Kibana, run:Investigating the Application Pod
Next, examine the app pod to verify its container configuration and image details. The app pod runs a single container with an event simulator that sends log messages to/log/app.log. An excerpt from its description is shown below:
/log/app.log. To view the log entries directly within the pod, execute:
Adding a Sidecar Container for Log Shipping to Elasticsearch
To forward logs from the app pod to Elasticsearch, a sidecar container must be added. This container, named sidecar, utilizes a custom Fluent Bit image (configured similarly to Filebeat) to read logs from a shared volume and forward them to Elasticsearch.Editing the App Pod Definition
The current definition of the app pod includes only the event simulator container. To implement log forwarding, modify the pod definition to include both the event simulator and the sidecar container, ensuring that they share the same volume. Below is an example YAML snippet with the updated configuration:- The sidecar container mounts
log-volumeat/var/log/event-simulator/(where Filebeat expects the logs). - The app container writes logs to
/log.
Updating the Pod
Since Kubernetes does not permit the modification of container sets on a live pod, you must force replace the existing pod with the updated YAML. If you try to edit the pod interactively, you might see an error similar to:Editing an existing pod to add or remove containers is not allowed. Instead, update the configuration file and force replace the pod.
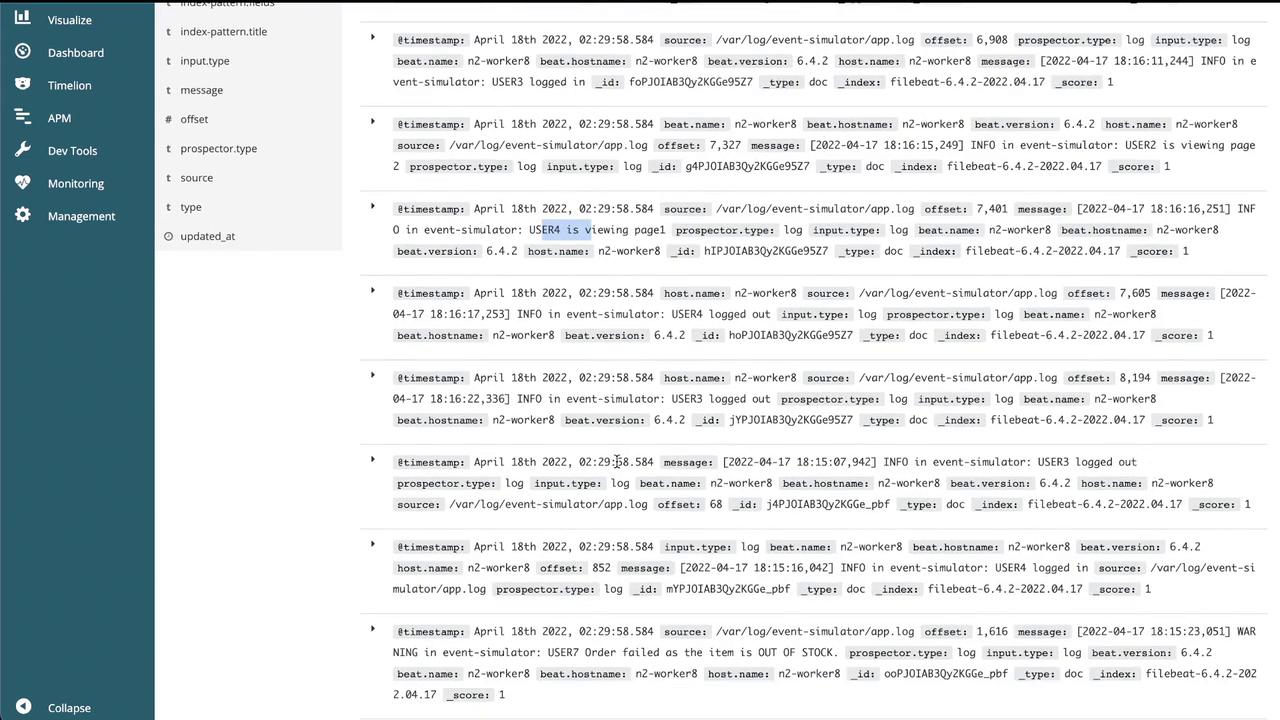
Verifying Logs in Kibana
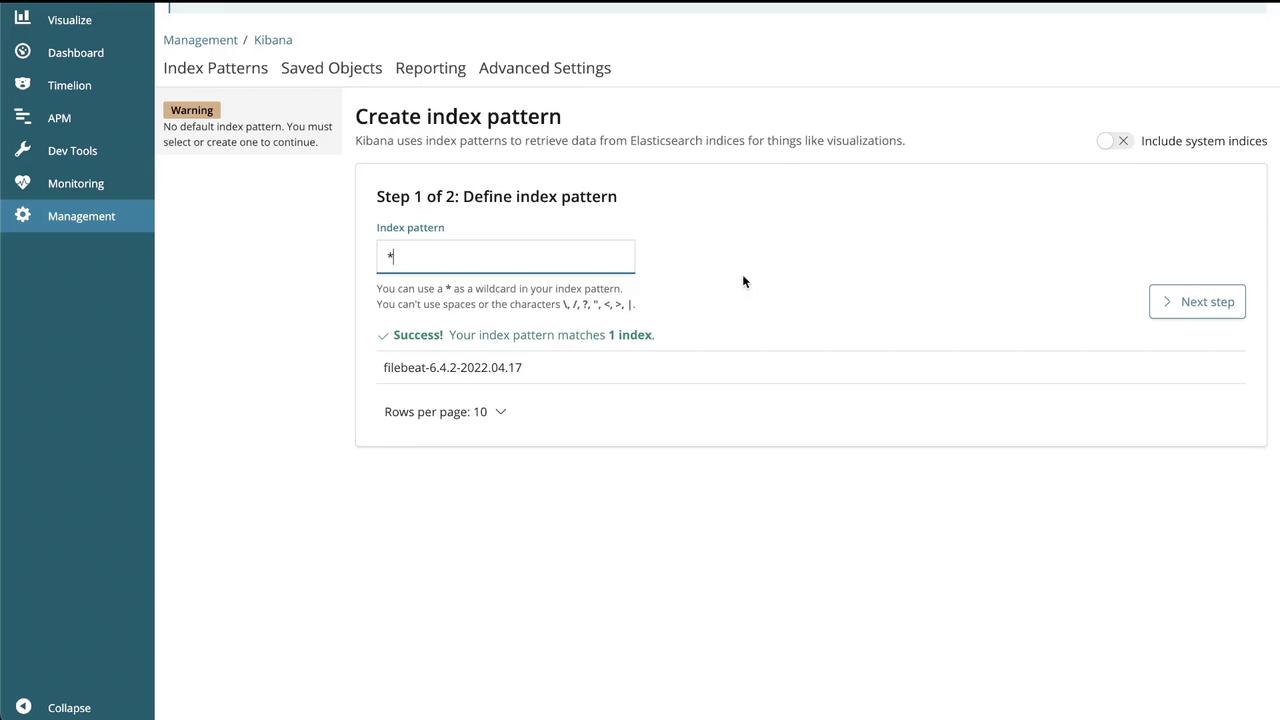
After updating the app pod with the sidecar container, open the Kibana UI to confirm that logs are flowing into the Discover section. Follow these steps:- Create an index pattern in Kibana (for example,
filebeat-*). - Configure the time filter as needed.
- Navigate to the Discover section to view the log entries.
This concludes the guide on setting up multi-container pods and integrating a sidecar container for log shipping to Elasticsearch. Happy learning!