

- Open the AWS Console and navigate to CodeBuild. If you already have projects they will be listed; otherwise create a new one.
-
Click Create project, and give it a descriptive name. Example:
AWS Microservices Project. - Configure the project source. CodeBuild supports multiple source providers; in this walkthrough the source is hosted in AWS CodeCommit.
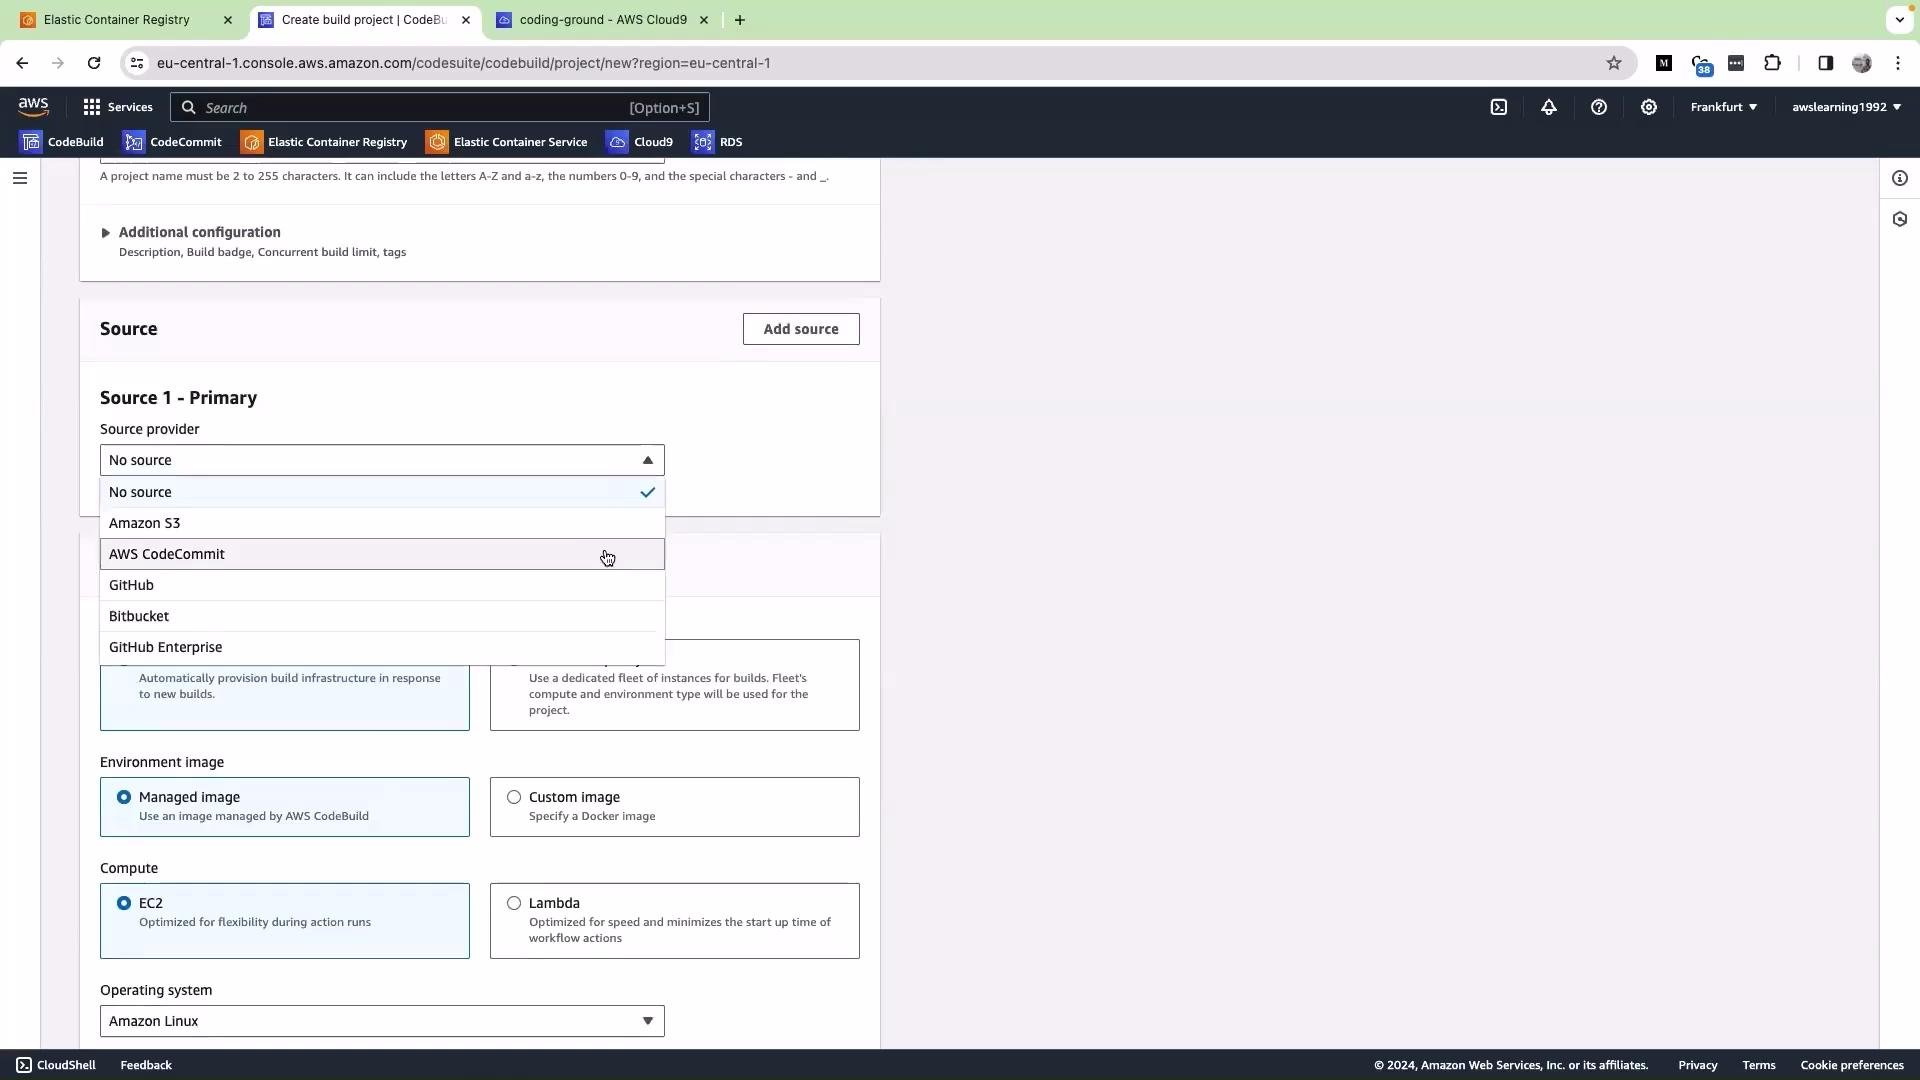
- Select AWS CodeCommit as the source provider. Choose the repository (example:
AWS Microservice Project) and the branch to build (example:master). This tells CodeBuild which repository and branch to clone for each build.
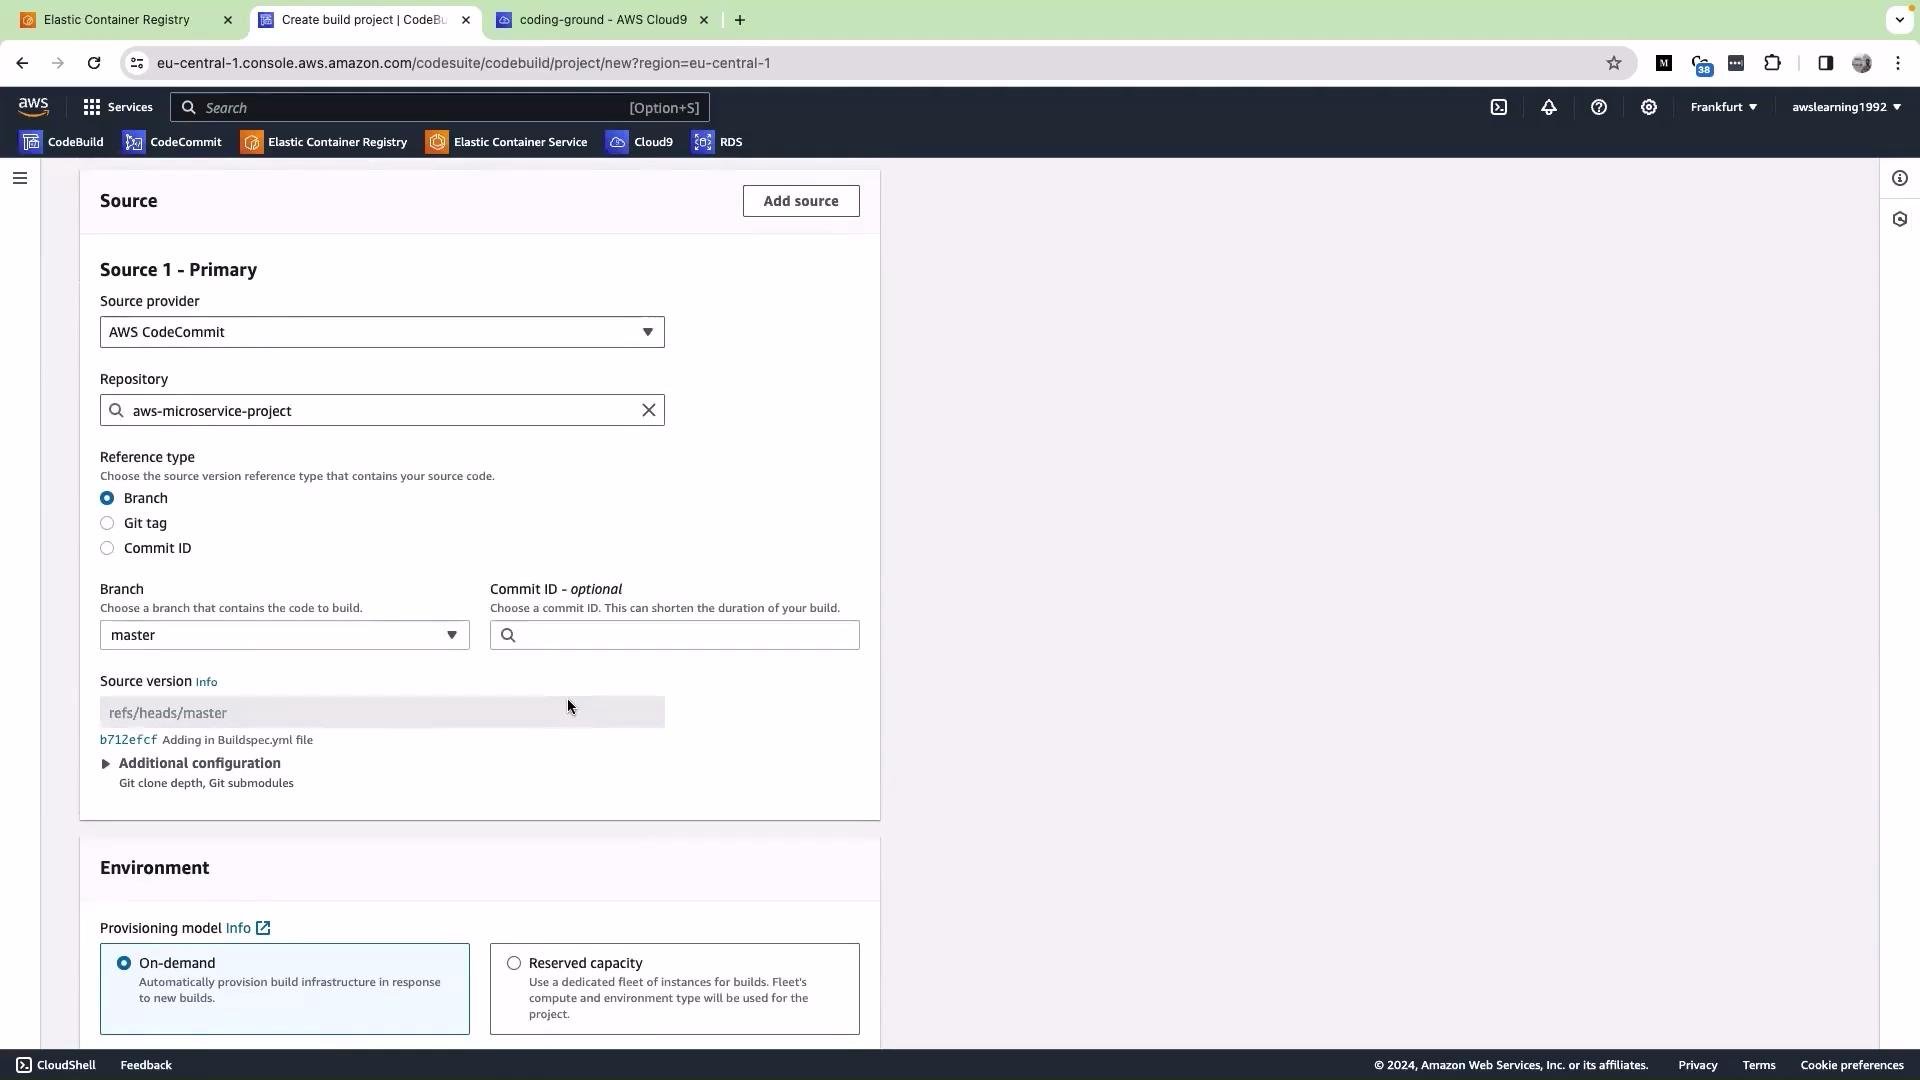
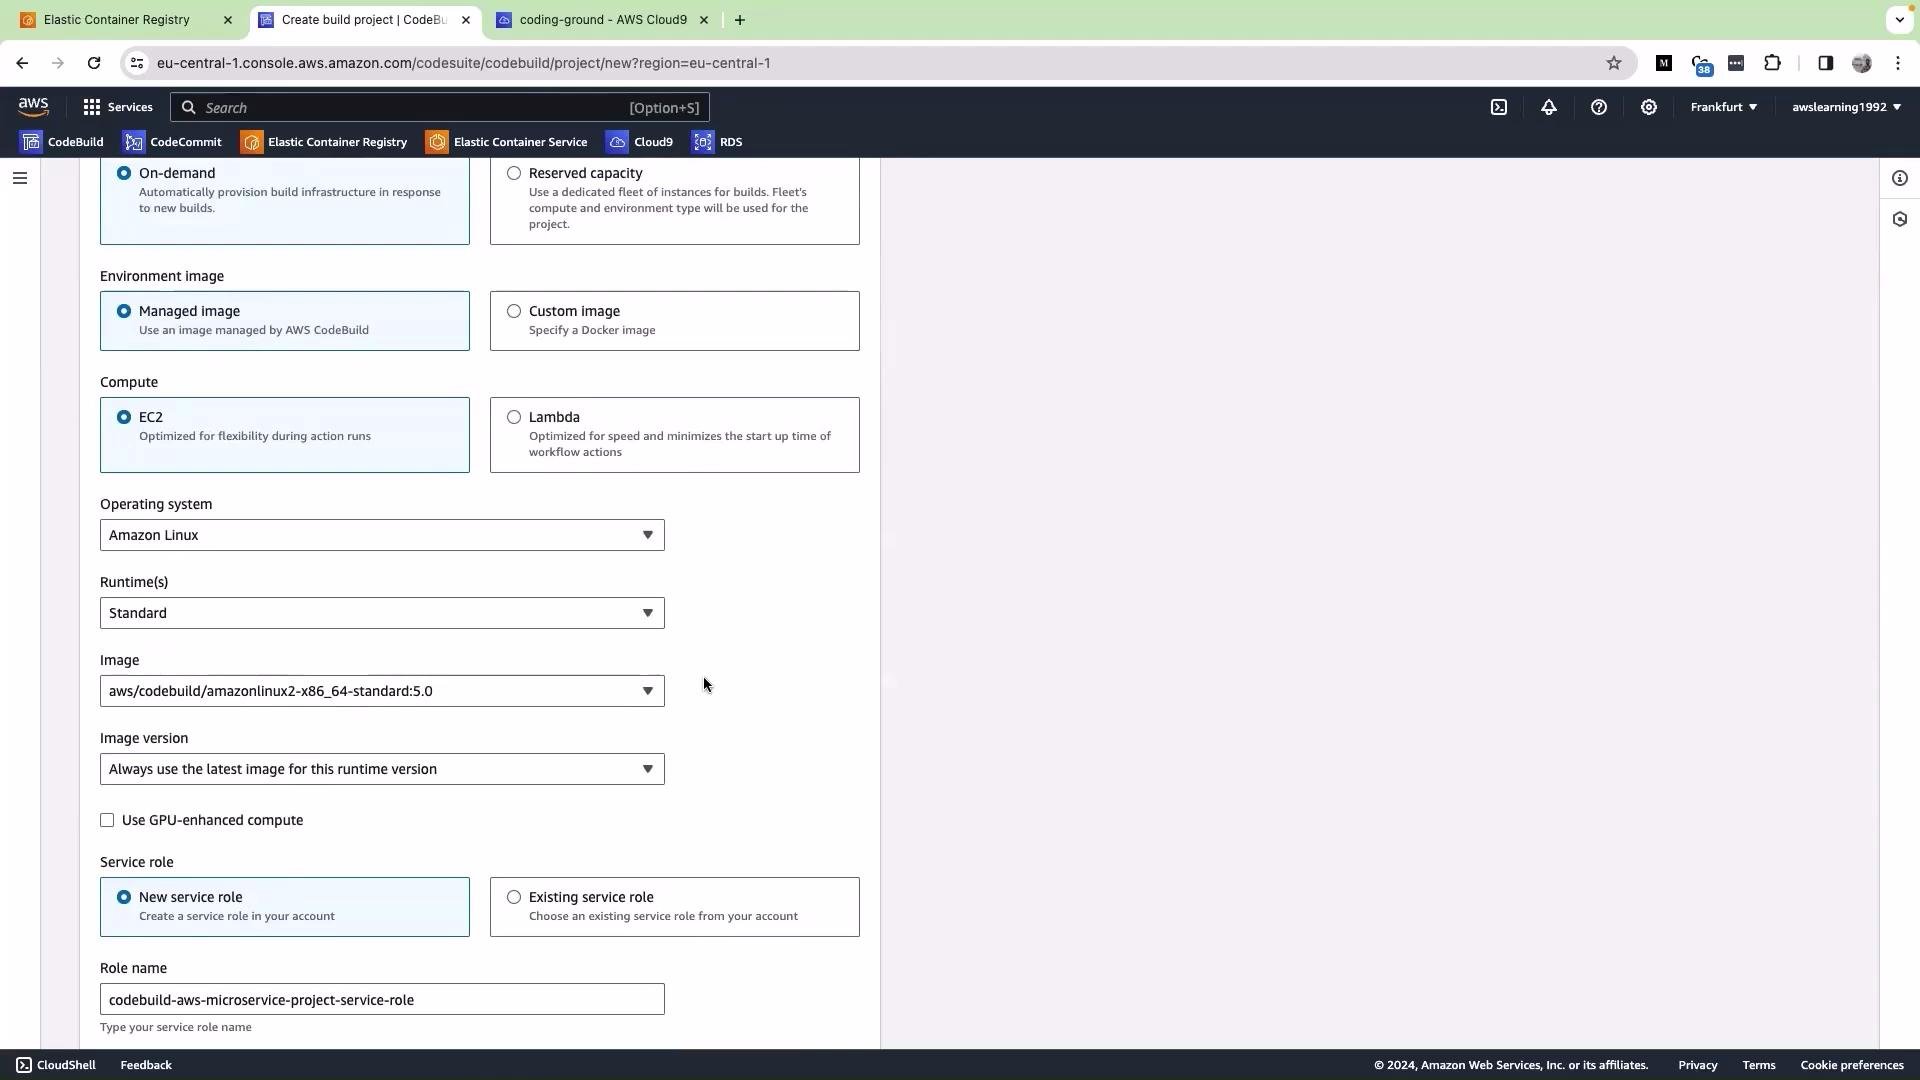
- Scroll to the Environment section and choose an environment image that includes Docker and a modern AWS CLI (preferably AWS CLI v2). Typical defaults you can start with:
To build Docker images inside CodeBuild you must enable Privileged mode so the build can run Docker (Docker-in-Docker). Also ensure the selected environment image includes AWS CLI v2 because the example uses
aws ecr get-login-password. If your image only has AWS CLI v1, either use aws ecr get-login or pick a different environment image.- Configure the service role. CodeBuild will create or let you choose an IAM role for the project. Grant the role only the permissions it needs. Typical required permissions:
- Keep CloudWatch Logs enabled during development. Logs are extremely useful for diagnosing build failures and verifying each build phase.
- When you click Create project, CodeBuild will look for a build specification file. By default it expects
buildspec.ymlin the repository root. If this file is missing or misnamed the project will fail at build time.
- The buildspec filename must be exactly
buildspec.yml(not.yamland check case sensitivity). - You can also paste a buildspec directly in the console under the Buildspec section, but versioning the file in your repo is recommended.
- Start a build by clicking Start build. CodeBuild will:
- Clone the configured repository and checkout the target branch.
- Look for
buildspec.ymlin the repository root. - Execute lifecycle phases defined in
buildspec.yml(pre_build, build, post_build). - Emit logs to the CodeBuild console and CloudWatch Logs.
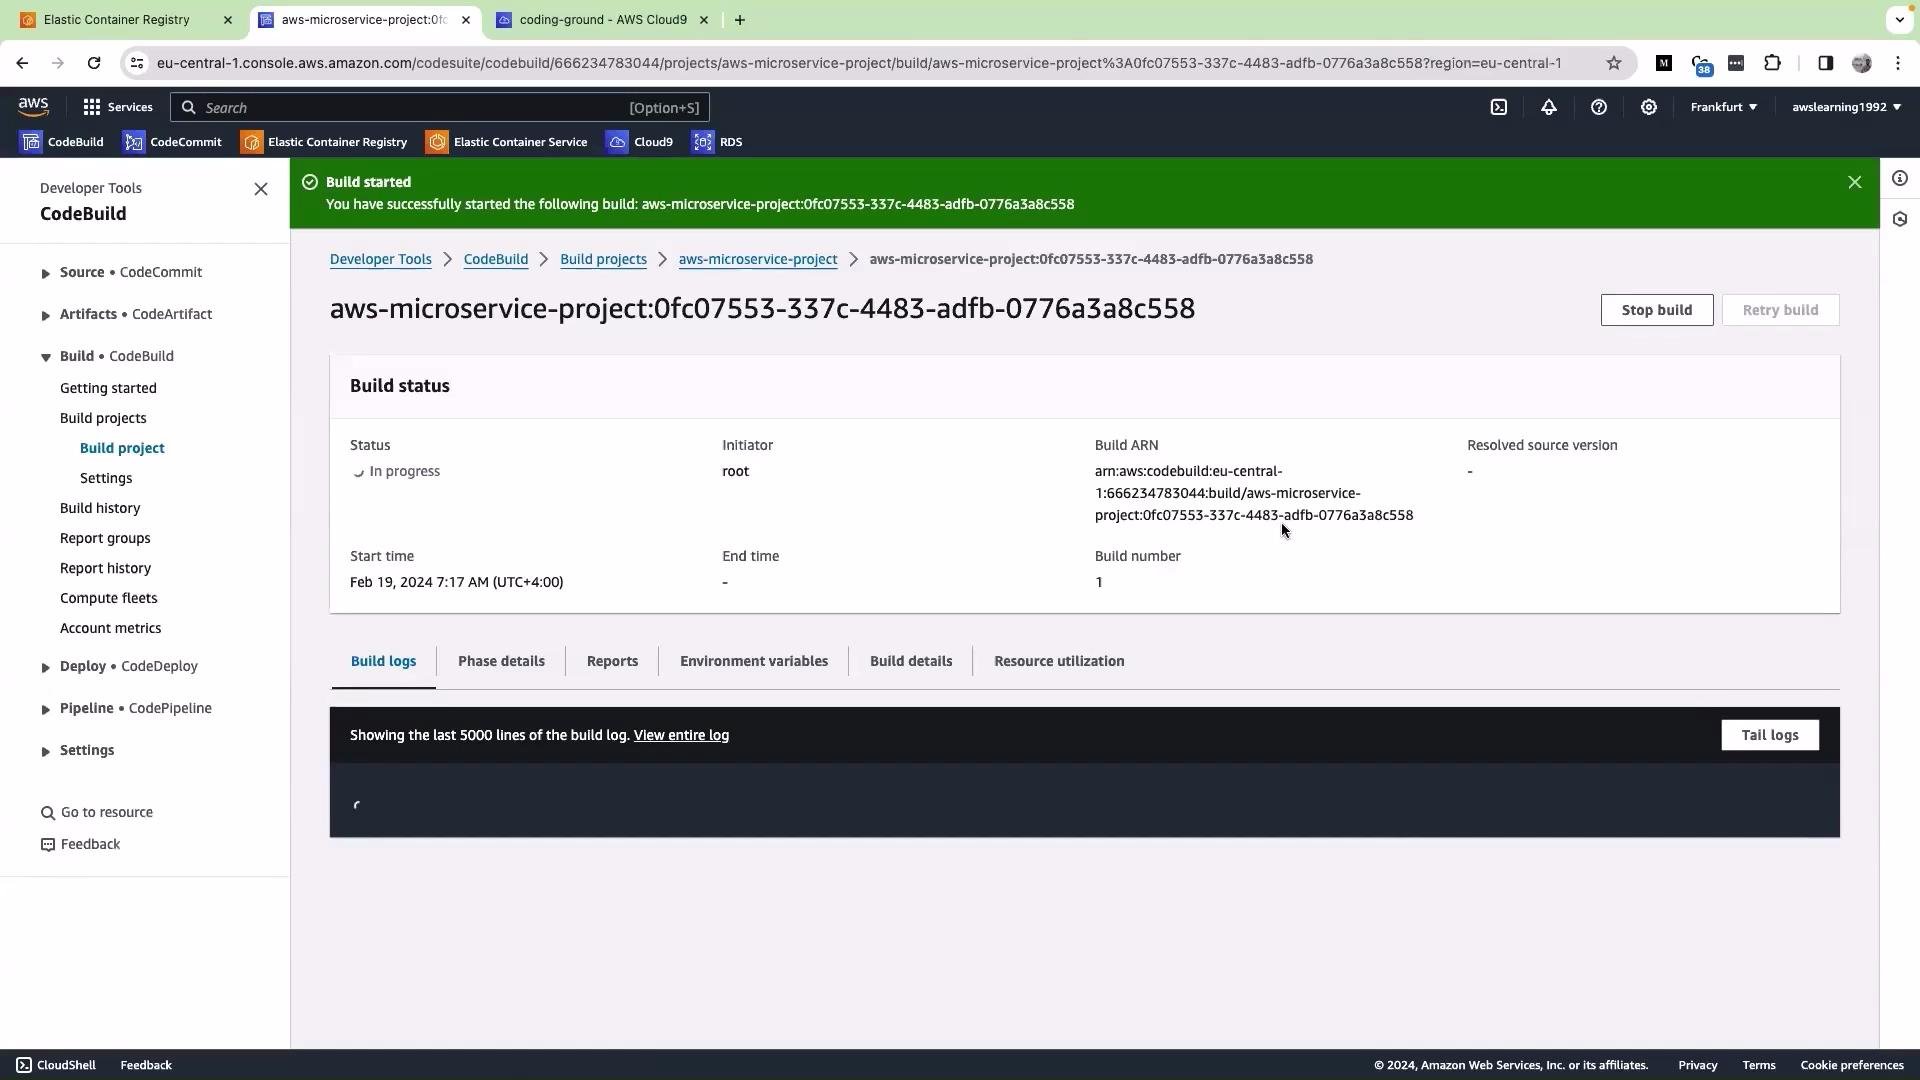
- Inspect the build logs in the CodeBuild console (or CloudWatch) to verify each phase. The first logs show cloning; subsequent logs show commands executed in
buildspec.ymlsuch as ECR authentication, Docker build, tag, and push operations.
- Assumes the following environment variables are set in the CodeBuild project configuration (or are derivable via IAM role / metadata):
AWS_ACCOUNT_IDAWS_DEFAULT_REGIONIMAGE_REPO_NAME
- Confirm
buildspec.ymlis present in the repository root and named exactlybuildspec.yml. - Verify the environment image includes Docker and AWS CLI v2, or adjust ECR login commands accordingly.
- Ensure the CodeBuild service role has ECR push and CodeCommit read permissions and can write CloudWatch logs.
- If you want the build to create the repository automatically, add
ecr:CreateRepositoryto the role or create the repository manually beforehand. - On failure, review the CodeBuild console logs and CloudWatch Logs to identify the failing phase and command.