

- Verify the Flask application routes are present.
- Add a Dockerfile to containerize the app.
- Add a
buildspec.ymlso CodeBuild can build and push the image to ECR. - Create the ECR repository and configure a CodePipeline that pulls from CodeCommit and invokes CodeBuild.
app.py). They are the minimal routes used by this microservice:
This example checks passwords directly in the database and may use plaintext passwords. For production, always store passwords hashed (e.g., bcrypt) and use secure authentication flows. Also validate and sanitize inputs to prevent SQL injection — use parameterized queries and an ORM when possible.
Dockerfile— containerize the Flask app.buildspec.yml— instructs CodeBuild how to build the image, authenticate to ECR, push the image, and emitimagedefinitions.jsonused by deployment stages.- Application code (
app.py, templates,requirements.txt, etc.) — already present in your repo.
Dockerfile at the repository root to build the container image. A minimal example:
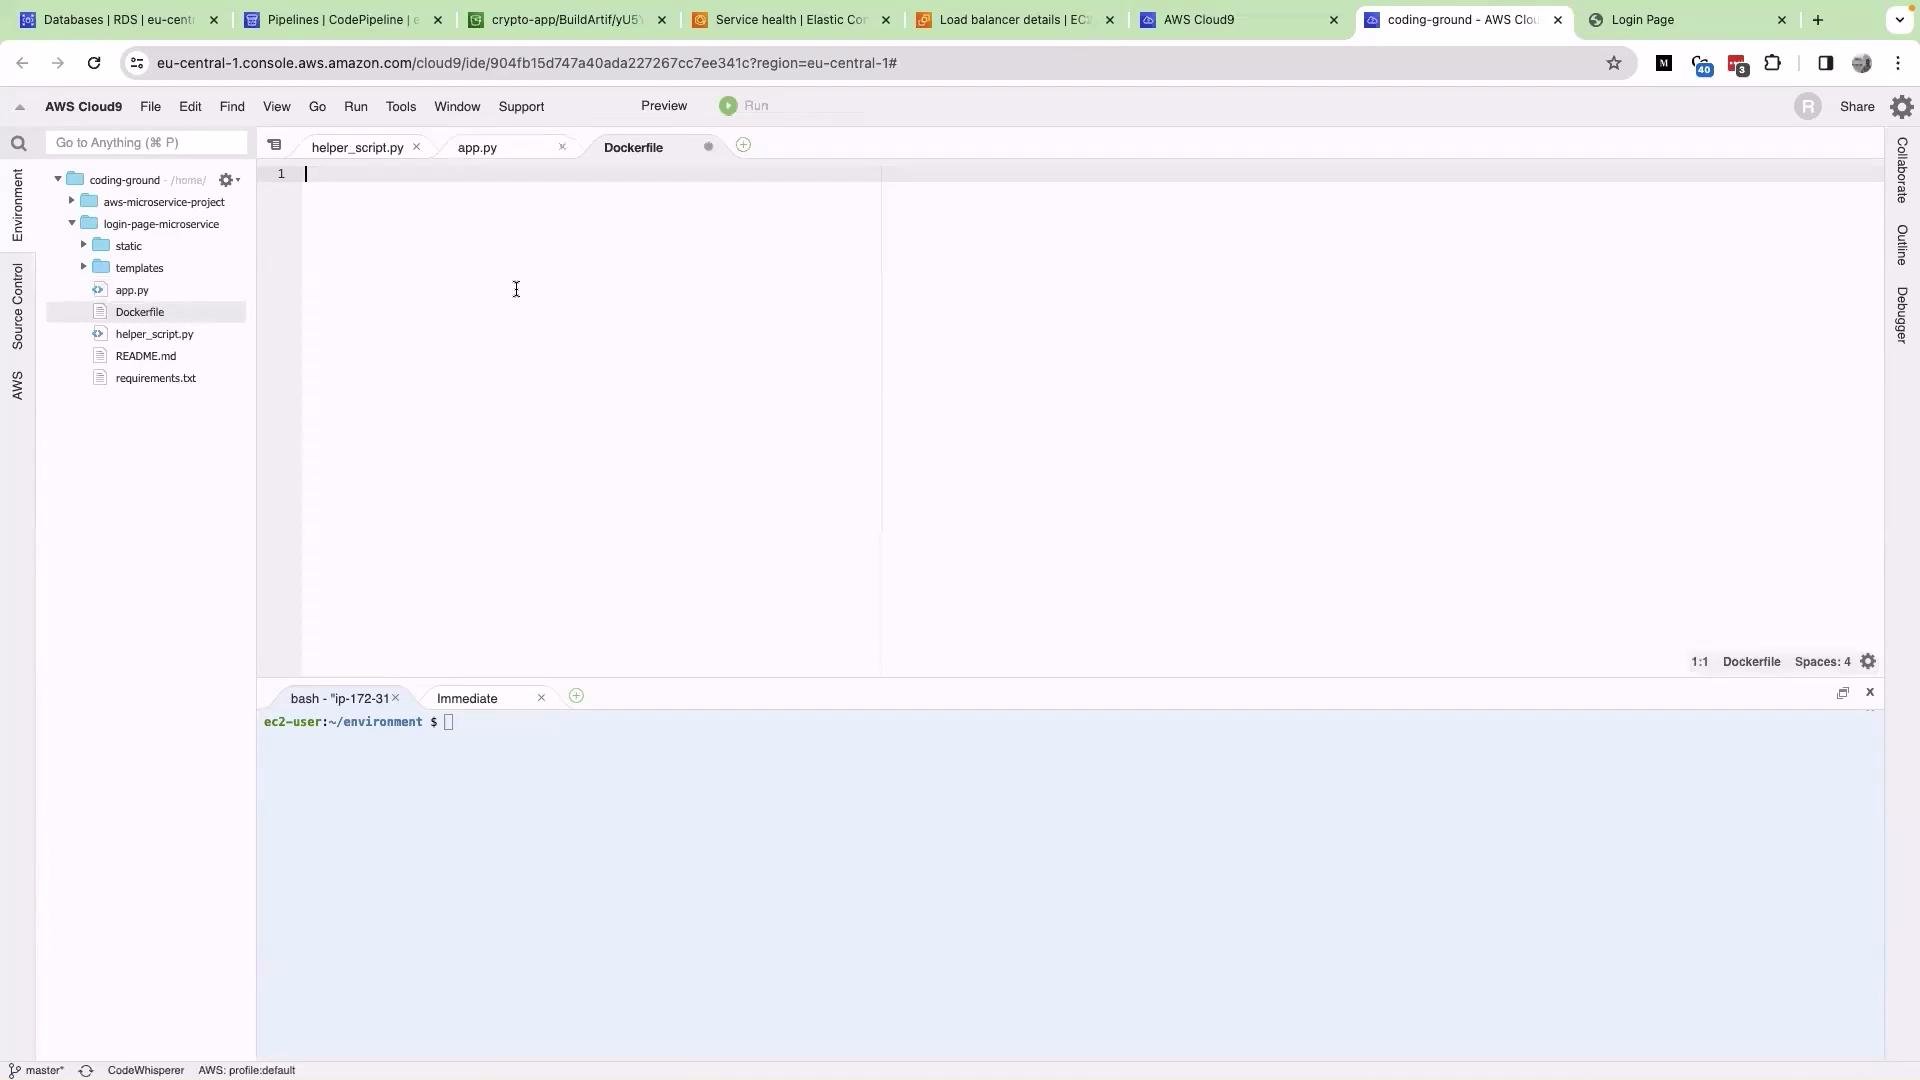
- Uses an official Python slim base image.
- Establishes
/usr/src/appas the working directory. - Copies your source into the image.
- Installs Python dependencies from
requirements.txt. - Exposes port
5000and configures Flask environment variables. - Launches the Flask app using
flask run.
buildspec.yml at the repo root. This file controls CodeBuild phases: authenticate to ECR, build and tag the image, push tags, and produce imagedefinitions.json for downstream deploy steps.
Note: Replace the example ECR repository URI and account ID with your own. In this example, 666234783044.dkr.ecr.eu-central-1.amazonaws.com/kodekloud-login-page is used as a placeholder.
Use
aws ecr get-login-password (AWS CLI v2) instead of the deprecated aws ecr get-login. Ensure environment variables such as AWS_DEFAULT_REGION and REPOSITORY_URI are provided in the CodeBuild project settings or as build environment variables.
Create the ECR repository
If you don’t have an ECR repo yet, create one in the ECR console:
- Open the Amazon ECR service in the AWS Console.
- Click “Create repository”.
- Enter the repository name (for example,
kodekloud-login-page) and create it. - Copy the repository URI (for example,
666234783044.dkr.ecr.eu-central-1.amazonaws.com/kodekloud-login-page) and set it as theREPOSITORY_URIenvironment variable for your CodeBuild project.
Dockerfile and buildspec.yml appear in the repository.
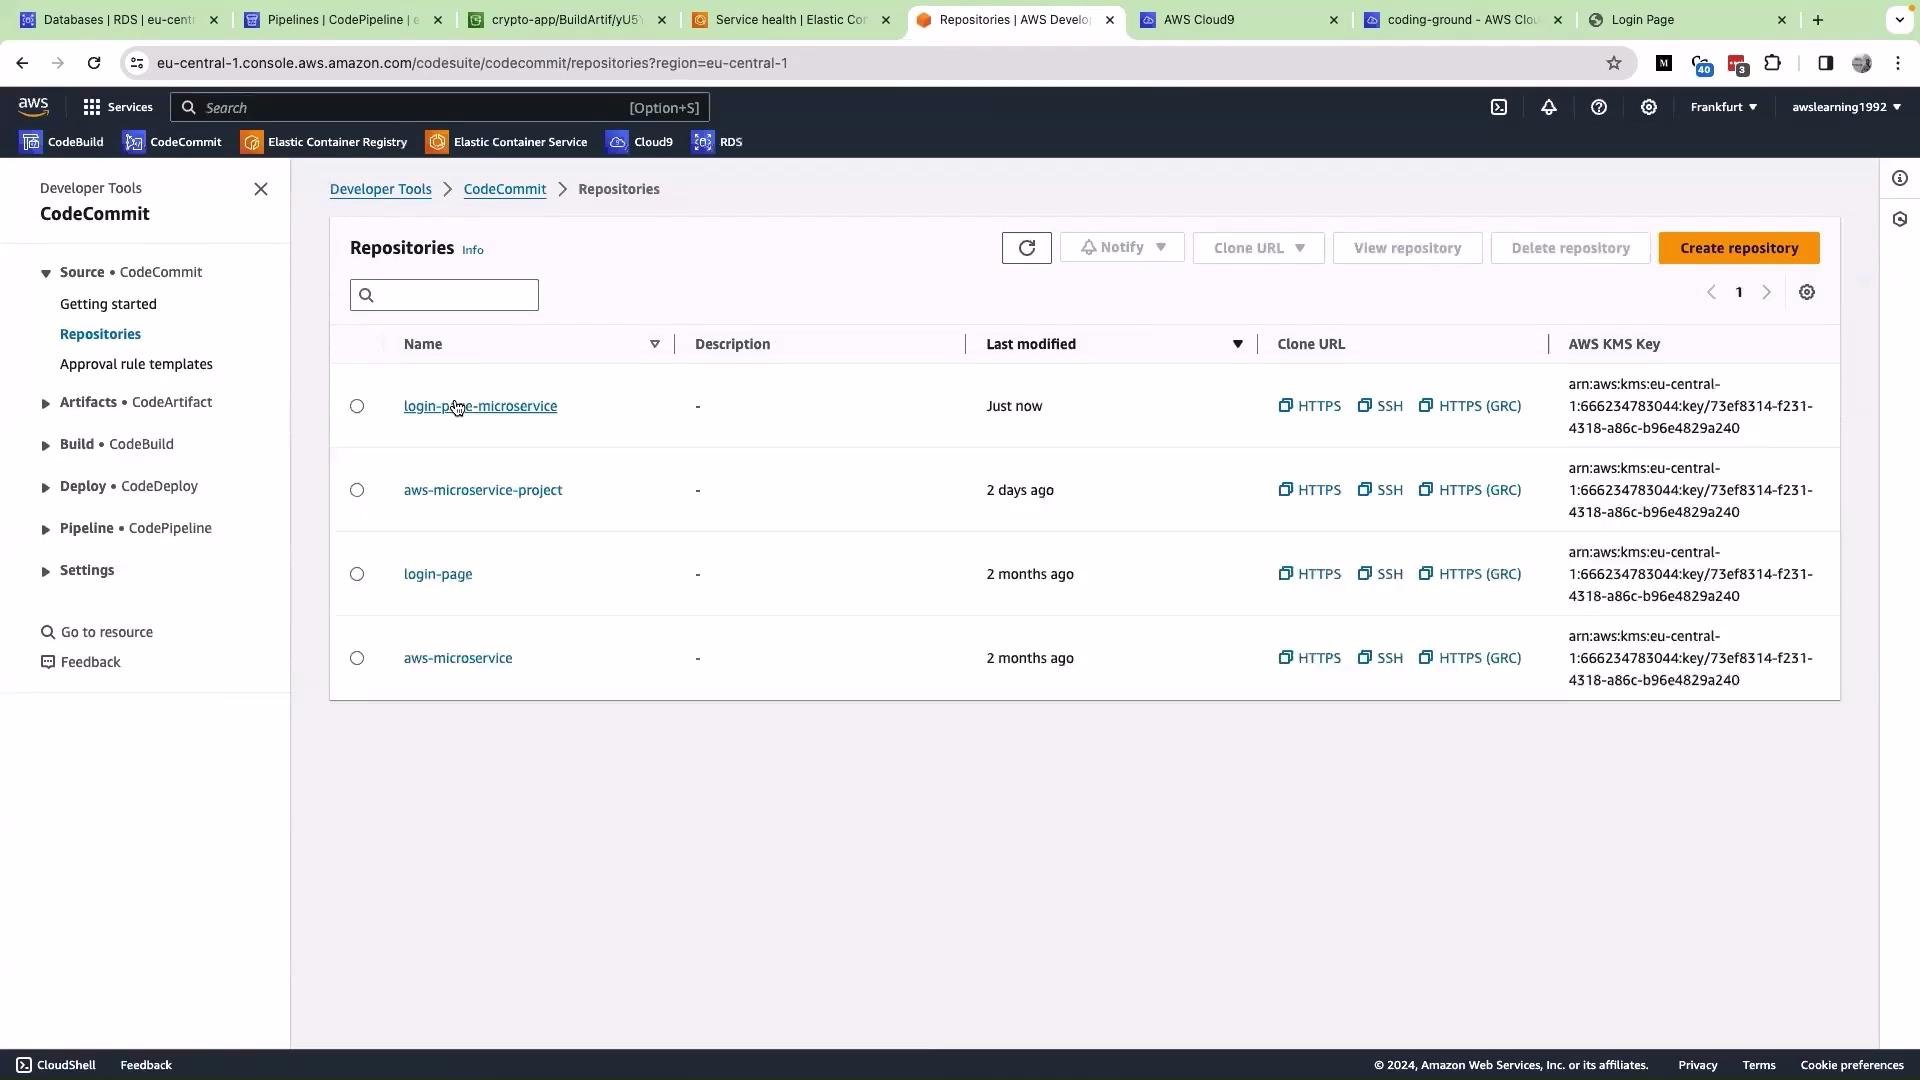
- Open AWS CodePipeline.
- Click “Create pipeline”.
- Provide a pipeline name such as
login-page-microservice. - For Source provider choose
CodeCommit, select your repository (e.g.,login-page-microservice) and branch (e.g.,master). - For Build provider choose
AWS CodeBuildand select (or create) a CodeBuild project. Ensure the project references the repository and hasREPOSITORY_URIandAWS_DEFAULT_REGIONconfigured as environment variables. - (Optional) Skip the Deploy stage for now — you can add an ECS/EKS/CloudFormation/CodeDeploy stage later.
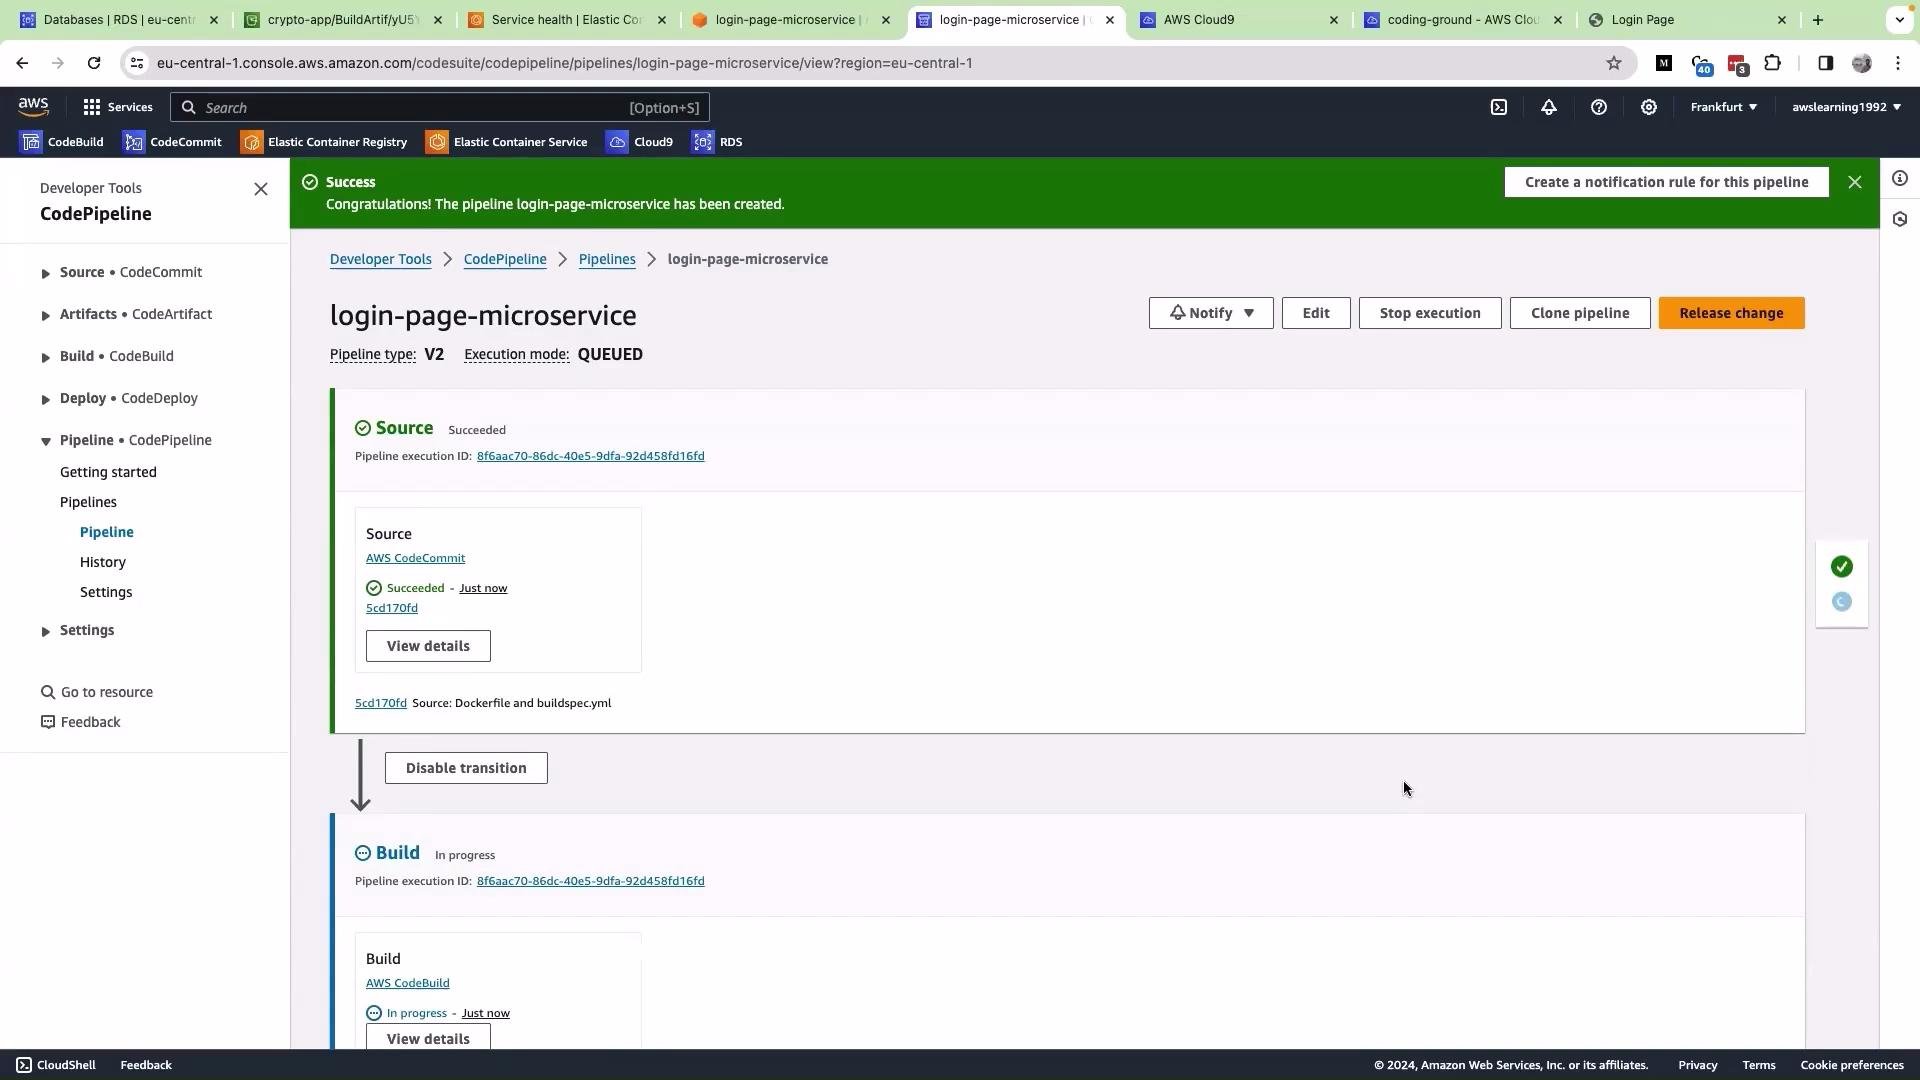
- Create the pipeline.
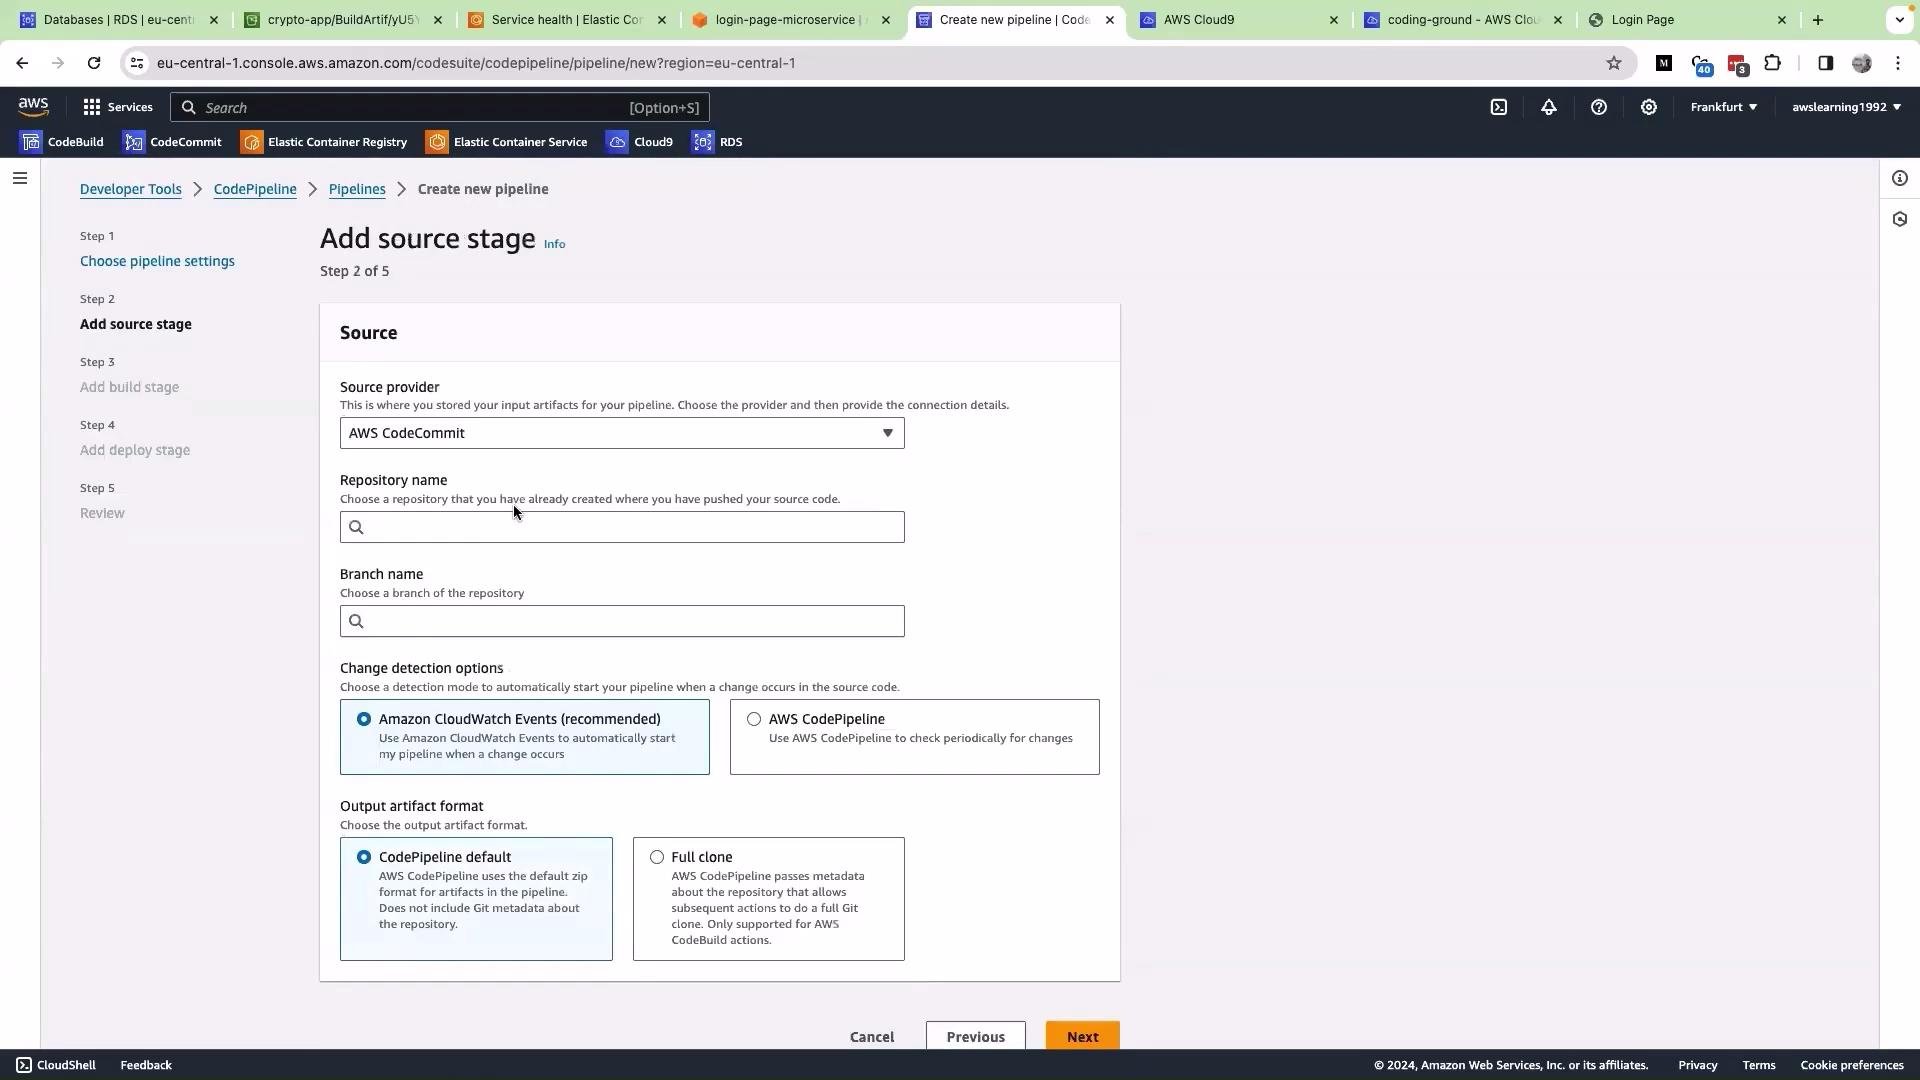
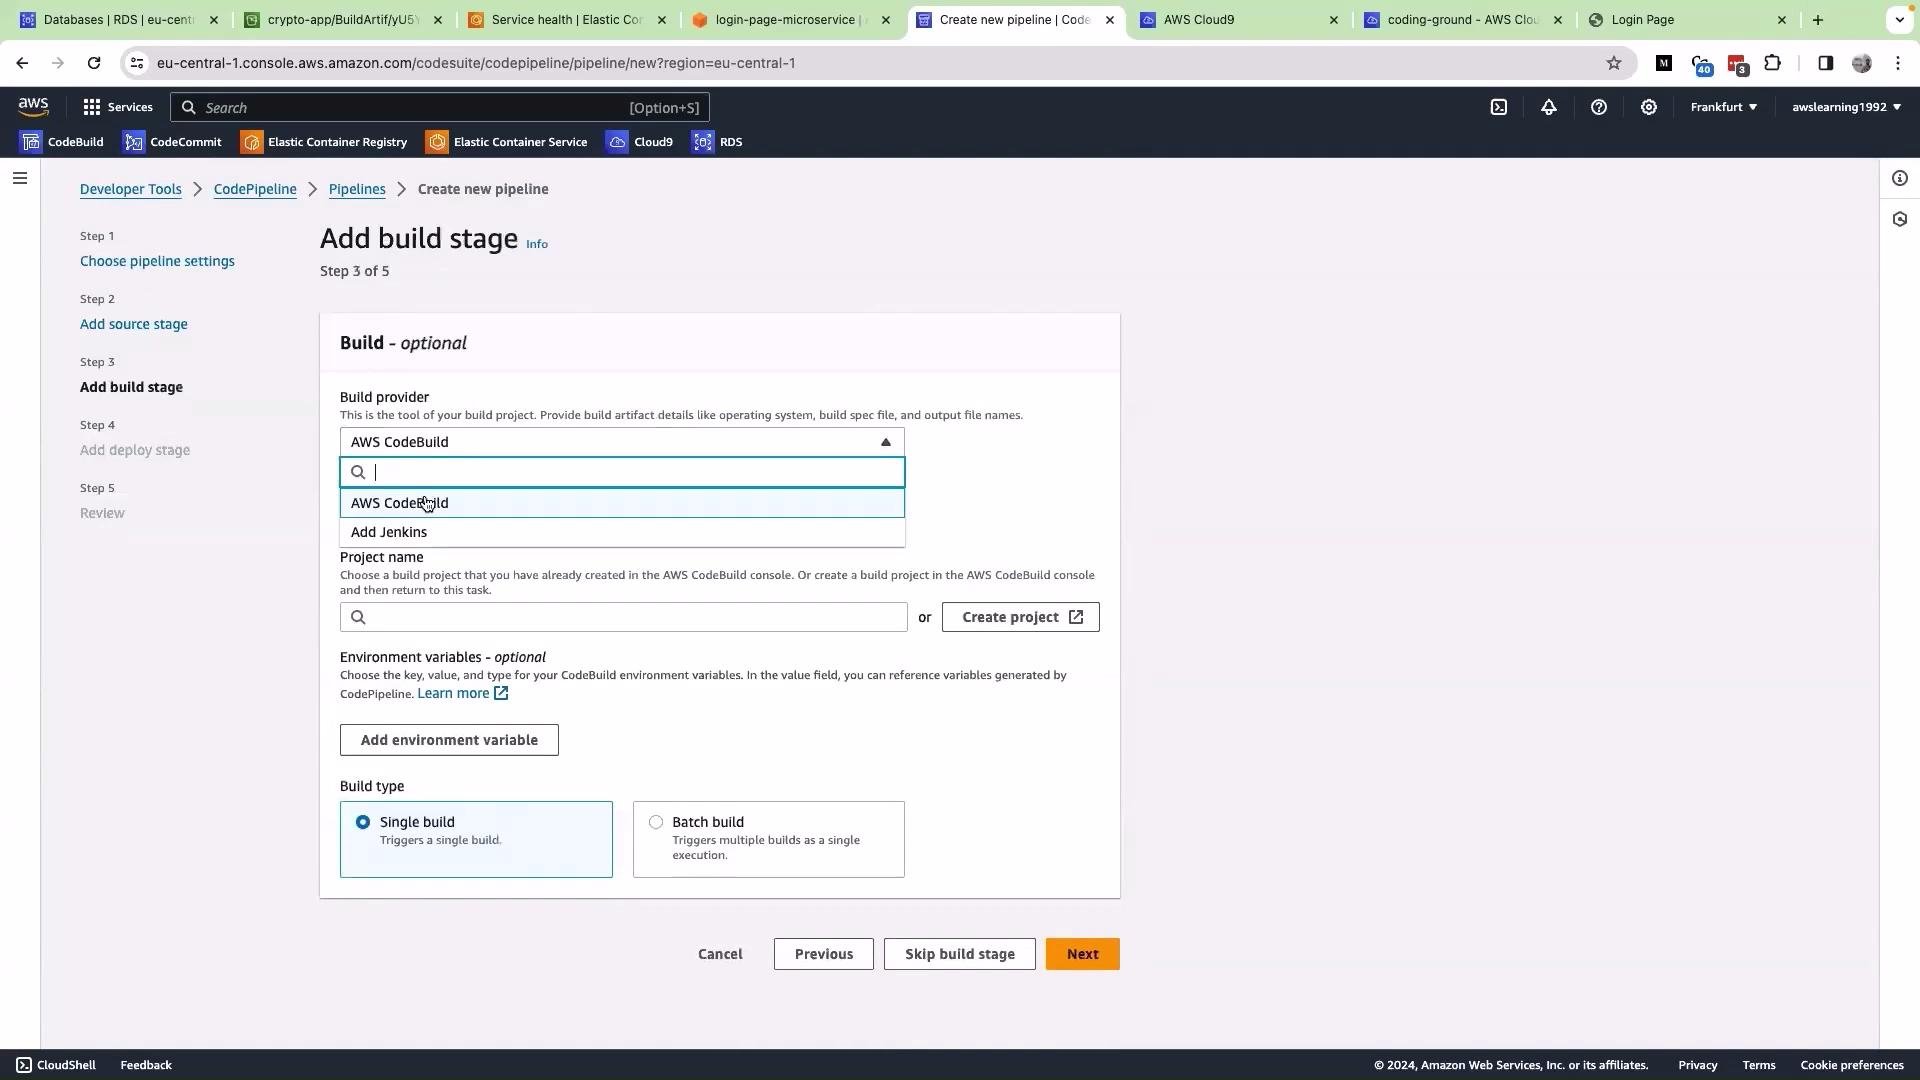
- Source stage: CodeCommit triggers when you push changes.
- Build stage: CodeBuild runs
buildspec.ymlto build, tag, and push Docker images to ECR. - (Optional) Deploy stage: consume
imagedefinitions.jsonto update tasks or manifests.
- Open the Amazon ECR console.
- Navigate to your repository and verify that the pushed image tags exist (for example,
latestand a commit-based tag likeabc1234-latest). - Use the image URI when deploying to ECS, EKS, or EC2.
- Amazon ECS (Fargate or EC2 launch types) using a task definition and service.
- Amazon EKS by updating your Kubernetes Deployment image.
- EC2 / Docker by pulling the image on an instance and running it.
- AWS CodePipeline User Guide
- AWS CodeBuild User Guide
- Amazon ECR User Guide
- Flask Documentation
- AWS CLI v2 ECR Login