

- Build a Docker image locally inside the Cloud9 EC2 instance.
- Run the container and map its port to the EC2 instance.
- Open the EC2 security group so you can access the app from your browser.
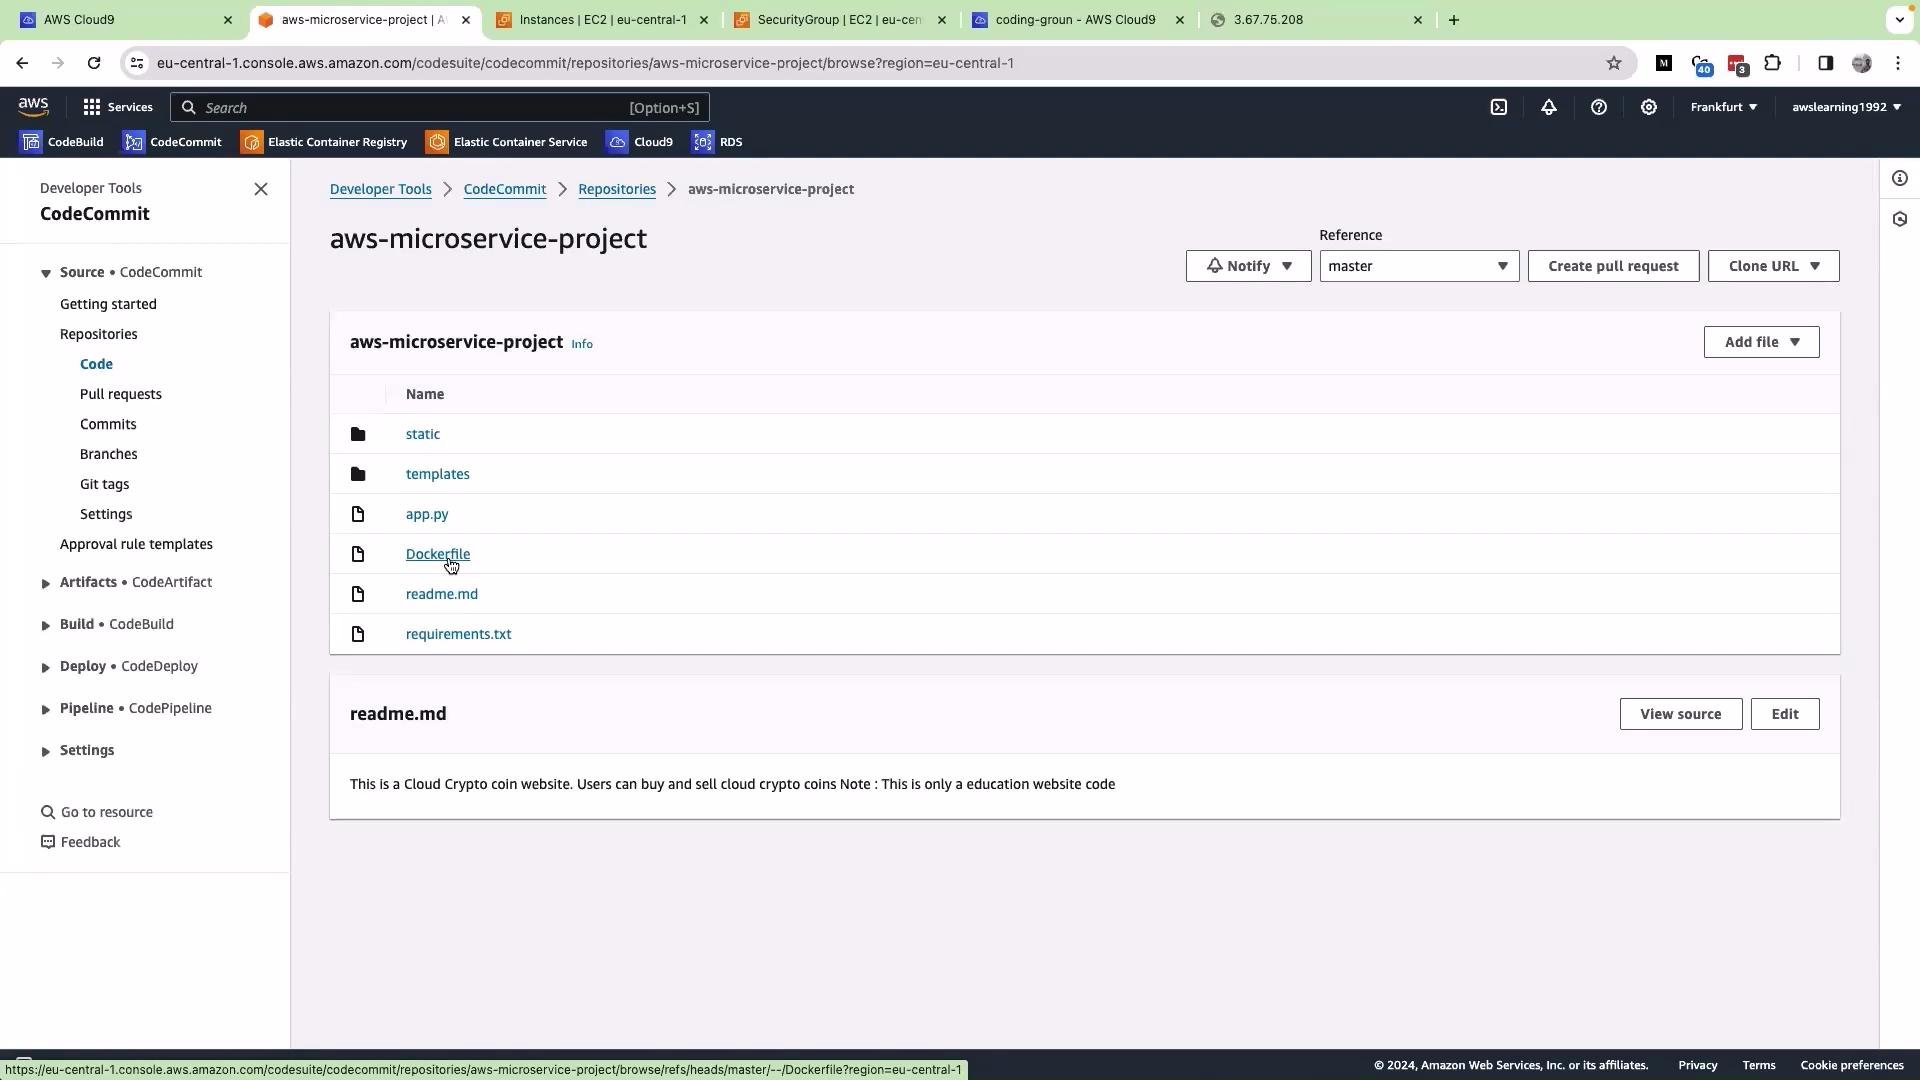
- Commit the Dockerfile and related changes back to your Git repository.
Dockerfile for the Flask app
This Dockerfile uses the official Python 3.10 slim image, installs dependencies fromrequirements.txt, exposes port 5000, and runs the Flask development server.
Build the Docker image
Build the image locally and tag it (example tag:my-app):
Run the container
Start the container and map container port 5000 to the EC2 instance port 5000:Do not use Flask’s built-in development server in production. For external deployments, use a production-ready WSGI server such as Gunicorn or uWSGI (for example,
gunicorn -w 4 app:app).Make the app reachable from your browser
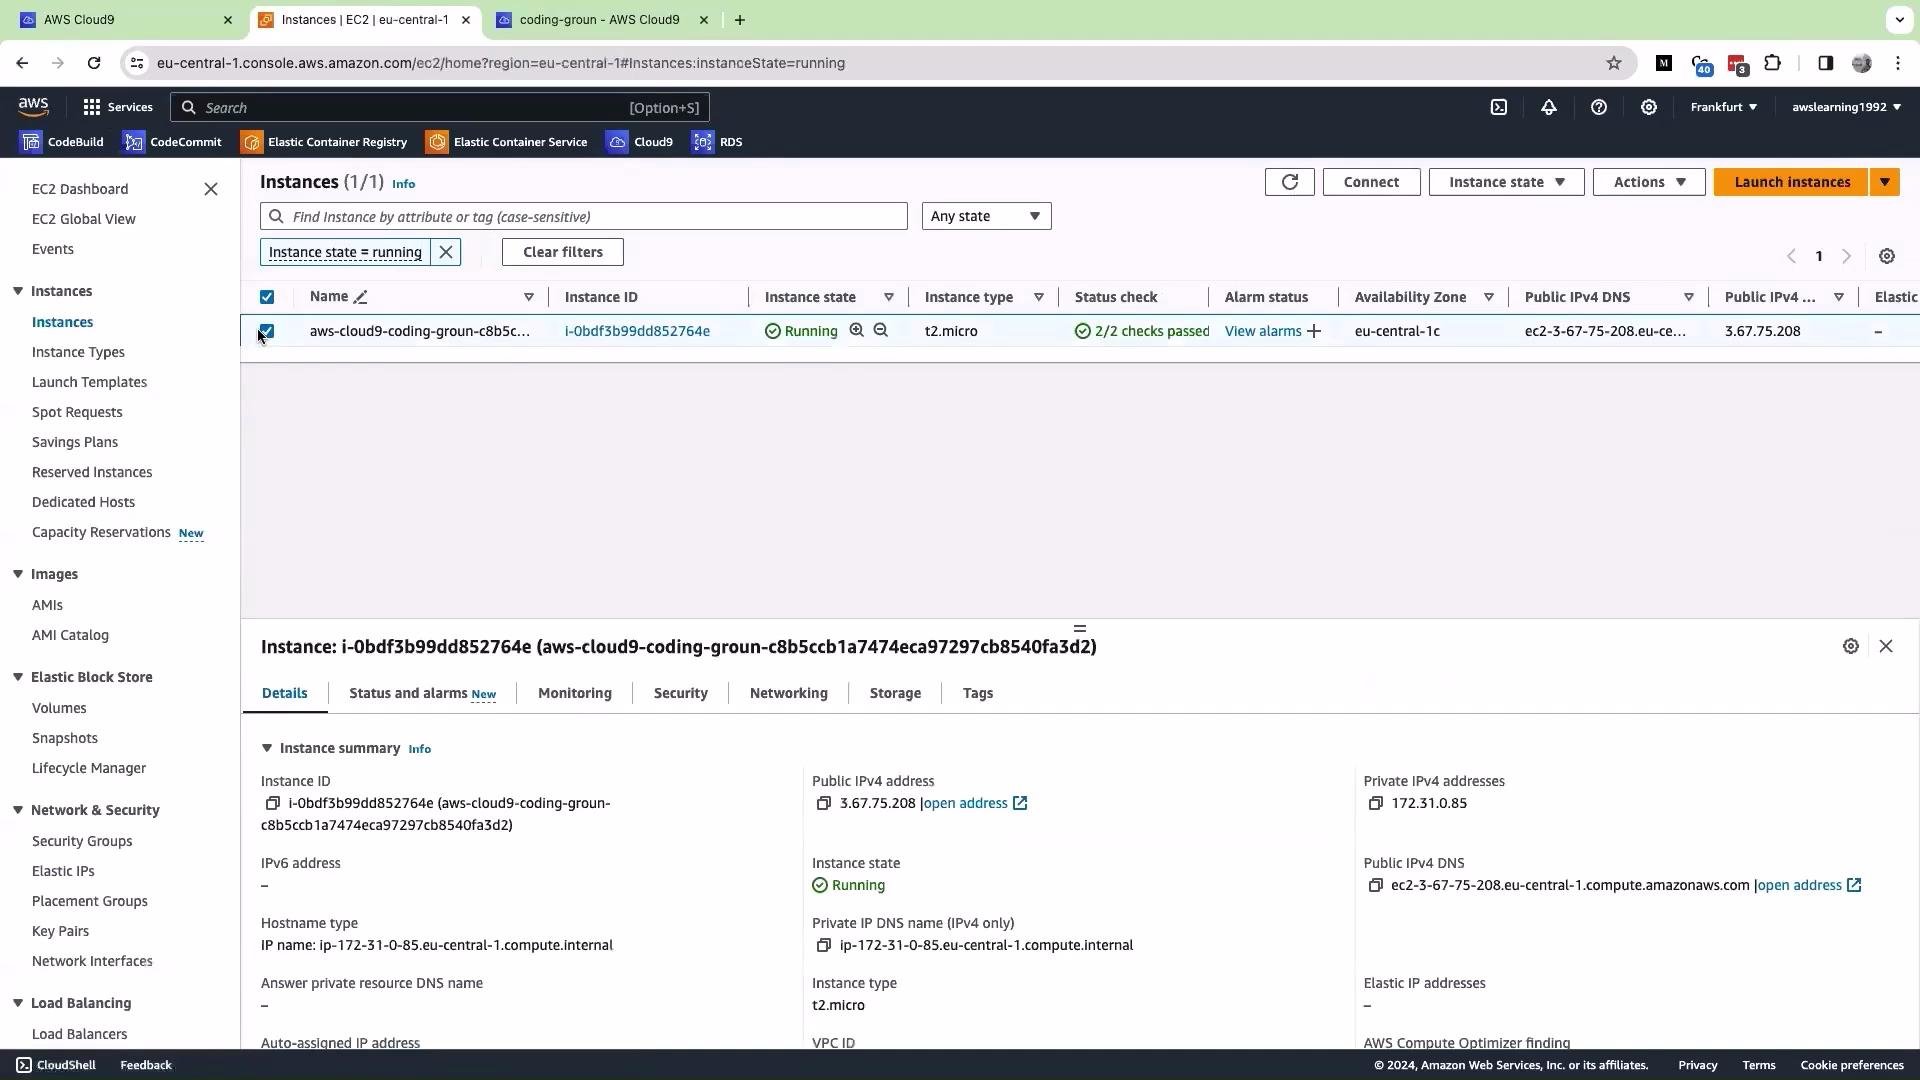
Cloud9 runs on an EC2 instance. To access the containerized app from your browser:- Find the EC2 instance that backs your Cloud9 environment and open its instance details.
- If port 5000 is not allowed in the instance’s security group, add an inbound rule for TCP port 5000 (or restrict access to your IP).
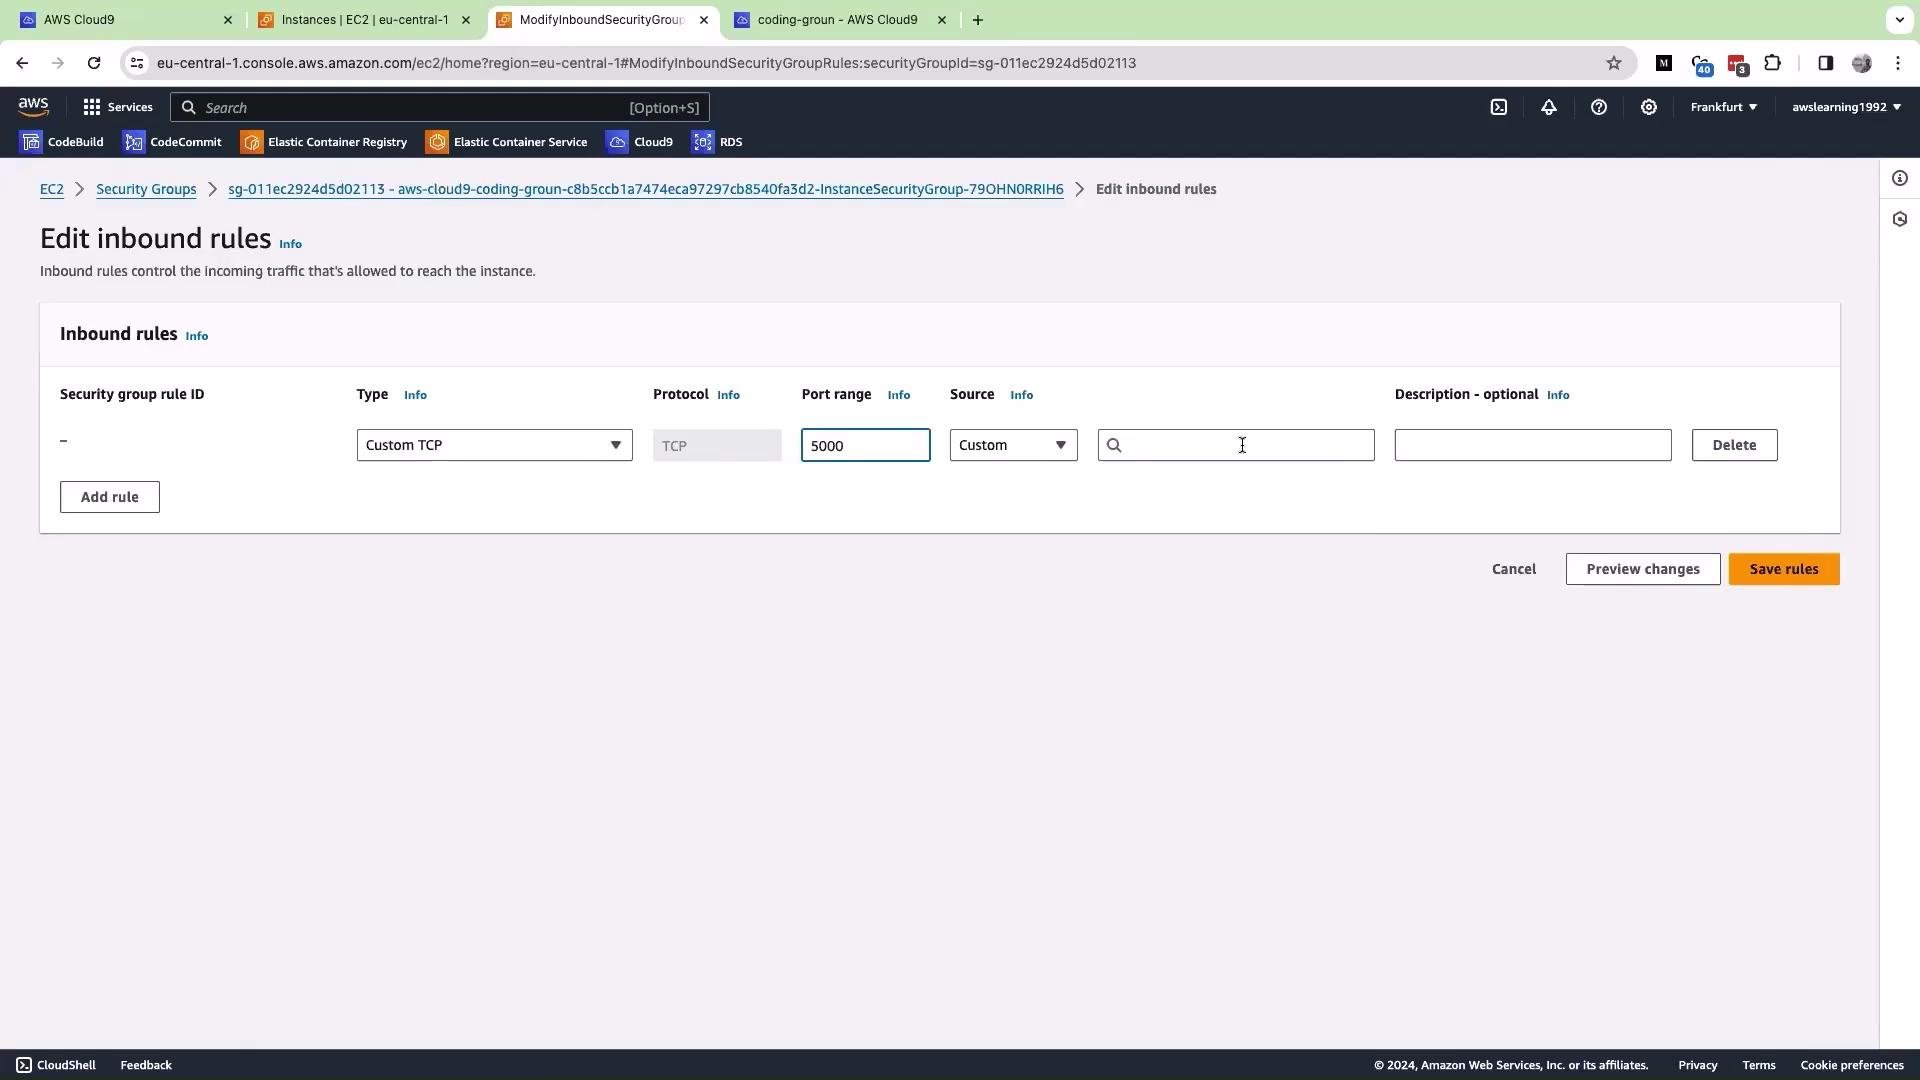
Opening ports to the public internet increases attack surface. Prefer restricting inbound access to a specific IP range (your workstation IP) when adding port 5000 to the security group.
http://<PUBLIC_IP>:5000 in your browser. The app should load and behave like a local run.
Example flow inside the sample app:
- Log in using the sample credentials.
- Browse the product page, place an order, submit order details, and confirm the order — the shipped/confirmation flow is implemented by the app.
Default credentials and sample Flask routes
The sample app implements a simple login and order flow with these default credentials:Commit the Dockerfile back to Git
From the Cloud9 terminal, verify status, add, commit, and push the Dockerfile and any related changes:git status showing untracked files:
Next steps — production deployment
The image stored on the Cloud9 EC2 instance is local to that instance. For production deployment you should:- Push the image to a container registry (for example, Amazon ECR).
- Deploy to a container service such as Amazon ECS, Amazon EKS, or AWS Fargate.
- Amazon ECR: https://aws.amazon.com/ecr/
- Amazon ECS: https://aws.amazon.com/ecs/
- Amazon EKS: https://aws.amazon.com/eks/
- AWS Fargate: https://aws.amazon.com/fargate/
That is it for this lesson — see you in the next one.