

aws-microservice-project is already available. Expanding the project shows several files and folders. The primary application logic lives in app.py.
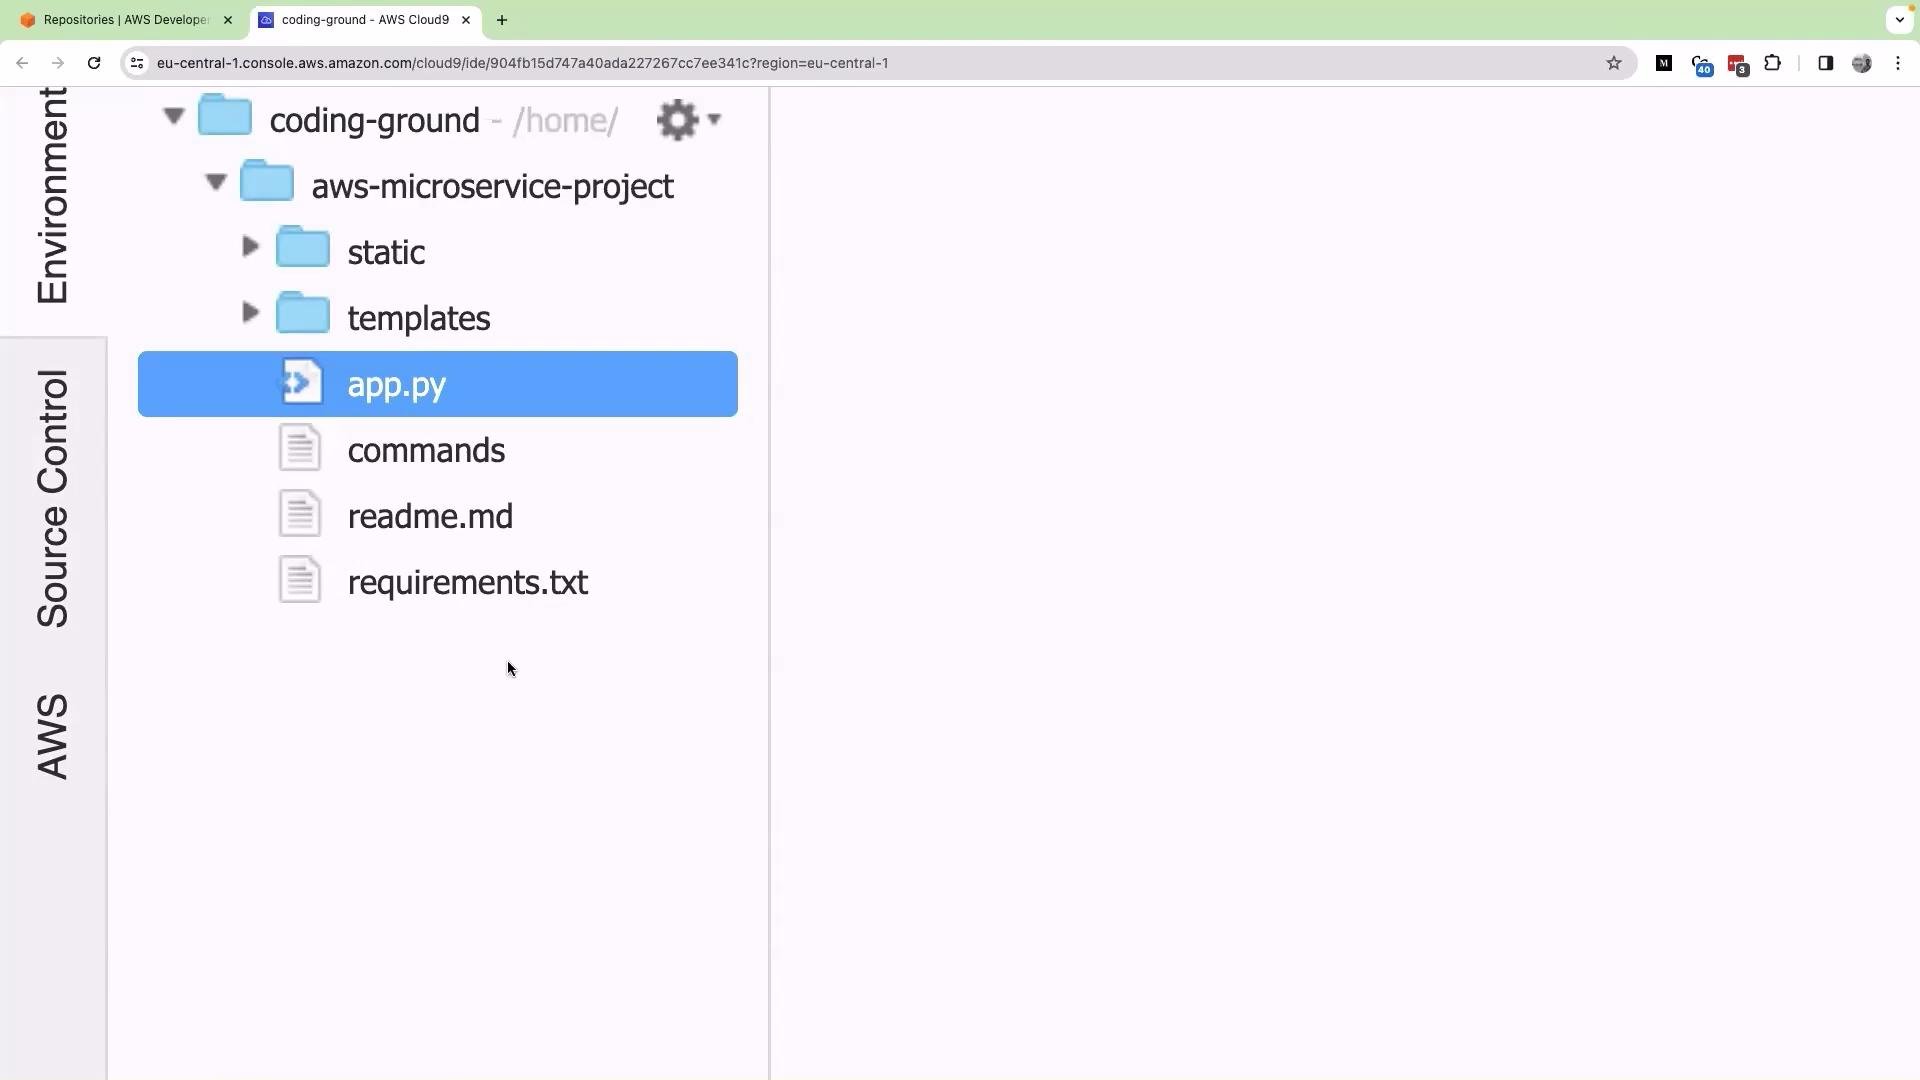
For the purposes of deployment and CI/CD, we will mainly modify and test
app.py and requirements.txt. The templates and static folders are front-end assets typically managed by frontend engineers; we only need to run or serve them during testing.app.py reveals a concise Flask application. It may include a default username/password for local testing and implements a small set of routes that together provide a simple order flow:
- A login (default) page
- A product listing / welcome page
- A place-order page for a selected product
- A
/submit_orderendpoint that accepts form submissions
Using
request.form['field'] raises a KeyError if the form field is missing. Prefer request.form.get('field') plus explicit validation to avoid runtime errors and improve security.- A user starts at the login page.
- Successful login redirects to the product/welcome page (product listing).
- Selecting a product opens the place-order page for that product.
- Submitting the form posts to
/submit_order, which processes the order and returns confirmation.
- Create and activate a Python virtual environment.
- Install dependencies from
requirements.txt(for local runs) or add them into a Docker image. - Run the Flask app in Cloud9 (or your IDE) to verify the UI and endpoints.
- Containerize the app with Docker and test the container locally.
- Verify endpoints (e.g., login, product list, place-order,
/submit_order) behave as expected.
- Install dependencies:
- Run locally (development server):
- Build and run Docker (example):
- Setting up Cloud9 and the development environment for Flask
- Running and testing the app locally (end-to-end)
- Dockerizing the application and preparing deployment artifacts for AWS
- (Later) CI/CD pipelines and deploying the container to AWS services