

eu-central-1 (Frankfurt).
In the Console search bar, type “ECR” and select Elastic Container Registry. ECR provides Docker-compatible container image repositories hosted in AWS (similar to Docker Hub, but managed inside your AWS account).
- Click Get started.
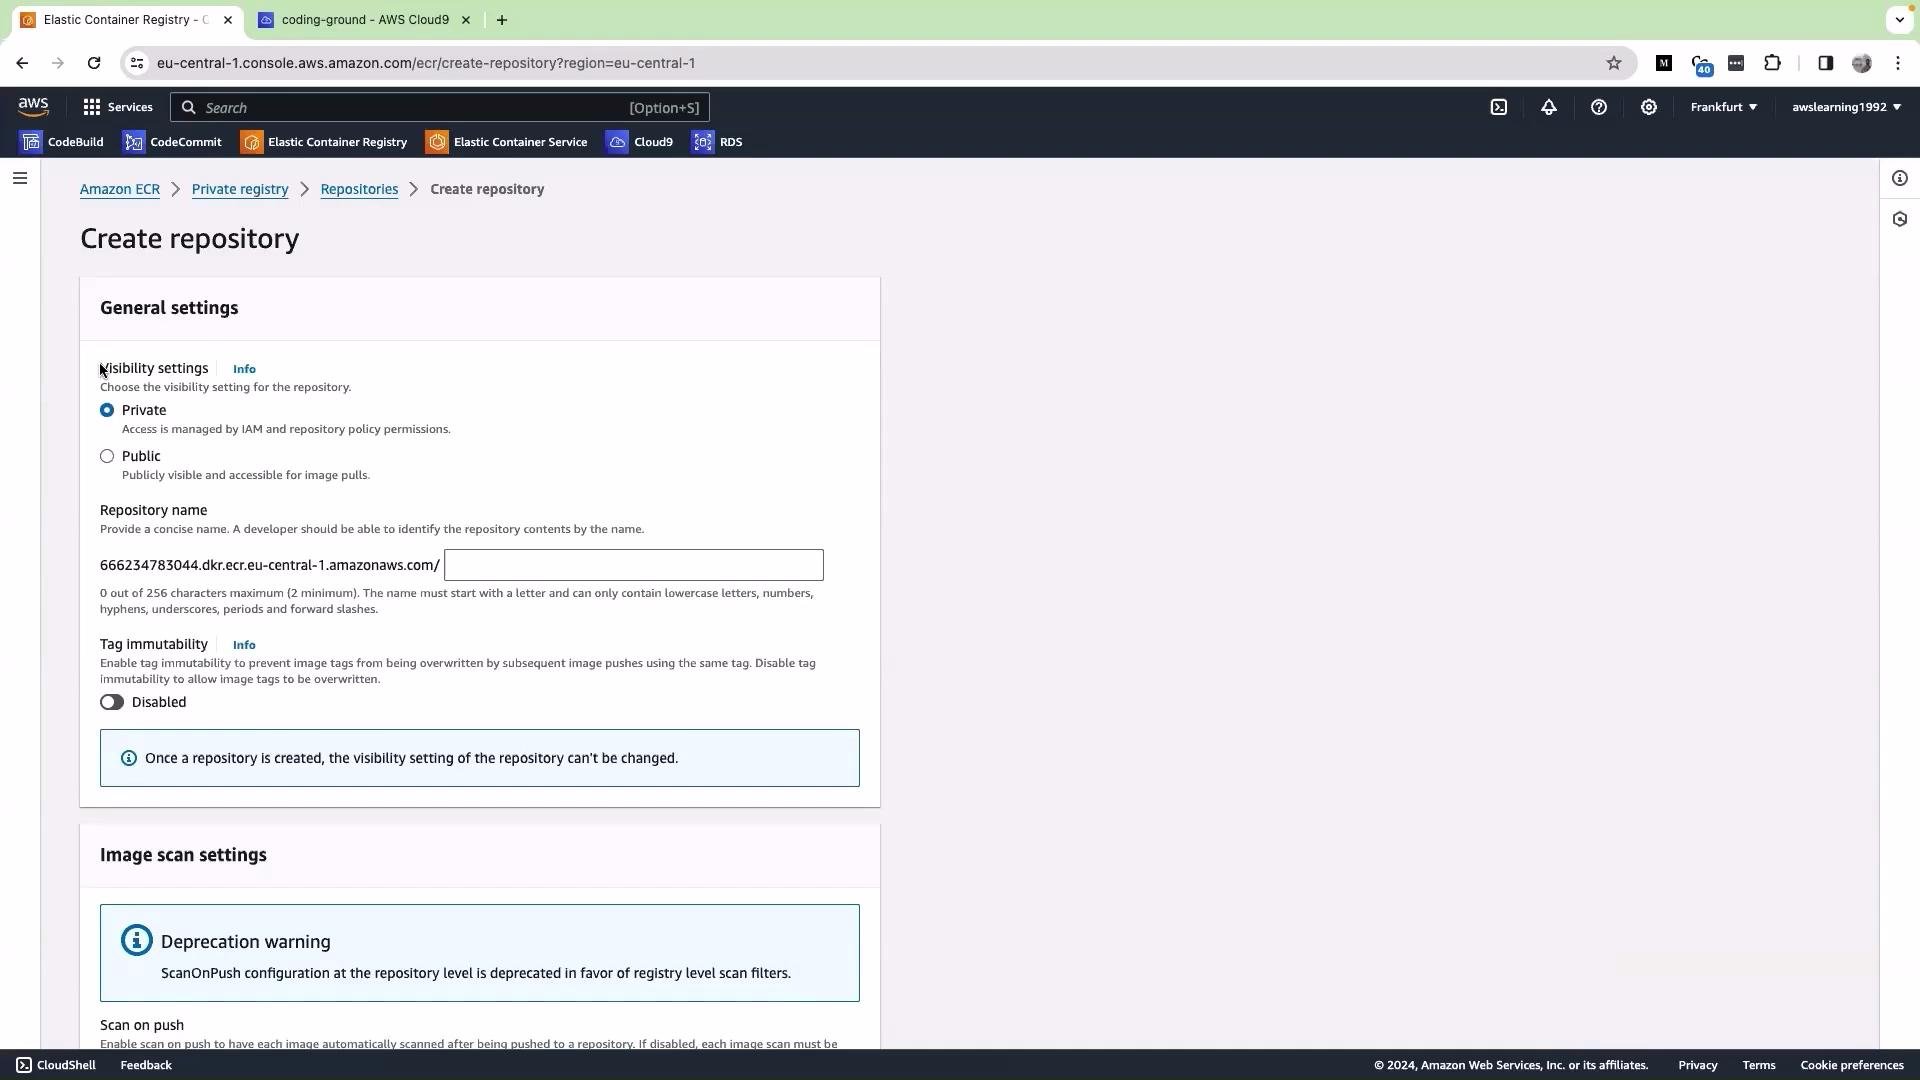
- Choose the repository visibility. Most organization images should be kept private — leave the default Private repository.
- Give the repository a name. In this lesson we use
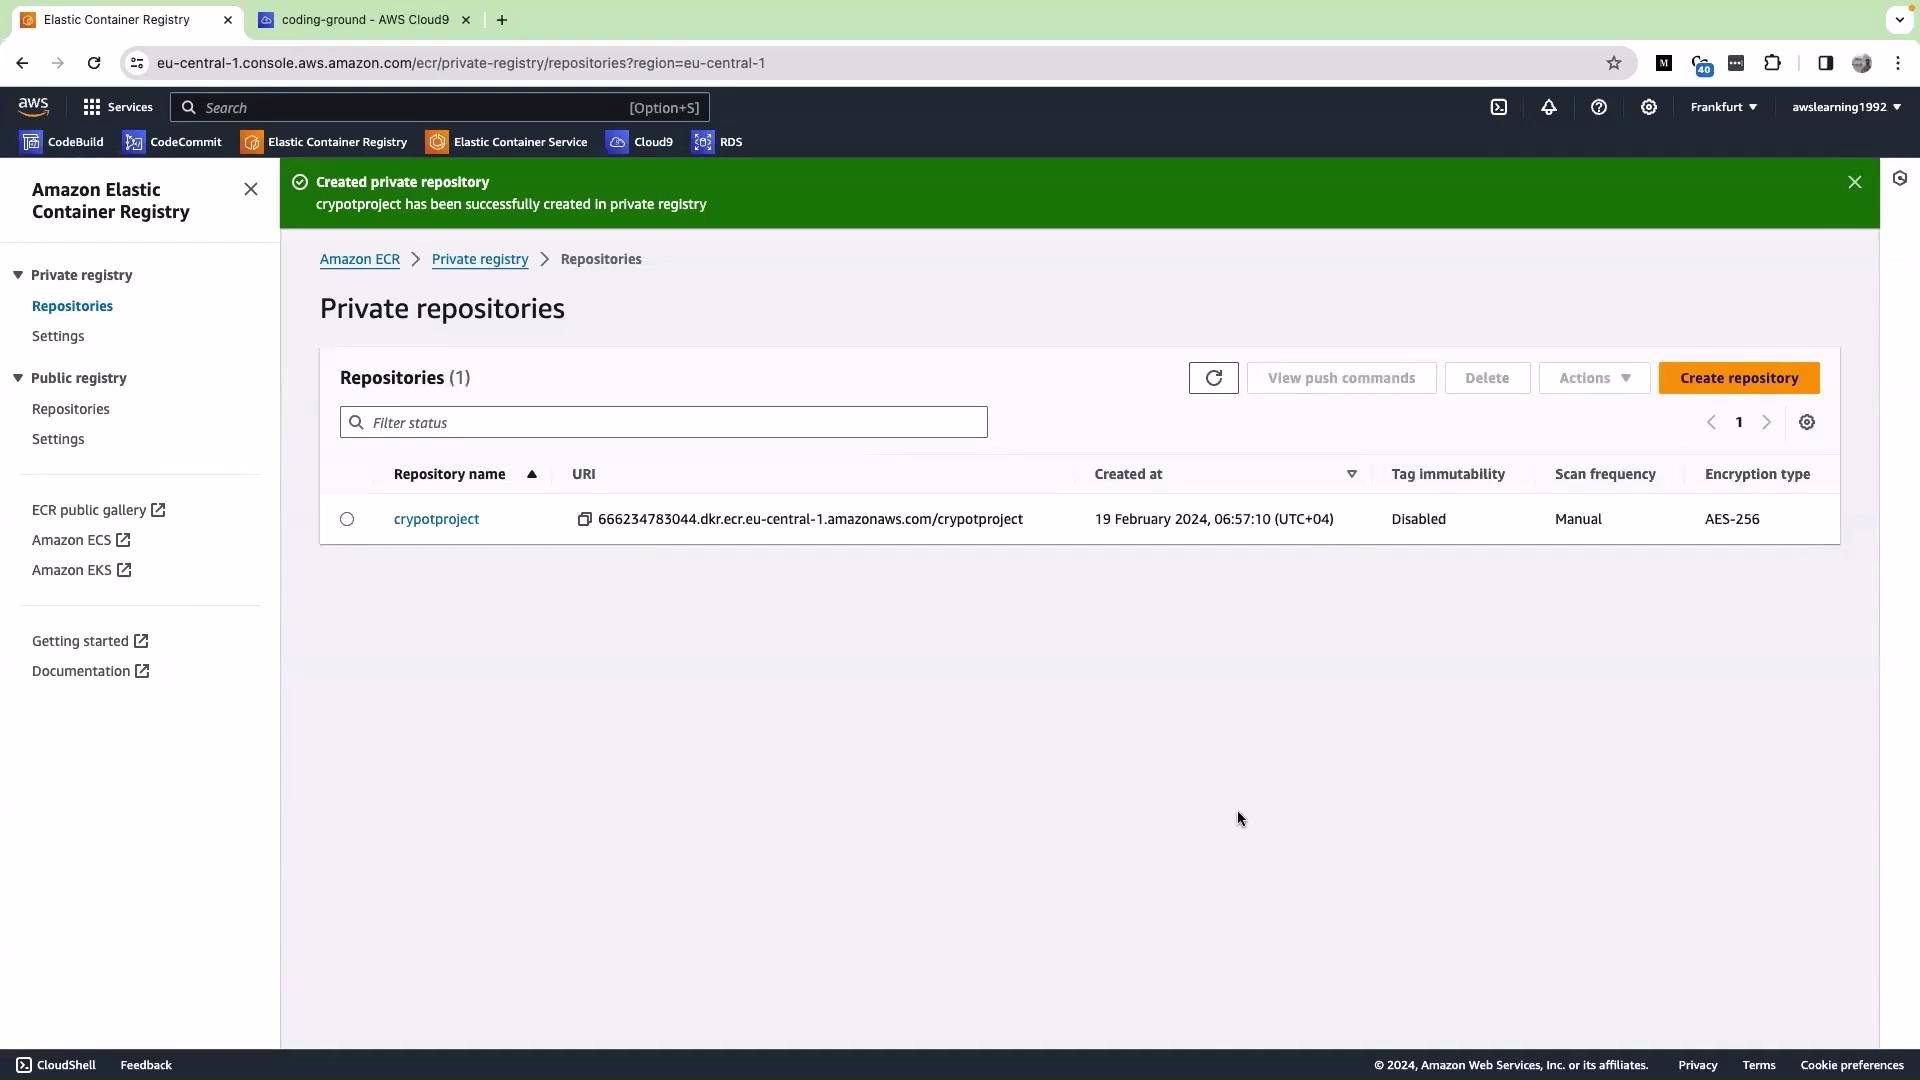
cryptoproject. - Leave the remaining settings at their defaults. (Enabling “Scan on push” is recommended for production images; see the warning below.)
- Click Create repository.
<ACCOUNT_ID>.dkr.ecr.<REGION>.amazonaws.com/<REPOSITORY_NAME>
For example: 012345678901.dkr.ecr.eu-central-1.amazonaws.com/cryptoproject
Ensure your AWS CLI is configured with credentials that have the required ECR permissions. Typical actions needed when pushing images include:
ecr:GetAuthorizationToken, ecr:BatchCheckLayerAvailability, ecr:InitiateLayerUpload, ecr:UploadLayerPart, ecr:CompleteLayerUpload, and ecr:PutImage. Also verify your CLI region matches the repository’s region.For production images, enable “Scan on push” to automatically scan images for vulnerabilities. Also follow the principle of least privilege for credentials used by CI systems; prefer short-lived credentials or IAM roles where possible.
- Build your Docker image locally (for example,
docker build -t my-local-image .) and then follow the tag/push steps above. - Or automate image builds and pushes from your CI pipeline (examples: AWS CodePipeline, GitHub Actions, GitLab CI). Configure the CI runner with appropriate IAM permissions or use an IAM role attached to the build environment.
- AWS ECR documentation: https://docs.aws.amazon.com/ecr/
- AWS CLI Command Reference —
get-login-password: https://docs.aws.amazon.com/cli/latest/reference/ecr/get-login-password.html - Docker Hub: https://hub.docker.com/