

- The login page authenticates users with username and password. These credentials must be persisted in a reliable, managed relational database.
- Amazon RDS provides a managed PostgreSQL service with backups, automated maintenance, and scaling options, making it suitable for production or development environments.
- AWS RDS Documentation
- PostgreSQL Documentation
- Password hashing: bcrypt, Argon2
- Migration tools: Flyway, Liquibase
Step-by-step (AWS Console)
- Sign in to the AWS Console and open the RDS service.
- Click Create database.
- Choose PostgreSQL (selected by default).
- Select the Production template (or another template appropriate for your workload).
- Choose Single DB instance.
- Set a DB instance identifier (example:
microservice). - In Credentials, provide a master username and password or use the automatic password generator. In this lesson we use the auto-generated password.
If you use the auto-generated password, save it securely (for example, in AWS Secrets Manager) so your application can retrieve it at runtime without exposing credentials in code or configuration files.
- Leave most other settings at their defaults unless you need to customize them.
- For Public access choose
Yesif you need external connectivity for development or testing. For production, prefer private access (see the security callout below).
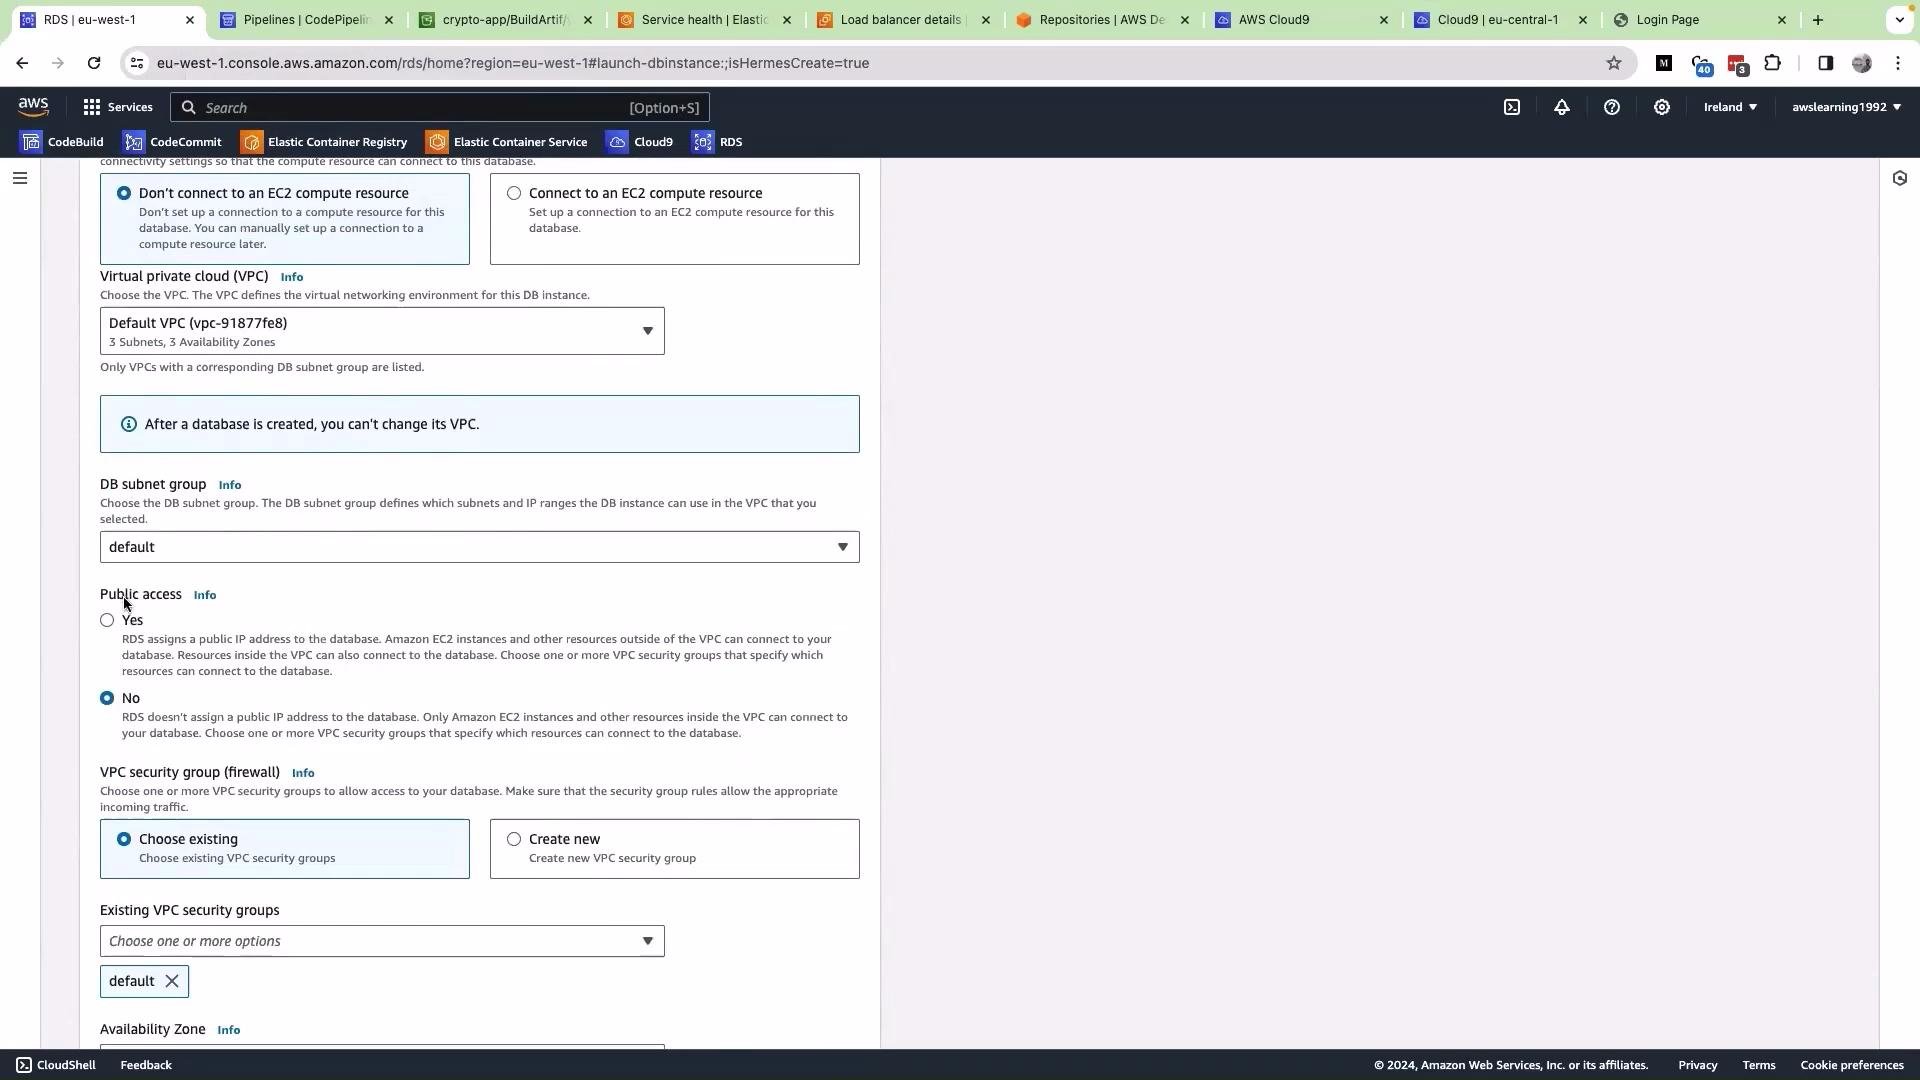
- Scroll down to Performance Insights and disable it if you do not need it.
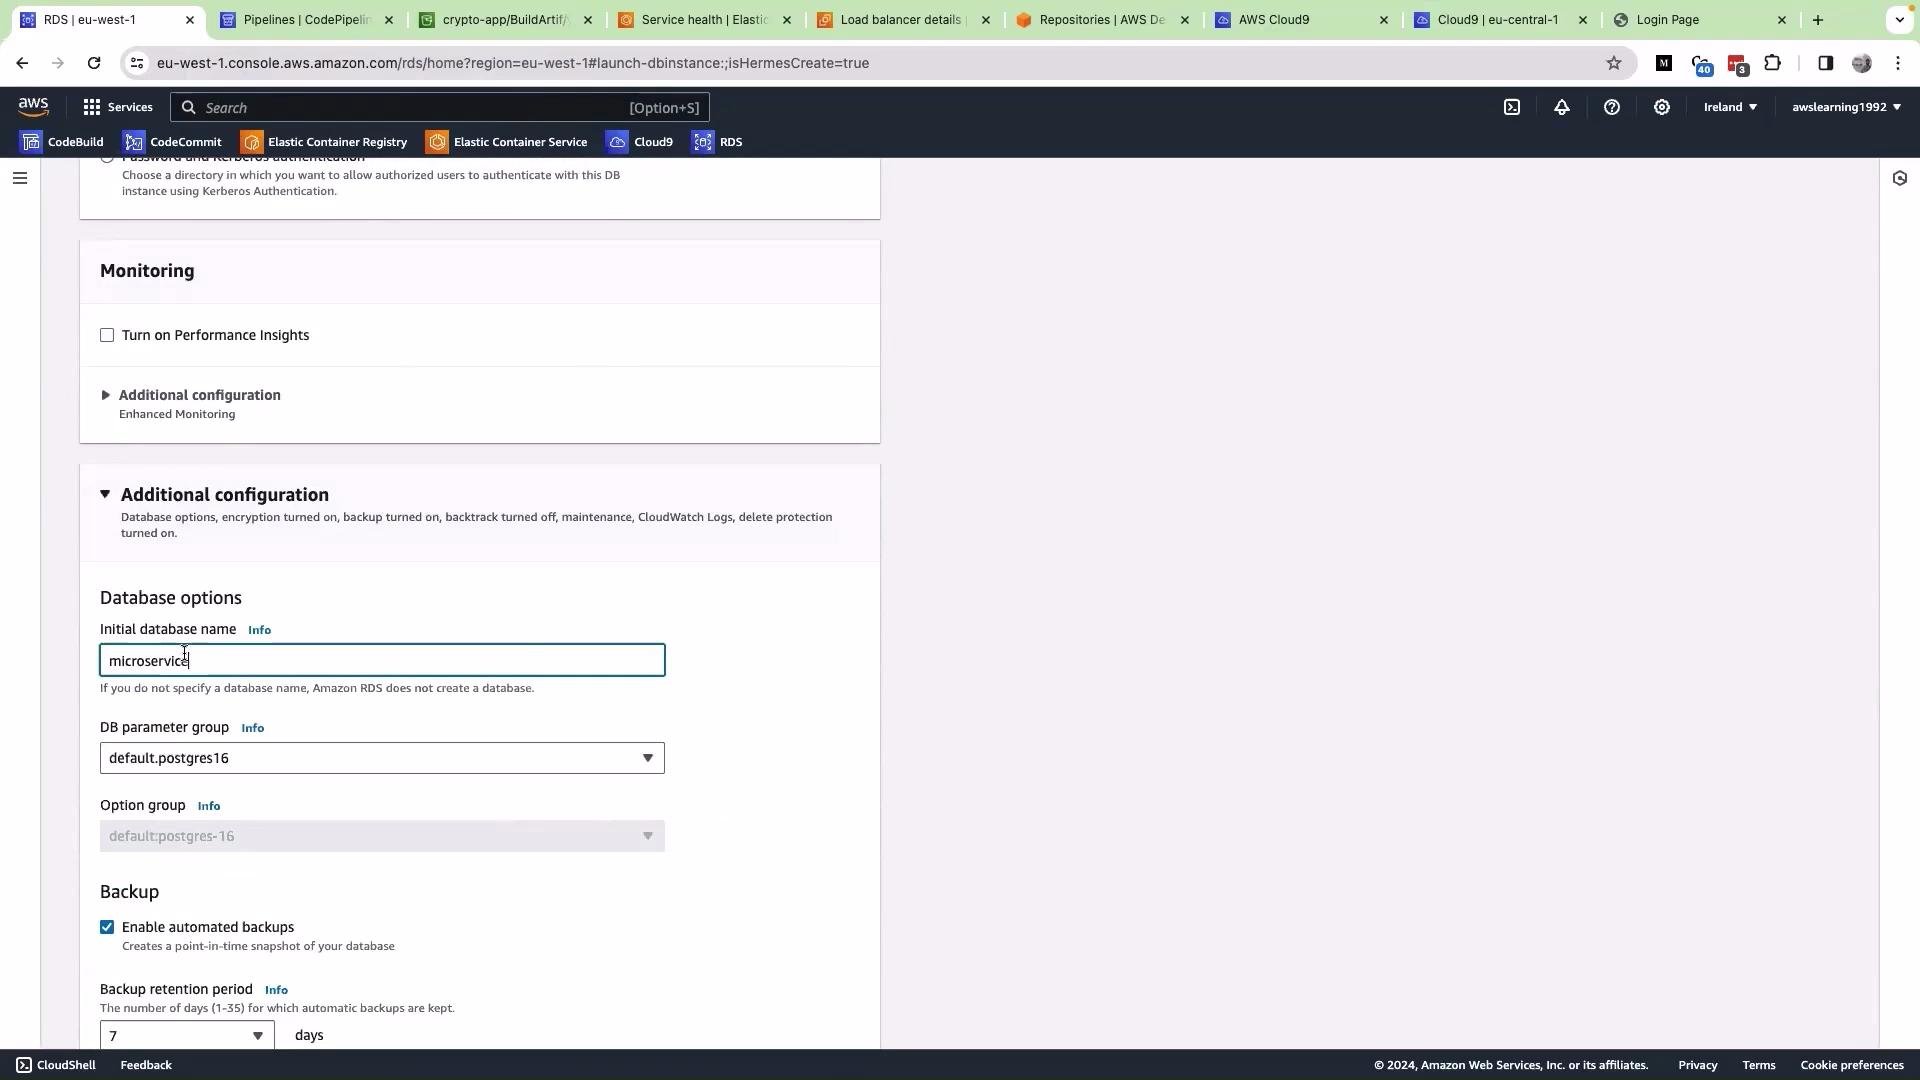
- In Additional configuration, set the initial database name to
microservice. - Review all settings and click Create database.
After creation
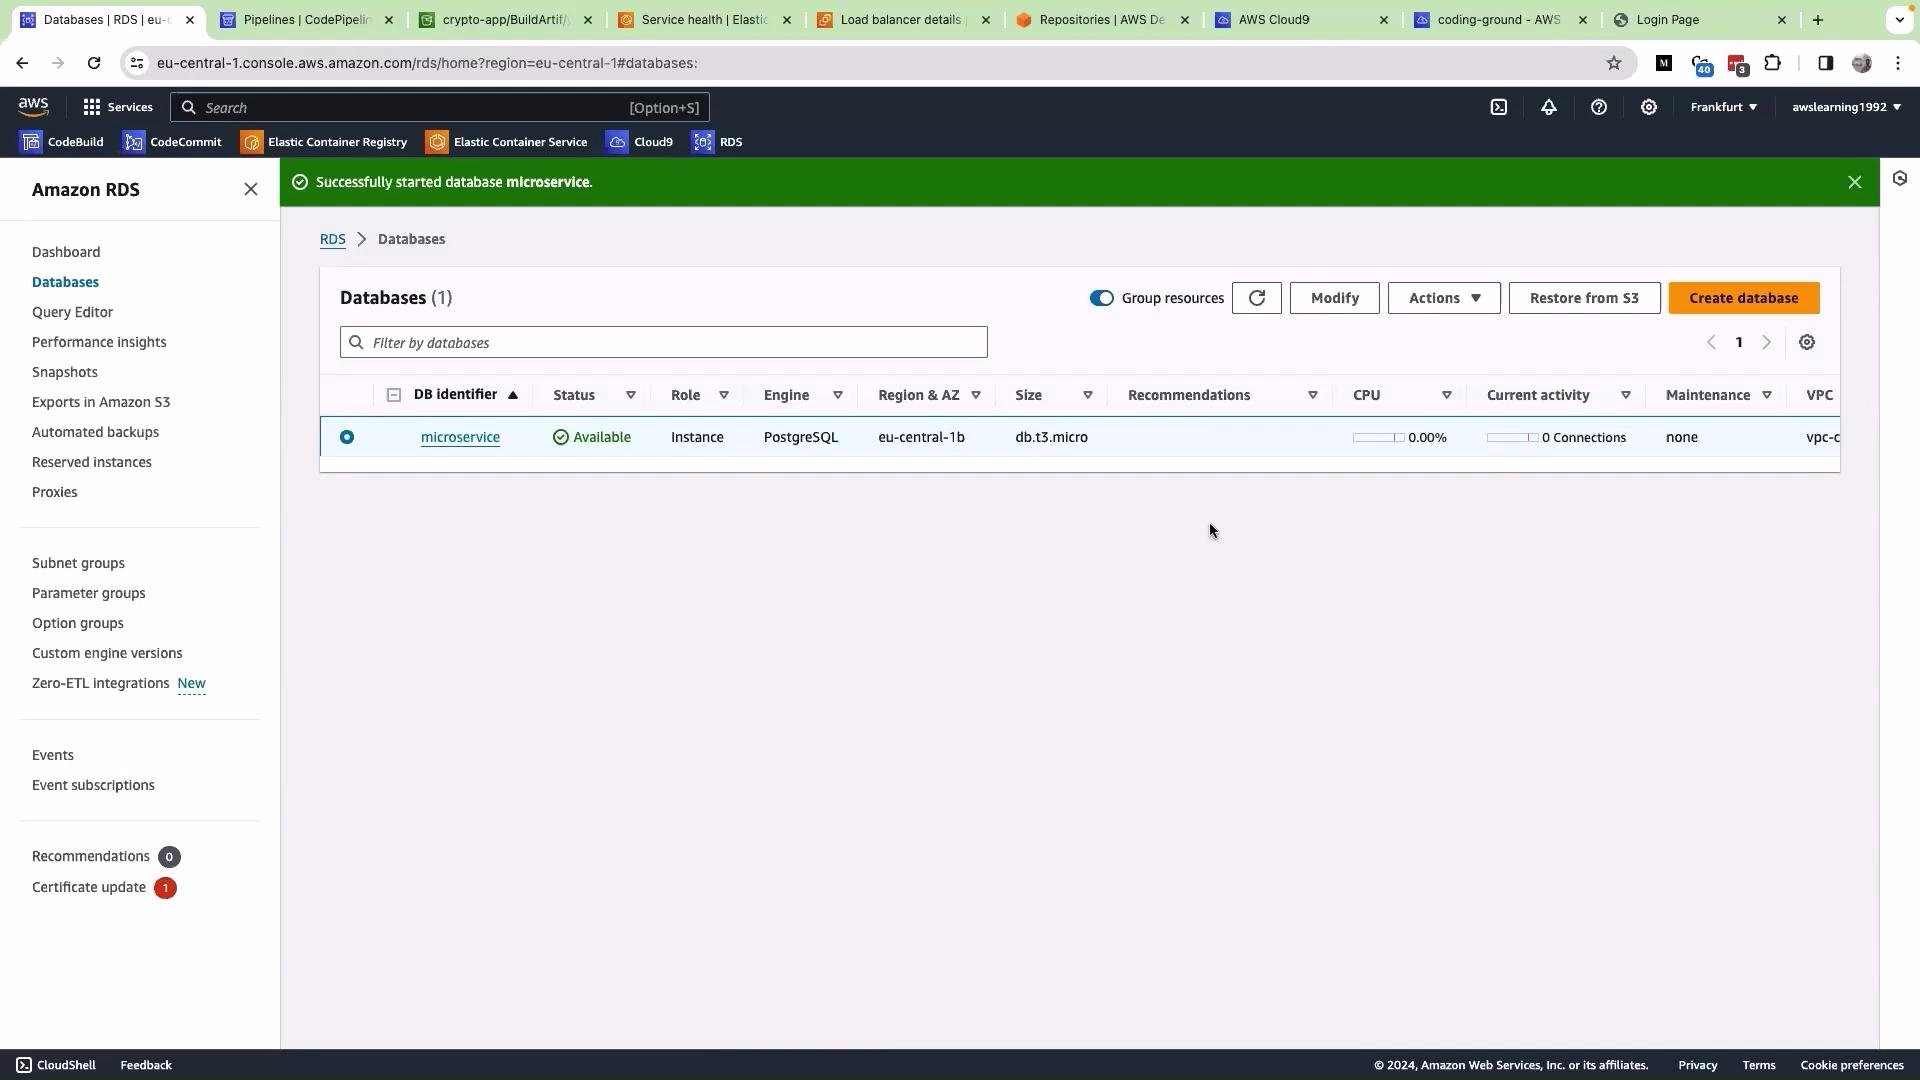
Wait for the DB instance status to becomeavailable in the RDS console. Once the instance is available, note the instance endpoint and port (default PostgreSQL port is 5432). You will use these values to connect and initialize the schema.
Initialize schema and seed users
Connect to the new database withpsql, a GUI client, or any PostgreSQL client. Example psql command (replace the endpoint and username):
users table and insert sample rows for testing:
bcrypt or Argon2) and never store plain-text credentials.
Security note
Setting Public access to
Yes exposes the database to the Internet. For production systems, prefer placing the RDS instance in private subnets, use VPNs or bastion hosts to connect, and restrict inbound security group rules to only trusted IP addresses or VPCs. If public access is enabled for development, lock down inbound rules immediately and rotate credentials afterward.Next steps
- Use the seeded user accounts to test authentication flows in the login application.
- Configure your application to read DB credentials securely (for example, from AWS Secrets Manager or environment-specific secret stores).
- Automate schema creation and versioning with migration tools such as Flyway or Liquibase for repeatable deployments.
- Monitor and tune performance with RDS monitoring tools and enable automated backups as needed.