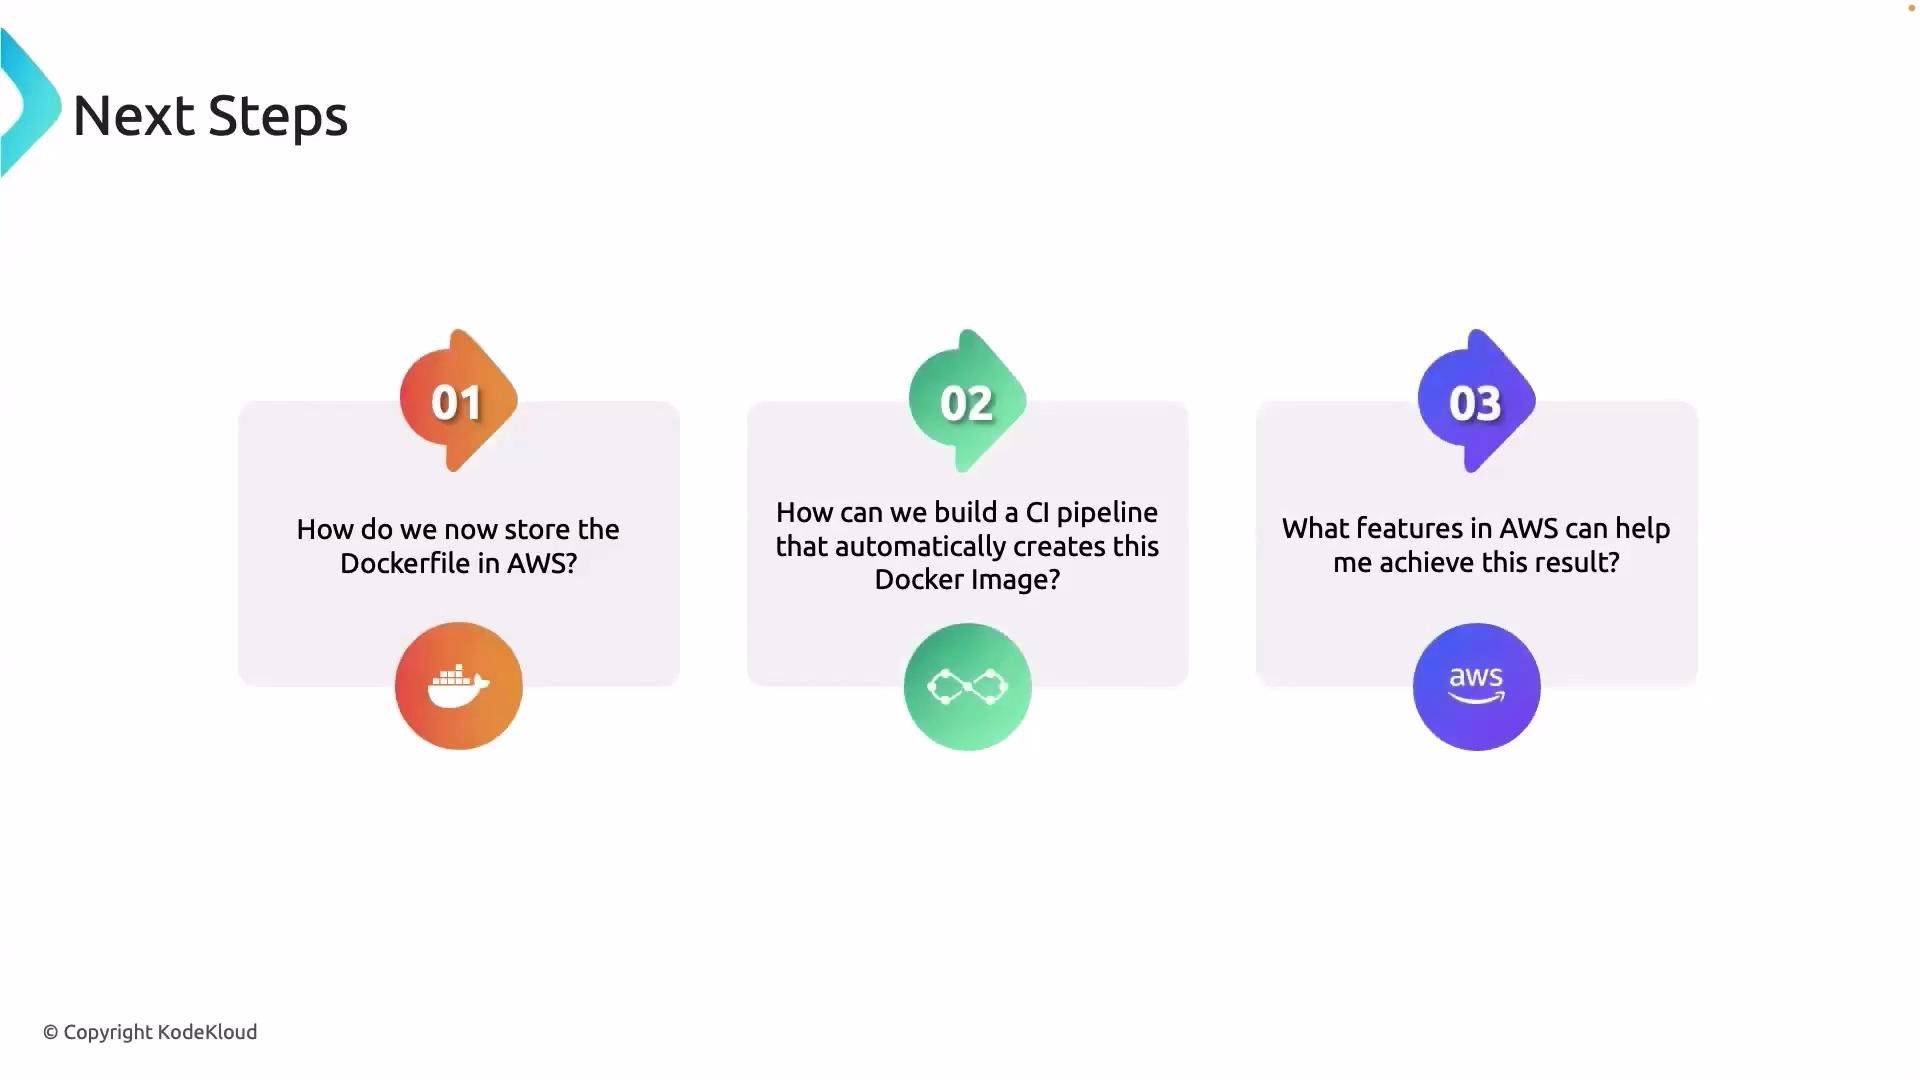
- Enabled access to the AWS CodeCommit repository for our developers and ourselves.
- Set up an AWS Cloud9 environment and cloned the CodeCommit repository into it.
- Created a Dockerfile, built the image, and tested the application locally using the EC2 instance that backs Cloud9.
-
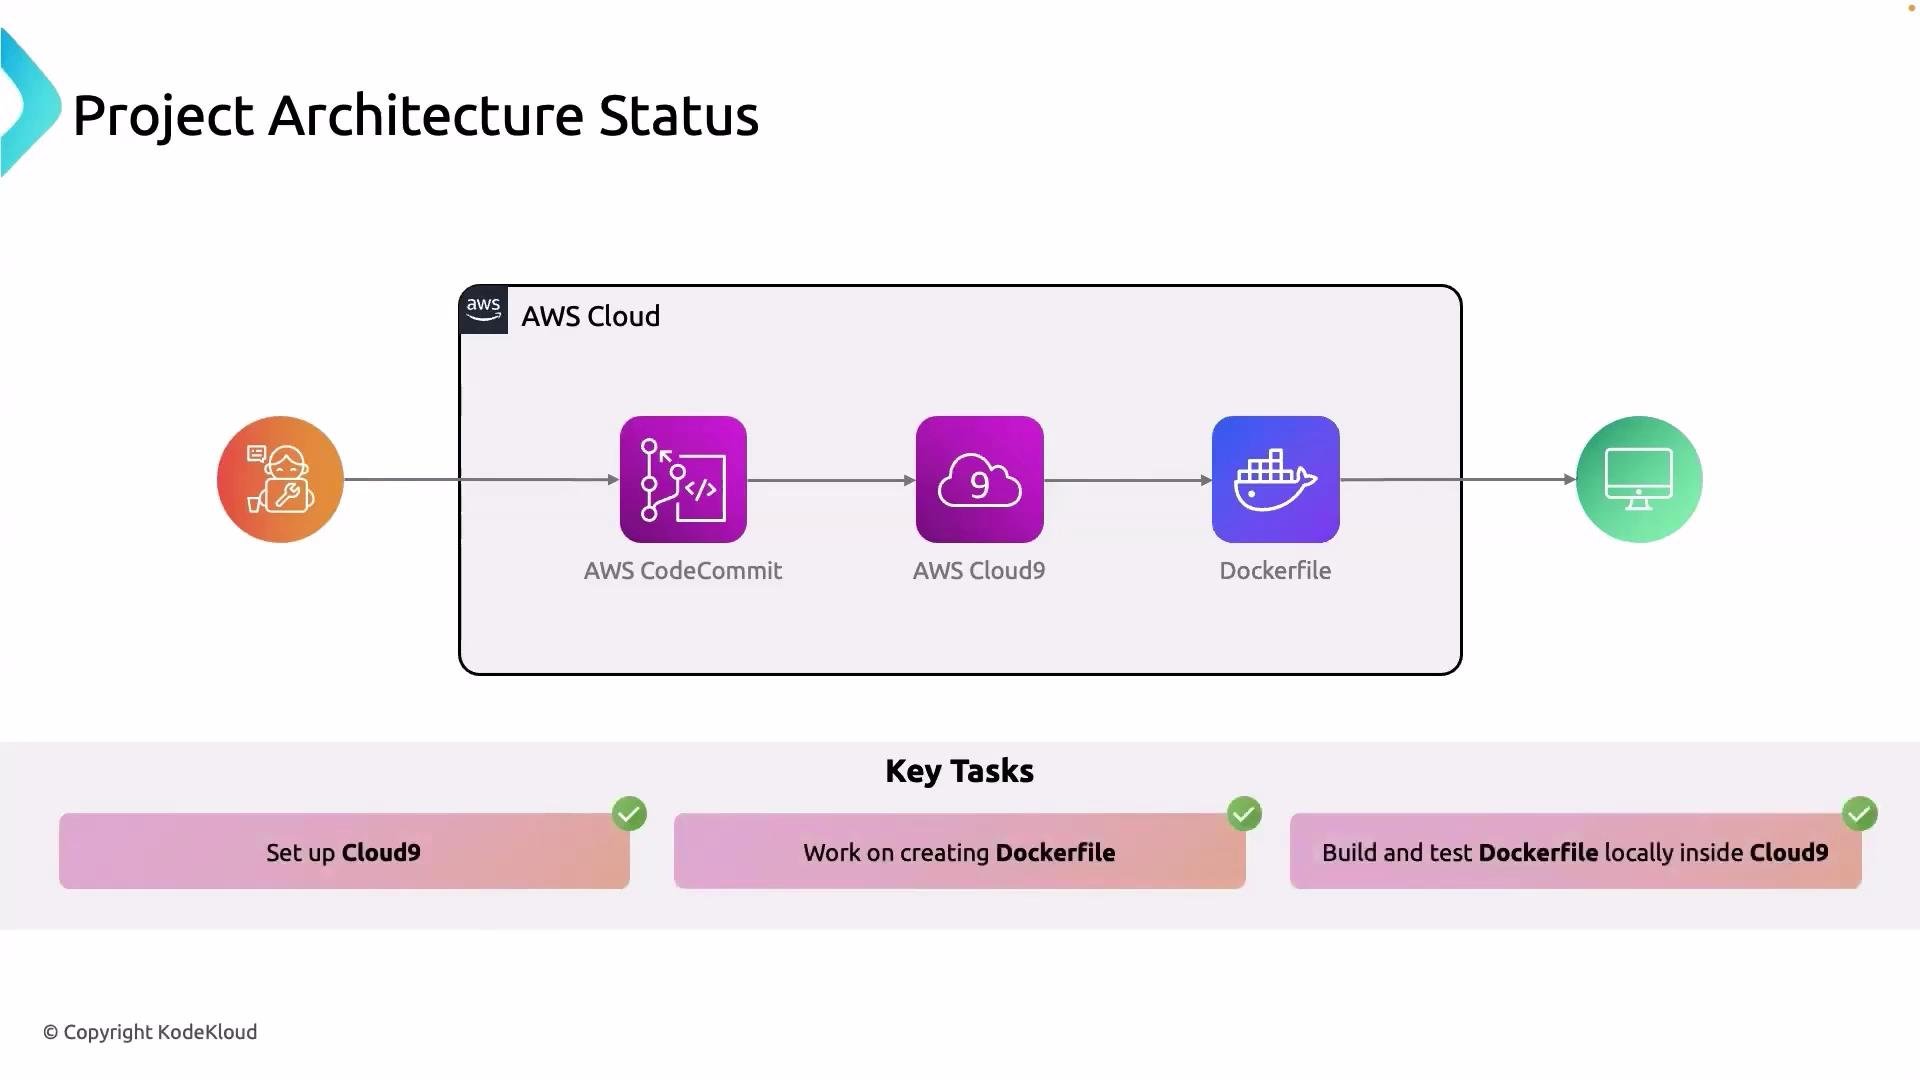
Where and how to store our Docker artifacts in AWS
- Source code (including the
Dockerfile) should remain in your source control repository —CodeCommit. - Built images should be pushed to Amazon Elastic Container Registry (
ECR). Use semantic tagging (for examplev1.0.0,latest, or commit SHA) so you can trace deployments to source commits. - Configure ECR lifecycle policies to expire old image tags and enable encryption at rest. Consider immutable tags or image scanning to improve supply-chain security.
- Source code (including the
-
How to create a CI/CD pipeline that automatically builds and publishes the Docker image
- A typical pipeline flow:
- Source:
CodeCommit(or GitHub) detects a commit. - Build:
CodeBuildbuilds the Docker image and runs tests. - Publish:
CodeBuildauthenticates toECRand pushes the image. - Deploy: A deployment stage (ECS/EKS/EC2) pulls the image and updates the running service.
- Source:
- Recommended tools:
- Native AWS:
CodePipeline+CodeBuild→ full AWS-managed CI/CD with direct integration toECR. - Alternative: GitHub Actions with
ECRpush steps (useful if your team prefers GitHub).
- Native AWS:
- Automate container image tagging and versioning, and make sure build logs and artifacts are retained for debugging.
- A typical pipeline flow:
-
Which AWS services and features will implement the end-to-end flow (commit → build → registry → deployment)
- Common stack:
- Source:
CodeCommitor GitHub - CI:
CodeBuild - Orchestration:
CodePipeline(or GitHub Actions) - Registry:
ECR - Deployment Targets:
Amazon ECS,AWS EKS, orEC2(with Auto Scaling)
- Source:
- Evaluate tradeoffs: cost, operational complexity, scalability, and team familiarity.
- Common stack:
Plan the pipeline with reproducibility and security in mind: use immutable image tags, enable image scanning in
ECR, and store build artifacts/logs for traceability. Automate tagging using the commit SHA or semantic versioning.
Security and permissions are critical for an automated pipeline:
Ensure your CI/CD service principal (CodeBuild or GitHub Actions runner) has least-privilege IAM permissions: access to
ECR push/pull, CodeCommit/S3 as needed, and any deployment APIs. Misconfigured permissions can cause broken builds or expose credentials.- Create an
ECRrepository and set up repository policies and lifecycle rules. - Create a
CodeBuildproject with a buildspec that builds, tags, and pushes the image toECR. - Create a
CodePipeline(or GitHub Actions workflow) that triggers on commits and orchestrates build + push + deploy. - Pick a deployment target (ECS/Fargate recommended for quick container deployments) and create a task/service definition that references the
ECRimage URI. - Test the full flow: push a commit → verify
CodeBuildbuilds and pushes image → verify the deployment pulls the new image and updates.