This article demonstrates adding a stage in a Jenkins pipeline to install Node.js dependencies efficiently.
In this article, we will demonstrate how to add a new stage in your Jenkins pipeline to install Node.js dependencies. We begin by modifying the existing “VM Node Version” stage, then renaming and updating it to handle dependency installation efficiently.
We have refactored the stage to install Node.js dependencies using a single-line shell command. The command now includes the --no-audit flag to bypass the audit process (which will be addressed in a later stage). The updated pipeline configuration is shown below:
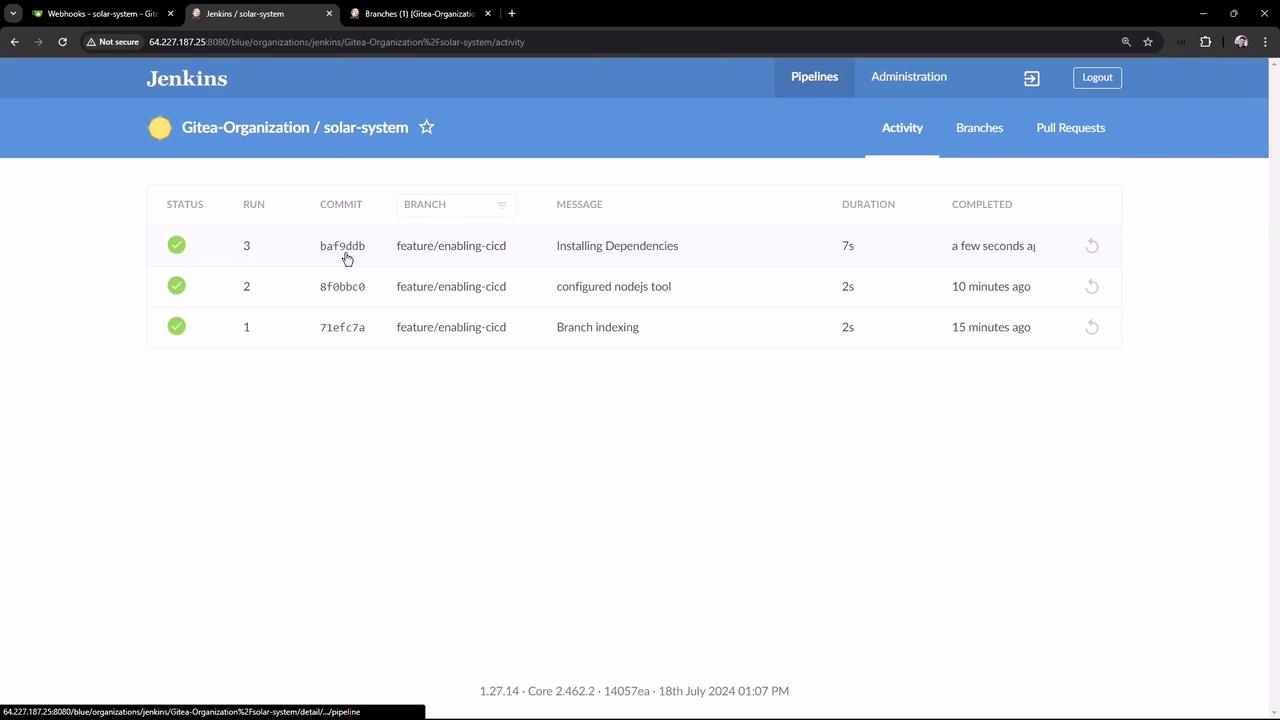
Once the changes are committed and pushed, Jenkins automatically triggers a new pipeline run. You can verify the successful execution using the Jenkins Blue Ocean interface. A successful build status in the corresponding job confirms that your pipeline has run correctly.
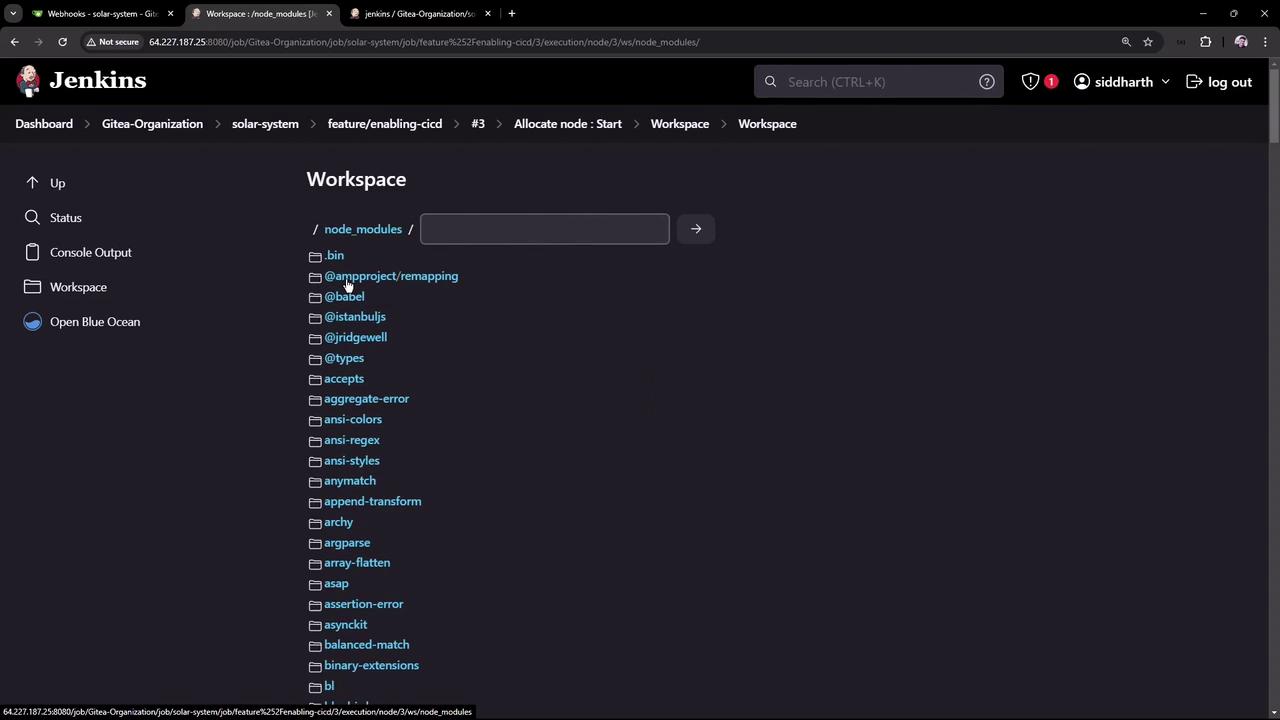
After the installation is complete, check the node_modules folder in the Jenkins workspace to confirm that all dependencies have been added correctly. This view can be accessed via the Jenkins workspace interface:
With these steps, your Jenkins pipeline is now set up to install Node.js dependencies correctly with every repository push, setting the stage for subsequent pipeline processes.For more information on Jenkins pipelines and dependency management, visit the Jenkins Documentation.