Verifying Node.js and npm on the Host
Assuming Jenkins is already installed, log into the Jenkins host. In an earlier configuration from the Jenkins For Beginners course, a repository was present. Since the repository is no longer needed, remove it with the following commands:node -v and npm -v) without any additional configuration.
Testing Node.js Availability with a Freestyle Project
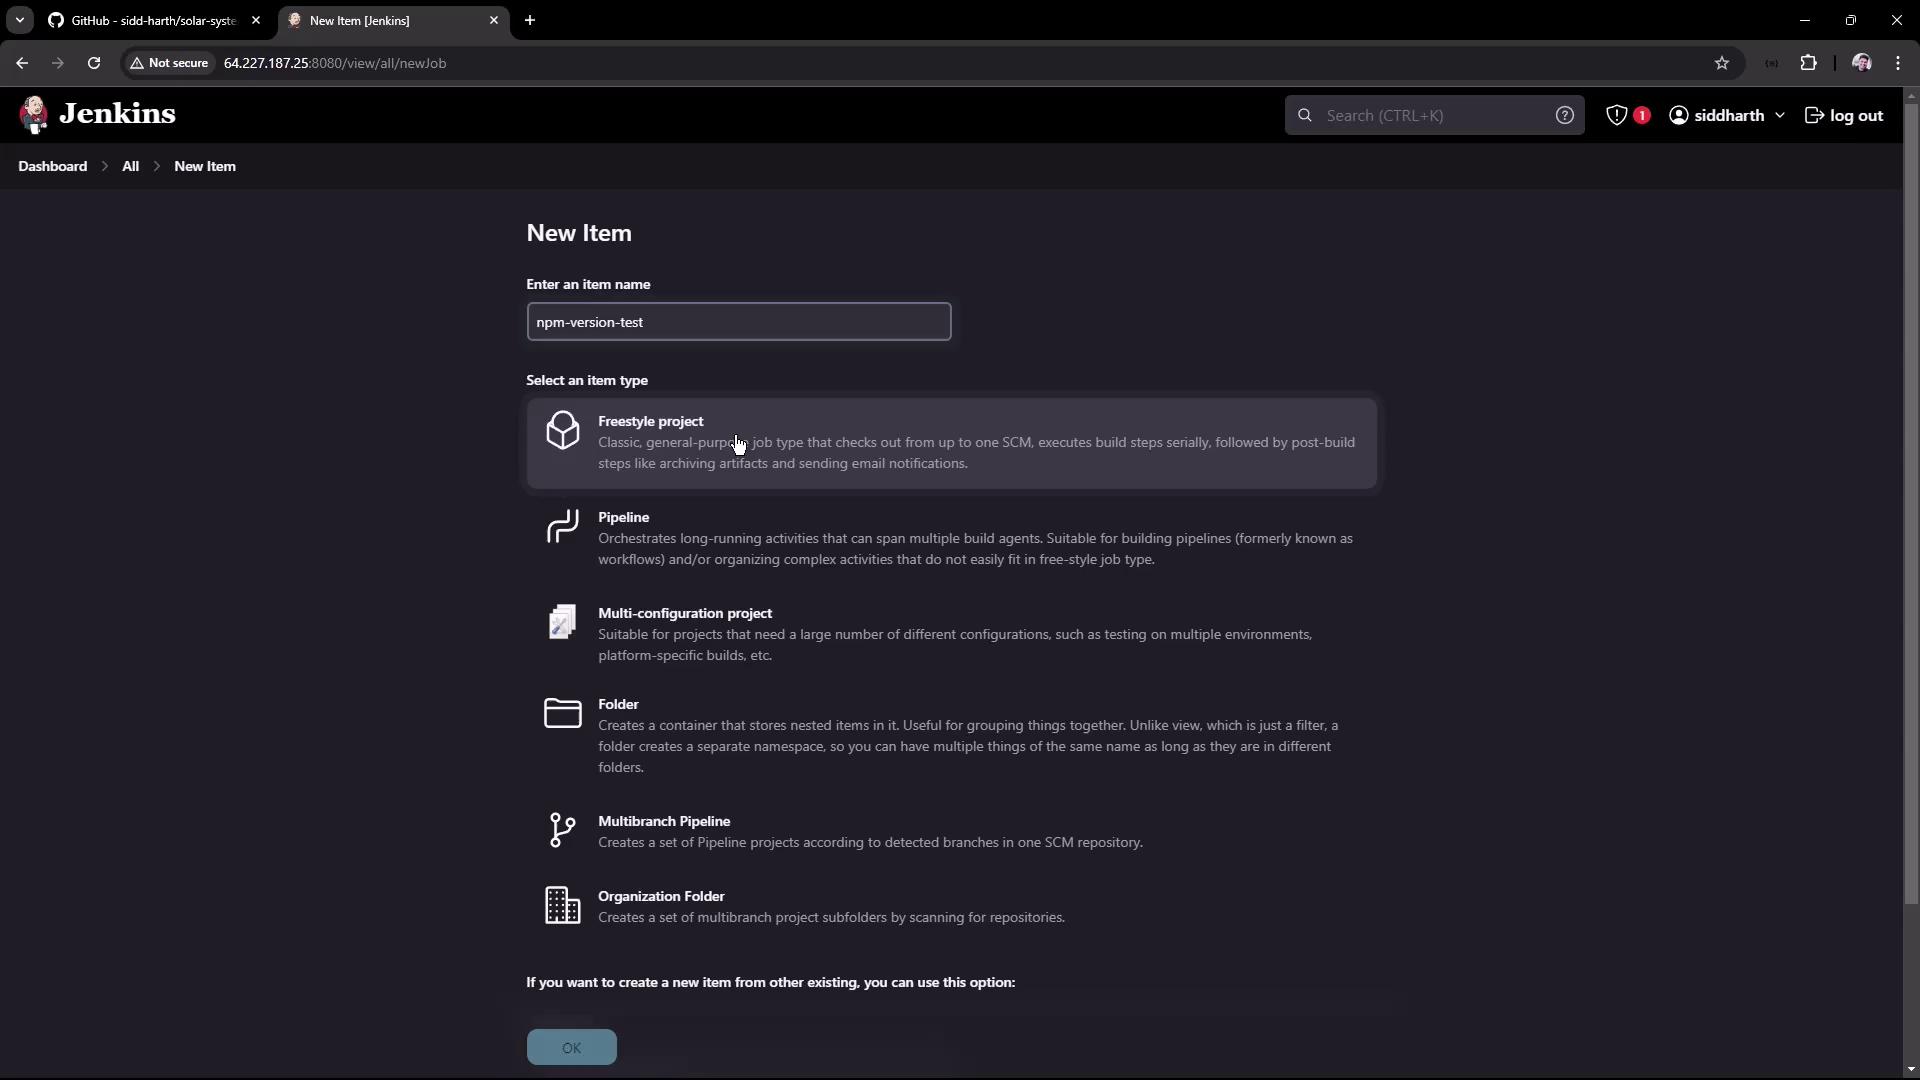
To test the Node.js installation, create a new Freestyle project in Jenkins. For demonstration, we will name the project “npm-version-test” (alternatively, “Node.js-version-test” is acceptable).- In Jenkins, click on New Item and select Freestyle project.
- Name the project “npm-version-test” and click OK.
-
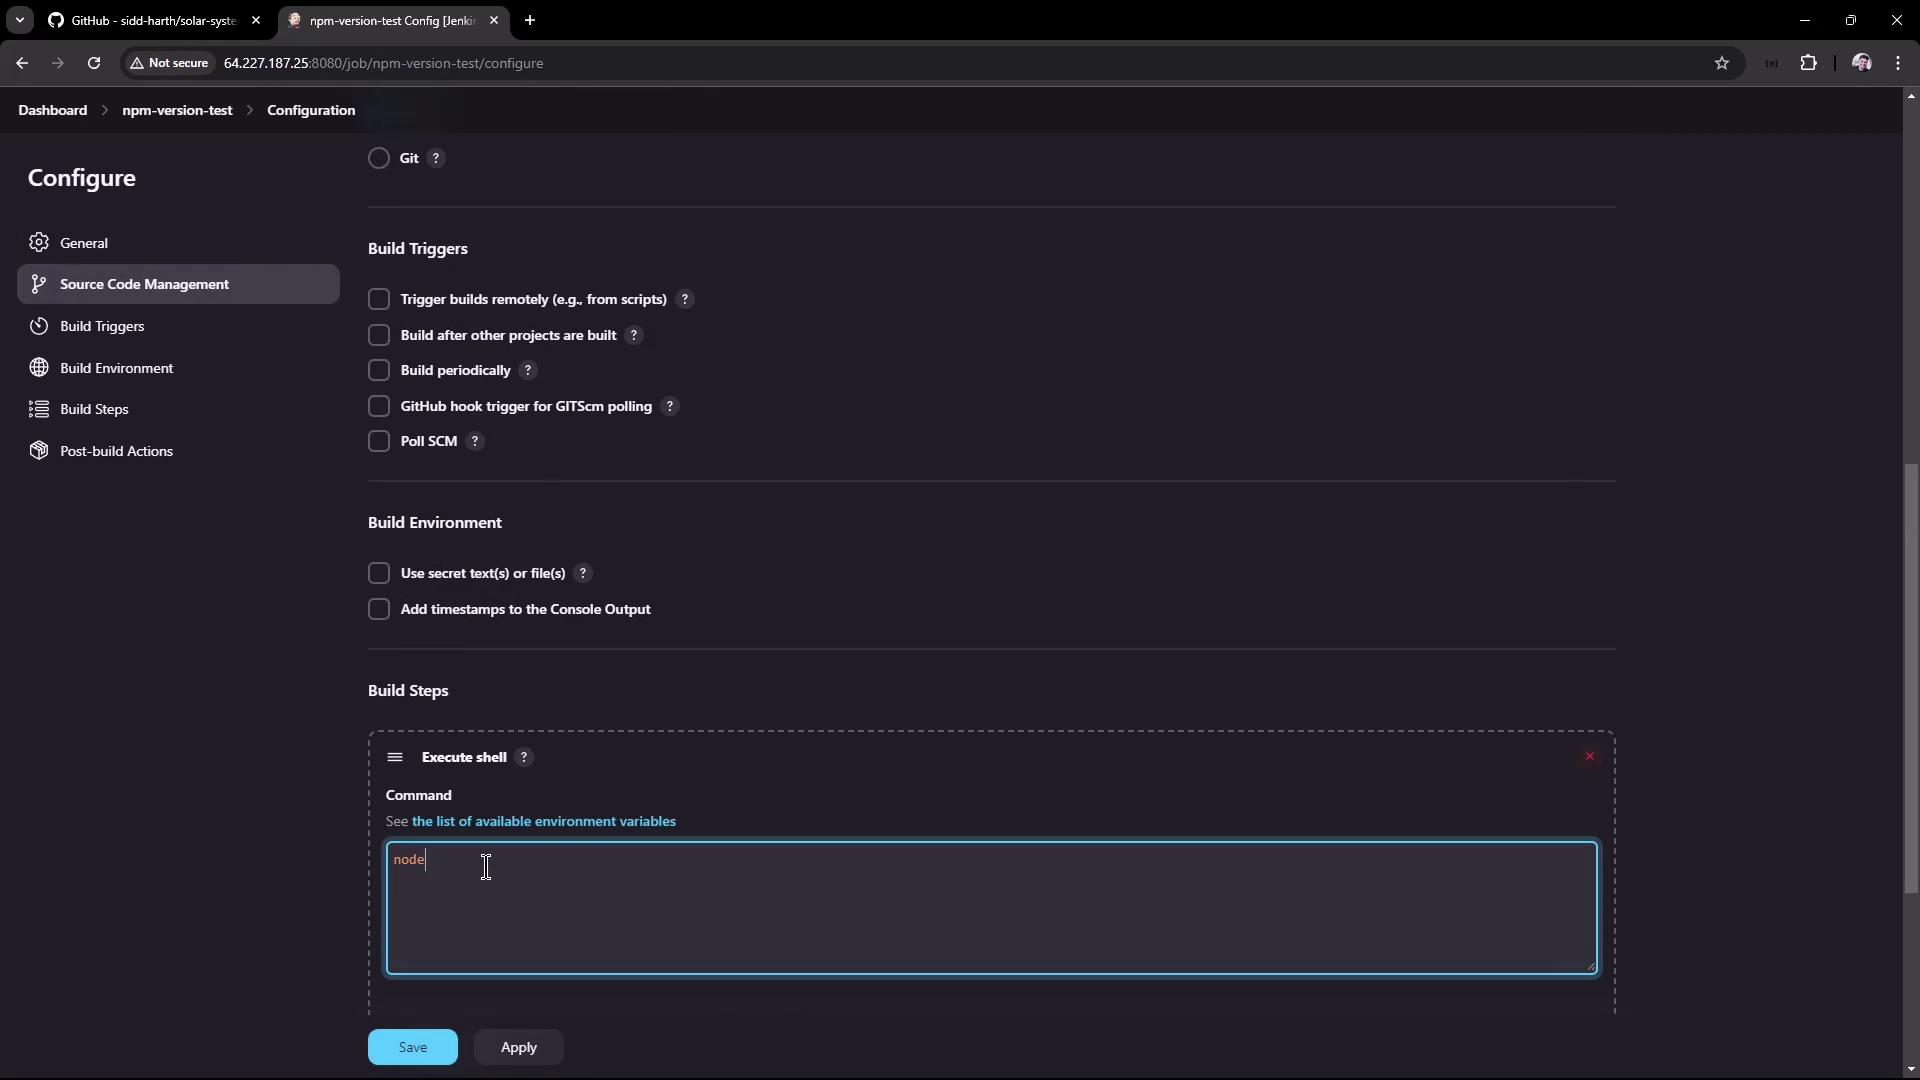
In the project configuration, add a build step of type Execute shell and enter the following commands:
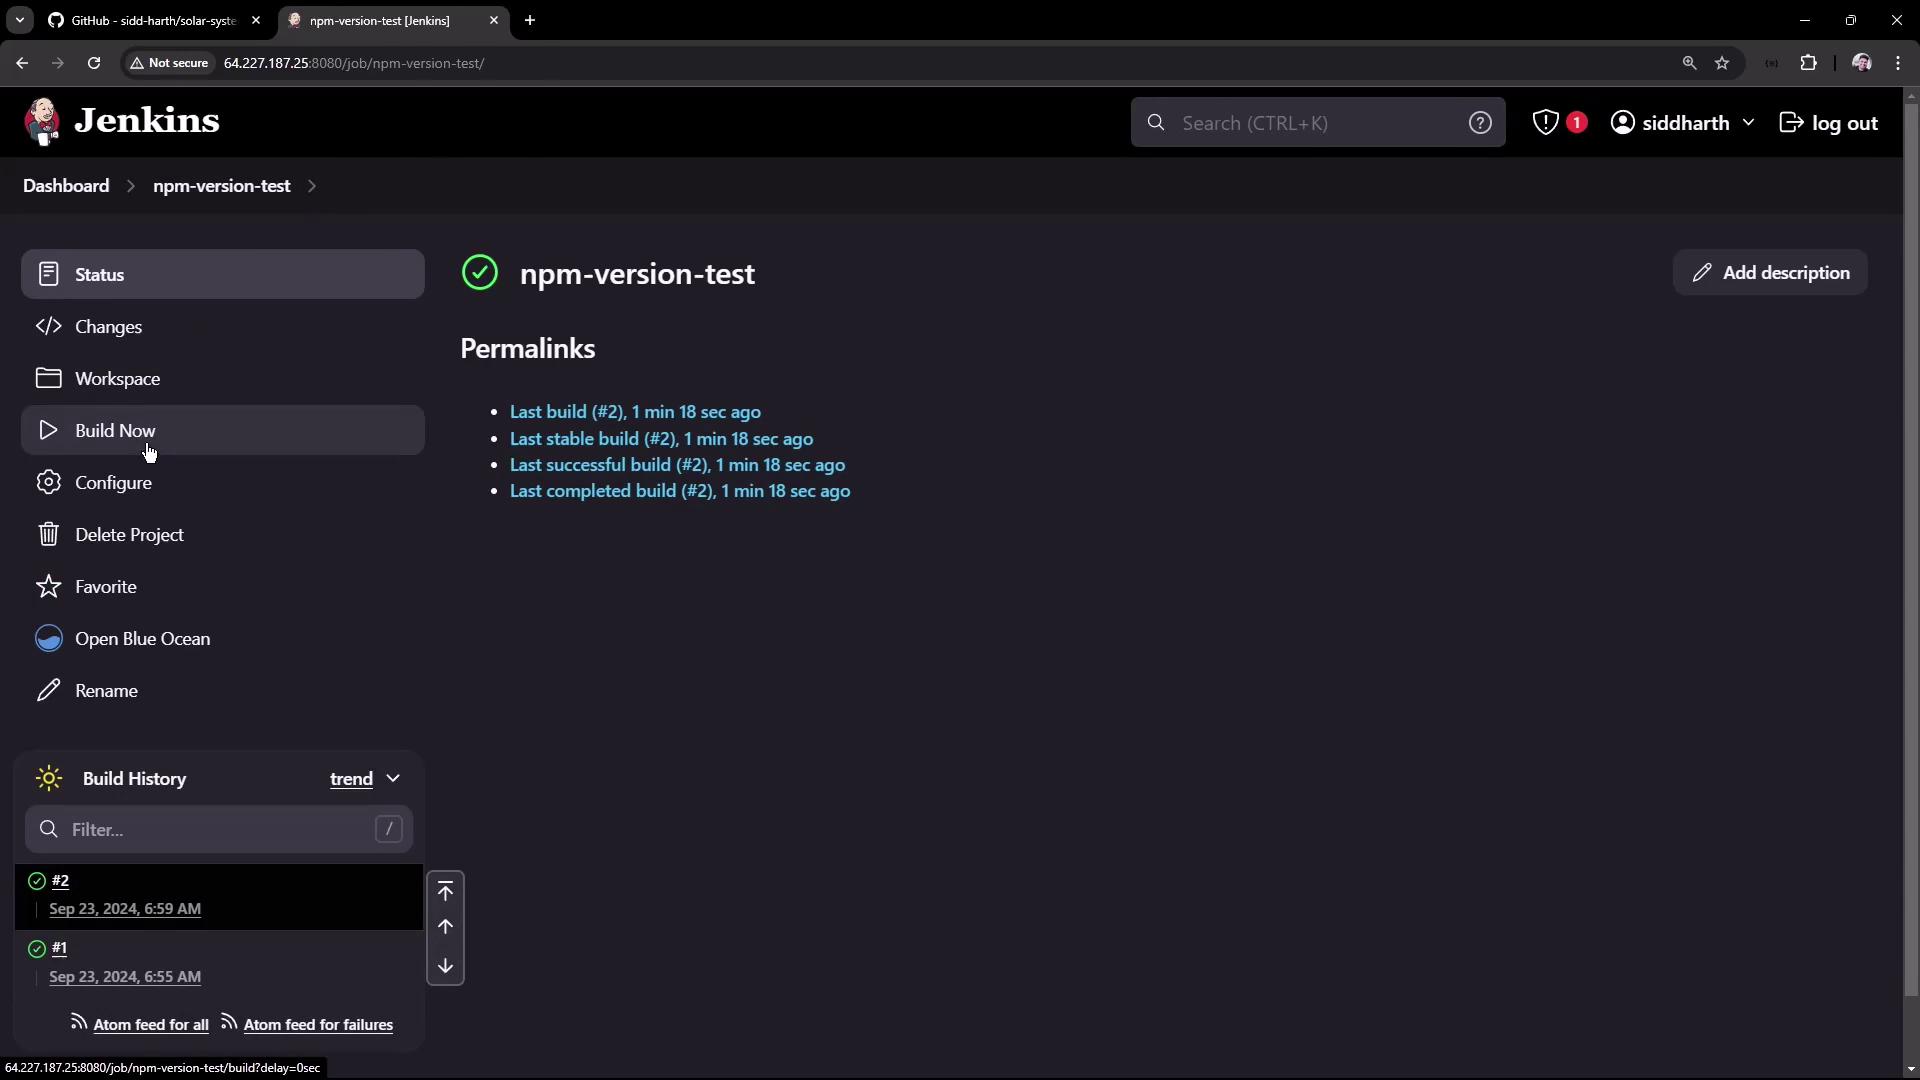
- Save the configuration and trigger the build. A successful build will output the Node.js and npm versions as obtained from the host installation.
Configuring a Dedicated Node.js Installation in Jenkins
To accommodate scenarios where the agent lacks Node.js, you can configure a dedicated Node.js build tool within Jenkins.Installing the Node.js Plugin
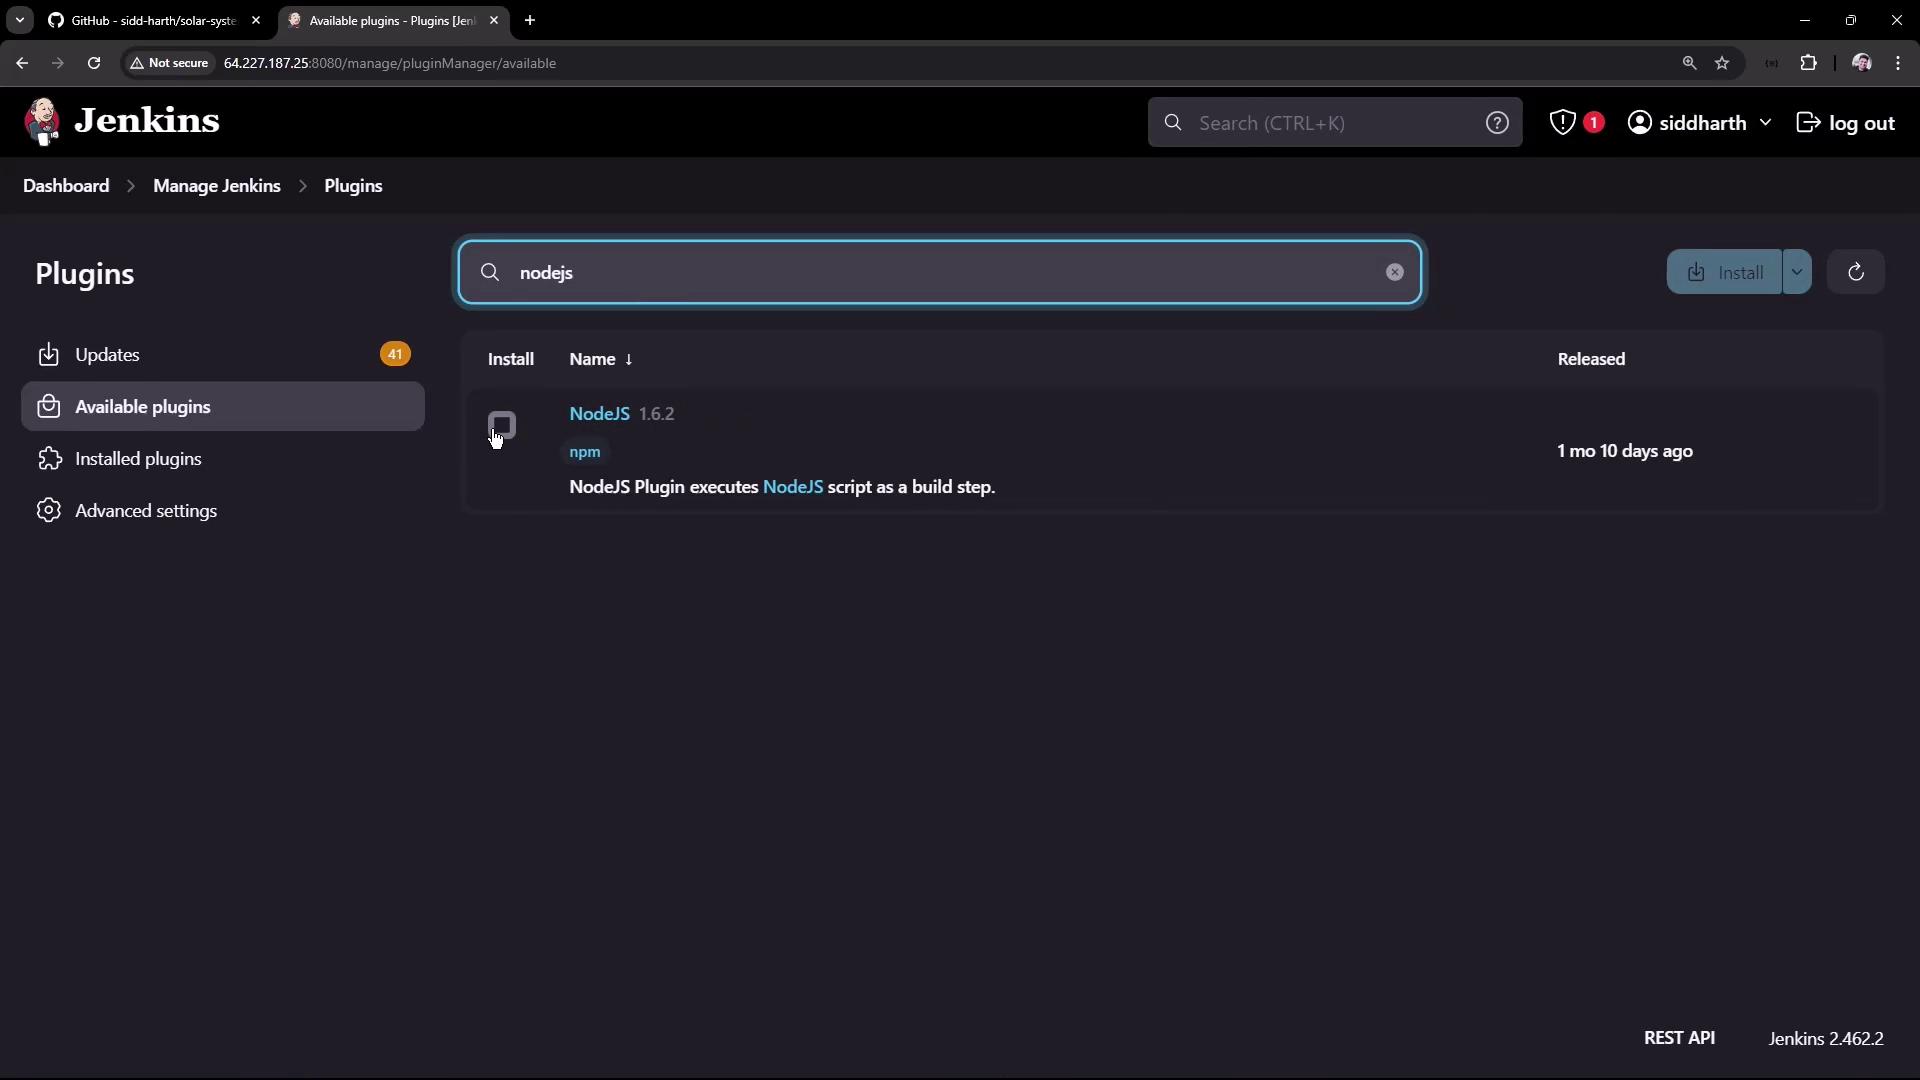
- Navigate to Manage Jenkins → Manage Plugins.
- Under the Available tab, search for “NodeJS”. Locate the NodeJS plugin (version 1.6.2 at the time of recording) and install it.
Configuring the Node.js Tool
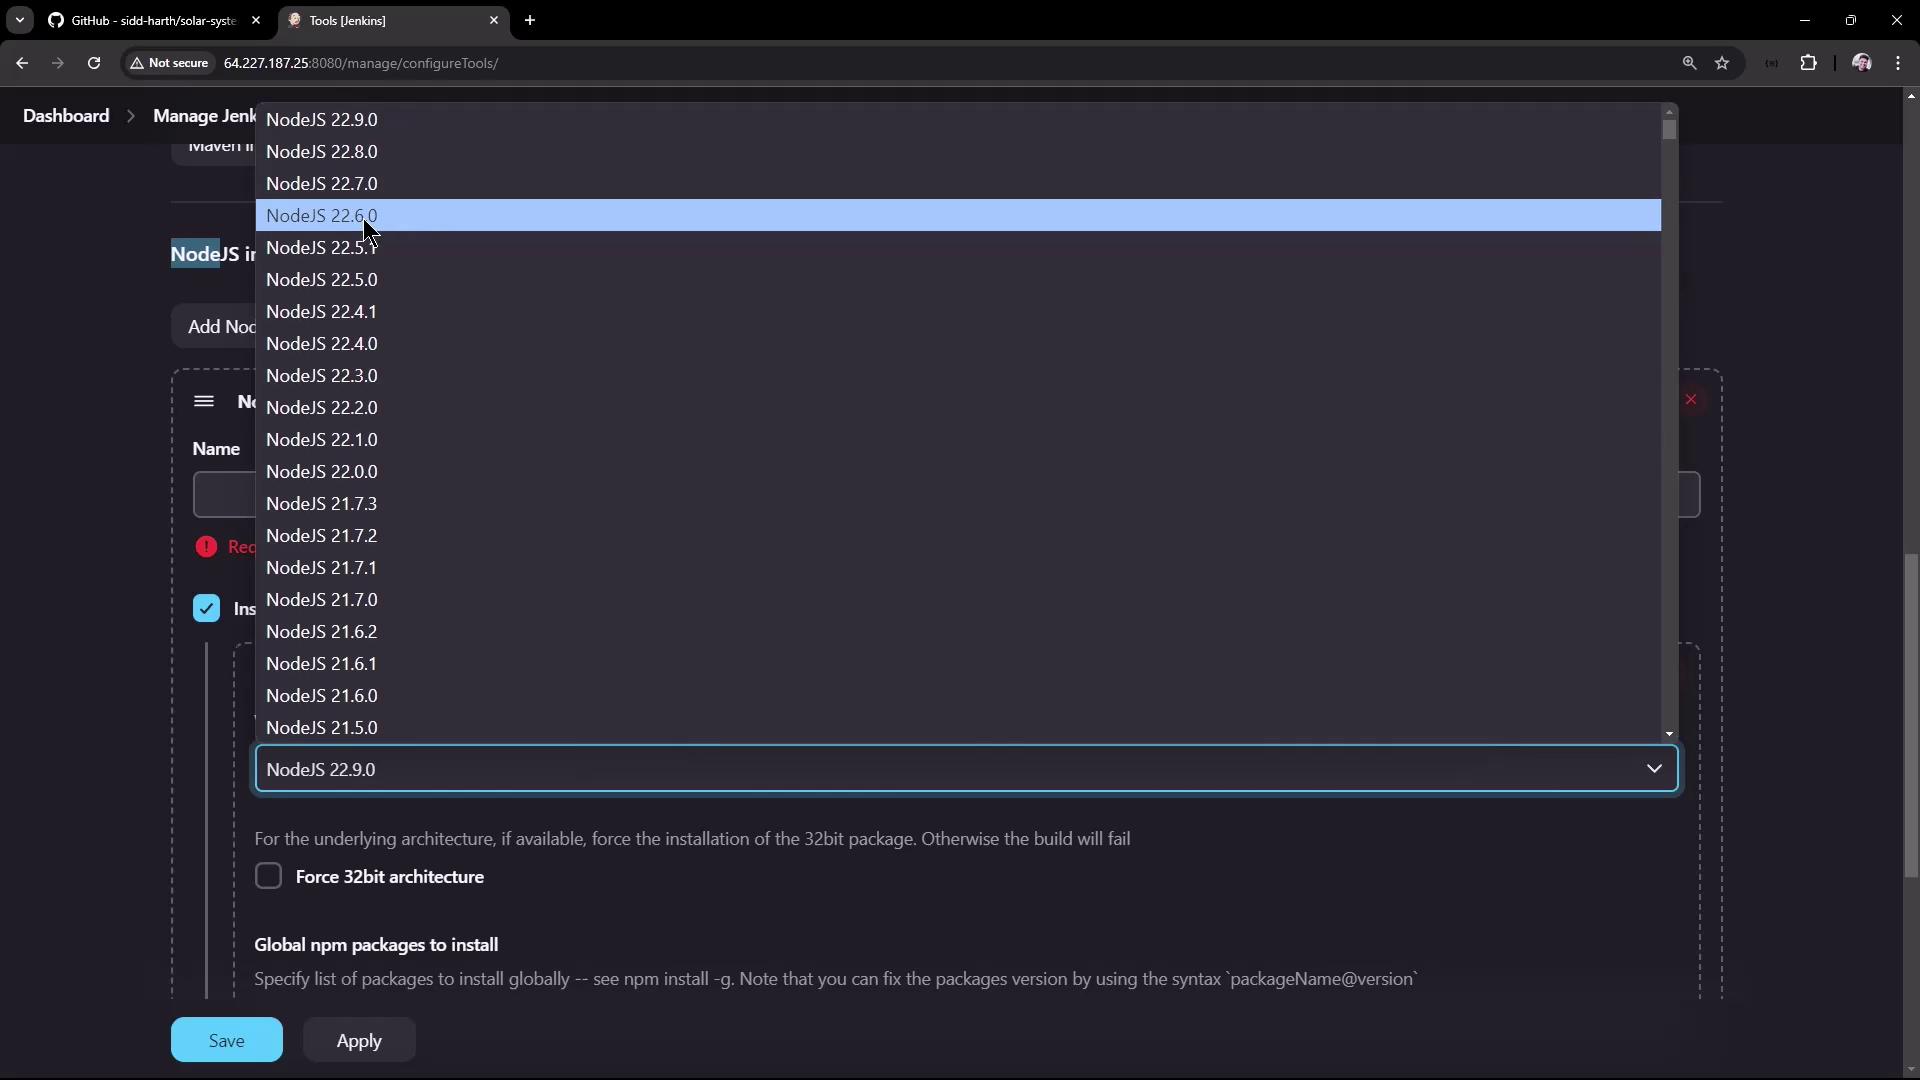
After installing the plugin, a new option for Node.js installations appears under Manage Jenkins → Global Tool Configuration (or Manage Jenkins Tools). To configure a Node.js installation, follow these steps:- Locate the Node.js installations section.
- Click to add a new Node.js installation; for example, name it “Node.js 22.6.0” to represent the intended version.
- Select the installation method (typically “Install automatically” from Node.js.org) and leave the default settings intact.
- Save the configuration.
Using the Node.js Tool in a Jenkins Job
Return to your “npm-version-test” Freestyle project to update its configuration to use the newly configured Node.js tool:- In the project configuration, scroll down to the Build Environment section.
- Check the option labeled “Provide Node & npm bin/ folder to PATH” (or a similarly named option, depending on your Jenkins version).
- Select the Node.js installation you just configured.
-
Retain the build step containing the commands:
- Save the configuration and rebuild the project.
The first build used the host-installed Node.js (version 20.16.0), while the second build used the Jenkins-provided installation (version 22.6.0). This flexibility allows you to choose between using the system environment or a dedicated Node.js tool installation.

This lesson demonstrated how to verify that Node.js is installed on the Jenkins host and how to configure a dedicated Node.js installation using the Node.js plugin. This approach provides the flexibility needed in environments where the agent might not have Node.js pre-installed. Happy building!