/vote and requires only the post ID and vote direction. The user ID is extracted from the JWT token, reducing the parameters needed in the request body.
When a user votes, the logic is as follows:
- If the vote direction is 1 and the user has already liked the post, the endpoint returns an HTTP 409 Conflict error.
- If the vote direction is 0 and the user has not liked the post, the endpoint returns an HTTP 404 Not Found error.
- Otherwise, the vote is either added or removed accordingly.
Setting Up the Vote Router
Create a new filevote.py in the routers folder. Start by copying the necessary import statements from one of the other routers:
/vote prefix and the tag “Vote”:
Defining the Vote Schema
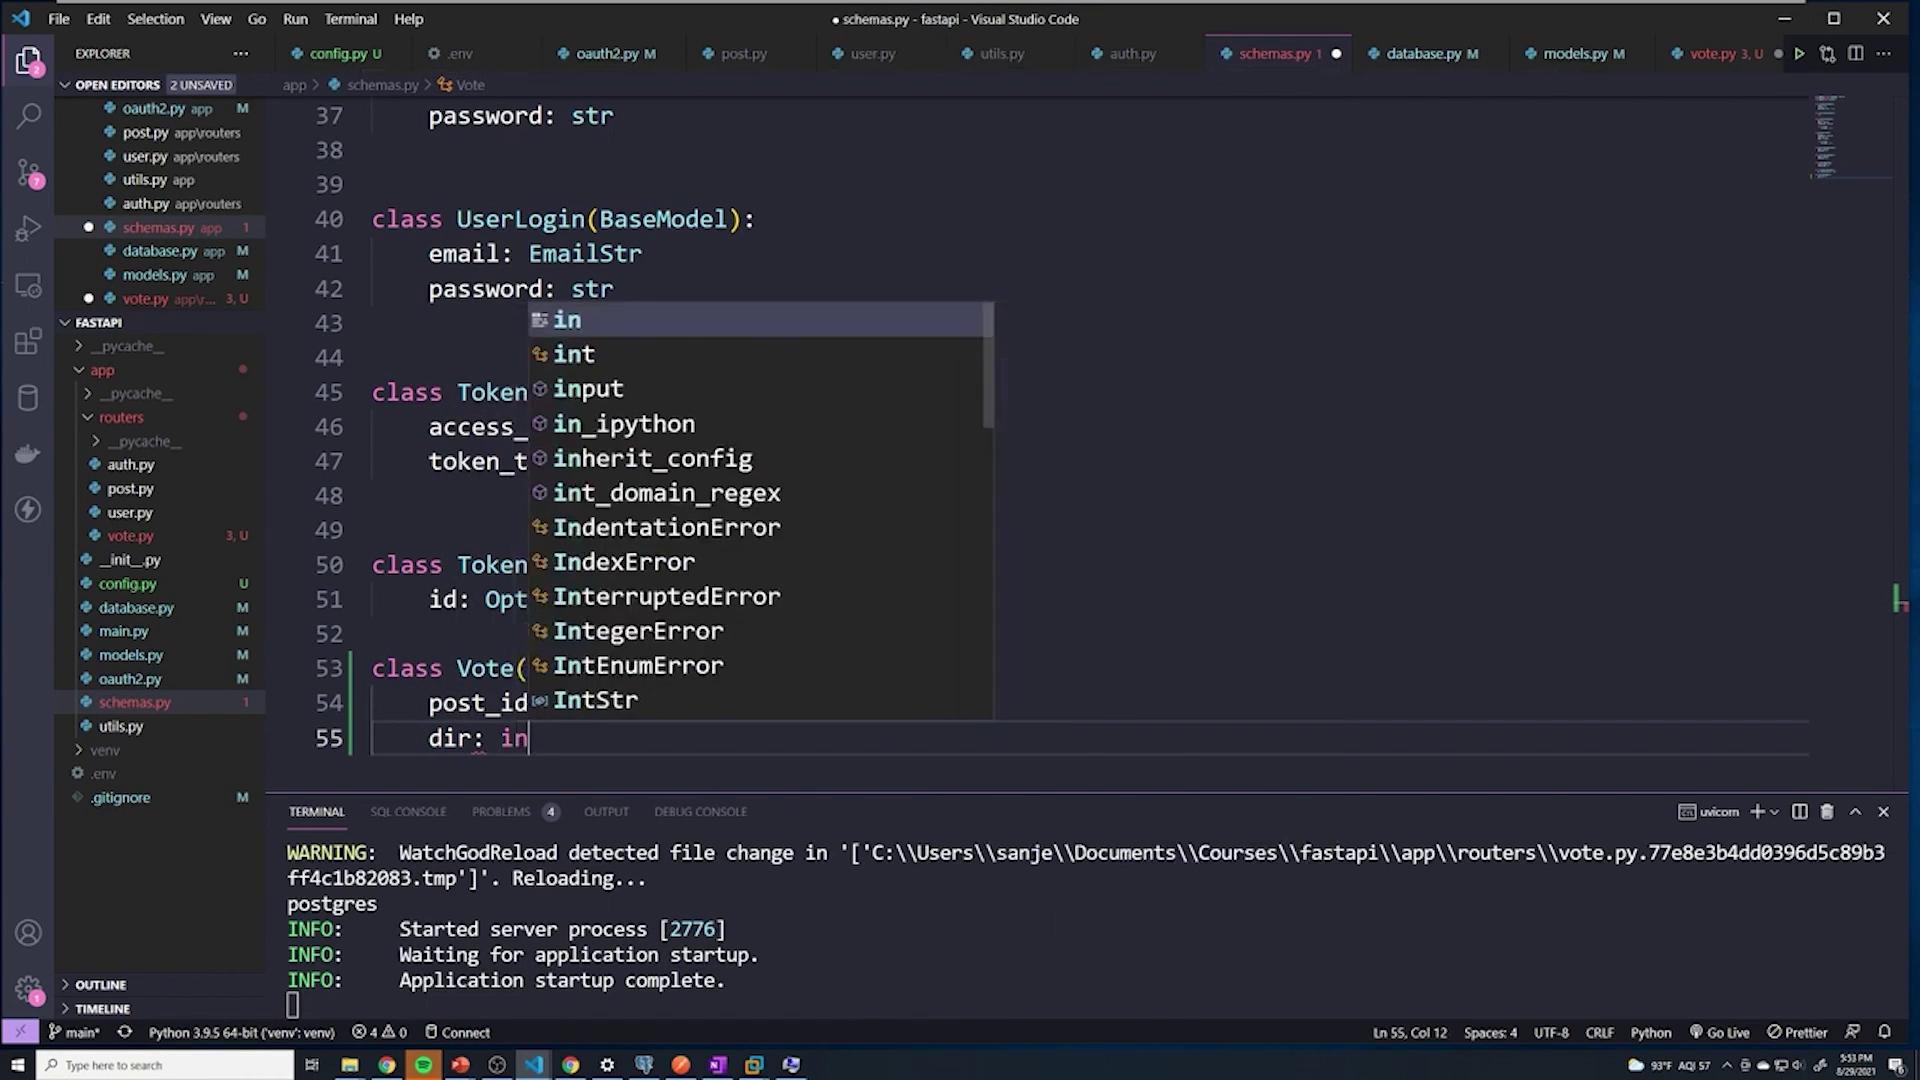
Since vote data is received in the request body, defining a Pydantic schema for validation is essential. The schema includes the post ID (an integer) and the vote direction. We use the Pydantic typeconint(Le=1) to ensure that the maximum value is 1. Although this approach accepts negative numbers, it is acceptable for now. Future improvements can enforce strictly 0 or 1 values.
Below is an example of our Pydantic schemas (including other models for context):
Implementing the Vote Logic
Import the necessary schemas, database utilities, models, and OAuth2 authentication logic as shown below:vote function to require the vote data via the schema, a database session, and the currently authenticated user:
Always validate that the target post exists before processing any vote changes. This prevents unnecessary database operations and improves the robustness of your endpoint.
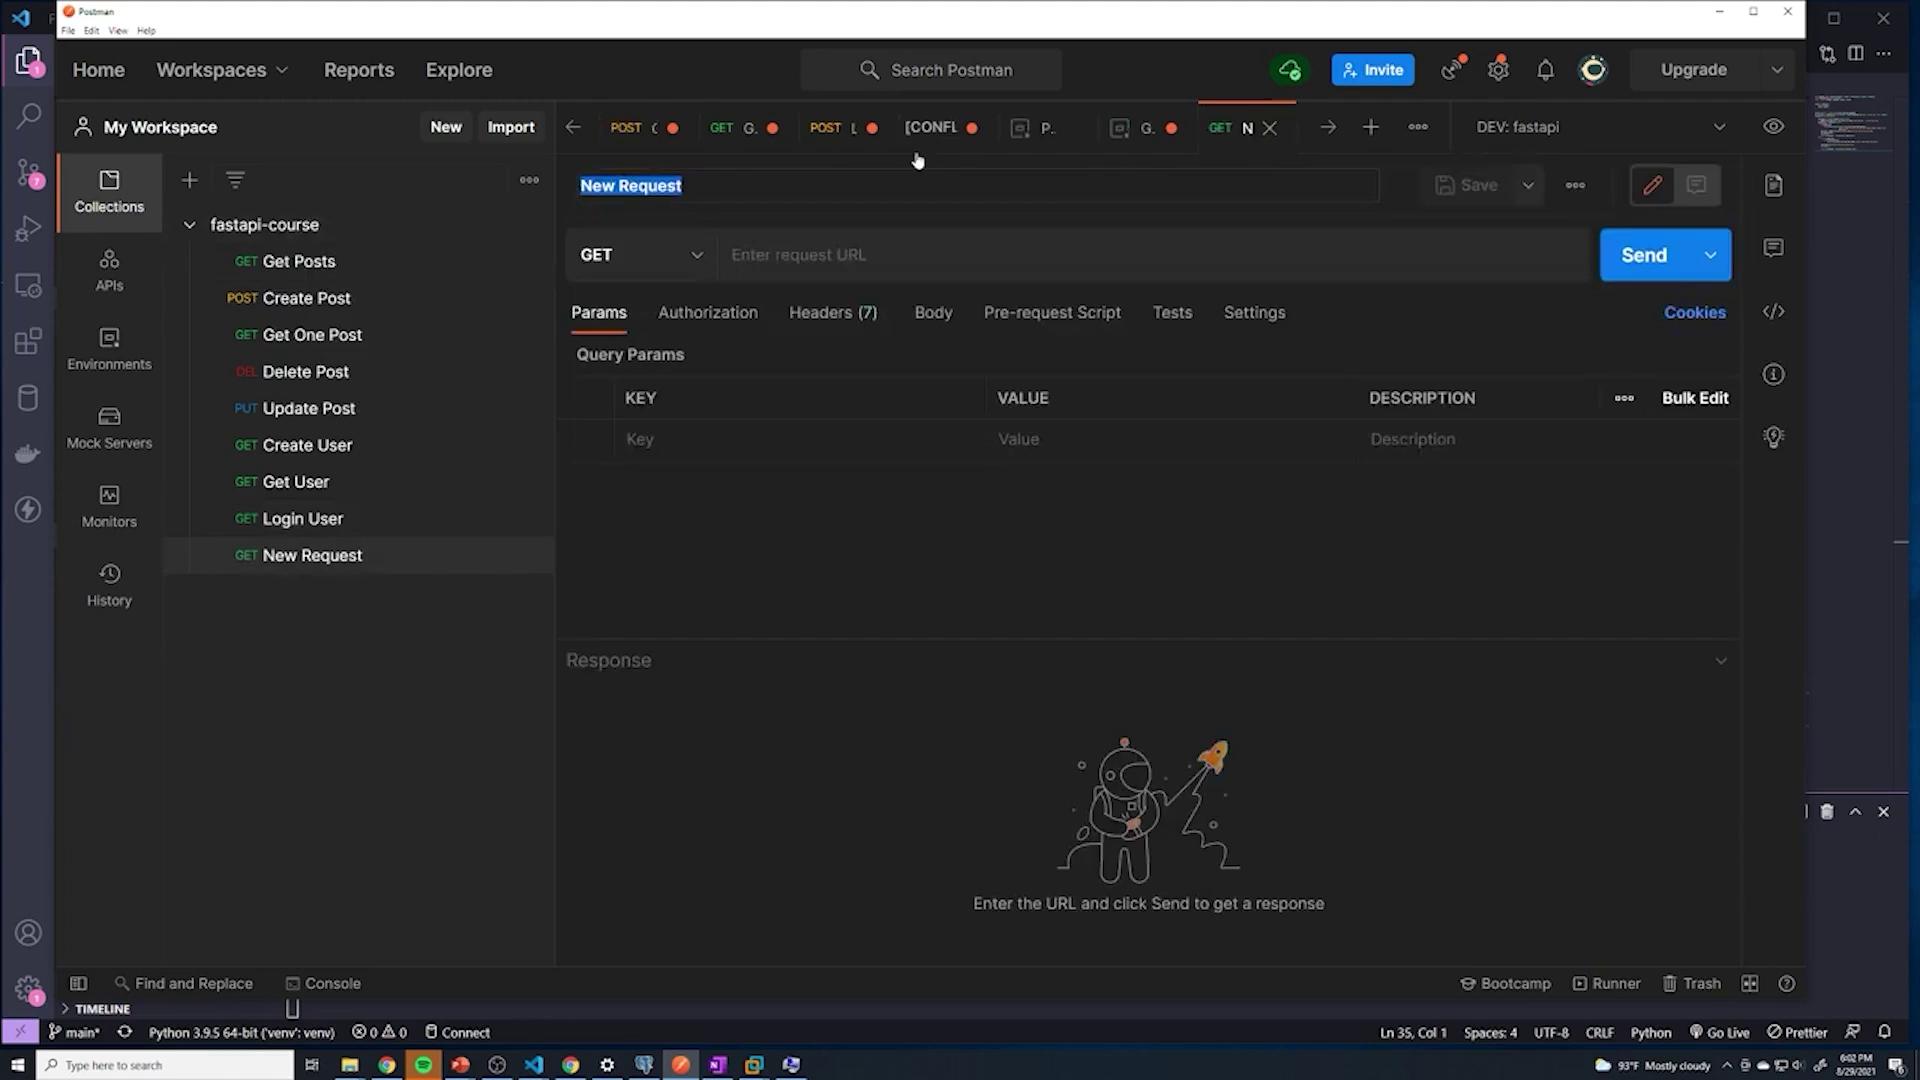
Testing the Vote Route with Postman
After implementing the voting logic, test the endpoint using Postman. Follow these steps:- Log in to obtain a JWT token.
- Create a new POST request for the vote functionality.
-
Set the request body with the post ID and vote direction (use 1 for liking):
- Ensure the Authorization header is set to “Bearer <your_token>”.
-
For a successful vote, you should receive the response:
Before testing, you may want to clean your votes table using SQL:
-
Delete all votes:
-
Verify with:
Including the Vote Router in the Main Application
Ensure that your main application file (main.py) includes the vote router. Import the vote router along with the others:
/vote endpoint becomes available for use.
Displaying Vote Counts on Posts
A future enhancement is to include the number of votes as a field when retrieving post data. This allows the front-end application to display the like count without issuing an additional query. Implementing this typically involves advanced SQL and SQLAlchemy techniques such as join operations or subqueries.Handling Votes on Non-existent Posts
If a user attempts to vote on a non-existent post, the endpoint returns a 404 error. This is managed by first querying the posts table using the provided post ID. If the post is not found, an HTTPException with a 404 status code is raised. The updated logic snippet reiterates how to handle this case:Visual Confirmation
Below are images showing a code editor session and a Postman interface during testing. These images confirm that the changes have been applied correctly and help provide context.