

__pycache__), or your virtual environment folder (commonly named venv). To avoid tracking these files, create a .gitignore file in your project’s root folder (be sure to include the leading dot).
Within the .gitignore file, add entries similar to the following:
.env(for your environment variables)__pycache__/- Your virtual environment folder (e.g.,
venv)
requirements.txt:
Make sure your
.gitignore and requirements.txt are up-to-date before making your initial commit.Installing Git
If Git is not installed on your machine, download and install it by visiting the official Git downloads page or by searching for “Git” online. During installation on Windows, follow the wizard instructions, and ensure you override the default branch name from “master” to “main” to align with current GitHub conventions. During the installation process, you may see a prompt requiring acknowledgement of the license agreement. Accept the license to proceed.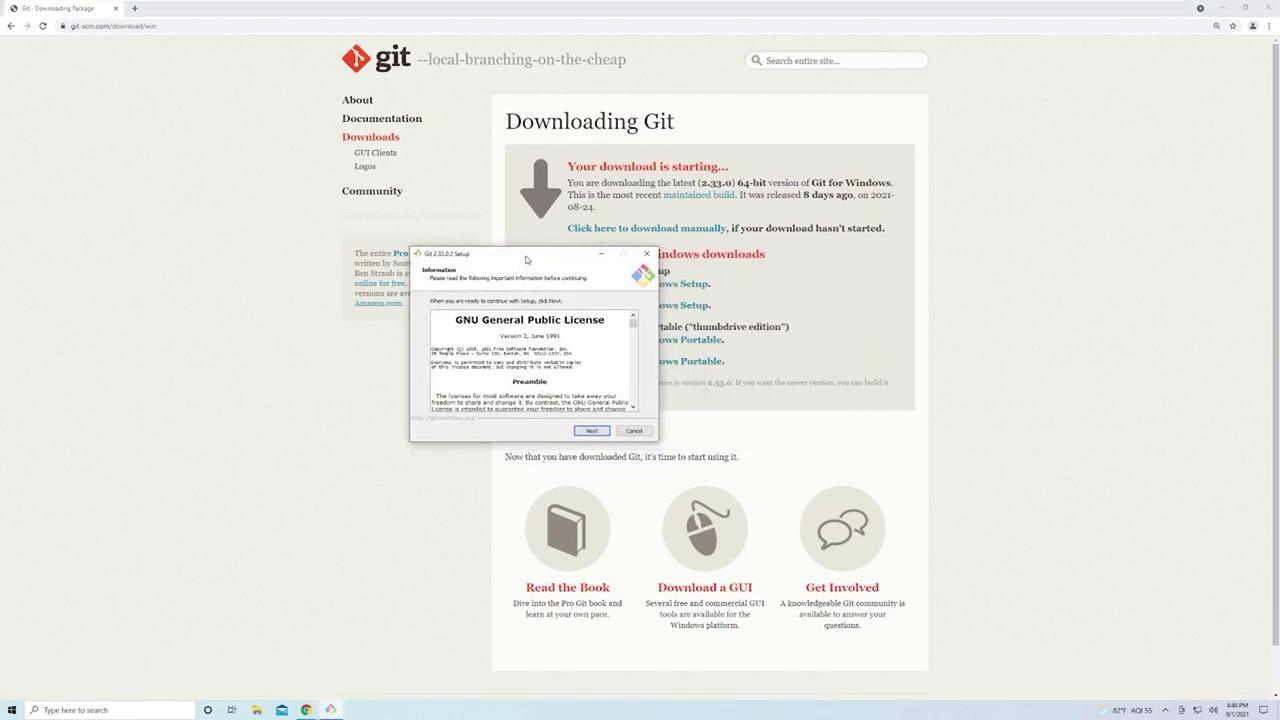
Creating a GitHub Repository
Next, set up a remote repository on GitHub:- Visit GitHub and log in (or sign up if you don’t have an account).
- Click on the “New repository” button.
- Fill in the repository name, description, and visibility (choose public for simplicity).
- Click “Create repository.”

Configuring Your Local Repository
Initialize your project folder as a Git repository. Open your terminal in the project’s root directory and execute:.git folder where Git stores all repository data. Next, add all project files (respecting the rules defined in your .gitignore) with:
At this point, your repository is successfully configured both locally and on GitHub. Your
.gitignore is safeguarding unnecessary files, and the requirements.txt captures all dependencies, ensuring smooth transitions during deployment and collaboration.