Learn to set up a virtual environment on Windows using Visual Studio Code to isolate project dependencies from the global Python installation.
In this lesson, you’ll learn how to set up a virtual environment on a Windows machine using Visual Studio Code (VS Code). This process ensures that your project dependencies remain isolated from the global Python installation.
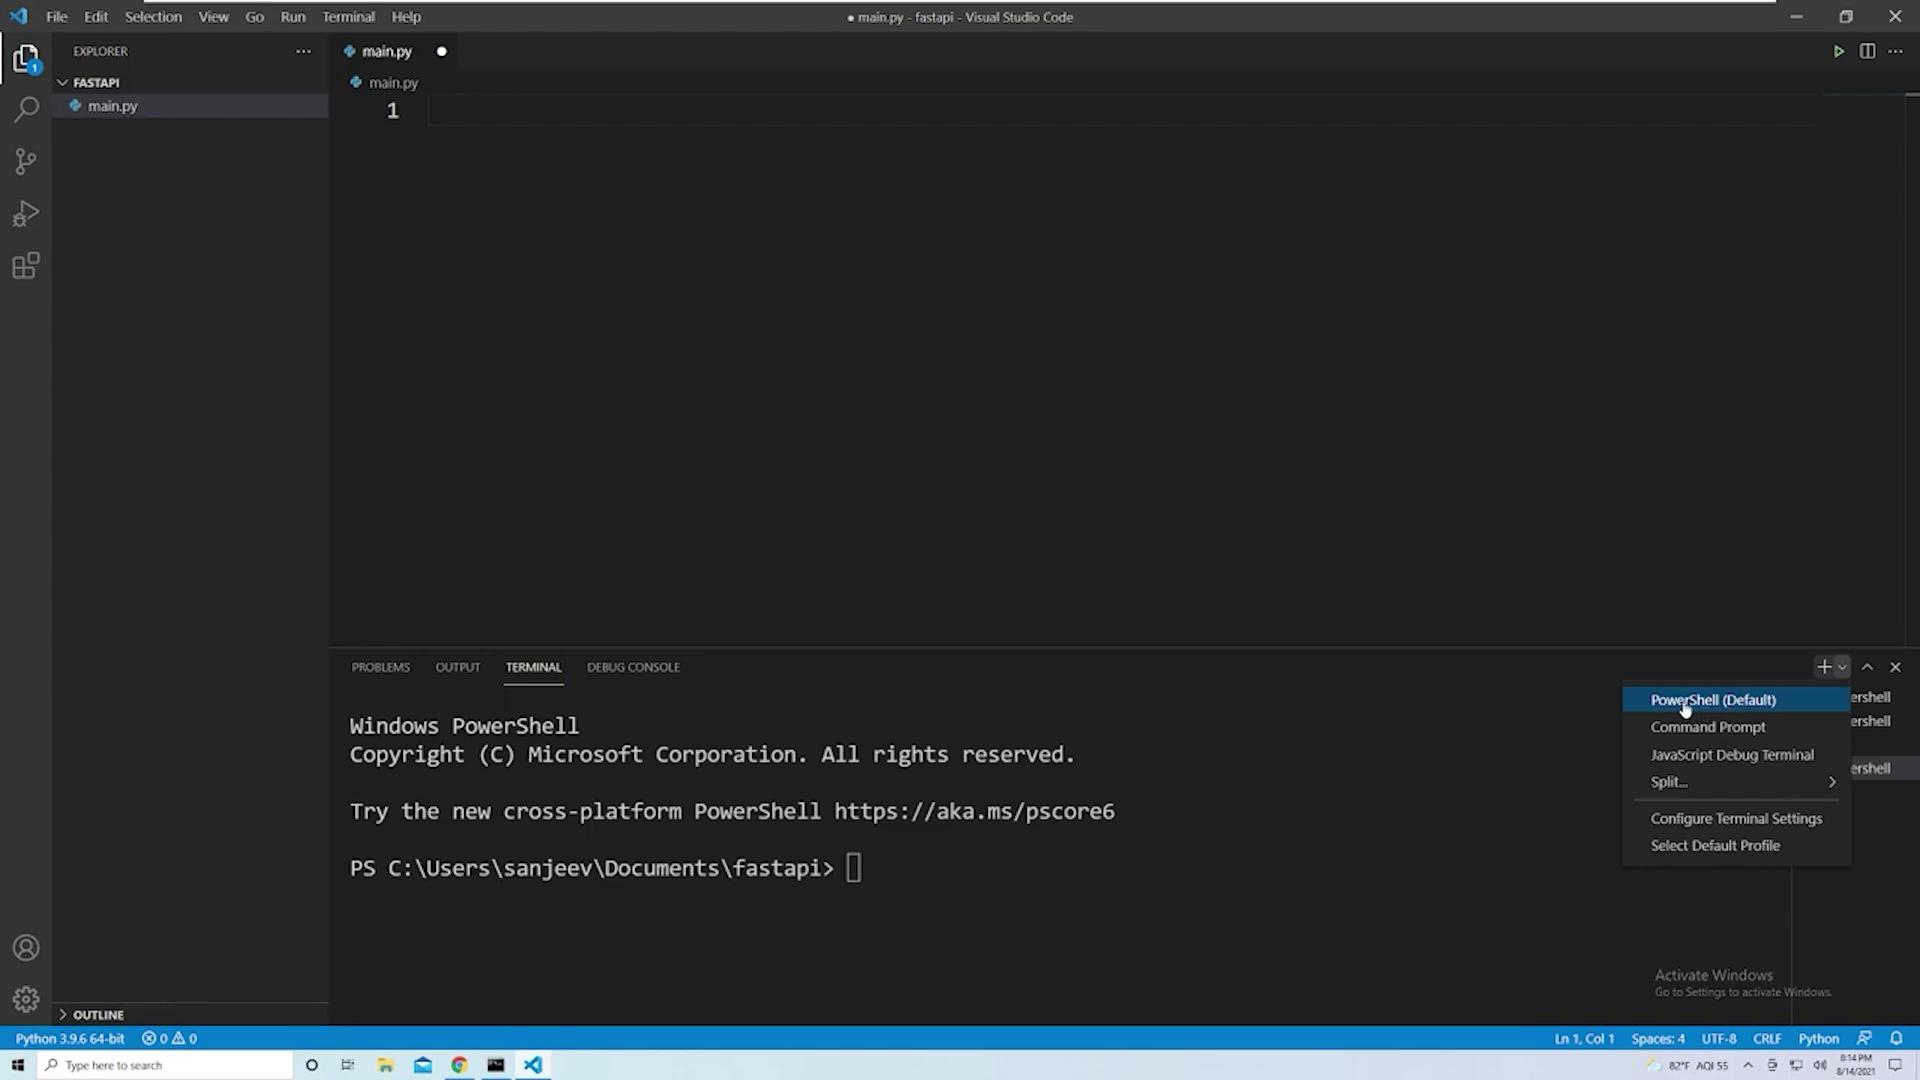
Step 1: Open VS Code and Navigate to Your Project Directory
Launch VS Code and open the directory containing your project files. Next, open a new integrated terminal:
Click “Terminal” in the top menu.
Select “New Terminal.”
The integrated terminal functions like a standard Windows terminal but is conveniently built into VS Code. You can run multiple terminals simultaneously and even switch between different terminal types (e.g., PowerShell and Command Prompt) based on your preference.
Use Python’s built-in venv module to create an isolated environment. You can name your virtual environment anything you like (commonly “venv” or the project name). Run the following command in the terminal:
Once executed, a folder named “venv” (or your chosen name) will be created within your project directory. This folder contains the Python executable and all libraries specific to this virtual environment.
Step 3: Configure the Python Interpreter in VS Code
Although you started with the global Python interpreter, it’s important to switch to the one inside your virtual environment. Follow these steps:
Open the Command Palette by navigating to View → Command Palette.
Search for and select Python: Select Interpreter.
In the list of interpreters, click on Enter interpreter path.
Provide the path to the Python executable in your virtual environment. The typical path structure is:
<project_directory>\venv\Scripts\python.exe
After selection, VS Code will display the virtual environment’s Python version (e.g., Python 3.9.6), ensuring that all future package installations are confined to this isolated setup.
Once activated, the command prompt will change to include the virtual environment’s name, as shown:
(venv) C:\Users\sanjeev\Documents\fastapi>
Always verify that your virtual environment is active before installing any packages. If the terminal reverts to the global Python interpreter, simply reactivate it using the command above.
At this point, your virtual environment is fully set up and ready for development. Enjoy coding in your isolated environment!Happy coding!