This article demonstrates managing PostgreSQL database changes using Alembic, including creating tables and handling migrations step-by-step.
In this article, we demonstrate how to manage PostgreSQL database changes using Alembic. Initially, our database was empty, with no defined tables:
SELECT * FROM public.postsORDER BY id ASC
We started building our application by creating tables directly in the PostgreSQL database as required. For instance, during the early stages, we created a “posts” table without handling user creation, password hashing, or establishing user relationships. Later, with the implementation of CRUD operations for posts and the introduction of user registration, we added a “users” table and modified the “posts” table to include a foreign key. Eventually, a “votes” table was added, complete with its own set of foreign keys.Now, with Alembic integrated into our workflow, we will walk through a controlled, step-by-step process to manage these database migrations.
Begin by reviewing the available Alembic commands. Running the help command:
alembic --help
displays multiple options. One of the most frequently used options is the revision command, which is similar to a git commit message. It allows you to attach a human-readable message to each schema change.For example, to create a revision for the posts table, run:
alembic revision -m "create posts table"
This command generates a new file in the Alembic versions folder. The output will resemble:
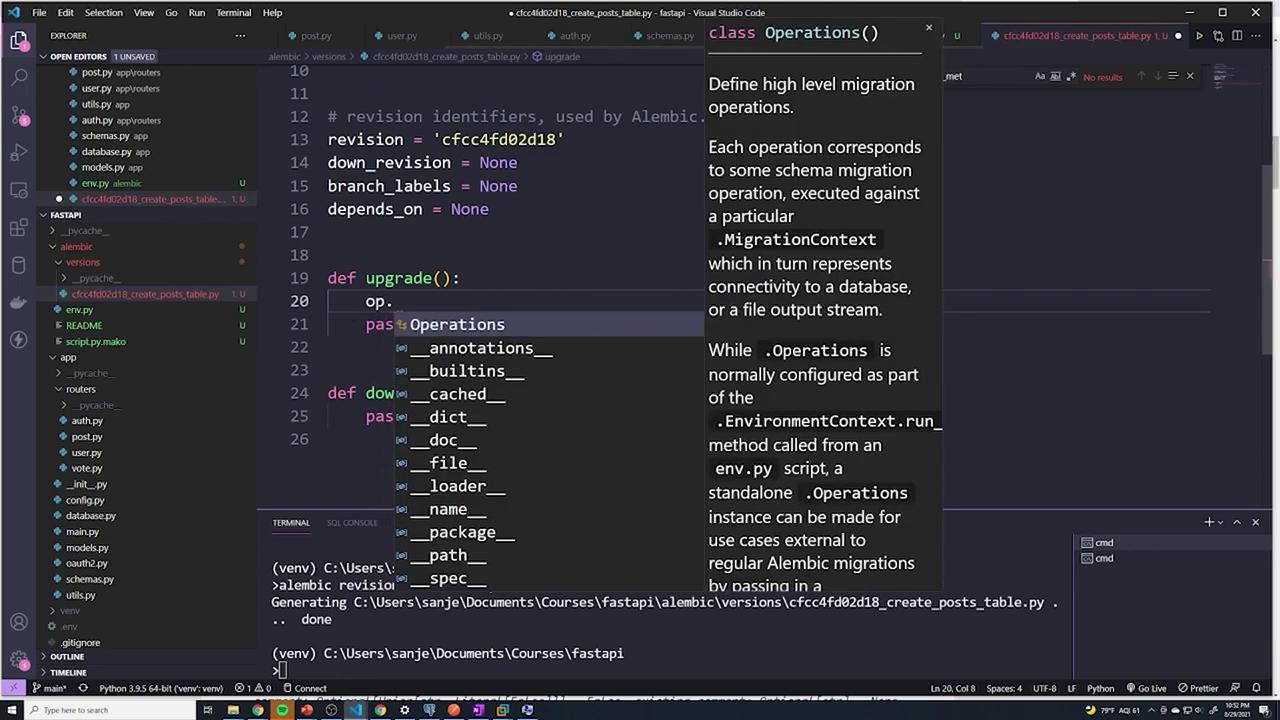
Inside this generated file, you will see a structure similar to the following:
from alembic import opimport sqlalchemy as sa# revision identifiers, used by Alembic.revision = 'cfcc4fd02d18'down_revision = Nonebranch_labels = Nonedepends_on = Nonedef upgrade(): passdef downgrade(): pass
The upgrade() function is used to apply changes, while the downgrade() function allows you to roll back those changes. Always add the necessary logic to these functions based on your migration requirements.
To explore more options for the alembic revision command, run:
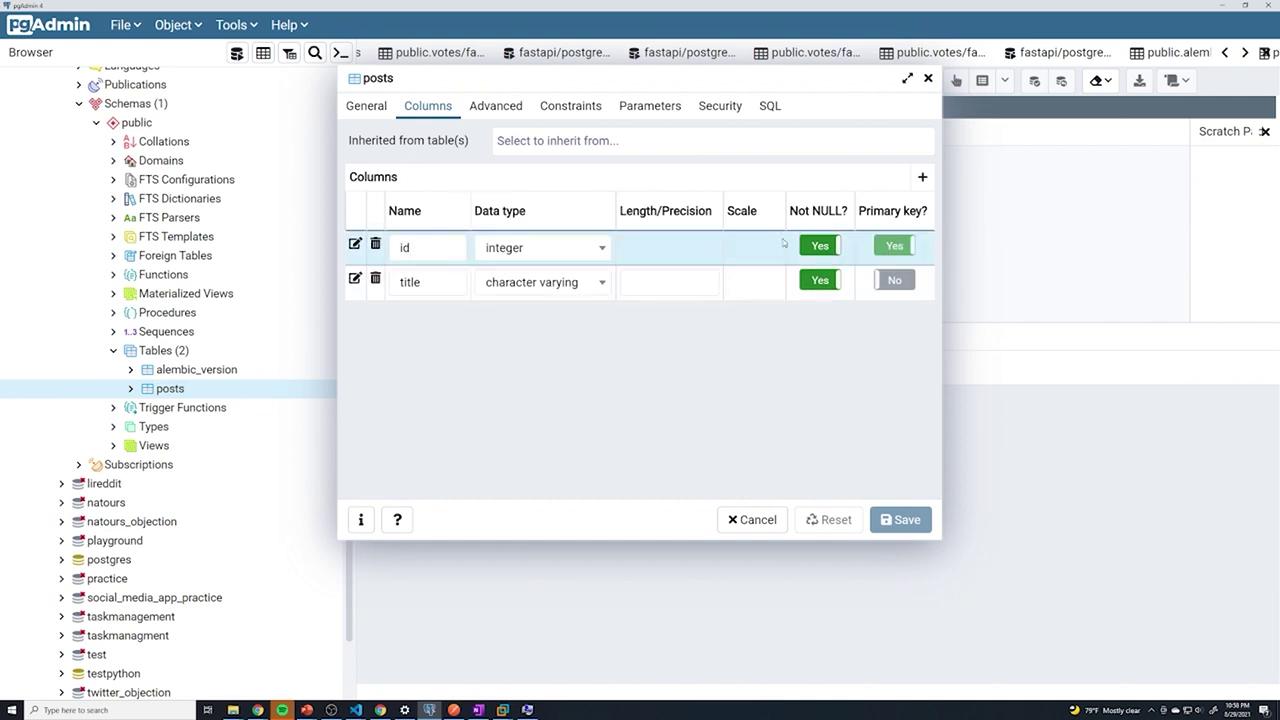
This guide demonstrated how to create a simple “posts” table using Alembic, including both the upgrade and downgrade migration paths. For additional operations—such as altering columns, adding constraints, or working with computed defaults—refer to the Alembic API documentation.By managing database migrations with Alembic, you ensure a controlled and consistent way to apply schema changes, making your database evolution both predictable and reversible.