

Setting Up the Heroku CLI
Before you start the deployment, ensure you have the following prerequisites:- A Heroku account.
- Git installed on your machine.
- The Heroku CLI installed.
Creating Your Heroku App
Heroku provides comprehensive tutorials (search for “Heroku Python” online) but here are the essential steps to create your app:- If you’re using your own application instead of the demo from the Heroku tutorial, skip the repository cloning.
-
Create your app with the following command:
This generates a globally unique random name and sets up a Git remote pointing to your Heroku app. Verify your Git remotes using:You should see both your GitHub origin and a new Heroku remote. To deploy your code, simply push to Heroku:
App names must be globally unique. If the name is already in use, try a different name (e.g., append numbers).
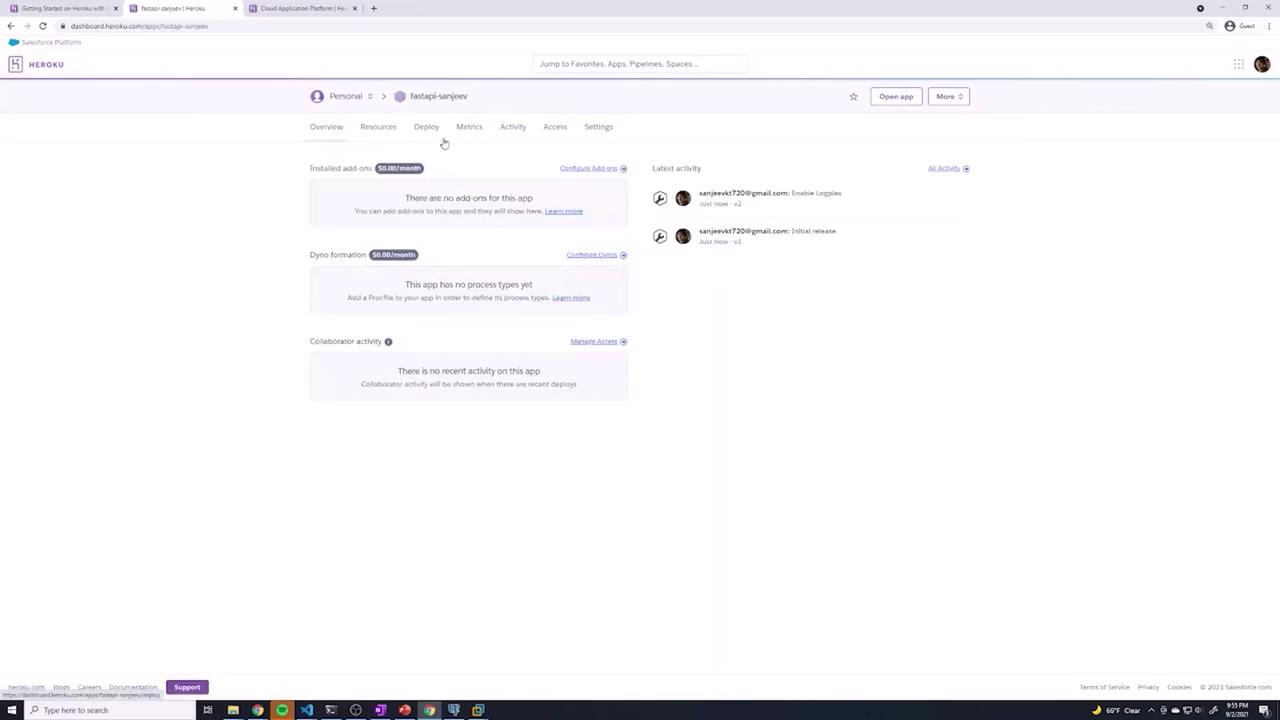
Pushing Code and Viewing Logs
To deploy your code to Heroku, push your application to the Heroku remote with:A “Boot timeout” error may mean that Heroku is unsure how to start your FastAPI application. Ensure your configuration is correct.
Configuring the Procfile
Heroku requires a Procfile in your project’s root directory to define how to run your application. Create a file namedProcfile (with a capital P) and add the following line:
--reload flag (which is intended for development only) and instructs it to use the port provided by Heroku via the PORT variable (defaulting to 5000 if unspecified).
After updating your Procfile, add, commit, and push the changes to both GitHub and Heroku:
Testing and Troubleshooting Your Deployment
After deploying the code, visit your app URL (e.g., https://fastapi-sanjeev.herokuapp.com/) to verify the application is running. If the app hangs or displays an error, check the logs using:.env file. For example, your application may require variables such as:
.env file. You must manually set these Config Vars via the Heroku dashboard or CLI.
Setting Up a PostgreSQL Database
If your application uses PostgreSQL, set up the database as follows:-
Create a free PostgreSQL instance (hobby-dev plan) using this command:
Example output:
-
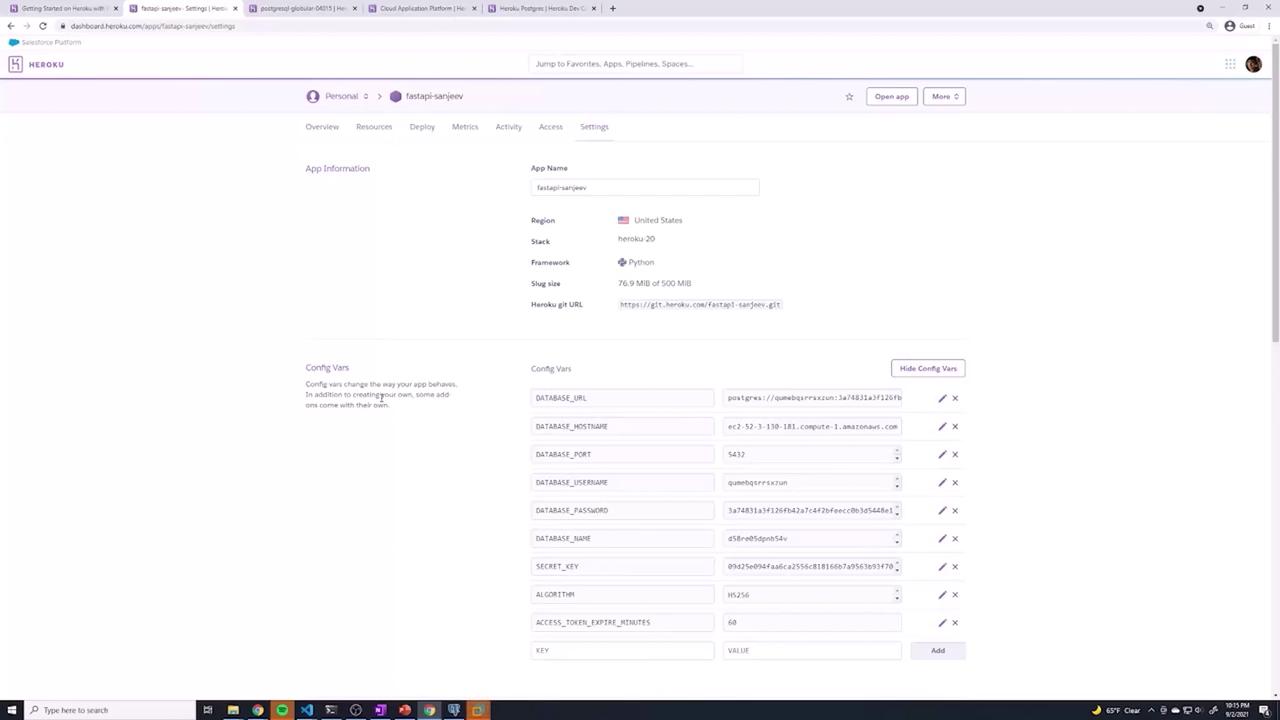
Navigate to your app’s Settings > Config Vars on the Heroku Dashboard. Notice that Heroku has automatically created a
DATABASE_URLvariable containing your PostgreSQL connection string. -
To work with individual environment variables (hostname, port, etc.), visit the Heroku PostgreSQL dashboard to retrieve the details, then add them as separate Config Vars:
DATABASE_HOSTNAMEDATABASE_PORT(default is 5432)DATABASE_USERNAMEDATABASE_PASSWORDDATABASE_NAME- Plus other variables such as
SECRET_KEY,ALGORITHM, andACCESS_TOKEN_EXPIRE_MINUTES.
Updating the Database Schema with Alembic
Suppose your application uses Alembic for database migrations. In that case, your production PostgreSQL instance might start without tables. When you attempt to create a user or perform a database operation, you may encounter errors like: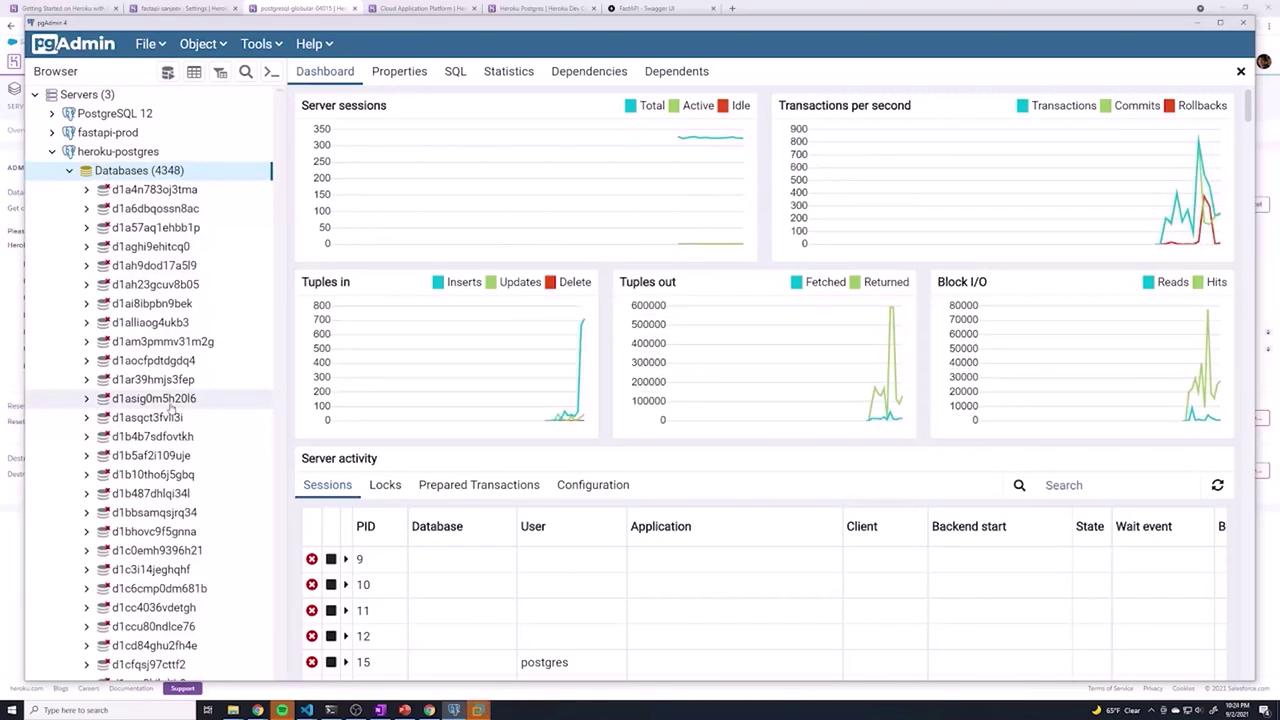
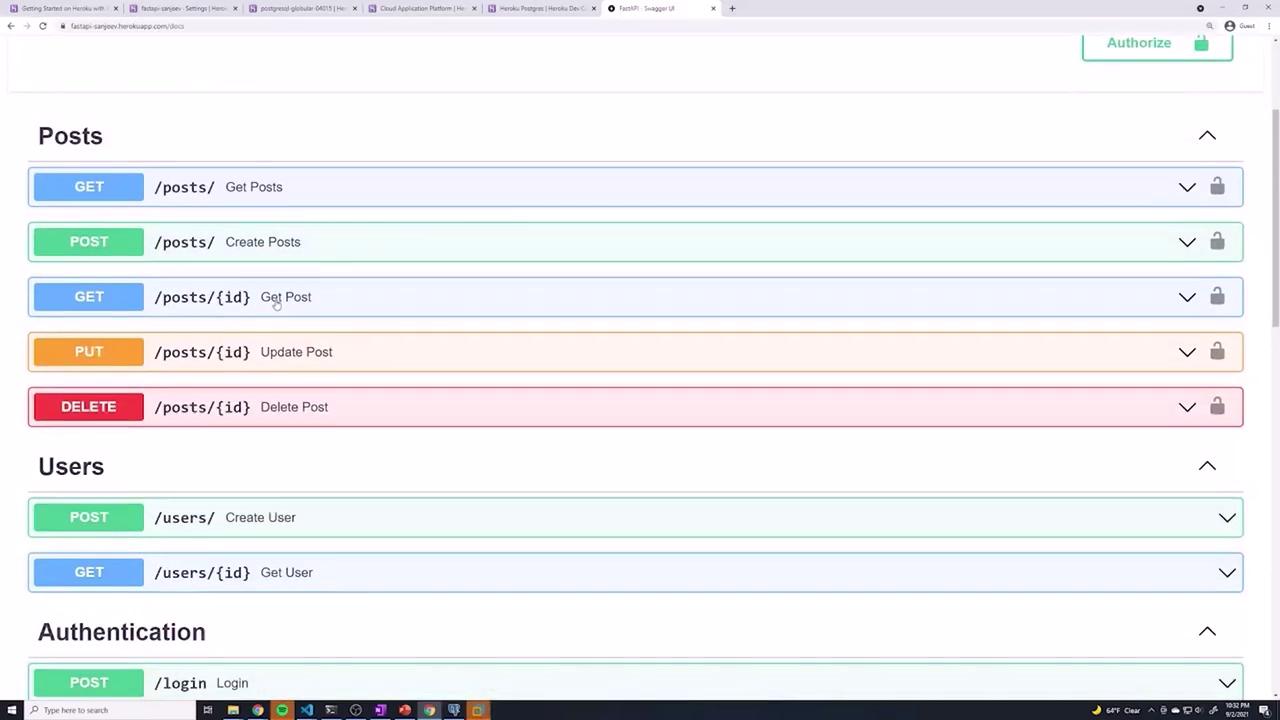
/docs) should list all your API endpoints:
Pushing Updates to Production
When you update your application code or introduce new Alembic revisions, follow these steps:-
Commit and push your changes to GitHub:
-
Deploy the changes to Heroku:
-
If new migrations are included, apply them:
-
Restart your dynos if necessary: